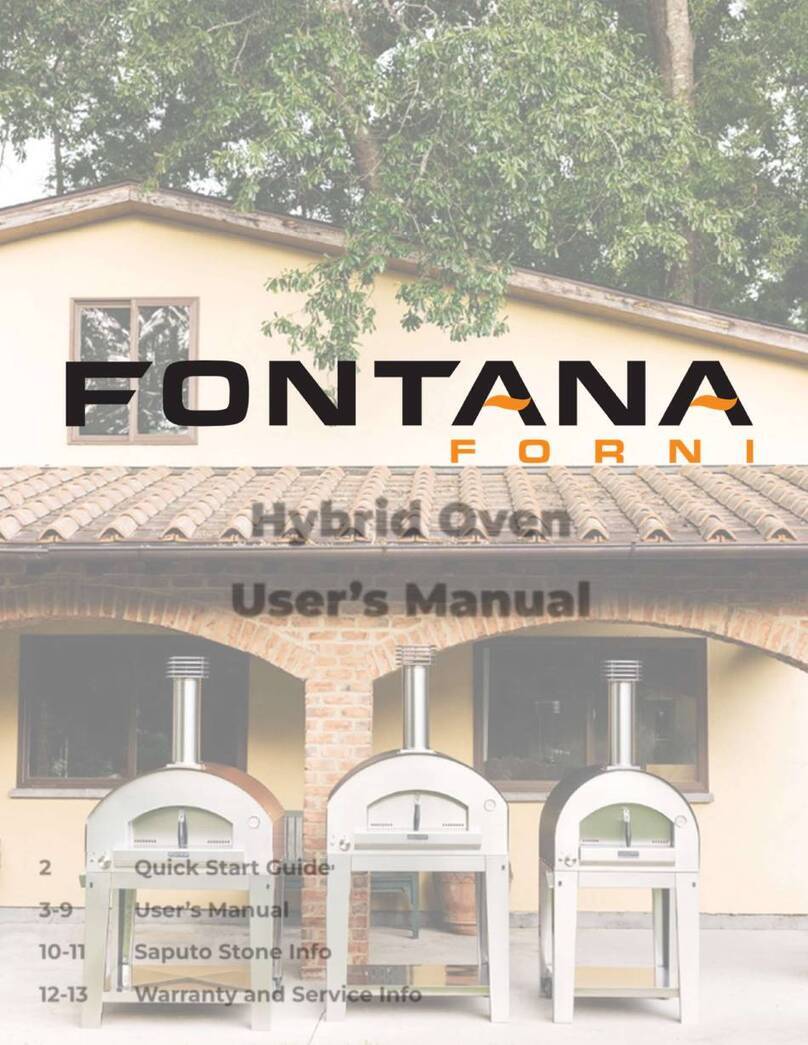
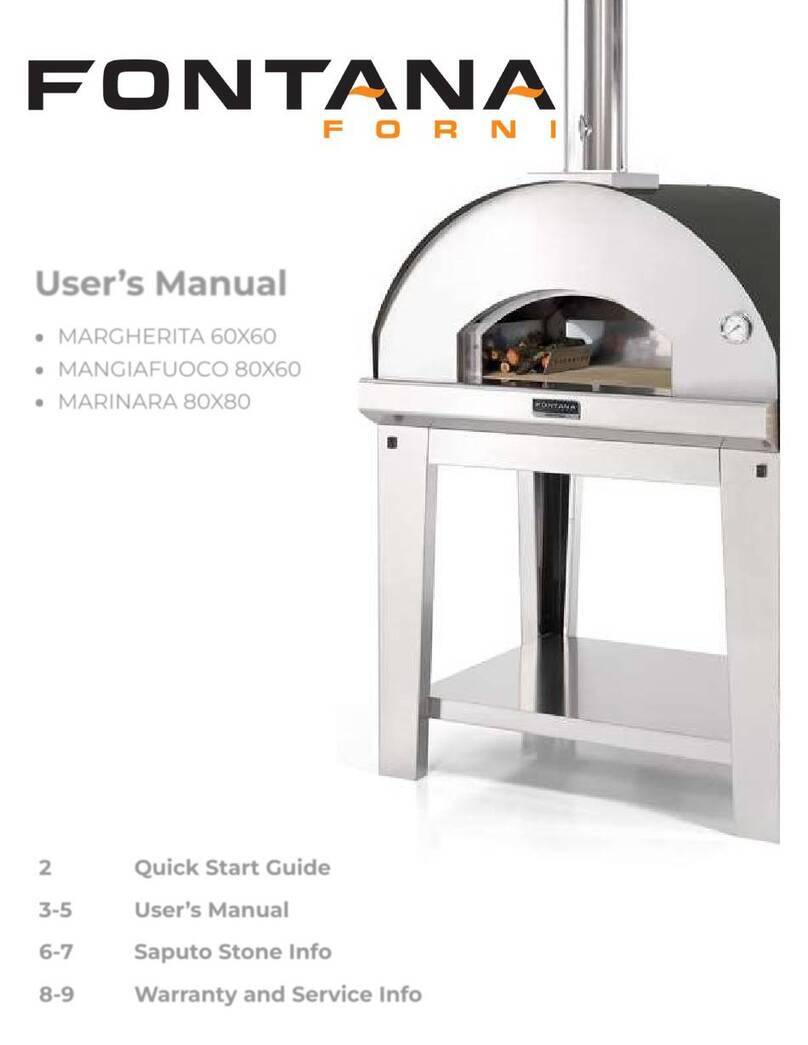
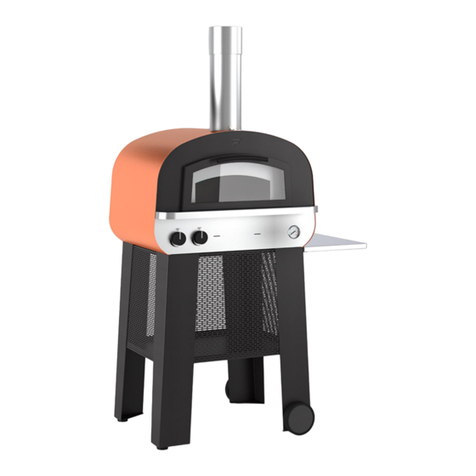
Fontana Forni GUSTO User manual

USER INSTRUCTIONS:
GUSTO
Congratulations on your purchase of the finest stainless wood-fired oven available! Our ovens,
made in Italy by artisans having over 50 years experience, will give you years of culinary
enjoyment. Follow the below instructions for proper set-up, use, and care of your new wood-fired
oven. We hope you enjoy your new oven creates incredible memories as well as delicious dishes.
Parts
Oven
Roof Panels
Chimney
Chimney Cap
Shelves
Trays
Racks
Pizza Stone
Fire Poker
Assembly
The first step in the assembly of your new oven is to open the plastic wrap surrounding the
oven. Make sure NOT TO USE A BLADE, which can scratch the oven. Once open, you will
notice a tall skinny box, which contains the roof panels. The cart, which is upside down on
top of the oven, must be then carefully removed. WARNING, the cart contains oven parts, so
these must be removed BEFORE cart removal. This process is best done in two. With one
person on either side of the cart, lift straight up (chimney is exposed inside) and over the
chimneystack, and flip so that the cart is sitting on the wheels. Once in place, the cart must be
placed (with handles facing AWAY from oven doors) directly in front of the oven. At this
point your oven should be on the pallet with the roof (insulation) exposed. Now, to lift your
oven you have two options:
Option 1:
Directly behind the chimneystack, and inside of the insulation you will find a cylinder that has
been welded to the oven. One can lift the oven by attaching directly to this cylinder using a
forklift, winch, etc. Making sure NO ONE is underneath the oven slowly lifted off of the
pallet (which is then carefully removed) and roll cart underneath oven. The oven can now be
gently placed onto the cart so that the flanges fit properly (all sides of cart and oven are
FLUSH).!
Option 2:!
First you need TWO pieces of rebar that are at least 12” longer than the width of the oven.
One piece of rebar will be inserted into the square hole at the front bottom of the oven with at
least 6” protruding on each side. The second piece will be inserted into the square holes at
the rear bottom of the oven with at least 6” protruding on each side. The rebar will serve as
‘handles’ in all four corners. Making sure to lift with your legs and not your back, it is best to
have FOUR individuals grab the rebar ‘handles’ and lift carefully. Once in the air, the oven

can be carefully placed onto the cart. The flanges on the cart hold the oven in the proper
position on the cart. ATTENTION!! Be sure the oven fits properly onto the cart with the
sides of the oven and cart matching perfectly.!
Now that your oven is in place on the cart, remove the roof panels from their box. These will
be protected by a rubber film coating, which will need to be removed. At this point, place the
panel (which does NOT have the bent flange at the apex) into place onto the roof and match
up the two pre-drilled holes on the panel and top of oven. Use provided screws to secure the
roof to the oven without tightening completely. Next, take the second panel and perform the
same procedure. At this point, you should have both panels on the roof with second panel
lying over first (FLANGE ON TOP – IMPORTANT!!!). Using a cordless screwdriver, secure
the two panels together with the provided self-tapping screws and do NOT over-tighten. Now
tighten the rest of the roof screws. Place chimney cover onto the chimneystack. The
transformer, which comes with your oven, should be installed (using provided screws), and
can then be plugged up to any normal 110V power outlet. Note – your transformer converts
110V to 12V. Both fan and light require 12V.
Your oven is now completely assembled and is ready for use!!!
First-time Ignition
When firing your oven for the first time, one MUST season the oven properly. This is done,
by building a small fire, and slowly bring it up to temperature by gradually adding larger
pieces of wood. FAILURE TO FOLLOW THESE INSTRUCTIONS COULD
POTENTIALLY RESULT IN DAMAGE TO THE FINISH ON THE OVEN!
DO NOT EXCEED TEMPERATURES OF 600° F DURING SEASONING PROCESS!!!
LOCATE THE FIRE CHAMBER!
Your Fire chamber is located directly BELOW the cooking chamber with the racks. If
looking at the front of the oven, it would be the MIDDLE door.
Begin by placing a bit of your preferred starter (paper, starter blocks, etc.) with small pieces
of kindling on top into your fire chamber. Once lit, add larger pieces of wood (max 3” in
diameter) until you have a nice roaring fire and your temperature reaches 500° F. **Let your
fire burn for approximately 2 hrs, this will ensure that all of the moisture has been evaporated
from inside of your cooking stones.** After this initial warm-up, let your oven cool down
completely.
***THIS WARM-UP PROCESS IS FOR FIRST TIME BURN***
Your oven is now ready for use!!!
Using your Oven
Cooking in a wood-fired oven takes some practice, but once mastered, will result in a culinary
experience like none other.
Lighting your oven - Fire needs oxygen to burn, so make sure your ash tray is free of ash
when you start your fire. A full ash tray can keep the oven from heating properly. The fire
should burn more towards the front of the oven for even heat.

The advantage of a stainless steel domed pizza oven is the incredibly quick heat up time.
Once the fire ignites, add larger pieces of wood until a larger roaring fire is achieved. Fully
opening the slatted door to the fire chamber will allow oxygen to feed the fire while keeping
heat inside the oven. Also, the smoke and heat escape can be adjusted via the damper (handle)
on the chimney. ***When handle is in the HORIZONTAL (pointing LEFT to RIGHT) position,
the chimney is CLOSED. When handle is in VERTICAL (pointing UP to DOWN) position, the
chimney is completely open. *** Once the fire is roaring and temperature starts to increase,
you can partially close the slatted door to the fire chamber, as well as partially close the
chimney damper.
!
***WARNING CHIMNEY IS VERY HOT, DO NOT TOUCH***
***WARNING HANDLE ON DOOR CAN BE VERY HOT, USE HEAT RESISTANT
GLOVE***
Your oven should be ready to use in approximately 45 minutes.
The pizza stones are certified to come in contact with food, so food can be cooked directly on
the stones for authentic wood-fired pizza. Brush any ash residue off the cooking surface
before use.
Keep an active fire in the oven while you are cooking and add wood as necessary.
Cleaning and Care
When finished cooking, simply let your fire burn out and clean out the ash tray (located inside
fire tray) once cool. The inside of the oven can be cleaned with any approved stainless cleaner.
The igniting stage will burn out any impurities in the oven.
It is imperative to use a good stainless steel cleaner to clean your oven as well as using a
solution to protect any stainless that is exposed to the elements. Approved cleaning/protecting
solutions can be purchased via our website www.fontanaforniusa.com. One such kit is the
EMERGO cleaner and protectant solution.
WARNING
Read and follow the Do’s and Don’ts.
KEEP CHILDREN AND PETS AWAY DURING USE. OVEN IS VERY HOT AND HEAVY!!
DURING USE OR WHILE BURNING, DO NOT MOVE OVEN.
USE ONLY HEAT RESISTANT UTENSILS TO PREVENT MELTING.
IF THE FOLLOWING INSTRUCTIONS ARE NOT FOLLOWED WARRANTY WILL BE VOIDED, AND
POSSIBLE FIRE AND HARM COULD ENSUE.!
DO NOT ALTER ASSEMBLY INSTRUCTIONS!

DO NOT BURN MAN MADE MATERIALS SUCH AS PLASTIC PLATES, CUPS, FOOD WRAP, ETC!
DO NOT HANDLE FLAMMABLE LIQUIDS NEAR THE OVEN!
DO NOT BURN COAL, ARTIFICIAL FRIE LOGS, OR OTHER TIPES OF ARTIFICIAL FUELS IN THE
OVEN!
DO NOT BURN ANY TYPE OF ARTIFICIAL FIRE FLUIDS!
DO NOT BURN/BUILD FIRE IN A NON-APPROVED AREA (SEE SPECIFIC MODEL
INSTRUCTIONS)!
DO NOT USE OVEN IN A COMMERCIAL ENVIRONMENT!
DO NOT USE YOUR OVEN INDOORS, IT IS MADE FOR EXTERIOR USE!
DO NOT SET UP OVEN ON AN UNSTABLE OR UNEVEN SURFACE
DO NOT EVER SET UP OVEN IN DIRECT CONTACT WITH COMBUSTIBLE SURFACES.
Warranty Info:
This unit has a ONE year limited warranty against manufacturer defects and a FOUR year
warranty on the dome (Buon Appetito has TWO year warranty). Failure to follow the
instructions above (or warranty exceptions below) will result in a VOIDING of your warranty.
Temperatures MUST NOT EXCEED 600° F during the seasoning process. Flaking or
bubbling of paint could be a direct result of not following these seasoning instructions.
!
Warranty Exceptions
Failure to follow these instructions will VOID your warranty
1. Your oven was not properly assembled according to the instructions.
2. Your oven was not used properly according to uses listed.
3. A fire was built in ANY LOCATION other than where stated in the instructions.
4. If ANY modifications whatsoever were made to the oven. Whether altered physically
where it is no longer in the exact same condition as when it was first received (fresh
from factory).
5. Your oven was damaged or tampered with in ANY way, either purposefully or not.
6. If ANY other material other than dry hard wood was burned in the oven chamber. BY
NO MEANS SHOULD THE FOLLOWING EVER BE USED OR BURNED IN THE
COOKING/BURNING CHAMBER:
a. Artificial fire starter fluids
b. Chemicals
c. Artificial logs, or artificial wood of any sort
d. Coal
e. Any Plastics such as plates, cups, food wrap, or any other man made materials.
7. Any damage resulting from scratching or deterioration from any non-approved
cleaning devices whether chemical, or structurally damaging.
8. Overuse for extended periods of time in a COMMERCIAL environment. These ovens
are made for PRIVATE use NOT for hotels, restaurants, etc.
If you ever run into any issues while your oven is still in warranty, we have access to all
spare parts (within reason), and will ship them immediately (pending availability). Any
repairs or replacement parts not covered under warranty can be ordered via our site
www.FontanaforniUSA.com !

!
!
Table of contents
Other Fontana Forni Oven manuals

Fontana Forni
Fontana Forni BELLAGIO Operating instructions

Fontana Forni
Fontana Forni 8070-1PRO User manual

Fontana Forni
Fontana Forni MAESTRO 40 User manual

Fontana Forni
Fontana Forni FORNO ITALIA Series Setup guide

Fontana Forni
Fontana Forni MAESTRO 60 User manual

Fontana Forni
Fontana Forni PIERO User manual

Fontana Forni
Fontana Forni PIZZA&CUCINA DOPPIO Operating instructions

Fontana Forni
Fontana Forni MARGHERITA 60X60 User manual