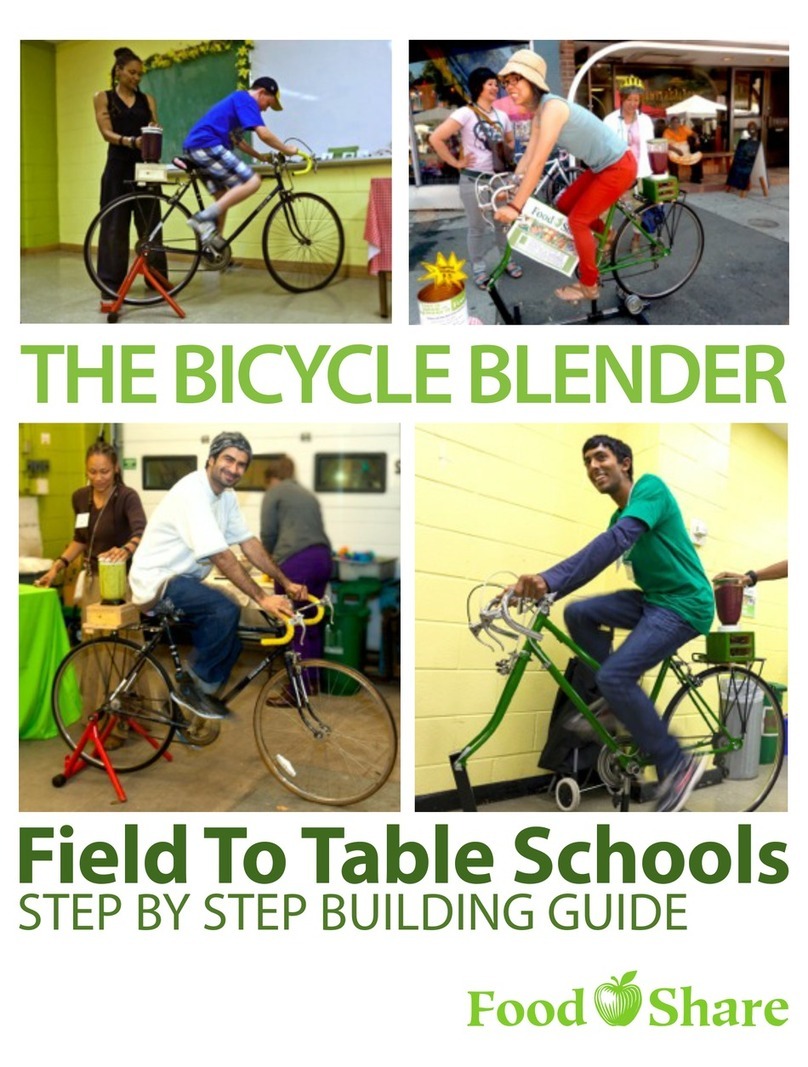
FoodShare Bike Blender Administrator Guide

THIS HOW-TO GUIDE IS EVERYTHING YOU NEED TO
KNOW ABOUT USING FOODSHARE BIKE BLENDERS AND
HOW TO MAKE PERFECT SMOOTHIES AT YOUR EVENT.
FOR RECIPES, ADDITIONAL CURRICULUM IDEAS &
WORKSHOPS, PLEASE REFER TO OUR RESOURCE PAGE
(7).
FOODSHARE.NET @FOODSHARETO FOODSHARETO

1
MAKE SURE YOU HAVE THESE COMPONENTS:
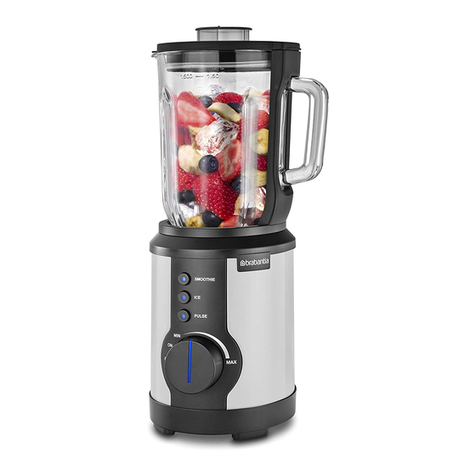
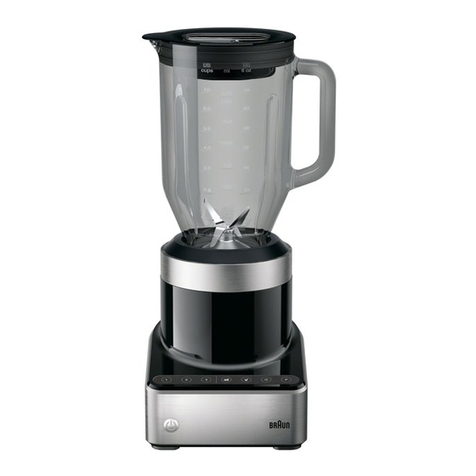
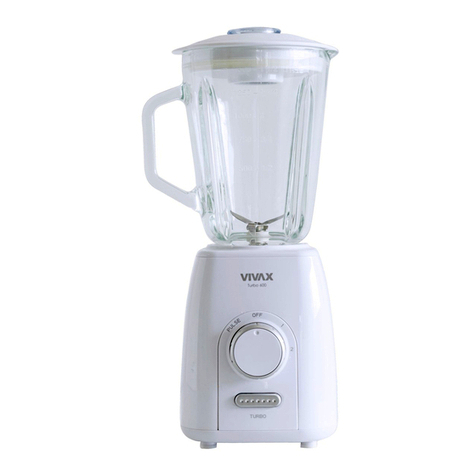
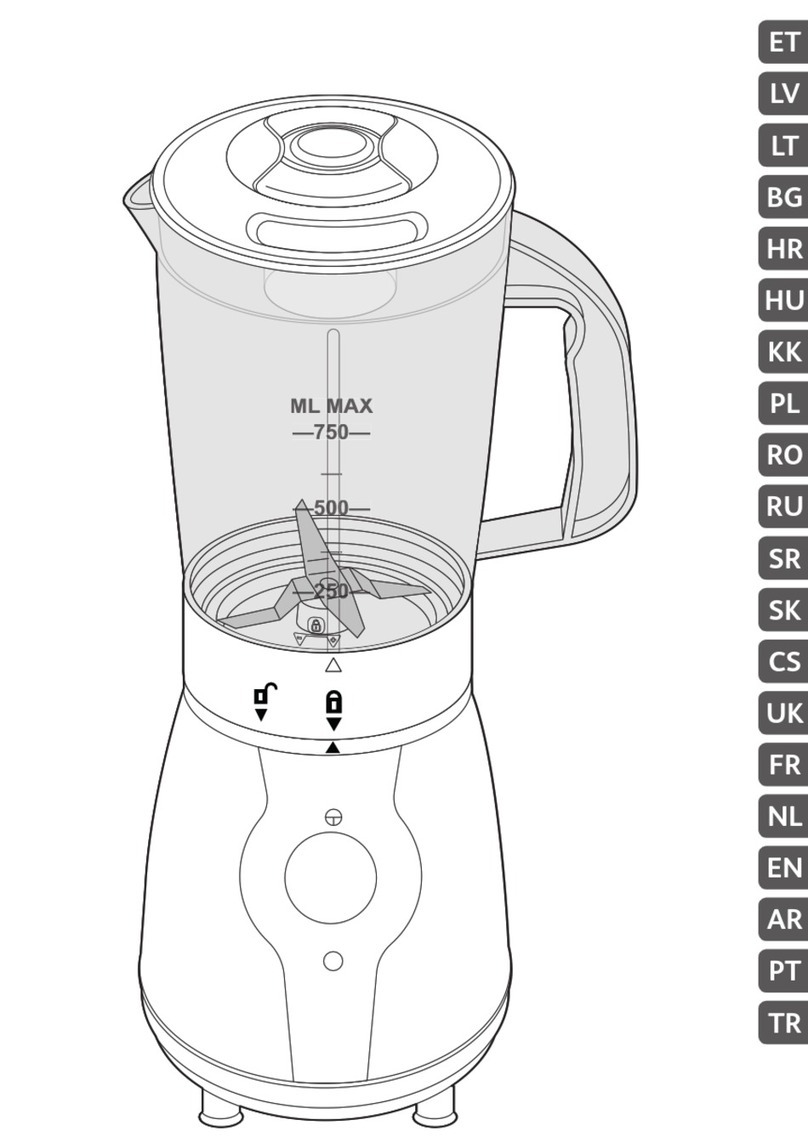
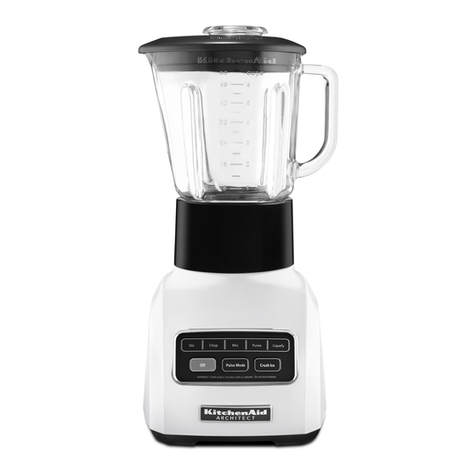
Blender
Jug
x1
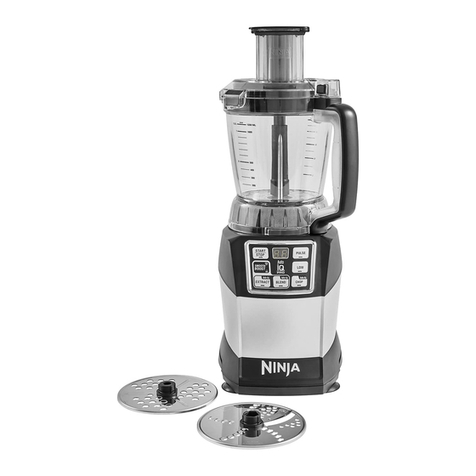
Circular Blender
insert
x1
Blender Friction
Gasket
x1
Adult size bike with rack.
Dimensions: Approx. 3.5ft
height x 6 ft length.
Stationary
Bike Stand
x1
Bag for
Blender
x1
Bicycle
Pump
x1
Child size bike with rack.
Dimensions: 3ft height, 5 ft
length.

2
2. Use the elastic strap to
properly secure the bike stand
to the bike rack.
1. Lift and fold the bike
stand legs inwards.
3. Place the bike on its
side and turn the front
wheel upwards if needed.
4. Make sure the bike is
properly placed and doesn’t
move as you transport it.
1. TRANSPORT BIKE BLENDER IN VEHICLE
REMEMBER:
Be careful when folding the bike stand legs to avoid pinching your
fingers. It is recommended to use a small van or station wagon.
You can also transport the bike on a car or TTC bus bike rack.
Make sure to remove the bike stand prior to placing it on the bike
rack.

3
2. Place hand on handle bar
and hold steady.
1. Ensure that bike stand is
secured by tightening stand
lock on either side of bike.
3. Place one leg over bike and
place both feet on the floor.
4. Lift up to sit on seat and
start pedaling. In minutes,
you will have a delicious
smoothie.
REMEMBER:
Before using the bicycle, make sure that both front and back
wheels are fully pumped. When mounting the bike, it is
important to make sure the bike stand is secured and stable to
prevent participants from falling, getting clothes caught
and/or injuring themselves.
2. MOUNT THE BIKE

4
1. Remove blender jug from the
bag and make sure all the parts
are included.
2. Make sure circular blender
insert and friction gasket
are inside the blender.
3. Place blender jug in assembly,
add ingredients and use the strap
to hold jug down.
4. Clip strap on the bike
blender rail to fully secure.
3. PLACE BLENDER JUG IN ASSEMBLY
REMEMBER:
Ensure that the blender elastic strap is not left loose or hanging
as it may get caught in the bicycle wheel. The blender jug comes
with a circular blender insert and friction gasket. Please ensure
that all parts are placed back into blender bag or left in blender
assembly before returning.

5
1. Bike Blender Smoothie Recipes (download recipes)
Go to your GFM Toolkit: Drink Your Greens, Pgs. 6 -10. Softer fruits are ideal.
Works best when jug is not completely full.
2. Make your own Bike Blender Kit (download kit)
3. Curriculum Workshops (download workshops)
Go to Bike Blended Smoothies (Gr 12) | Smoothie Cards | Green Smoothie Recipe
RESOURCES
CONTACT US
COSTS
Please note that these rates apply to non-profit organizations and
higher rates will apply if you are a for-profit organization. Bike
blender rentals are only confirmed once payment has been received.
We accept cash, credit and cheque. Require payment prior to booking.
$50 3-days
$100 5-days
For more information please
contact us at:
Wynette Tavares
Field to Table Schools Coordinator
416.363.6441 ext. 257
Please note that you are
responsible for pick-up and
drop-off from our hub between
the hours of 9am-5pm,
Monday-Friday.
120 Industry Street – Unit C.
Toronto ON. M6M 4L8

BICYCLE BLENDER PROTOCOL
6
Please refer to this document as a template for your bike blender
activity or event. Follow the instructions below and make sure staff
and management running and supervising the bike blender adhere to all
safety precautions.
Set up:
1. Ensure bicycle is maintained and running in good working order and is
safe before it is sent out to events.
2. Ensure that produce, water, and other consumables for the blender are
edible/potable and meet health department requirements.
3. Ensure bicycle is safely set up and the food serving area meets health
department requirements and is kept clean at all times.
4. Ensure you have a hand-washing station including, at minimum: running
water, a bucket to catch waste water, hand soap and paper towels.
5. Ensure at least one staff has a valid food safety certificate and
carries a card.
6. If staff need direction or if any concerns arise, always call your
assigned supervisor for the event.
At event:
7. Give waiver and safety precautions list to each potential adult
participant. If a child participant, then hand waiver and safety
precautions to the parent/guardian.
8. Have them read both safety precautions and waiver; and sign waiver in
your presence.
9. Ensure form is completed and witness the signature by signing.
10. Ensure someone interprets or explains the form before signing it.
11. If it’s a child participant ensure parent/guardian is present with
the child throughout the activity.
12. Only person/s who have signed the waiver can participate.

7
After waiver is signed but before riding:
Verbally explain to each participant (and parent/guardian) the
following risks:
14. Falling off the bicycle can result in serious or minor injury.
15. Getting loose clothing, hair, jewelery, shoe laces or limbs caught
in the chain, wheel/s or part/s of the bicycle or blender can result in
serius or minor injury.
16. Unforseen mechanical failure of the bicycle or blender can result in
serious or minor injuries.
17. Avoid contact with moving parts. This includes fingers, hands, feet,
toes and/or hair.
Riding:
18. Prepare the blender and ensure it is safe and lid is on tight.
19. Ensure blender is secured and tied down to the bicycle rack with
elastic cord.
20. Ensure, except for parent/guardian, that others stand two feet back
from bicycle.
21. If the crowds are large increase the space you have to over two feet
by asking people to move back.
22. Hold on to blender by its handle being careful not to get too close
to moving wheels.
23. Direct participant to start; and to stop when ready and done.
24. Remove blender if necessary.
25. Ensure participant gets off the bicycle safely.
26. If anything becomes unsafe, immediately stop everything and ensure
participant is off the bicycle.
27. Always keep in mind that safety comes first. Safety of participants,
staff and public.
28. Be observant of what is going on around the area you are operating
the bicycle to ensure all persons are safe.

1. Only one person will ride the bicycle at one given time.
2. If you are the parent/guardian of a child participant you will be with
the child throughout to ensure child’s safety.
3. Participants will follow ALL directions from staff, including when to
GET ON the bicycle, START pedalling, STOP pedaling, and when to GET
OFF the bicycle. You will never ride the bicycle if there is no staff
present.
4. Tell staff if you have any health conditions that prevent you from
riding a bicycle or if you are tired or not feeling well enough to ride
the bicycle.
5. If staff decides you should not ride the bicycle you will follow their
instructions.
6. You will use common sense and not do anything dangerous while riding
the bicycle.
7. If you need clarification about any directions you will ask staff.
I HAVE CAREFULLY READ THIS AGREEMENT AND UNDERSTAND ITS CONTENT. I AM
AWARE THIS IS AN ASSUMPTION OF RISK, WAIVER AND RELEASE OF LIABILITY AND
I SIGN IT VOLUNTARILY. I ALSO UNDERSTAND THAT I SHOULD NOT AND MAY NOT
PARTICIPATE IN THIS ACTIVITY IF I AM UNDER THE INFLUENCE OF ALCOHOL OR
DRUGS.
Participant’s signature Printed name Date
WAIVER & SAFETY PRECAUTIONS FOR PARTICIPANTS
USING BICYCLE BLENDER:
8
Developed With Support From: Created by:
Other FoodShare Blender manuals
