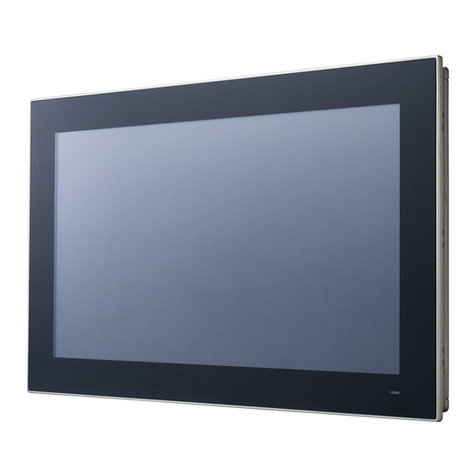
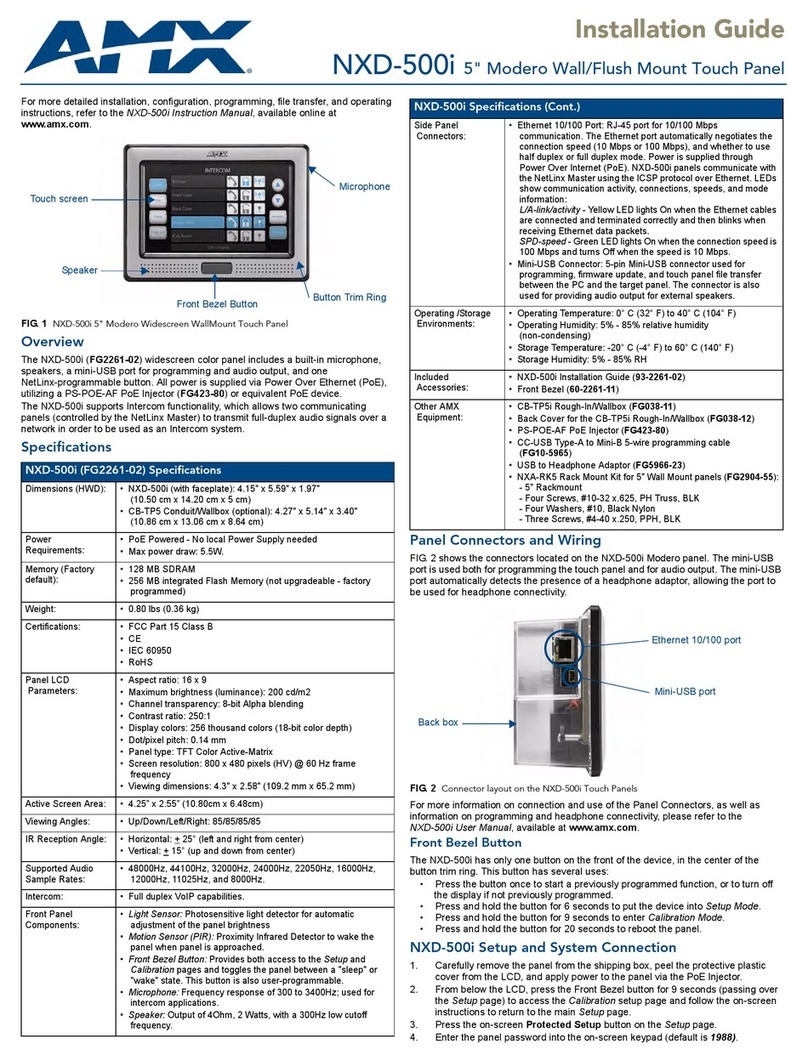
Foresight Sports FTP10 Operating instructions

1 | FTP100 Installation and Operating Instructions Rev. 02
Touch Panel
Installation and
Operation Guide

2 | FTP100 Installation and Operating Instructions Rev. 02
Table of Contents
Safety ............................................................................................................................................................ 3
International Standards: ........................................................................................................................... 4
Safety: ................................................................................................................................................... 4
EMC: ...................................................................................................................................................... 4
Power ........................................................................................................................................................ 5
Installation: ............................................................................................................................................... 5
Cleaning: ................................................................................................................................................... 6
Setup: ............................................................................................................................................................ 7
Provided Contents .................................................................................................................................... 7
Requirements: ........................................................................................................................................... 8
Mounting Instructions .............................................................................................................................. 8
Connecting the FTP100 ............................................................................................................................. 9
Operating Instructions ............................................................................................................................ 11
Troubleshooting ...................................................................................................................................... 11
Specifications .............................................................................................................................................. 12
Display ..................................................................................................................................................... 12
Mechanical .............................................................................................................................................. 12
Electrical .................................................................................................................................................. 12

3 | FTP100 Installation and Operating Instructions Rev. 02
Safety
Notes Cautions and Warnings
This guide contains icons indicating a degree of importance to the user. They are indicated as
follows.
Note: Indicates information the user should consider optimizing use of this device.
Caution: Indicates potential for damage to device. User should follow instructions carefully to avoid
potential problems.
Electrical warning: Indicates potential for damage to device and harm to user from incorrect use of
electrical sources. User should follow instructions to operate device safely and properly.

4 | FTP100 Installation and Operating Instructions Rev. 02
International Standards:
Safety:
(1) UL 62368-1: Ed. 2 - Audio/video, information and communication technology
equipment - Part 1: Safety requirements
(2) EN/IEC 62368-1:2014 - Audio/video, information and communication technology
equipment - Part 1: Safety requirements
EMC:
(1) FCC 47 CFR Part 15, Subpart B – Verification - Title 47: Telecommunication; Part 15—
Radio Frequency Devices.
(2) ICES-003 Issue 6: 2016 - Information Technology Equipment (ITE) – Limits and
methods of measurement.
(3) EN 55032: 2015 + AC: 2016-07 - Information technology equipment Radio
disturbance characteristics. Limits and methods of measurement.
(4) CISPR 32: 2015/COR1:2016 - Information technology equipment Radio disturbance
characteristics. Limits and methods of measurement.
(5) AS/NZS CISPR 32:2015 - Information technology equipment Radio disturbance
characteristics. Limits and methods of measurement.
(6) EN 61000-3-2: 2014 - Limits for harmonic current emissions (equipment input
current ≤ 16 A per phase).
(7) EN 61000-3-3: 2013 - Limitation of voltage changes, voltage fluctuations and flicker
in public low-voltage supply systems, for equipment with rated current ≤ 16 A per
phase and not subject to conditional connection
(8) EN 55035: 2017 - Electromagnetic compatibility of multimedia equipment. Immunity
requirements.
(9) KN 32 - Electromagnetic compatibility of multimedia equipment – Emission
requirements.
(10) KN 35 - Electromagnetic compatibility of multimedia equipment – Immunity
requirements.
(11) VCCI-CISPR 32:2016 - Agreement of VCCI Council - Technical Requirements
(12) CNS 13438: 2006 Class A - Limits and Methods of Measurement of Radio
Interference Characteristics of Information Technology Equipment.

5 | FTP100 Installation and Operating Instructions Rev. 02
Power:
The FTP 100 should only be powered suing the recommend input specification. Failure to
do so may damage the device and prevent proper operation.
The power should be supplied from a grounded source for safety. Failure to do so may
result in electric shock.
Unplug the device during lightning storms or when storing for extended periods.
Do not overload power strips or connectors that this device is connected to. Failure to do
so may result in fire or electric shock.
Be sure that the supply you are using is rated to accept the local AC line voltage and
frequency available to you.
Installation:
Make sure the user is able to lift more than 50lbs. easily before handling the device.
During installation never place the device on anything that cannot support less than 50 lbs.
easily as well.
During installation it is recommended that 2 or more people are available for placement
prior to mounting.
Use the mounting hardware provided or equivalent. Any other hardware or
modifications to use other hardware may damage the device or lead to unsatisfactory
installation.
Allow for adequate space around monitor for air circulation. Failure to do so may lead to
overheating and cause a failure of operation.
Never place monitor on its screen directly unless on a soft scratch free surface to prevent
unwanted damage to the screen.

6 | FTP100 Installation and Operating Instructions Rev. 02
Cleaning:
Only use cleaning agents designed for regular cleaning of LCD screens. Use a soft lint free
cloth in combination.
Never spray cleaning agents directly onto the screen. Always spray liquid onto the cloth
and then begin wiping.
If glue or strong residue which normal LCD cleaning agents are unable to remove exists,
the use of a normal hexane agent is permissible.

7 | FTP100 Installation and Operating Instructions Rev. 02
Setup:
Provided Contents:
FTP100 Touch Panel (1)
Height – 14.37 in.
Length – 22.85 in.
Width – 2.44 in.
Weight – 35.05 lbs.
DIN Supply Output Cable (1)
Length – 15ft.
HDMI to Micro HDMI Cable (1)
Length – 15ft.
USB 2.0 to Mini USB Cable (1)
Length – 15ft.
Mounting Hardware (4)
M8 x 1.25 mm Thread, 20mm
Long screws.

8 | FTP100 Installation and Operating Instructions Rev. 02
Requirements:
1. No. 4 Philips head screwdriver.
2. 1 other person cable of lifting 50 lbs.
The Foresight Sports Touch Panel FTP100 uses a standard 200mm x 100mm VESA mounting
pattern using 8mm screws. To install the FTP100 follow the steps outlined below. In this
example the FTP100 is being mounted to a Foresight Sports bay divider but the application is
universal with a VESA approved mount.
Mounting Instructions:
STEP 1: Route the provide cables (USB, HDMI, Power) to your mounting location to ensure
proper length and at least 1 ft of slack (Fig. 1).
STEP 2: Hold the FTP100 near the mount aligning the screw holes to the holes of the mount.
(Fig. 1) Thread the screws into the FTP100, starting with the top 2. (Fig. 2) Tighten to a snug fit
allowing for slight movement needed to align bottom holes. Thread the remaining screws into
the FTP100 to a snug fit as well. At this point make sure the touchscreen is level and to your
liking. Fully tighten all 4 screws well so that the unit may not be shifted.
Fig 1.
Mounting
holes
Mounting
holes
Cable slack

9 | FTP100 Installation and Operating Instructions Rev. 02
Connecting the FTP100:
STEP 1: Lift the rubber flap (Fig. 3) located at the bottom of the touch panel to access the AC
Power, USB-B Mini and Micro HDMI ports
Top screws
Fig. 2
Fig. 3

10 | FTP100 Installation and Operating Instructions Rev. 02
STEP 2: Connect HDMI to Micro HDMI to the port underneath touch panel.
STEP 3: Connect USB to USB Mini cable from PC to port underneath touch panel.
STEP 4: Connect AC Power cable from 24-volt power source to port underneath touch panel
(red LED indicator light should turn on and fan inside touch panel should begin spinning).
DC Jack
HDMI Port
USB Port
Fig. 4

11 | FTP100 Installation and Operating Instructions Rev. 02
STEP 5: Ensure all cables are seated properly and routed with a 90o bend to the right and
seated in the guides molded on the plastic part of the enclosure.
DONE: Touch panel should now be fully functional.
Operating Instructions:
The FTP100 is designed to use finger touch to interact with the display.
All display settings and touch calibration are optimized out of the box.
1. Once the device is powered on you should see an image on the screen.
2. Touch inputs function like a mouse click:
▪One press = single click
▪Double tap = double click
▪Press, hold and release = right click
▪Press and move = drag and drop
Leaving a static image on the display may cause the image to be burned into the screen.
Be sure that a screen saver or sleep timer is enabled to prevent this.
Troubleshooting:
Problem
Possible Solution
Power LED Is not ON
-Make sure power cable is seated properly on the
FTP100
-Make sure polarity is correct on DIN supply if
used
No image on screen
-Make sure HDMI cable is seated correctly on
FTP 100 and PC sides.
Touch screen not working
-Make sure USB cable is seated properly on
FTP100 and PC sides
Touch calibration seems off
Check to make sure video settings are set to
native resolution (1920 x 1080)

12 | FTP100 Installation and Operating Instructions Rev. 02
Specifications:
Display:
Item Description
Specification
Model Name
FTP100
Screen Diagonal
21.5” (546.85mm)
Active Area
18.74” x 10.54” (476.06mm x 267.79mm)
Pixels H x V
1920(x3) x 1080
Pixel Pitch
274.95µm (per one triad) x 247.95µm
Pixel Arrangement
RGB Vertical Stripe
Display Mode
AHVA, normally black
White Luminance (Center)
1500(cd/m2)
Contrast Ratio
1000:1
Response Time
25msec (typ.)
Colors
16.7 Million
Surface Treatment
Anti-Glare, 3H
Rotation
Unavailable
Display Orientation
Portrait/Landscape Enabled
Resolution
Full HD (1920 x 1080)
Refresh Rate
60Hz
Input Type
mini-HDMI
Mechanical:
Item Description
Specification
Overall Dimensions
22.85” (580.5mm) L x 14.37” (365mm) H x 2.44” (61.9mm) Depth
Weight
35.05 lbs.
Mounting Type
VESA standard
Mounting Hole Spacing
100mm x 200 mm
Enclosure Material
PC-ABS/TPU/Aluminum
Screen Surface Material
Glass
Touch Screen Thickness
6mm
Electrical:
Item Description
Specification
Power Supply
24VDC 2.5A
Operating Temperature
0 -50o C
Operating Humidity
10-90% Relative Humidity
Table of contents
