manuals.online logo
Brands
  1. Home
  2. •
  3. Brands
  4. •
  5. Freecom
  6. •
  7. DVD Drive
  8. •
  9. Freecom TRAVELLER II Series User manual

Freecom TRAVELLER II Series User manual

TRAVELLER II
CD / DVD / CD-RW
COMBO CD-RW / DVD
www.freecom.com
Rev. 122
2
FREECOM Traveller II Series
GB FREECOM Traveller II Series
Port options for the FREECOM drive
Cable II Parallel Cable II USB or Cable II PCMCIA(type II)
(printer port) Cable II IEEE 1394 Cable II CardBus (type II)
Cable II Change Adapter
(only Cable II IEEE 1394 and Cable II Parallel)
Cable II PCMCIA
Cable II CardBus
Cable II USB
(USB port)
Cable II IEEE 1394
(FireWire/i.LINK)
Cable II Parallel
(printer port)
PARALLEL PORT
3
GB
Table of Contents
USERS MANUAL
General Information ....................................................................... page 4
Precaution and operating hints ..................................................... page 9
CHAPTER 1:
Device descriptions ........................................................................ page 10
CHAPTER 2:
Initial Operation,
Installation of Power Module (only Premium) ............................ page 11
CHAPTER 3:
Daily use of the Traveller II ........................................................... page 15
CHAPTER 4:
Installing the Writing Software for the
Traveller II CD-RW / Combo CD-RW / DVD ................................... page 16
CHAPTER 5:
Troubleshooting ............................................................................ page 19
FREECOM Internet Service & Support Hotline ............................. page 21
CHAPTER 6:
Glossary - List of key words ........................................................... page 22
© FREECOM Technologies Berlin
4
FREECOM Traveller II Series
GB
Dear user!
Welcome to the FREECOM TRAVELLER II installation. Before you install the
device, we would like to ask you to read the following items and take them into
consideration.
With the purchase of this device you have aquired a drive that can be connected
to any PC or Mac with the appropriate interface.
FREECOM Technologies Berlin, Germany
www.freecom.com
Warning !
All rights reserved. The products named in this manual are only used for identification
purposes and may be trademarks or registered trademarks of the respective
companies. This device was designed for home or office use.
Warning! This device is equipment complying with EN55022 class A. This equipment
can cause radio disturbances in a residential area. If this is the case, the user has to
take appropriate measures and assume all responsibility and costs for. It may not
be used near or with any life-sustaing systems.
FREECOM Technologies is not liable for any damages that may occur from the use
of a FREECOM system. All rights reserved. We reserve the right to upgrade our
products in keeping with technological advances.
5
GB
System Requirements
The following hard- and software requirements must be fulfilled to ensure
trouble-free operation.
Hardware Requirements
In order to use the FREECOM Traveller II / Traveller II Premium, following
components are needed :
 FREECOM Cable II (Parallel Port, CardBus, USB or IEEE 1394 (FireWire/i.LINK)
depending on the connection type chosen (Cables not included unless
otherwise indicated on the packaging).
Depending on the connection type, a
 parallel / printer port (standard, bidirectional, EPP)
 PCMCIA port (type II)
 USB port
 IEEE 1394 port (FireWire/i.LINK)
 CardBus (type II)
A computer system with the following equipments
- for the Traveller II CD:
 PC from 486DX and higher
 at least 8 MB RAM
 at least one disk drive and a hard disk
- for the Traveller II DVD:
 PC from Pentium II and higher
 at least 32 MB RAM
 at least one disk drive and a hard disk alternatevily
 FREECOM Cabel II PCMCIA / or FREECOM Cable II IEEE 1394
(FREECOM Cable II USB and Parallel do not support movie playback)
 To play back DVD Moviess, a DVD-Movie decoder is needed. This can be a
hardware decoder or a software decoder. Hardware decoders are available
as PCI or PCMCIA card and are available in the computer shop.
 A Software DVD-Movie playback application is included with the Traveller II
DVD drives. We recommend to use this software only on a Pentium II 400 Mhz
with 64 MB RAM or higher.
 This drive is RPC-2 (Regional Protection Coding II) enabled. Your Region will
need to be set before DVD Movies can be played.
Note: Please note that the regional code may not be changed more than
five times.
System Requirements
6
FREECOM Traveller II Series
GB
- for the Traveller II CD-RW:
PC:
 from Pentium I and higher
 at least 16 MB RAM
 at least 40 MB free hard disk space
recommend: Pentium II processor or higher, 32 MB RAM or higher, 800 MB
hard disk space
Mac:
 iMac, iBook, Mac G3/G4 or Power Book G3
(only with FREECOM Cable II USB or Cable II IEEE 1394)
-for the Traveller II Combo CD-RW / DVD:
 see FREECOM Traveller II CD-RW and Traveller II DVD
7
GB
Software Requirements
The FREECOM Traveller II / Traveller II Premium can be used with the following
operating systems:
Note: Compatibility also depends per interface cable. Please check your
cable specifications.
- for the Traveller II CD:
 DOS, Windows 3.x
 Windows 95/98/ME
 Windows NT 4.0
 Windows 2000
- for the Traveller II DVD:
 Windows 95/98/ME
 Windows NT 4.0 (DVD version: data mode only, no DVD Video playback
capability)
 Windows 2000
- for the Traveller II CD-RW:
PC:
 Windows 95/98/ME
 Windows NT 4.0
 Windows 2000
Mac:
 MacOS 8.6.x or higher
(depending on the writing software included. See compatibility table on the
packing)
-for the Traveller II Combo CD-RW / DVD:
 see FREECOM Traveller II CD-RW and Traveller II DVD
Software Requirements
8
FREECOM Traveller II Series
GB
Media Formats
- for the FREECOM Traveller II CD / Traveller II DVD:
The FREECOM Traveller II reads formats according to the model CDs and/or
DVDs, which were written with the following standards:
 MS-DOS data CDs (High Sierra, Mode 1 & Mode 2 complying with ISO 9660)
 Data  CDs (Joliet)
 CD ROM XA
 Mixed Mode CDs
 Kodak Photo CDs (single and multisession)
 UDF (Universal Disc Format)
 Audio CDs
additionaly only for the Traveller II DVD:
 DVD ROM
 DVD Video (see hardware requirements)
 DVD-R, CDI, CD-Midi, CD-R, CD-RW
 DVD Media
- for the Traveller II CD-RW:
The FREECOM Traveller II reads and writes according to the following standards:
 MS-DOS data CDs (High Sierra, Mode 1 & Mode 2 complying with ISO 9660)
 Data  CDs (Joliet)
 CD ROM XA
 Mixed Mode CDs
 Kodak Photo CDs (single and multisession)
 UDF (Universal Disc Format)
 Audio CDs
Mac: Volume, Files & Folders, Mac/ISO Hybrid
The drive can read CD-RW disks, write and rewrite them, additionaly to saving
of data to CD-R media. The capacity of the CD-RW is 650 MB/700 MB. CD-RW disks
are only read-compatible with multiread-capable CD-ROMs, DVD-ROMs as well
as CD-RW drives.
-for the Traveller II Combo CD-RW / DVD:
 see FREECOM Traveller II CD-RW and Traveller II DVD
9
GB
Precaution and operating hints
 The tray of the media can be opened in the following modes with the Eject
button:
- in the running mode (power LED is on)
- Additionaly, the tray can be opened at any time by cautious insertion and
pressing the emergency-eject (e.g. with a pointed object like a bent
paper clip).
 The Traveller II should be operated in horizontal state. It should not be
moved during operation.
 Operating the device should only take place within temperature ranges of
5  50 °C.
 After transporting the device, especially by very low outside temperatures,
condensed water could be formed which can influence the operating mode.
Therefore Traveller II and media are to be used after it has gradualy attained
room temperature.
 The Traveller II should not be used in dusty and humid surroundings.
 Use only the original FREECOM AC adapter (FFREECOM Art No 15867). The
use of other AC adapters may damage your Traveller II or its Power Module.
FREECOM refers the right to refuse any warranty claim in case other AC
Adapters have been used.
 Avoid places close to a heat source
 Never move the drive while operating and allow at least 30 seconds spin
down time after after you switched of the device.
 Avoid drive contact with any liquids
 To clean the Traveller II use a non-corrosive, clean and dust free soft
cleaning rag
 Use only genuine mains Cables, otherwise the function of the charge-
switching will be influenced, which can cause damage to the Power Module
as well as the drive.
 The Traveller II should not be operated near strong electromagnetic radiation
source (loud speakers, mobile phones etc.)
only Cable II Parallel:
Trouble-free operation cannot be ensured with dongles because the printer
port signals often interfere with the dongle or the drive.
 Please do not use FREECOM systems in conjunction with manual switch boxes
for the printer port. Many of these devices cause voltage spikes during
switching which may damage the electronic components in the FREECOM
system.
only Premium:
 Do not operate the Traveller II with other batteries apart from the original
ones.
 During longer periods of non-operating, the batteries in the Power Module
should be removed from the device.
Precaution and operating hints
10
FREECOM Traveller II Series
GB
1
CHAPTER 1: Device descriptions
The picture underneath will tell you clearly what the functions of the buttons,
leds etc. are.
Traveller II Premium (Backside):
On page 12 you will find the explanation about the Power Module.
5
6
3 4
7
1
2
8
9
CD-eject button
LEDs of the operation status
Cable II connector
Foot
Power Module
Switch
Power Module with Accu
1 tray
2 access indicator
3 CD-eject button
4 emergency eject
5 Audio out (line out)
6 Cable II connection
7 power cord connection
8 LED 1 (of the operation status)
9 LED 2 (of the operation status)
11
GB
2
CHAPTER 2: Initial Operation  short description
Traveller II
Switch off the computer and all other devices.
1. Connect the drive plug of the FREECOM Cable II with the Traveller II.
2. Connect the other part of the FREECOM Cable II to your PC/Notebook.
3. Connect the delivered mains-cable to the mains socket of the FREECOM drive
and then connect the mains plug into the socket.
4. Switch on the computer and all other devices.
5. Begin with the software installation.
Further installation has to be taken from the respective FREECOM Cables II
manual.
Drive plug
Cable II PCMCIA (type II)
Cable II CardBus (type II)
Cable II USB
(USB port)
Cable II Parallel
(printer port)
Cable II IEEE 1394
(FireWire/i.LINK)
B
Initial Operation  short description
12
FREECOM Traveller II Series
GB
2
Traveller II Premium
Switch off the computer and all other devices.
1. Plug the Power Module on the backside of the Traveller II.
Note: Before your FREECOM Traveller II Premium will work properly, a
battery must be inserted in the power module. This also applies when
the device is operated with a power pack.
When using a drive with batteries, it should be charged before operating the
first time! Use only the battery delivered with your FREECOM Power Module.
2. Connect the drive plug of the FREECOM Cable II with the Traveller II.
3. Connect the other part of the FREECOM Cable II with your PC/Notebook.
4. Connect the delivered mains-cable to the mains socket of the FREECOM drive
and then connect the mains plug into the socket.
5. Switch on the computer and all other devices.
6. Begin with the software installation.
Further installation has to be taken from the respective FREECOM Cables II
manual.
Click on!
Push
down!
Slip
on!
m
!
6
6
13
GB
2
PCMCIA / CardBus
-Drive power from
notebook + battery
(Battery buffers
power fluctuations
from notebook)
-Battery recharges
(when drive is in
standby mode)
- Power pack in use
- Battery recharges
(when drive is in standby mode)
- Battery in use
- Battery does not recharge
Switch
setting
Ext.
Power
Batt.
only
No power pack With power pack
USB / Parallel / IEEE1394 USB/Parallel /IEEE1394/PCMCIA/CardBus
2.1 Traveller II Premium Power supply via Power Module
WARNING! Before inserting the battery, make sure that the device is
disconnected from the external power supply. Otherwise, the drive
may be damaged.
The external power supply may be any of the following:
 Power pack and/or
 Notebook/PC voltage (only with cable II PCMCIA or CardBus)
Only Cable II PCMCIA/CardBus: If the device is operated with a battery and
the power supply switch is set to "Ext. Power", the device receives power
from both the battery and the external power supply (PC/Notebook). The
battery serves as a power buffer in case the drive requires more power than
the external source can supply.
Note: If the switch is set to "Batt. only", the device is only receives
power from the rechargeable battery and no power is drawn from the
notebook/PC.
Description of switch settings
Traveller II Premium Power supply via Power Module
Ext. Power nBatt. only
14
FREECOM Traveller II Series
GB
2
2.2Traveller II Premium: LED mode of the drive
The LEDs on the device indicate the operating mode:
LED 1 indicates that the device is connected to the external power supply. The
battery will be recharged.
LED 2 indicates that the device is in operation mode and connected to the PC/
notebook. LED2 is off when the device is not in operation, i.e. not connected
with the PC/notebook.
Remark: For charging the battery it is necessary that
1. the external power supply is connected to the device,
2. the FREECOM cable is connected to the device, but not to the
PC/notebook. The battery should be charged for at least about five to six
hours.
LED mode (Premium version)
LED Mode Description
LED 1 ON External power supply is connected to
device, battery will be recharged.
LED 2 ON Device is in operation mode and connected
to PC/notebook.
pic. 1 LED 1 LED 2
15
GB
3
CHAPTER 3: Daily use of the Traveller II
The FREECOM drives are just as easy to use as an internal CD-ROM, DVD-ROM or
CD-RW device.
One big advantage of FREECOM devices is their portability. By connecting to the
Cable II interface, it is very easy to use the drive with various computer systems.
All you have to do is install the driver on each system as described in the users
manual for the Cable II. In order for the FREECOM drive to be correctly
recognized, you must reboot the system.
To insert and remove media (CDs, DVDs, CD-Rs, CD-RWs), press the eject button.
It is only active when the drive is ready for operation.
When inserting the medium, please make sure that the printed side is facing up.
The medium must be pressed down gently.
Do not touch the bottom side of the medium. Fingerprints can lead to read errors
or even make your medium unusable.
Operation of the Traveller II
A FREECOM drive is seen by the operating system as a write-protected disk, so
that the familiar commands such as DIR, TYPE etc. can be used. A special driver
for Windows 3.x is therefore not required.
To access Photo CDs you need special programs which you can order from your
software dealer.
To play audio CDs you can use the Media Player under Windows 3.x, Windows
95/98/ME or Windows 2000 CD player or the DOS program CDPLAYER.COM.
Daily use of the Traveller II
16
FREECOM Traveller II Series
GB
4
ONLY TRAVELLER II CD-RW AND COMBO CD-RW / DVD
CHAPTER 4: Installing the Writing Software
After installing the Cable II software, your FREECOM Traveller II drive is now able
to read CD-ROMs.
To record a blank CD, you must first install the writing software (for the
mastering or the packet writing procedure). We recommend using the software
which has been provided with your drive.
The installation guide for the software is supplied with the CD. After installation,
the drive is fully operational.
Note: If you wish to use other software, please find out from the
supplier whether his products support the FREECOM Traveller II CD-RW
/ Combo CD-RW / DVD.
4.1 Special Instructions before Writing a CD
 You should realize that writing CDs is principally a sensitive data transmission
procedurewhichcanbedisruptedbyeventhesmallestmechanicaldisturbance.

Never clean the CD-R, CD-RW drive with a commercially available CD or a CD-
ROM cleaning set. This can damage the drive.
 Recordable and Rewritable CDs (blanks) are more sensitive than commercially
available CDs. Use only a solvent-free, non-abrasive marker when writing on
a CD.
 Do not stick any conventional labels on the CD-Rs/CD-RWs, since the adhesive
can attack the medium. Special labels for CD-R/CD-RW media are available in
retail computer stores. Never remove a label from a CD-R/CD-RW media
otherwise you will damage the protective layer and make the CD-R/CD-RW
unusable.
 The drive recognizes the medium as soon as it is placed into the drive. CD-R/
CD-RW media are compatible with the vast majority of CD-ROM drives and
CD audio players and work in most DVD-ROM drives.
Recommendation: For optimal results, use FREECOM blank CDs or those
with a brand name.
17
GB
4
4.2 Preparing to write a CD
Before creating a CD:
1. By clicking "Start" - "Programs" - "Accessories" - "System Tools" -"Scandisk"
check your hard disk with the Scandisk program.
2. By clicking "Start" - "Programs" - "Accessories" - "System Tools" - "Disk
Defragmenter" defragment your hard disk.
Note: Under Windows NT 4.0 you will need an additional software tool
for Defragmentation.
other preparations:
 No sleep mode setting / no multitasking
 Closing all open windows and other running programs (Anti Virus)
 Deactivating automatic recognition of CDs
(in the Device Manager under Windows 95/98/ME/2000)
 Deactivating the screen saver
 Log out of the network before starting the writing procedure (if applicable)
 Deactivate your modem
Note: (only Cable II Parallel) When writing at 4x speed, please observe
the aforemetioned steps. The Cable II Parallel also requires a faster EPP
mode.
4.3 Procedure for writing CDs
There are two procedures for creating and writing your CDs.
Mastering Packet Writing
4.3.1 The Mastering procedure
is a process for creating data CDs and Audio CDs. Data is compiled onto a "Master
CD" in one (session) or several (multisession) writing procedures. During these
procedures, the data is made compatible according to various industry norms,
allowing for example, audio CDs to be read by any CD player. The standards for
new technology (for CD, video etc.) are prepared for data storage in special
readable formats. Special programs such as "Easy Creator", WinOnCD,
CEQuadrat ToGo!, Nero BurningROM are necessary to convert data into
these specified formats. These types of programs are necessary for writing data
CDs in ISO 9660 and Joliet formats as well as for writing audio CDs, Mixed Mode
CDs and Photo CDs.
Note: Data CDs in Joliet format are only readable under Windows 95/98/
ME/2000 and Windows NT 4.0.
Preparing to write a CD
18
FREECOM Traveller II Series
GB
4
4.3.2 The Packet Writing procedure
can be used to create CDs without starting a special mastering program
beforehand. The Packet Writing procedure allows you to use blanks in
combination with the Universal Disc Format (UDF) as an additional hard disk or
floppy disk. Standard software for packet writing e.g. Direct CD (Roxio).
You can write files directly from any Windows application (e.g. WinWord) to the
CD using the same procedure as when writing to the hard disk. You can also copy
files to the CD using Windows explorer.
Note: We recommend using the software which has been provided with
your drive. If you wish to use other software, please find out from the
supplier whether his products support the FREECOM Traveller II CD-RW
/ Combo CD-RW / DVD.
Afterwards, you can start the writing procedure by simply dragging the file to
be written in the Explorer/File Manager (Drag&Drop Principle), assuming there
is a UDF-formatted blank disk in your CD-RW drive.
A medium can only be written once with the CD-R drive and previously written
files can be deleted but not overwritten. The great advantage of the CD-RW
drive in conjunction with a CD-RW medium is that it allows you to rewrite the
medium.
Note: Please note that the mastering procedure and the packet writing
procedure can only be used seperately, therefore a mixing of these
procedures on one CD-RW is not possible.
4.4 Peculiarities when writing audio CDs
Please note that some older CD player models principally cannot read self-
written CDs.
Note: Audio files must have the proper format (stereo, 16 bit and 44.1
Hz sampling frequency) and must be supported by the writing software,
for example, *.wav. Some programs offer conversion functions.
Soundcards and the software that come with them can also be used.
Please note that *.wav files cannot or have supported formats such as:
mono, 8 bit.
19
GB
5
CHAPTER 5: Troubleshooting
General problems (depending on the type of connection)
If you still have problems getting your FREECOM drive to function properly
despite having installed it correctly, then please check whether
 the Cable II is properly connected to your FREECOM drive
 the drive is being supplied with power
 the tray can be opened and closed
 your system meets the hardware requirements (see pages 5/6)
Note: If the power supply of the Traveller II takes place via the Card Slot
of the computer, please use at first the enclosed power cord if problems
arise.
4.5 Making Data or Audio CDs
The easiest way to make an audio or data CD is using the "CD Guide". The "CD
Guide" appears when you first start "Easy CD Creator" and guides you step-by-
step to make a simple data or audio CD.
Note: Detailed information on working with Easy CD Creator is to be
found in the enclosed brief descriptions and in the software's Help
Topics on the CD-recording software CD.
Making Data or Audio CDs
20
FREECOM Traveller II Series
GB
5
Should your computer cause problems when you attempt to install software,
 do not use any memory manager such as QEMM
 disable the systems Power Management.
 check if all the requirements contained in the instructions on the disk have
been fulfilled.
 check if the FREECOM device is properly connected to the Cable II
 check if the drive is being supplied with power when you boot your system
If audio playback does not work, please check if
 the loudspeaker is properly connected
 the Cable II are firmly connected
 the loudspeaker control on the amplifier or on the active loudspeakers is
correctly set
 the audio software is correctly installed
Note: Please note that CD-RW drives (FREECOM Traveller CD-RW / Combo
CD-RW / DVD) must never be cleaned with a lens cleaning set!
In addition, for the parallel port
 Use a slower transmission mode (EPP)
 If possible, switch the parallel port to another mode or to another address.
 Check if the Cable II is plugged in correctly. The Cable II must not be too loose.
If the printer is not working correctly, please check if
 the printer has been properly connected
 the FREECOM System was switched on
 the printer software is set to unidirectional communication
Note: When installing a printer for the first time under Windows 95/98 and
DOS/Windows 3.x, the printer should be directly connected to the PC.

Other Freecom DVD Drive manuals

Freecom DVD RW Recorder User manual

Freecom

Freecom DVD RW Recorder User manual

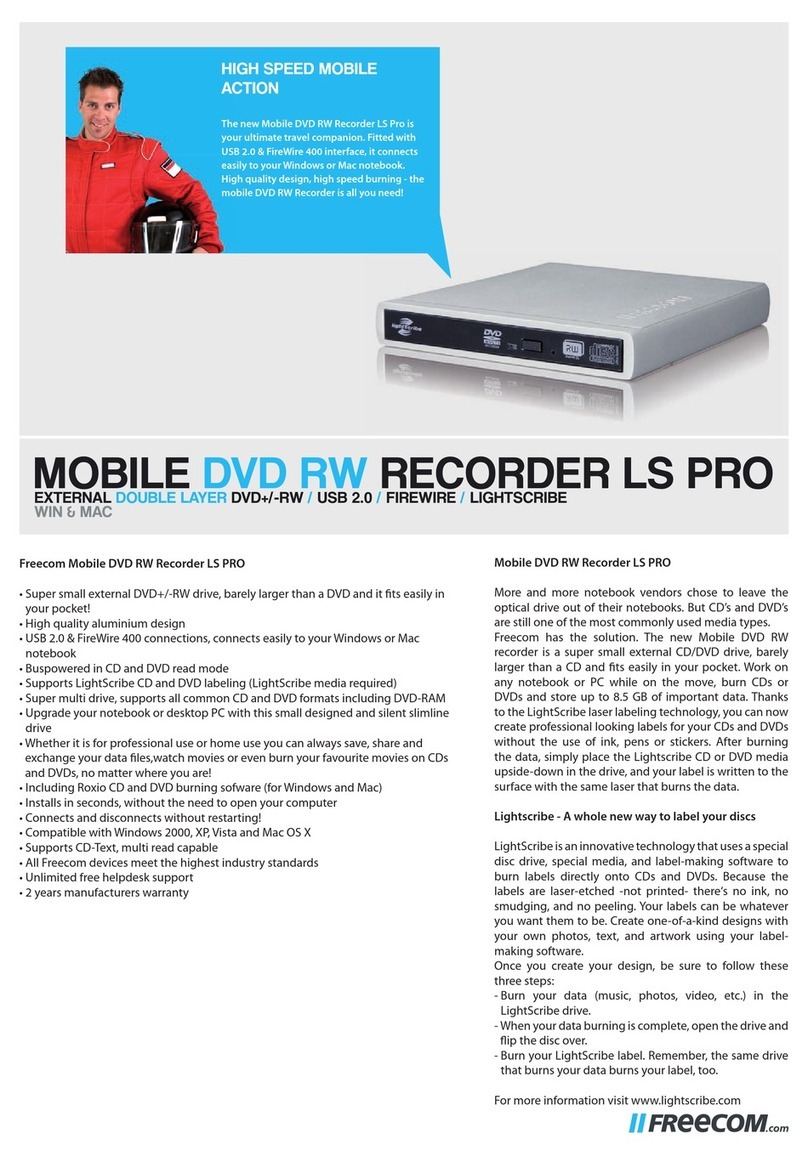
Freecom MOBILE DVD RW RECORDER LS PRO User manual

Freecom

Freecom MOBILE DVD RW RECORDER LS PRO User manual

Freecom MOBILE DVD RW II User manual

Freecom

Freecom MOBILE DVD RW II User manual

Freecom MOBILE DVD RW RECORDER LS PRO User manual

Freecom

Freecom MOBILE DVD RW RECORDER LS PRO User manual

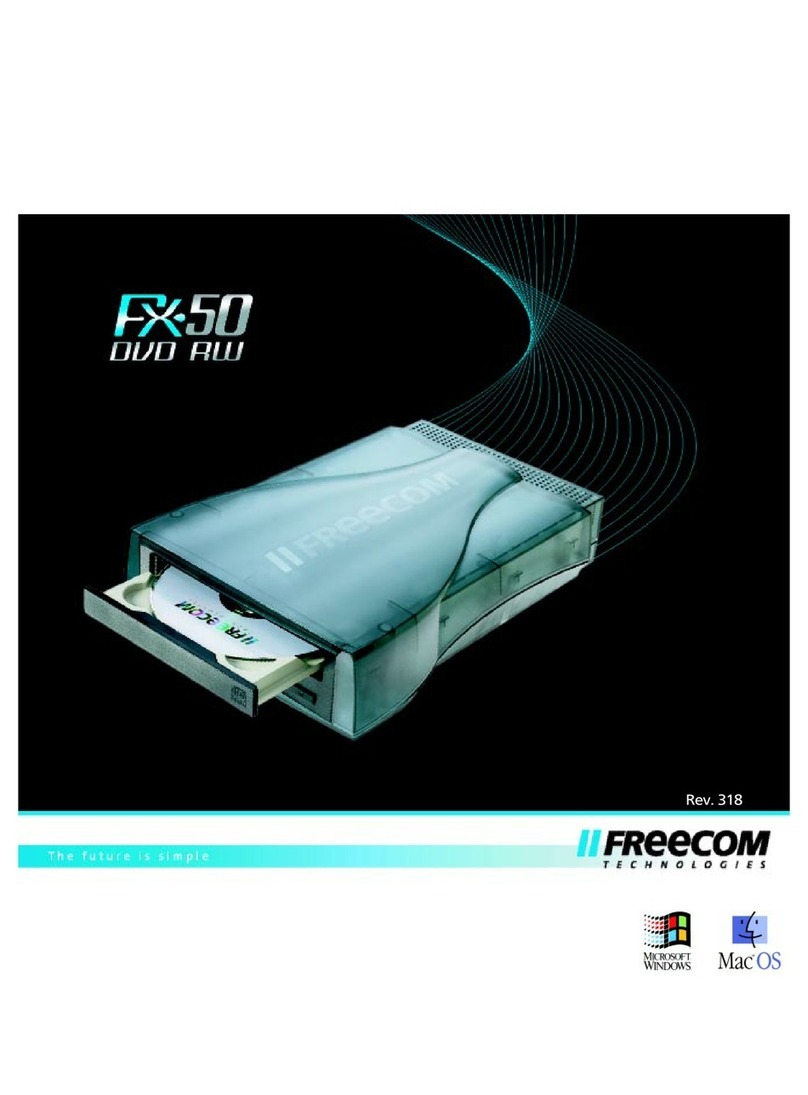
Freecom FX-50 User manual

Freecom

Freecom FX-50 User manual

Freecom FX-5 User manual

Freecom

Freecom FX-5 User manual

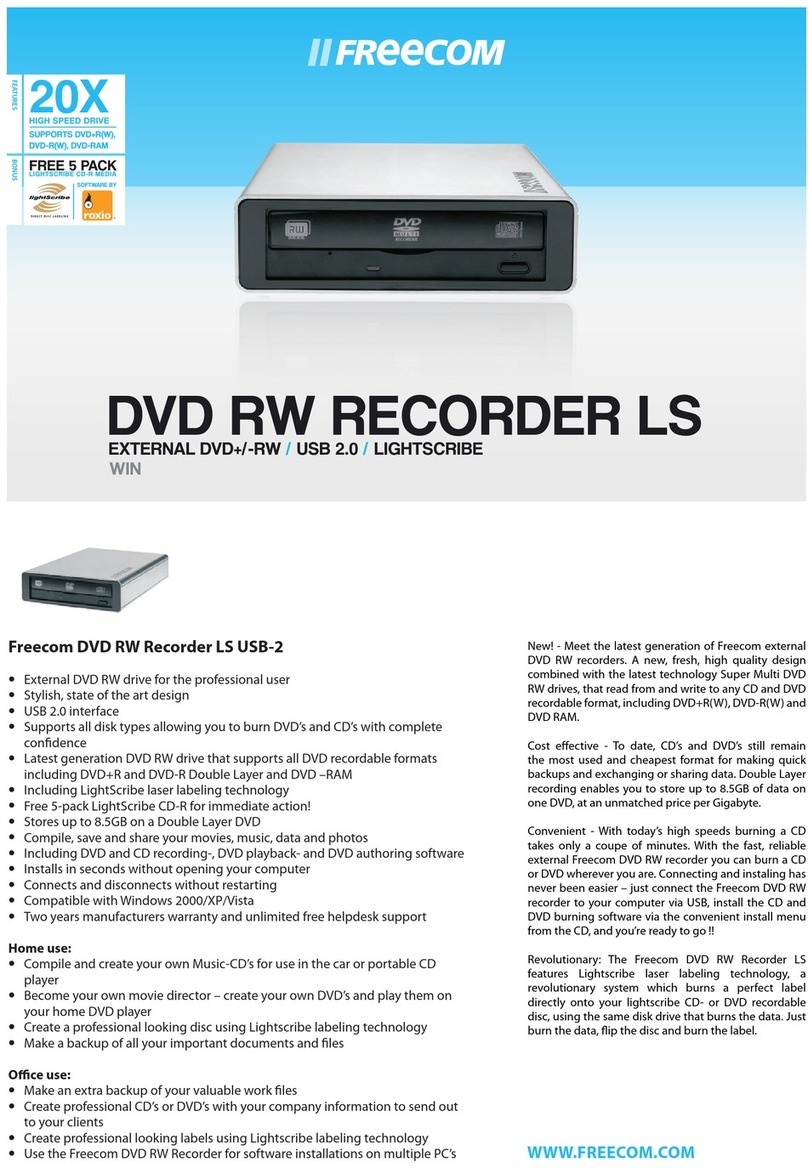
Freecom DVD RW Recorder LS User manual

Freecom

Freecom DVD RW Recorder LS User manual

Freecom MOBILE DVD RW RECORDER LS User manual

Freecom

Freecom MOBILE DVD RW RECORDER LS User manual

Freecom DVD RW Recorder User manual

Freecom

Freecom DVD RW Recorder User manual

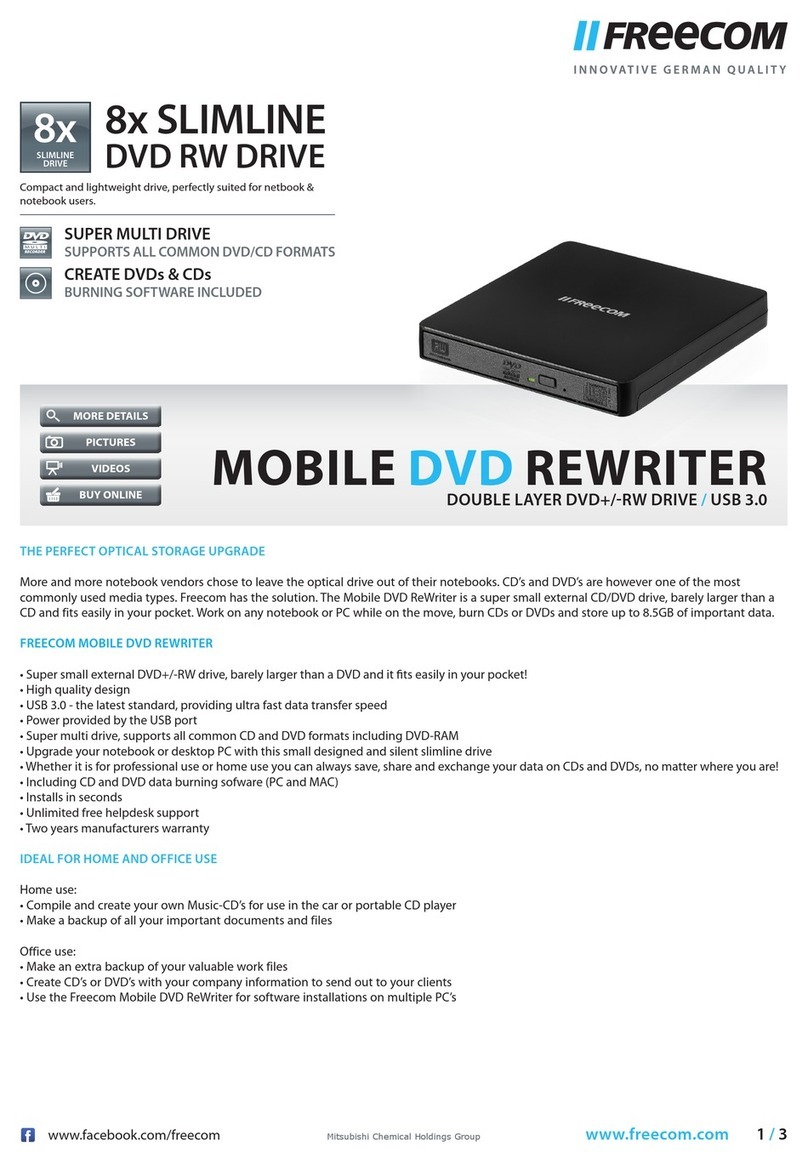
Freecom MOBILE DVD REWRITER Installation guide

Freecom

Freecom MOBILE DVD REWRITER Installation guide

Freecom FX-50 User manual

Freecom

Freecom FX-50 User manual

Popular DVD Drive manuals by other brands

Toshiba SD-R6572M user manual

Toshiba

Toshiba SD-R6572M user manual

Sony VAIO PCGA-CDRW52 Service manual

Sony

Sony VAIO PCGA-CDRW52 Service manual

Lenovo ThinkCentre 41N5583 user guide

Lenovo

Lenovo ThinkCentre 41N5583 user guide

LG GDR-8162B Specifications

LG

LG GDR-8162B Specifications

Fujitsu DynaMO MCM3 AP Series Quick install card

Fujitsu

Fujitsu DynaMO MCM3 AP Series Quick install card

Lenovo ThinkPad Ultrabay 9.5-mm DVD Burner IV user guide

Lenovo

Lenovo ThinkPad Ultrabay 9.5-mm DVD Burner IV user guide

3Q Portable Optical Disc Drive user manual

3Q

3Q Portable Optical Disc Drive user manual

Toshiba C2402 - SD - DVD-ROM Drive user manual

Toshiba

Toshiba C2402 - SD - DVD-ROM Drive user manual

LG GMA-4020B Specifications

LG

LG GMA-4020B Specifications

Pioneer DVR-115D Series user manual

Pioneer

Pioneer DVR-115D Series user manual

Teac DV-LC140 Product information

Teac

Teac DV-LC140 Product information

Hitachi GD8000 user guide

Hitachi

Hitachi GD8000 user guide

Philips SPD2415BD Specifications

Philips

Philips SPD2415BD Specifications

Lenovo DB80 user guide

Lenovo

Lenovo DB80 user guide

Panasonic CF-VDR282 operating instructions

Panasonic

Panasonic CF-VDR282 operating instructions

Creative PC-DVD 5x Drive Dxr2 Decoder Card user guide

Creative

Creative PC-DVD 5x Drive Dxr2 Decoder Card user guide

Amacom Technologies BABY user manual

Amacom Technologies

Amacom Technologies BABY user manual

Panasonic VWBN2 - PORTABLE DVD BURNER operating instructions

Panasonic

Panasonic VWBN2 - PORTABLE DVD BURNER operating instructions

manuals.online logo
manuals.online logoBrands
  • About & Mission
  • Contact us
  • Privacy Policy
  • Terms and Conditions

Copyright 2025 Manuals.Online. All Rights Reserved.