Freetime IBIZA User manual

Check all packaging before discarding.
Be sure all parts identified in the assembly manual
are included.
Don't assemble if parts are missing.
If you are missing parts or have questions please
contact our toll free line at 1-888-620-6088.
Freetime Fun
1830 E. Fabyan Pkwy.
Batavia, IL 60510
www.freetimefun.com
BEST IN GAMES, SAUNAS,
POOL AND PATIO
8' X 10' MARKET UMBRELLA WITH SOLAR LED LIGHTS
IBIZA
UM8100-BLUE / UM8100-GREY / UM8100-SAND
5YEAR COLORFAST GUARANTEE
YEAR
YEAR
F
U
L
L
W
A
R
R
A
N
T
Y
2
Please read and understand this entire manual before attempting to assemble or install the product.
• Assemble on a soft, non-abrasive surface.
• Two adults may be required for safe assembly.
• Do not leave the umbrella open during high winds. Fully close the umbrella during windy conditions.
• When not in use, keep the umbrella closed.
SAFETY INFORMATION
Your Ibiza umbrella is made using only the highest quality materials. It is backed by a 5-Year
colorfast guarantee on the fabric and a 5-Year warranty on the rest of the umbrella.
Before beginning assembly of the umbrella, make sure all parts are present. Compare parts with
package contents list.
If any parts are missing or damaged, do not attempt to assemble the product.
Estimated Assembly Time: 5 minutes.
No tools required for assembly.
PREPARATION
Proper care of your market umbrella will give you years of enjoyment.
TO KEEP YOUR MARKET UMBRELLA LOOKING LIKE NEW:
• Fabric and frame should be cleaned often with a sponge and water.
• Stubborn stains may require warm soapy water applied with a soft brush.
• Do not use harsh or abrasive solvents.
• Allow a wet canopy to dry while in open position.
• Store the product indoors in a cool, dry place in the o season.
CARE AND MAINTENANCE
5-Year warranty on umbrella pole, ribs, and crank
mechanism. Umbrella working parts to be free of defect
when in normal use for 5 full years.
Top quality solution dyed acrylic fabric is
guaranteed fade free for 5-Years.
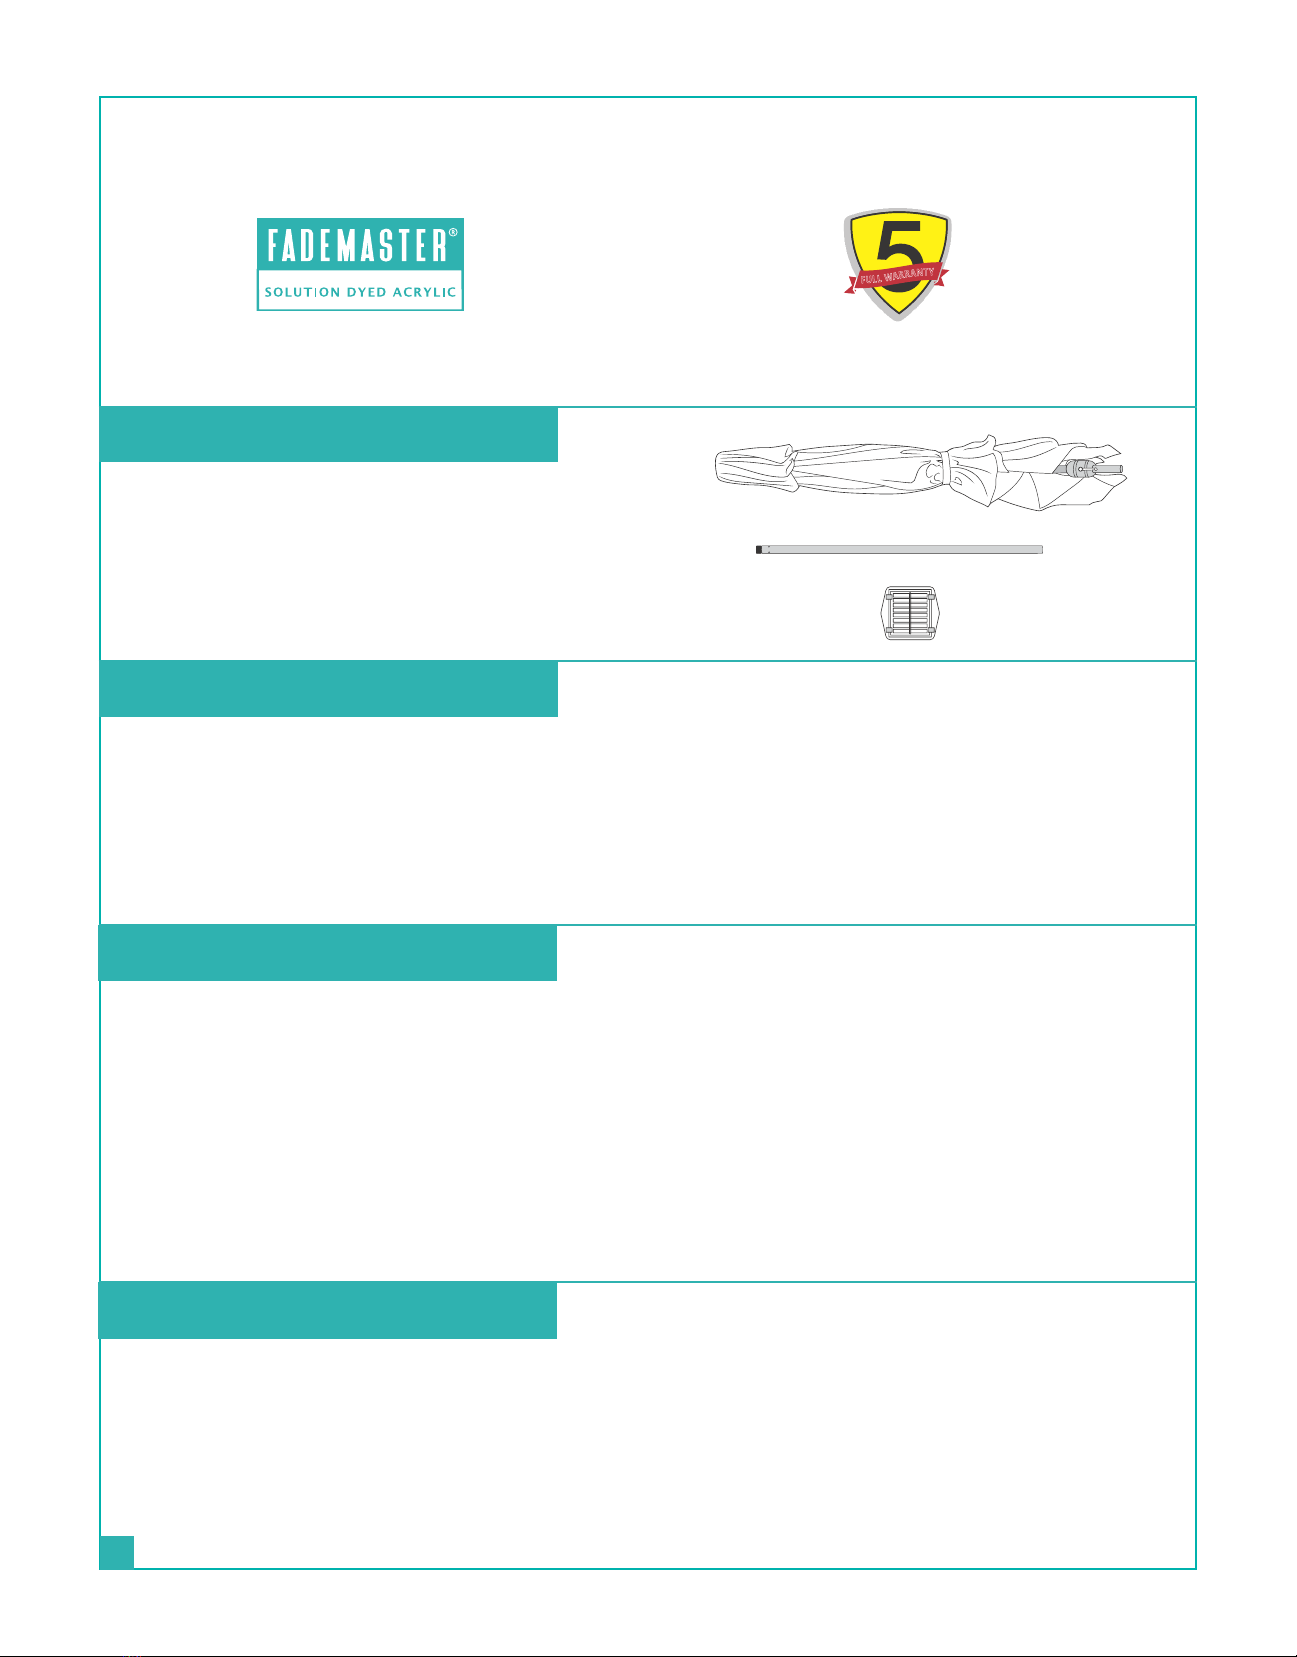
A - (1) Canopy / Main Frame
B - (1) Bottom Pole
C - (1) Solar Panel
PACKAGE CONTENTS A
B
C
YEAR
YEAR
F
U
L
L
W
A
R
R
A
N
T
Y

3
ASSEMBLY INSTRUCTIONS
1
3
2
4
SET UP:
1. Carefully remove umbrella from carry bag. Screw bottom pole (B) into canopy/main frame pole (A).
2. Connect the solar panel (C) on the top of the canopy/main frame. Firmly, but carefully, connect the plug on
the solar panel with the socket on the top of the umbrella. Do not pull on wires as doing so may permanently
damage the connections.
3. Align the notches on the solar panel with the grooves on the top of the umbrella, tuck the plug and wires
inside the hollow space. Turn the solar panel clockwise to lock into place. DO NOT OVER-TIGHTEN.
4. Before the rst use, ensure the solar panel receives at least 8 hours of direct sunlight to charge the batteries.
Solar panels will not function in the shade.
OPENING UMBRELLA:
1. Turn the crank handle clockwise to open umbrella to its fully open position Crank will click when opening the
umbrella. Crank won't click when lowering the umbrella.
OPERATING SOLAR LED LIGHTS:
1. Put the umbrella under direct sun for 8 hours to fully charge the solar battery.
2. Turn on the lights by using the switch near the crank house. The fully charged battery will last up to 5 hours.
3. Turn o the lights when not in use.
CLOSING UMBRELLA:
1. Turn crank handle in counter clockwise direction to close umbrella.
2. Secure the canopy with the attached strap.
UMBRELLA SOLAR CELLS MUST RECEIVE DIRECT SUNLIGHT IN ORDER TO CHARGE THE LED'S BATTERIES. SOLAR LIGHTS WILL
NOT OPERATE IF SOLAR CELLS ARE IN THE SHADE.
REMOVE THE PLASTIC FILM ON THE SOLAR PANEL. FAILURE TO REMOVE THE FILM WILL RESULT IN THE SOLAR PANEL NOT
FUNCTIONING PROPERLY.

4
TO ORDER REPLACEMENT PARTS
VISIT OUR WEBSITE
WWW.FREETIMEFUN.COM
BATTERY REPLACEMENT
Tools required: Phillips screwdriver (not included)
1. Twist the solar panel counterclockwise and gently lift the panel o the umbrella. Take care not to pull on
the wires.
2. Carefully disconnect the plug from the socket by pressing the tabs surrounding the connection point.
Pull apart by holding the plug. Never pull the wires.
3. Place the solar panel face-down on a soft, clean surface. Remove (3) screws from the bottom of the panel.
4. Carefully lift the bottom of the panel, ensuring the wires remain intact. Gently remove the old batteries.
Pay attention to the positive and negative terminals, then insert new batteries.
5. Carefully place the bottom of the panel and align the screw holes. Secure the panel with the screws being
removed in step 3. DO NOT OVER-TIGHTEN THE SCREWS AS THEY WILL STRIP THE PLASTIC HOLES.
JBATTERY INFORMATION:
• Change the batteries in the solar panel every year or when the lights output is diminished.
• Only install new batteries of the same type into the solar panel; (3) 'AA' Ni-MH 2000mAh rechargeable batteries.
• Failure to insert batteries in the correct polarity as indicated in the battery compartment, may shorten the life
of the batteries or cause batteries to leak.
• Do not mix old and new batteries.
• Do not mix Alkaline, Nickel Cadmium or Lithium rechargeable batteries.
• Recycle batteries in accordance with local laws and regulation.
1
3
2
4 5

5-YEAR LIMITED WARRANTY
This product is warranted to the original purchaser to be free from defects in material
or workmanship for a period of 5-Years from the date of the original retail purchase.
This product is backed by a 5-Year colorfast guarantee on the fabric to the original
purchaser for a period of 5-Years from the date of the original retail purchase.
This warranty does not cover defects or damage due to improper installation,
alteration, accident, or any other event beyond the control of the manufacturer. Defect
or damage resulting from misuse, abuse, or negligence will void this warranty. This
warranty does not cover scratching or damage that may result from normal usage.
This product is not intended for institutional or commercial use: the manufacturer
does not assume any liability for such use. Institutional or commercial use will void this
warranty.
This warranty is nontransferable and is expressly limited to the repair or replacement
of the defective product. During the warranty period, the manufacturer shall repair
or replace defective parts at no cost to the purchaser. Labor charges and related
expenses for removal, installation or replacement of the product, or components are
not covered under this warranty.
The manufacturer reserves the right to make substitutions to warranty claims if parts
are unavailable or obsolete.
The manufacturer shall not be liable for loss of use of the product, or other
consequential or incidental costs, expenses or damage incurred by the consumer of
any other use.
All warranty claims must be made to Freetime Fun. A purchase receipt with purchase
date will be required to process all warranty claims. The model number and part
numbers found within the assembly instructions will be required when submitting any
parts requests or warranty claims.
BE SURE TO CHECK OUR WEBSITE AT FREETIMEFUN.COM
FOR GREAT NEW GAMES, SAUNAS, PATIO, AND POOL SUPPLIES FOR YOUR HOME AND FAMILY!
WWW.FREETIMEFUN.COM
1830 E. FABYAN PKWY, BATAVIA, IL 60510
PHONE: 1-888-620-6088
EMAIL: [email protected]
TO ORDER REPLACEMENT PARTS
VISIT OUR WEBSITE
WWW.FREETIMEFUN.COM
BEST IN GAMES, SAUNAS,
POOL AND PATIO
This manual suits for next models
3
Table of contents
Popular Patio Furniture manuals by other brands


Seasons Sentry
Seasons Sentry UMB-822120 Assembly, care & use manual

JARDINICO
JARDINICO JCP.501 owner's manual

Outdoor Home
Outdoor Home UMB-879530 Assembly & care instructions

weinor
weinor Großschirm Lugano Series Maintenance instructions and directions for use

Costway
Costway PATIOJOY OP70681 user manual

Atleisure
Atleisure seasons SENTRY UMB-546980M Assembly, care & use manual


