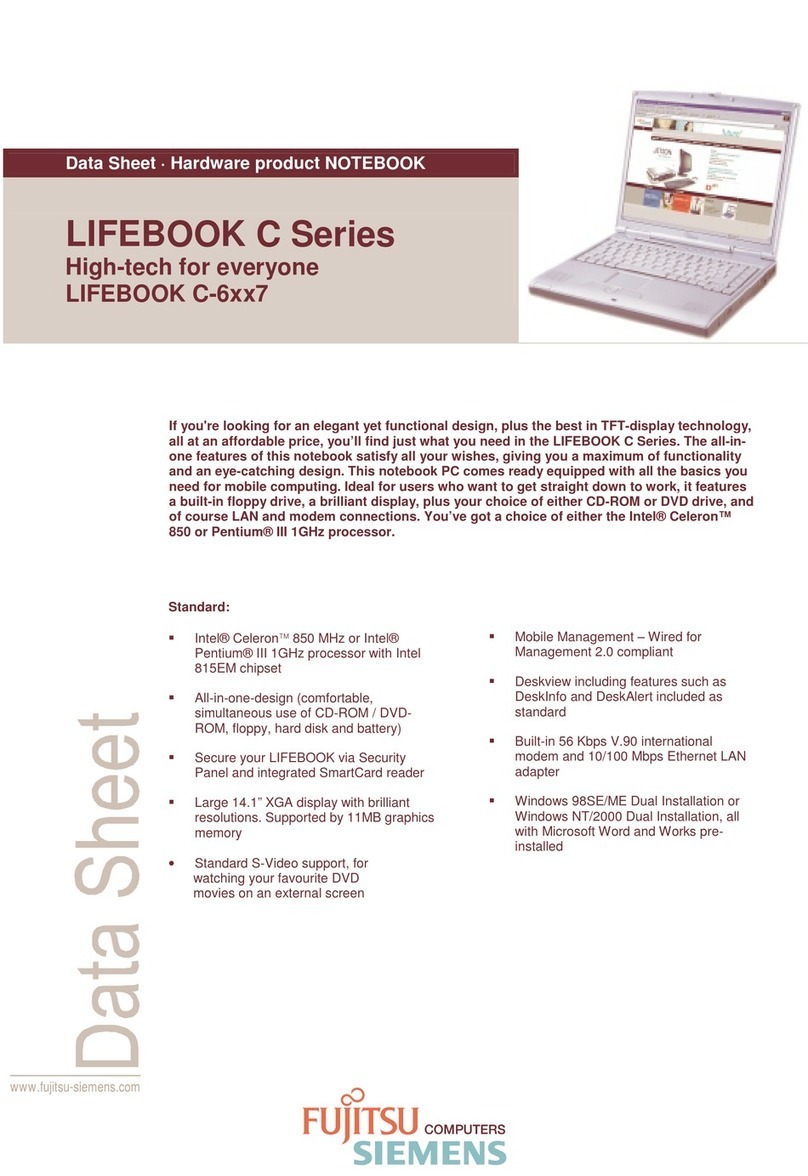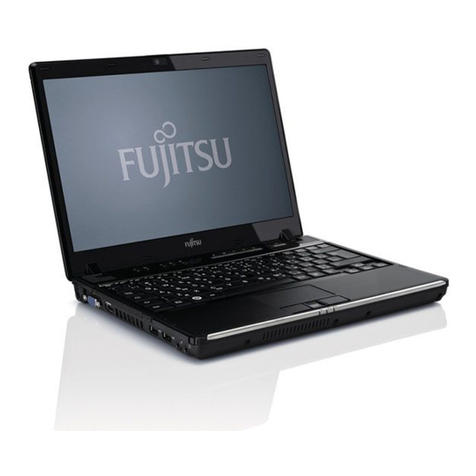
LifeBook C Series Notebook
Starting Your LifeBook Notebook
Power On . . . . . . . . . . . . . . . . . . . . . . . . . . . . . .27
Boot Sequence . . . . . . . . . . . . . . . . . . . . . . . . . .27
BIOS Setup Utility . . . . . . . . . . . . . . . . . . . . . . . .27
Booting the System . . . . . . . . . . . . . . . . . . . . . . . 28
Windows Product Activation . . . . . . . . . . . . . . . .28
Registering Your LifeBook notebook . . . . . . . . . .29
Installing Click Me! . . . . . . . . . . . . . . . . . . . . . . .29
Power Management
Power/Suspend/Resume Button . . . . . . . . . . . . .30
Suspend Mode . . . . . . . . . . . . . . . . . . . . . . . . . .30
Hibernation (Save-to-Disk) Feature . . . . . . . . . . .30
Display Timeout . . . . . . . . . . . . . . . . . . . . . . . . .31
Hard Disk Timeout . . . . . . . . . . . . . . . . . . . . . . .31
Windows Power Management . . . . . . . . . . . . . .31
Restarting the System . . . . . . . . . . . . . . . . . . . . . 31
Power Off . . . . . . . . . . . . . . . . . . . . . . . . . . . . . .31
4
USER-INSTALLABLE FEATURES
Lithium ion Battery
Recharging the Batteries . . . . . . . . . . . . . . . . . . .35
Replacing the Battery . . . . . . . . . . . . . . . . . . . . .36
Internal Floppy Disk Drive
Loading a Disk. . . . . . . . . . . . . . . . . . . . . . . . . . .37
Ejecting a Disk. . . . . . . . . . . . . . . . . . . . . . . . . . .37
Preparing a Disk for Use . . . . . . . . . . . . . . . . . . .37
Optical Drive
Media Player Software . . . . . . . . . . . . . . . . . . . .38
Loading Media on Your Drive . . . . . . . . . . . . . . .39
Removing Media. . . . . . . . . . . . . . . . . . . . . . . . .39
Using the Media Player Software. . . . . . . . . . . . .39
Using Dolby™ Headphone . . . . . . . . . . . . . . . . .40
Using Optical Drive on Battery Power . . . . . . . . .40
Memory Stick/Secure Digital Slot
Installing Memory Stick/SD Cards . . . . . . . . . . . . 41
Removing A Memory Stick/SD Card . . . . . . . . . .41
Optical Digital Audio Out
Connecting an Optical Digital Cable . . . . . . . . . .42
PC Cards
Installing PC Cards . . . . . . . . . . . . . . . . . . . . . . . 43
Removing PC Cards . . . . . . . . . . . . . . . . . . . . . . 43
Memory Upgrade Module
Installing a Memory Upgrade Module. . . . . . . . . 44
Removing a Memory Upgrade Module . . . . . . . . 45
Checking the Computer Recognition
of New Memory Capacity . . . . . . . . . . . . . . . . 45
Device Ports
Modem (RJ-11) Telephone Jack . . . . . . . . . . . . . 46
Internal LAN (RJ-45) Jack . . . . . . . . . . . . . . . . . . 46
IEEE 1394 Port . . . . . . . . . . . . . . . . . . . . . . . . . . 46
Universal Serial Bus Port . . . . . . . . . . . . . . . . . . . 46
Parallel Port. . . . . . . . . . . . . . . . . . . . . . . . . . . . . 46
Microphone Jack. . . . . . . . . . . . . . . . . . . . . . . . . 46
Optical Digital Audio-Out Connector . . . . . . . . . 47
Headphone Jack . . . . . . . . . . . . . . . . . . . . . . . . . 47
S-Video Out Port . . . . . . . . . . . . . . . . . . . . . . . . 47
External Monitor Port . . . . . . . . . . . . . . . . . . . . . 47
Serial Port . . . . . . . . . . . . . . . . . . . . . . . . . . . . . . 47
Infrared Port . . . . . . . . . . . . . . . . . . . . . . . . . . . . 47
5
USING THE INTEGRATED
WIRELESS LAN
Before Using the Wireless LAN
For better communications . . . . . . . . . . . . . . . . . 53
Stopping transmission . . . . . . . . . . . . . . . . . . . . . 53
Starting Transmission . . . . . . . . . . . . . . . . . . . . . 54
Connection using Windows XP
Flow of operations . . . . . . . . . . . . . . . . . . . . . . . 55
Preparation for wireless LAN connection . . . . . . . 55
Connection to the network . . . . . . . . . . . . . . . . . 57
Connection using Windows 2000
Flow of operations . . . . . . . . . . . . . . . . . . . . . . . 60
Preparation for wireless LAN connection . . . . . . . 60
Connection to the network . . . . . . . . . . . . . . . . . 61
Troubleshooting the WLAN
Troubleshooting . . . . . . . . . . . . . . . . . . . . . . . . . 64
Brie4-B6FH-0391.book Page 2 Tuesday, October 14, 2003 10:05 AM
