5
Installation
All the operations concerned with the installation
(electrical and gas connections, adaptation to type of
gas, necessary adjustments, etc.) must be carried out
by qualied technicians, in terms with the standards
in force. For specic instructions, kindly read the part
reserved for the installation technician.
Use
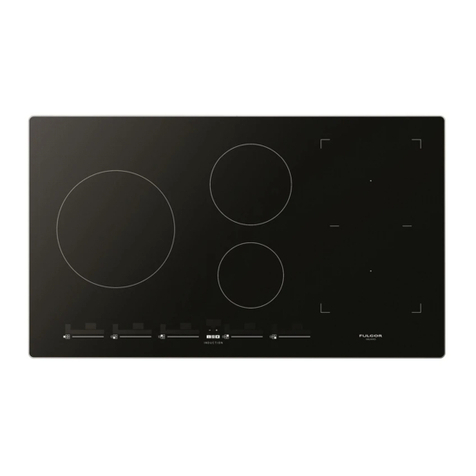
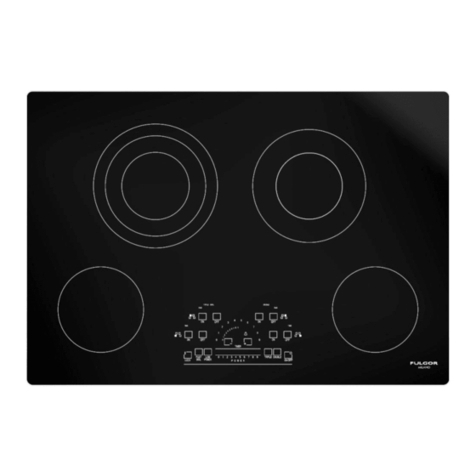
Standby mode (Fig. 1-2)
When the device is turned on, it performs a brief self-test
and calibrates the touch-pad (all displays and LEDs turn
on for several seconds). At the end, the display will be
completely o. In this mode, the device can be turned on
by simply pressing the ON/OFF key.
Turning on the Cooking Surface
To turn on the device, you must hold down the ON/
OFF key for at least 2 seconds. The device will turn on
and the burner displays will display level zero, which
corresponds to burner o.
Turning on a burner
To turn on a burner, press the relative + and - keys on the
control panel. The keys must be pressed simultaneously
and held down for at least 1 second. When the burner
turns on, the burner will be set to the average ow and
the relative display will show level 3.
Each burner whose timer has not been programmed
will automatically turn o after 4 hours of continuous
operation.
The ignition of the burner is also indicated by the led
under the relative display, which remains active the
whole time the burner is lit.
Adjusting the flame l evel of a burner
To increase the ow to a burner that is on, press the
+ key and to decrease the ow, press the - key. For a
continuous change in the ow level, just hold down the +
or - key and release it at the desired level. The ow level
varies from 1 to 5.
Turning o a burner
Toturnaburnero, press the + and - keys simultaneously
for a brief instant.
Turning o all the burners
To turn all the burners o at the same time, briey press
the ON/OFF key; this puts the device in standby mode.
Programming the burner switch-o time
It is possible to independently programme each burner
to switch o automatically after a specic length of time.
To programme the timer of a burner, press the PT key.
The word Time will appear on the time display. Now
press the + or – key of the burner to be timed. The word
Time will disappear and be replaced by the indication
0.00. The burner selected is identied by the relative
Led. The ashing digit to the left of the dot indicates
the hours, while those to the right indicate the minutes.
By pressing the + or – keys of the burner selected it is
possible to increase or decrease the operating hours
from 0 to 9. Keeping the + or – keys pressed the change
in the number of hours will take place continuously.
To specify the number of minutes, press the PT key
again. The digits to the right of the dot will start ashing.
Set the minutes in the same way as indicated for the
hours.
When programming the time it is possible to zero the
current setting at any time by pressing the + and - keys.
A time equal to zero deactivates the burner timer. To
conrm the time shown on the display, press the PT
button. At this point, only the indicators of the burners
with the timer active continue to ash.
The time remaining until switch-o is indicated on the
display, with a “t” in front of the time (e.g.: t0.12). If
no button is pressed for more than 10 seconds during
programming, the programming procedure is interrupted
automatically and the main display returns. Any settings
being changed on the burner selected will not be lost
and the relative time is active.
The timer can be programmed both with the burner
switched o or lit, and the counter will start immediately
after the time programmed has been conrmed. When
the time is up, the timed burner will be switched o and
a sequence of beeps will be issued at the same time.
If the user switches o a burner, the relative timer is
deactivated.
Note for gas model 2
If both burners are programmed at the same time, the
timer display will show the count for the burner that will
switch o rst and the LED related to this burner will ash
faster than the other one.
Note for the Dual model
This model can only be programmed with keys –B and
+B. If both rings are lit, the timer will e valid for both.
If only the inner ring is lit the timer will be valid for the
inner ring only.
Regulating the clock
Following interruptions to the power supply, it is
necessary to set the time displayed by the clock inside
the hob on the PC1F.ME1 device. To regulate the clock
it
time, for at least 3 seconds.
is necessary to press the PT and KL keys at the same
Instructions for use


