Fusion Research Studio Movie User manual

FUSION RESEARCH
Studio Movie Server
Installation Guide:
Version 4.0 April 2011


Studio Movie Server | Fusion Research
2
Table of Contents
Before you get started.....................................................3
Setting up your Studio.....................................................6
Loading a DVD..............................................................13
Sorting, Filtering & Searching your Collection................17
Managing your Movie Collection....................................20
Backing up Movies........................................................26
Adding Storage to your System.....................................28
Troubleshooting Guide..................................................29
Understanding EDID Issues..........................................31
Warranty & Return Policy..............................................32

Chapter 1
Before you get started…
3
Fusion Research | Studio Movie Server
Your Studio system is a hard drive based server with the ability to playback
one zone (you may add an additional Studio to playback two separate zones
and the storage will be shared between units.)
The system can be rack-mounted by ordering a kit specially designed for the
Studio by Middle Atlantic, the 3U kit allows for proper cooling and spacing for
this product.
When placing the system it is important to remember that thought should be
given to providing adequate ventilation. All server based products will
generate some heat and will require some ventilation.
The entire system has been engineered to be as quiet as possible;
however it is important to understand that this is both a player and
a powerful multi-terabyte server. The system will therefore still
emit some minor fan sounds especially under load during video
playback and care must be given to keep the unit cool and well
ventilated.
The Studio System
To power down the unit touch the front power button to allow a proper
shutdown.
DO NOT HOLD THE POWER BUTTON TO POWER OFF UNIT.
Forcing the power off without a proper shutdown could damage the
unit.

Before you get started…
Chapter 1
Studio Movie Server | Fusion Research
4
Basic connections on Studio:
(Component output requires FR-COM adapter kit)
Things to remember when connecting the system:
You must connect to a network PRIOR to powering up unit
System is default set to digital 5.1 audio over HDMI output, you can
easily change the audio output to SPDIF, Optical or 2 channel over
HDMI or Analog 2 channel (explained later in the manual or can be
found in the Quick Start Guide
Both Digital Audio and Analog audio are NOT both active at the
same time, you must setup one or the other in the system
manager.
If both analog and digital outputs are required simultaneously,
please order the optional dual output adapter FR-D2A.
Component output requires FR-COM adapter kit

Chapter 1
Before you get started…
5
Fusion Research | Studio Movie Server
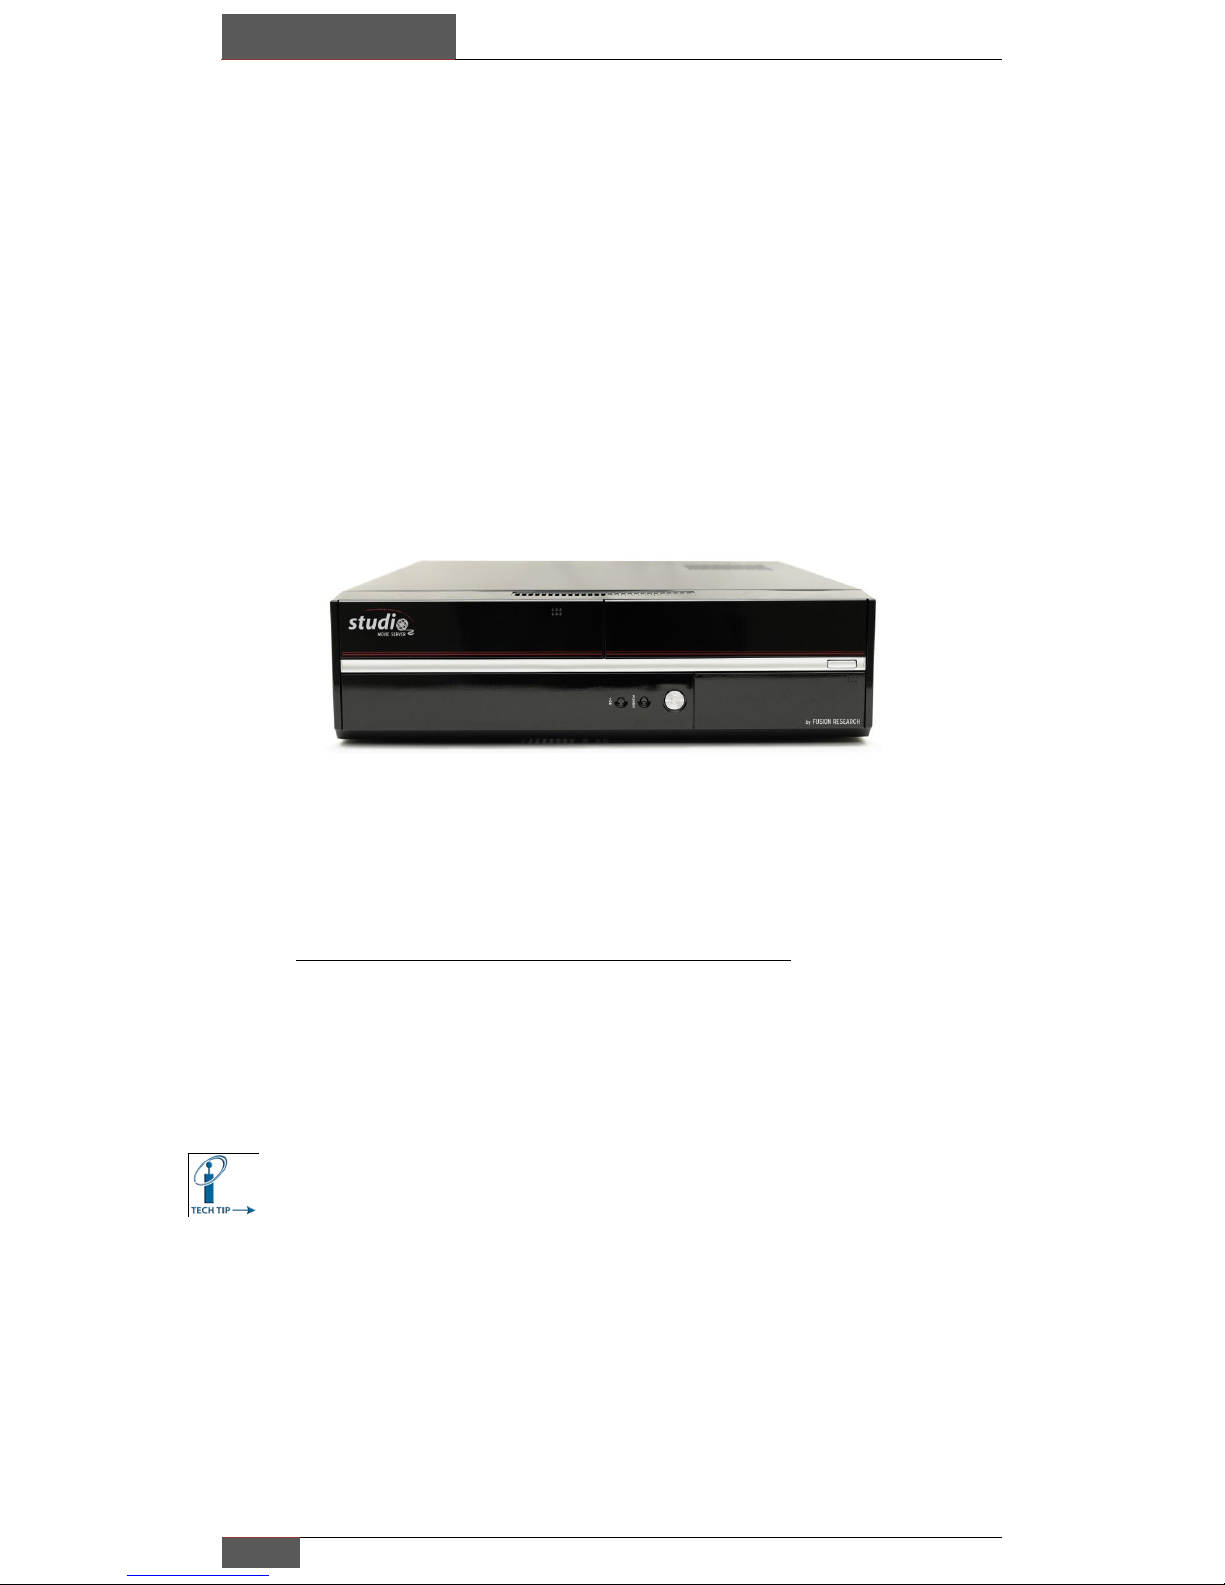
3 Steps for Successful Media Server Installations:
Prior to setting up your Studio System for the first time, it is critical to
understand and plan for a proper installation that will avoid problems.
1. Cool Environment
2. UPS Power with High Quality Surge Protection
3. Properly configured reliable network
A cool environment is a must for Fusion equipment and lack of adequate
venting will shorten the life of the product and in circumstances where it gets
hot enough, will cause the equipment to shutdown. If you observe any of
your Fusion components shutting down spontaneously, there is a 99%
chance that they are overheating.
Servers can be extremely reliable and last
for years if they have a clean conditioned
power source. If you are in an area that
experiences power outages & brown outs
you MUST take steps to protect your
investment!
There are many good quality UPS & surge protectors available that will work
well, please take steps to insure that you protect your client‟s equipment.
All media servers require a network to function properly; the network allows
the server to have access to the Internet to catalog movies as well as
streaming content. There are three key items to remember about getting a
reliable and solid network:
1. Install a quality Business Class Switch –Dell Power Connect recommended
2. Test ALL your cat-5 runs, test your terminations, be confident of your cable
3. Use a static IP for each Fusion server and any additional players
4. If you are not sure about your configuration call in for help (925) 217-1233
8AM-5PM in California
Lastly, Fusion strongly recommends against using any combination
router/DSL units that many Internet providers are putting in the field.
Keeping it Cool…
Power is Key…
It starts with a solid network…

Setting up your Studio
Chapter 2
Studio Movie Server | Fusion Research
6
The Fusion Studio System is a Video Server that is capable of outputting a
single stream of video. The Studio is a networked based product and requires
Internet access to be able to catalog movies; it also uses the network to
distribute another Studio if added or a storage device such as a NAS drive.
It is important to have a network and Internet access available
when first setting up the Studio to load movies and setup the
system.
Before powering up:
Make sure that the server is connected to your network prior to powering the
unit; it will not properly launch all of its services without this connection.
Network Cat-5 cable plugged in viable network
Even if you intend to run the Studio with a control system,
use the Fusion remote for initial setup and testing.

Chapter 2
Setting up your Studio
7
Fusion Research | Studio Movie Server
Connecting Studio to your Display:
It is important to understand and know your display‟s native resolution and
available video connections to achieve the best possible picture quality for
optimal video playback. The Studio was designed for use with newer high
definition wide screen displays; the recommended output for the unit is
1080p, 1080i, or 720p.
Studio systems have HDMI 1.3 for video; if component output
is required you must use the FR-COM component adapter.
Setting up the System:
Now it‟s time to power up the system to begin initial setup, the unit will
default to the movie mode screen showing movie cover art, typically new
systems have one test movie on them unless you have had
your movies pre-loaded by Fusion‟s movie loading service.
To go to the setup mode you will press the “+” key on the
left side of the remote.
For complete overview of the setup and each remote control
function, please review the Quick Setup Guide, included with
your Studio and available online at www.fusionrd.com
Almost every setting is available through the setup screen using
the remote. Follow the simple menu on the screen for player
setup options.

Setting up your Studio
Chapter 2
Studio Movie Server | Fusion Research
8
Using the Fusion Remote for Setup:
Setup options are available using the Fusion remote and are not available in
3rd Party controllers (like Crestron or Control4 since these are for installation
and not for use with control systems). Please use the Fusion remote control
for the following procedure.
Set Video Options:
Audio Mode: Only one mode is supported on the system at a time
(unless a special adapter is used); please see the example above to
choose the appropriate audio mode.
Rating: You can set the maximum rating on each zone so that no titles
will be displayed that are above the limit you set on the individual zone.
If you choose to limit a zone‟s rating, you can use a password to
temporarily remove the limit (as explained elsewhere in this manual).
Over scan: You can set the over scan for movie playback
Default Language: No need to change this setting unless you don‟t
want English as your default
Advanced Button: If this is activated you may update and delete
movies in the user interface

Chapter 2
Setting up your Studio
9
Fusion Research | Studio Movie Server
Audio Mode:
There are four possible audio modes that can be set on the Fusion system:
HDMI STEREO: Is typically used for connecting directly to a
display
HDMI SURROUND: Is used for connecting directly to a receiver
using an HDMI cable
SPDIF: Is used when the receiver doesn‟t support
HDMI video
STEREO: For two channel analog output (requires
mini-jack adapter)
If you require both analog and digital audio active at the same time you will
need to order the special Fusion adapter model#: FR-D2A.
Simultaneous HDMI & Component output or using a component switch
If you require both HDMI & Component at the same time you would first split
the HDMI signal to two outputs using the corresponding HDMI setting. You
would then route one HDMI connection directly to your receiver or display,
while the second HDMI connection would go to the FR-COM component
adapter. This adapter also has the capability to take HDMI audio (surround or
stereo) and output 2 channel analog audio making this a perfect solution for
component switches.

Setting up your Studio
Chapter 2
Studio Movie Server | Fusion Research
10
Setting Rating:
You can set a rating limit on any Fusion unit (zone) by selecting the maximum
rating shown in the setup section under “Set Video Options” as seen below.
When a rating is selected (for example the rating “PG-13”) once saved, no
movies with a rating above PG-13 will be seen in the interface in that
particular zone. The default setting is “NR”, which has no restrictions and
allows all movies to be shown.
You can unlock any zone that has a rating limit on it by bringing up the
“Menu” button on your remote or touch panel, or by selecting the DVD Menu
key on the Fusion remote.
Navigate down to “Rating Override” to open a password
window as seen below to override the rating limit and
allow all movies to be shown in the zone. The rating
override will stay active for a period of 30 minutes, after
which the system will revert back to its original rating limit.
The default password is “4711”, and can only be changed by Fusion
personnel; this can easily be done remotely by calling into support and
requesting the change (925) 217-1233.
Menu window shown has many additional functions
To bring up on
screen menu select
this key. Also the
“Menu” key will work
on most control
systems.

Chapter 2
Setting up your Studio
11
Fusion Research | Studio Movie Server
When setting the static IP of a system, you
must make sure that the address is outside
the range of the router‟s DHCP settings.
For example; if the router‟s range in this
example is 192.168.1.100 to 192.168.1.150,
you would want to set the last number
either below 100 or above 150.
The default gateway is typically the router‟s
address as is the DNS setting.
You must have a default gateway & DNS
setting configured for the unit to work correctly.
Set Screen Options:
Include setting the output resolution (720p, 1080i or 1080p),
You may reset video to 720p at anytime by pressing and holding the “exit”
key for 10 seconds this can be helpful if the incorrect resolution is selected
and you no longer have a video output to view.
Unit must be re-booted for resolution change to take effect.
When using the Fusion component adapter (FR-COM), only use 720p or
1080i (typically displays cannot handle 1080p component)
Setting IP Address:
Fusion products ship with IP settings set to DHCP for initial ease of installation
and setup, we do however recommend that you set all Fusion components to
static IP addresses for greatest reliability.
It is import to know your router‟s IP address as well as its DHCP range, which is
the series of numbers or IP addresses that the router will assign all devices on
its network that are set to DHCP. See the example below for a correctly
configured IP setting.
When operating the system, if you cannot connect to the online movie
database the likely problem will be that you do not have the default gateway
or DNS settings properly entered.

Setting up your Studio
Chapter 2
Studio Movie Server | Fusion Research
12
If when initially setting up your system the startup screen shows “waiting on
server”, this is an indication that no network connection was detected and the
cat-5 cable needs to be inspected or pushed in all the way to make solid
contact. If the problem persists, please try changing the cable or port on the
switch or router since this is an indication that no network was found.

Chapter 3
Loading a DVD
13
Fusion Research | Studio Movie Server
Once a disc is in the system, the unit will need 30 seconds to retrieve
the movie information from Fusion’s online movie database.
Loading a DVD Movie into the System: (Blu-ray loading is covered in a separate guide)
After you have completed your setup, you can begin loading a DVD begin by
simply placing the disc into the drive before selecting the red record button.
On the Fusion remote this is the red button shown below.
After selecting the record or disc load option the system will begin to read the
DVD‟s unique ID number and look it up on Fusion‟s movie database. DVDs
actually do not have any movie data or cover art on them and only have an
identification number to make them unique.
Press the red “record”
button to load a movie
onto the system
Occasionally if you press record too soon before the system can
recognize a disc, you will get this screen, waiting a second of two
before selecting record will prevent this

Loading a DVD
Chapter 3
Studio Movie Server | Fusion Research
14
If you are using a control system such as Control4, RTI or URC, you would
select the MENU key to bring up the menu box, then cursor down to the
“DISC” option, if a disc is in the drive you will be able to select load.
If you are not connected to the Internet, the Studio system
will not be able to identify the movie and properly load it. The
system requires the Internet for online cataloging and cover
art; this allows the unit to always have the latest movie
information.
If you think that you have Internet access on your network, be
sure to check that you have properly configured your DNS
server address in your IP setup. Very often this is simply the
same IP address as your router.
Tip: By selecting “Menu” on the URC, RTI or Control4
remote or touch panel you will get a menu window that
will allow recording, sorting & filtering in the interface as
seen below. By selecting “Disc” using the down arrow
keys you will be able to load.

Chapter 3
Loading a DVD
15
Fusion Research | Studio Movie Server
Next you will see will be the detail screen, which will be the information about
the movie that was pulled from the Fusion online database.
Once the disc has been recognized (15-30 seconds) you will be presented with
the import screen seen above.
By selecting “Import disc” you acknowledge that you own the material that
you are loading onto the system. The Fusion media server should be seen as
an archive of media that you own and should never be used otherwise.
Selecting “7-Day Import” will automatically purge the movie from your
archive after one week. This option can be very helpful for movies you want
to view on your system, but would prefer to not keep long-term.
Disc loading can vary from 15 to 30 minutes depending on the length of the
movie and its condition. Scratched movies can take twice as long as discs,
which are in new condition, as the disc drive must slow down to read a
damaged or scratched disc.
Selecting “Play Disc” is for playing the disc in the drive without loading it first.
If you don‟t see this option on your system, you should contact Fusion support
to see if your model can have this feature turned on.

Loading a DVD
Chapter 3
Studio Movie Server | Fusion Research
16
Want to load a large collection of Movies? Fusion has a loading
service available to handle anything up to a very large collection.
(Please contact your Fusion representative for more information on this product)
DVD Movie Storage Calculations:
The average DVD size can vary greatly depending on the length of movie and
the special features and other optional information on the specific disk.
Approximate size guidelines for DVD are 150 per 1TB.
Blu-ray Import:
Certain model Fusion Systems will support importing non-encrypted Blu-ray
files or have the ability to play Blu-ray discs from the drive. If you have a Blu-
ray capable model, please refer to the Blu-ray import supplement for this
information. Blu-ray discs can easily be over 40GB in size or larger or 25 per
1TB.
Disc will not be recognized in the drive:
If a disc is scratched in the center or the beginning of the file, the DVD may
not be readable and the system may not even be able to recognize that any
disc is in the system. Even very small scratches can do this on relatively
clean discs. This is not an indication that the system is failing, but that the
disc cannot be loaded into the system and is defective.
Disc will stop loading before finished:
Occasionally you will encounter discs that fail to load; they will usually appear
to freeze during the loading process and not progress. This is due to the fact
that the movie title has an additional level of encryption on it and it hasn’t been
mapped onto our database. Please contact Fusion to let them know about
this title, once mapped onto our system you will be able to load it properly.

Chapter 4
Sorting, Filtering & Searching
17
Fusion Research | Studio Movie Server
There are several ways to find what you may be looking for and by combining
more than one method you can enjoy browsing even a very large collection.
We will show some simple examples of each type of search function including:
SORTING: (by movie length, rating, title or when you loaded it)
FILTERING: (by movie director, actor, genre or rating)
SEARCH: (by typing in a title or first letter)
You can combine two types of functions for example you could first filter a
genre (like Comedy), which will remove all movies except for comedies and
then sort the remaining movies by length, rating or when you loaded it, so
that even extremely large collections can be managed easily.
Sorting: By selecting the “Sort” button you can arrange your movie by
length, rating or program (program meaning the alphabetical
order of the movie). By default, movies are always sorted by
alphabetical order unless changed.
Sorting by Length starts with the
shortest movie and goes to the
longest.
Sorting by Rating starts with the
lowest rated movie to the highest.
Sorting by Import Date starts with
the last movie imported to the first.
Sorting by Program puts list in
alphabetical order starting with
numbers first.
Tip: By selecting “Menu” on the
URC, RTI or Control4 remote or
touch panel you will get a menu
window that will allow recording,
sorting & filtering in the interface as
seen below. By selecting “Sort”
using the down arrow keys you will
be able to select the type of sort you
want.
You may also select the “sort”
button directly on the Fusion remote.

Sorting, Filtering & Searching
Chapter 4
Studio Movie Server | Fusion Research
18
Filtering: Filtering is a useful and powerful tool to use when there is a large
collection. By using filters you can greatly reduce your list of
choices, for example if you choose “Comedy” all other genres
would be removed and the remaining choices could still be sorted
for more convenient selection.
After filtering only the results will be shown, selecting “exit” or “cancel” will
remove filter & all movies will once again be shown.
To bring up the filter view select
the “fav” key at the bottom the
remote, in this example “actor”
was selected then “George
Clooney”.
When using other control
systems you can bring up the
filter option by select “Menu”
on the remote or touch
panel.

Chapter 4
Sorting, Filtering & Searching
19
Fusion Research | Studio Movie Server
Onscreen Key Search:
By selecting the number “0” key on
the remote to bring up on the on
screen keyboard, by selecting a
letter or number you can
immediately jump to the beginning
of that movie list. You may also
filter a group of movies then use
this feature to refine your search.
You can also select “keyboard
jump” from the menu selection as
shown above to bring up the on
screen keyboard.
Table of contents
Other Fusion Research Server manuals
Popular Server manuals by other brands

IBM
IBM BladeCenter JS20 Maintenance and troubleshooting guide

Sun Microsystems
Sun Microsystems Sun Fire T1000 Service manual

Nortel
Nortel CallPilot Installation and configuration

B&B Electronics
B&B Electronics Vlinx Serial Servers ESP901E manual

Intel
Intel GS-SR195V System installation guide

Asus
Asus Aaeon AIOT-ILRA01 user manual