47
SM2210
NOTES AND USEFUL ADVICE FOR THE USER
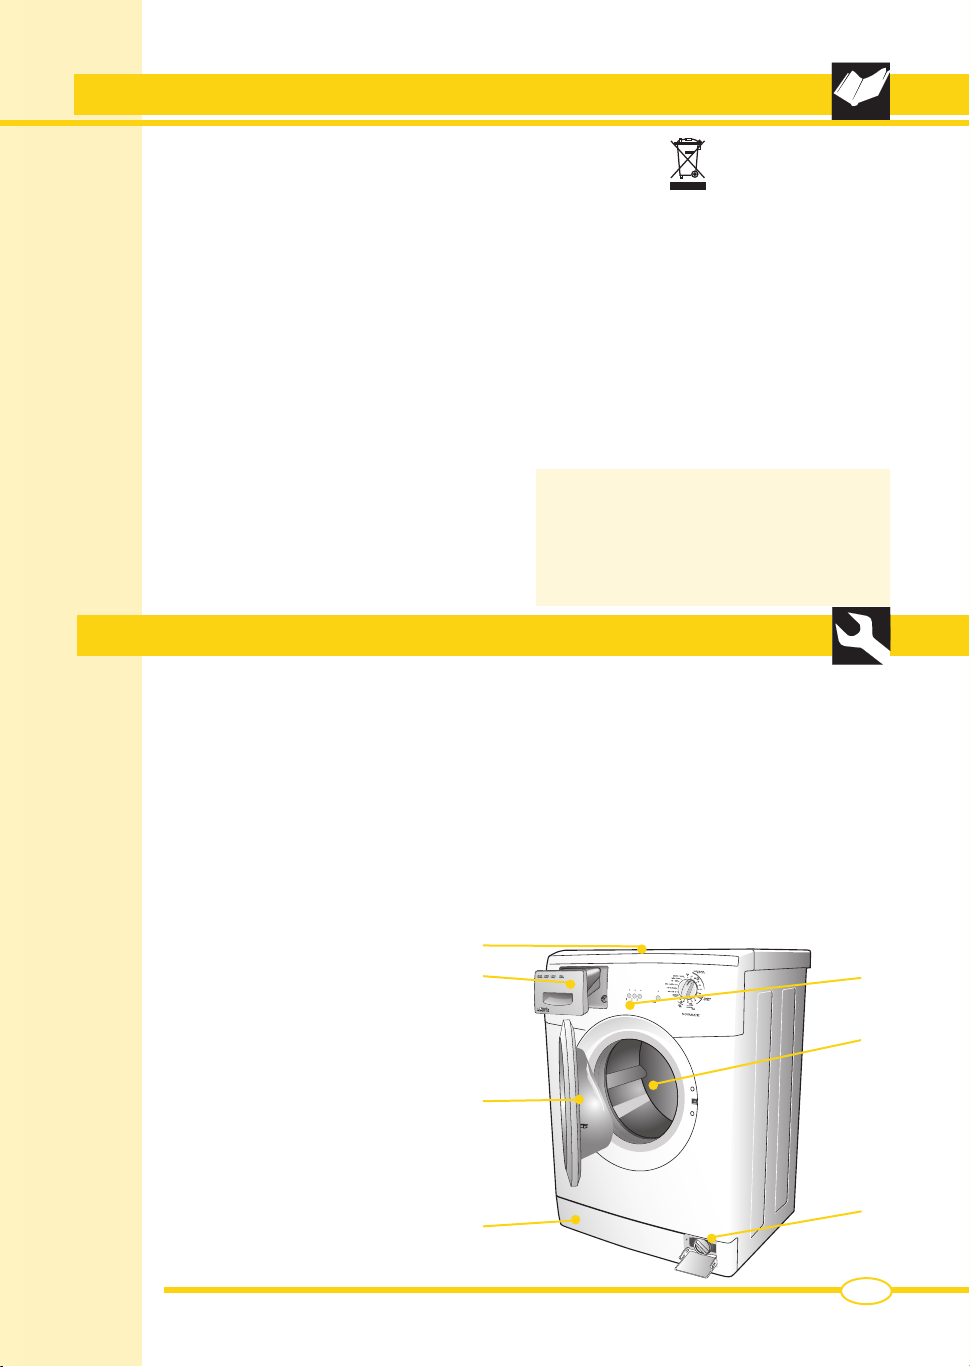
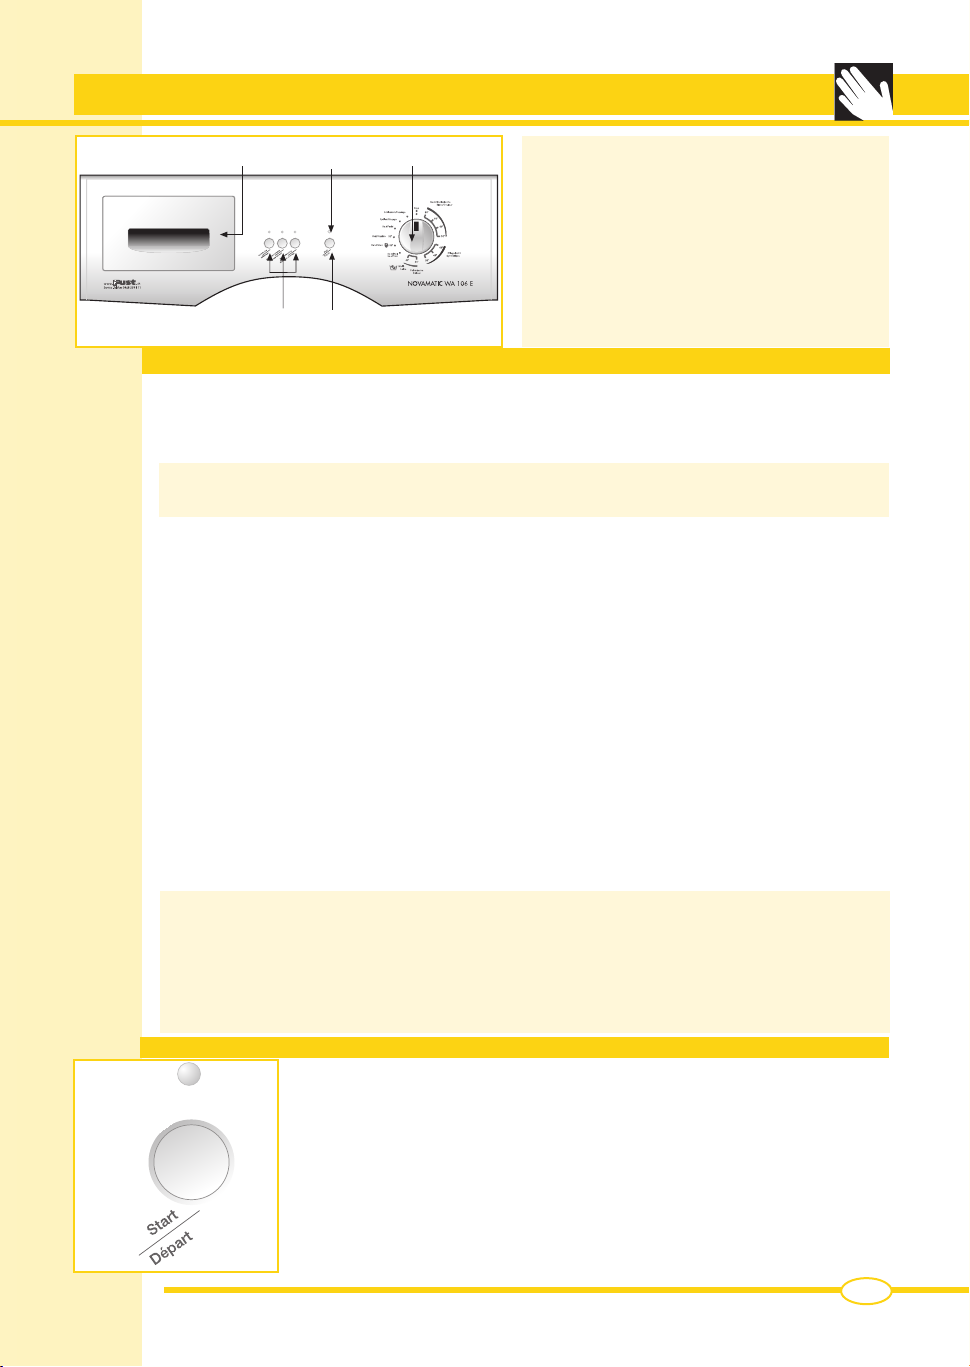
DESCRIPTION OF THE MACHINE
THE MANUFACTURERWILL NOT BE HELD
RESPONSIBLE FOR ANY ACCIDENTS
THAT MAY RESULT FROM NON-COMPLI-
ANCE WITH THE REQUIREMENTS OF
SAFETY STANDARDS OR THIS INSTRUC-
TION MANUAL
A- Glass door
B- Filter
C- Adjustable feet
D- Top cover
E- Drum
F - Control panel
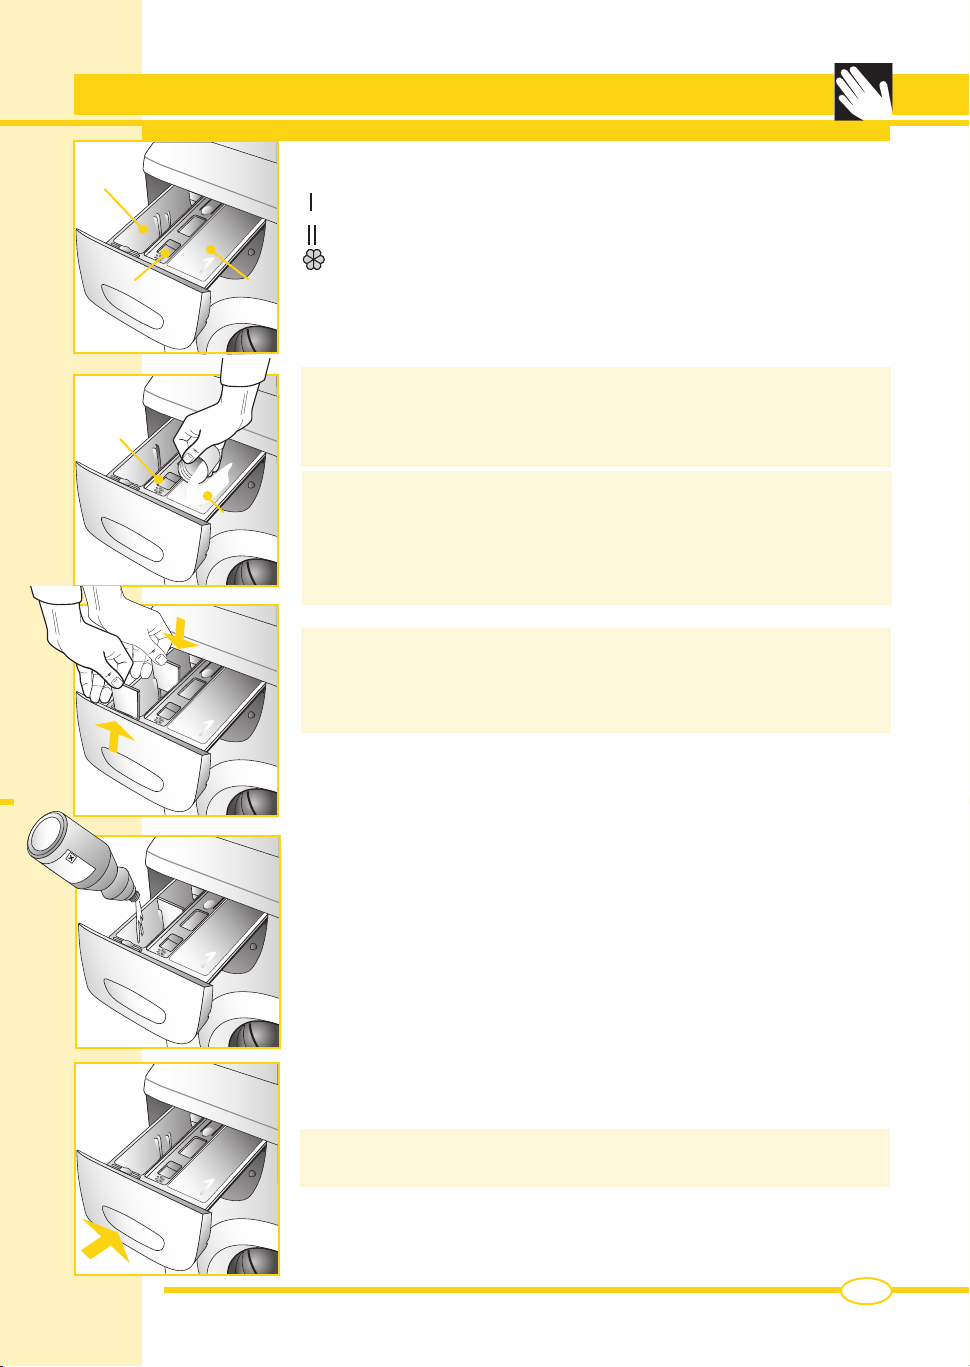
G - Detergent drawer
The washing machine is a household appliance that can wash any type of fabric whenever you want.
▼The structure of the machine is fabricated in steel sheet, which has been worked using a special
process and then enamelled in order to maintain its external appearance and protect it against
corrosion.
▼The motor and all the other moving parts are built to ensure noiseless machine operation.
▼The large stainless steel drum is well placed to guarantee a good wash quality and prolong the
life of the washing.
▼The easy to use control panel makes the selection of any wash or dry programme quick and simple
(see control panel and table of programmes).
▼The ample glass door makes loading and unloading easier.
▼The perfect machine balance is the result of many years of research aimed at finding the correct
balance between the various moving parts.
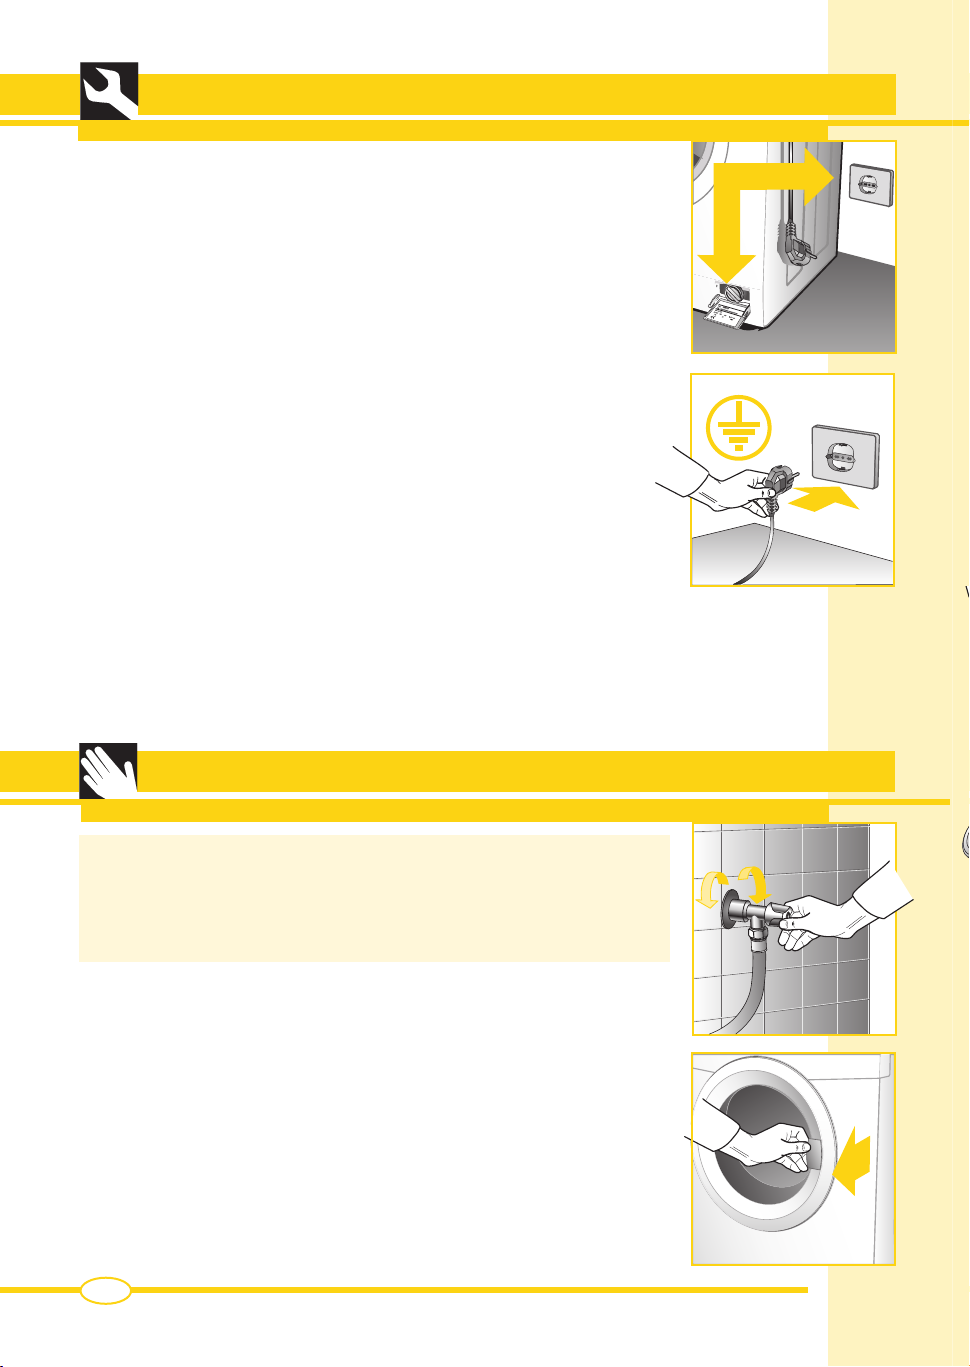
▼After washing rugs, blankets or any other long
fibre fabrics, remember to check the filter and,
if necessary, clean it.
▼It is advisable to leave the door open at the
end of the wash cycle.
▼Under no circumstances should any repairs
to the machine be attempted by unqualified
persons as this could result in serious dam-
age and will invalidate the guarantee.
▼Repairs to the washing machine must only
be carried out by persons authorised to do
so by the service centres.Only original spare
parts may be used for repairs.
▼This appliance is marked according to the
European directive 2002/96/EC on Waste
Electrical and Electronic Equipment (WEEE).
By ensuring this product is disposed of
correctly, you will help prevent potential
negative consequences for the environment
and human health, which could otherwise
be caused by inappropriate waste handling
of this product.
The symbol on the product, or on the
documents accompanying the product, indi-
cates that this appliance may not be treated
as household waste. Instead it shall be
handed over to the applicable collection point
for the recycling of electrical and electronic
equipment. Disposal must be carried out in
accordance with local environmental regu-
lations for waste disposal. For more detailed
information about treatment, recovery and
recycling of this product, please contact your
local city office, your household waste dispo-
sal service or the shop where you purchased
the product.
GB
1
D
G
F
C
A
C
D
F
E
B