manuals.online logo
Brands
  1. Home
  2. •
  3. Brands
  4. •
  5. Gardena
  6. •
  7. Lawn Mower
  8. •
  9. Gardena SILENO city User manual

Gardena SILENO city User manual

Other manuals for SILENO city

7

This manual suits for next models

6

Other Gardena Lawn Mower manuals

Gardena PowerMax 1600/37 User manual

Gardena

Gardena PowerMax 1600/37 User manual

Gardena PowerMax Li-18/32 User manual

Gardena

Gardena PowerMax Li-18/32 User manual

Gardena R70Li User manual

Gardena

Gardena R70Li User manual

Gardena PowerMax 32 E User manual

Gardena

Gardena PowerMax 32 E User manual

Gardena 380 AC User manual

Gardena

Gardena 380 AC User manual

Gardena ES 500 User manual

Gardena

Gardena ES 500 User manual

Gardena HiCut 4019 User manual

Gardena

Gardena HiCut 4019 User manual

Gardena SILENO city User manual

Gardena

Gardena SILENO city User manual

Gardena 117HSD User manual

Gardena

Gardena 117HSD User manual

Gardena PowerMax 37/36V P4A User manual

Gardena

Gardena PowerMax 37/36V P4A User manual

Gardena PowerMax Li-40/41 User manual

Gardena

Gardena PowerMax Li-40/41 User manual

Gardena 46 V User manual

Gardena

Gardena 46 V User manual

Gardena 380 LI User manual

Gardena

Gardena 380 LI User manual

Gardena SILENO R100Li User manual

Gardena

Gardena SILENO R100Li User manual

Gardena PowerMax Li-40/32 User manual

Gardena

Gardena PowerMax Li-40/32 User manual

Gardena SILENO User manual

Gardena

Gardena SILENO User manual

Gardena SILENO User manual

Gardena

Gardena SILENO User manual

Gardena SILENO city User manual

Gardena

Gardena SILENO city User manual

Gardena PowerMax 1100/32 User manual

Gardena

Gardena PowerMax 1100/32 User manual

Gardena PowerMax 32 E User manual

Gardena

Gardena PowerMax 32 E User manual

Gardena PowerMax Li-40/32 User manual

Gardena

Gardena PowerMax Li-40/32 User manual

Gardena HB 40 400 User manual

Gardena

Gardena HB 40 400 User manual

Gardena SILENO city User manual

Gardena

Gardena SILENO city User manual
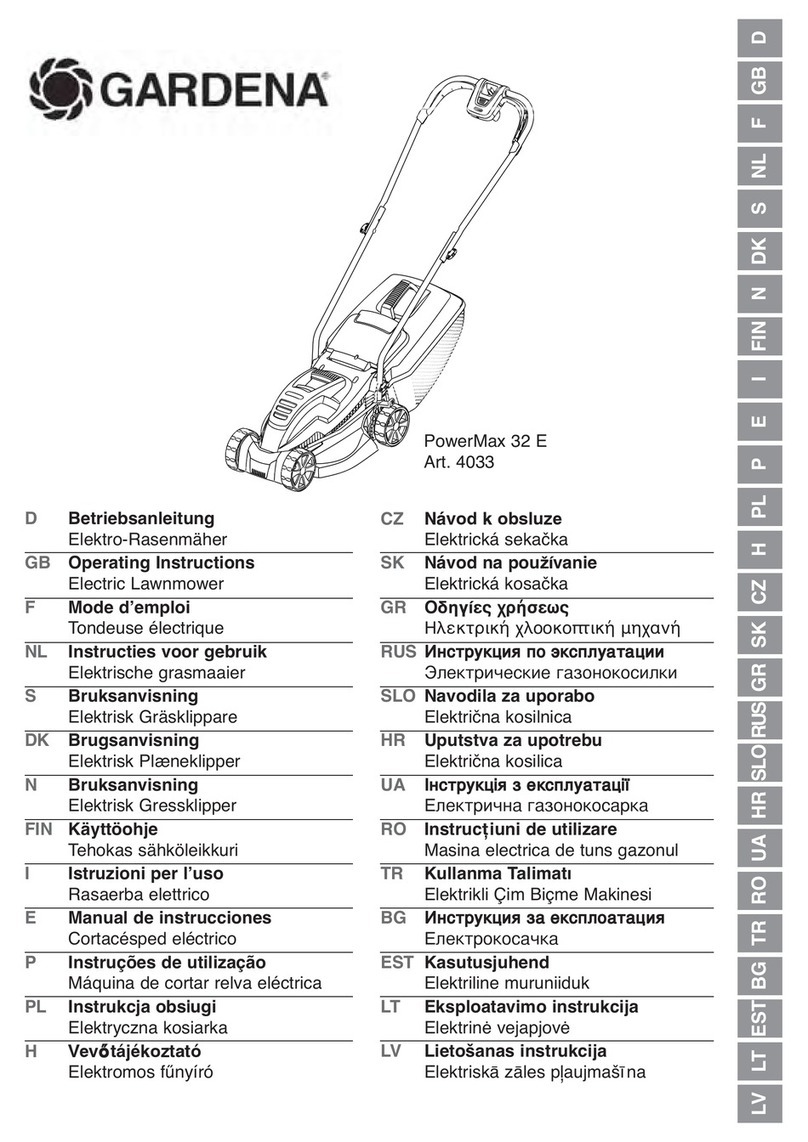
Gardena PowerMax 32/18V User manual

Gardena

Gardena PowerMax 32/18V User manual

Popular Lawn Mower manuals by other brands

Toro 20047 Operator's manual

Toro

Toro 20047 Operator's manual

Toro Greensmaster TriFlex 3300 Operator's manual

Toro

Toro Greensmaster TriFlex 3300 Operator's manual

Global garden products 72 Workshop manual

Global garden products

Global garden products 72 Workshop manual

EINHELL 01045 operating instructions

EINHELL

EINHELL 01045 operating instructions

Toro Greensmaster 3120 Operator's manual

Toro

Toro Greensmaster 3120 Operator's manual

Baroness LM315GC Owner's operating manual

Baroness

Baroness LM315GC Owner's operating manual

GreenWorks Tools 25157 user manual

GreenWorks Tools

GreenWorks Tools 25157 user manual

Etesia MVEHH user manual

Etesia

Etesia MVEHH user manual

Husqvarna LTH125 owner's manual

Husqvarna

Husqvarna LTH125 owner's manual

Gravely 915034 - ZT1640 Owner's/operator's manual

Gravely

Gravely 915034 - ZT1640 Owner's/operator's manual

Jacobsen 63281 Technical manual

Jacobsen

Jacobsen 63281 Technical manual

GreenWorks Pro MO802524 Operator's manual

GreenWorks Pro

GreenWorks Pro MO802524 Operator's manual

Toro TimeMaster 20976 Operator's manual

Toro

Toro TimeMaster 20976 Operator's manual

Deutz-Allis 3000 Series parts manual

Deutz-Allis

Deutz-Allis 3000 Series parts manual

Craftsman 917.9998C owner's manual

Craftsman

Craftsman 917.9998C owner's manual

jobmate YT9108 user manual

jobmate

jobmate YT9108 user manual

Yard force GM R40A instructions

Yard force

Yard force GM R40A instructions

Husqvarna R 419TsX AWD Operator's manual

Husqvarna

Husqvarna R 419TsX AWD Operator's manual

manuals.online logo
manuals.online logoBrands
  • About & Mission
  • Contact us
  • Privacy Policy
  • Terms and Conditions

Copyright 2025 Manuals.Online. All Rights Reserved.

Quick guide
SILENO city, smart SILENO city
SILENO life, smart SILENO life
gardena.com
P01_P02_QG_USEN.indd 1 2019-02-06 14:49:57
1. STOP button
2. LED for function check of the
boundary and guide wires
3. Charging station
4. Display
5. Keypad
6. ON/OFF button
7. Start button
1. Installing the charging station
See chapters 3.3.1 and 3.4.1 in the supplied operator’s manual or on the
GARDENA website (www.gardena.com).
1. Place the charging station on a flat, level surface where there is open space.
2. Connect the low voltage cable to the charging station and the power supply.
3. Connect the power supply to a 100-240 V wall socket.
4. Press the ON/OFF button to turn the product on. Place the product in the charging
station to charge the battery while the boundary wire is laid.
NOTE: Do not continue with any product settings before the installation is complete
(1-4).
2. Laying the boundary wire
See chapter 3.3.3 in the supplied operator’s manual or on the
GARDENA website (www.gardena.com).
1. Lay the boundary wire so that it forms a loop around the
whole work area.
2. Make an eyelet at the point on the boundary wire where the
guide wire is later connected.
30 cm / 12”
10 cm / 4”
0 cm / 0”
10 cm / 4”
35 cm / 14”
3
2
1
5
4
1
3
2
2
1
6
7
GETTING STARTED WITH
THE GARDENA ROBOTIC LAWNMOWER
P01_P02_QG_USEN.indd 2 2019-02-06 14:50:01
1. STOP button
2. LED for function check of the
boundary and guide wires
3. Charging station
4. Display
5. Keypad
6. ON/OFF button
7. Start button
3. Connecting the boundary wire
See chapter 3.4.2 in the supplied operator’s manual or on the
GARDENA website (www.gardena.com).
1. Open the connector and lay the boundary wire in the connector.
2. Press the connector and the wire together by using a pair of pliers.
3. Cut off the wire 1 to 2 cm after the connectors.
4. Press the boundary wire connectors onto the contact pins marked L (left) and R (right)
on the charging station.
NOTE: The right-hand wire must be connected to the right-hand contact pin on the
charging station, and the left-hand wire to the left-hand pin.
4.Laying and connecting the guide wire
See chapter 3.3.4 and 3.4.3 in the supplied operator’s manual or on the
GARDENA website (www.gardena.com).
1. Fasten the guide wire in snap locks at the bottom of the charging station.
2. Fit the connector to the guide wire in the same way as for the boundary wire,
according to the instructions above.
3. Press the guide wire connector onto the contact pin marked Guide on the charging
station.
4. Pull the guide wire a minimum of 1 meter straight out from the front edge of the
charging station.
5. Lay the guide wire from the charging station to the point on the boundary wire
(eyelet) where the connection is made.
NOTE: Do not lay the guide wire at an acute angle.
6. Cut the boundary wire at the centre of the eyelet that was made in step 2.2.
7. Connect the guide wire to the boundary wire by inserting the boundary wires and
guide wire in the coupler, and pressing the coupler together with a multi-grip
pliers.
„As a complement to this Quick Guide. There are step by step
installation movies available on the GARDENA website,
www.gardena.com.“
Power supply
(the appearance of the power supply
may differ depending on market)
Low voltage cable Boundary wire and
couplers
Pegs Connectors Measurement
gauge
12
4
5
3
7
4
1
min 1 m / 3.3 ft
P01_P02_QG_USEN.indd 3 2019-02-06 14:50:03
www.gardena.com
5. Starting and stopping the product
See chapters 4.2 and 4.4 in the supplied operator’s manual or on the GARDENA website
(www.gardena.com).
To start the product
1. Open the hatch to the keypad.
2. Press the ON/OFF button. The display is lit up.
NOTE: The first time, a start-up sequence begins where, for example, a four-digit PIN code is
chosen.
3. Enter the PIN code by using the up/down arrow keys, and press the OK button.
To stop the product
1. Press the STOP button.
The right to make changes without prior notice is reserved.
Copyright © 2019 GARDENA Manufacturing GmbH. All rights reserved.
www.gardena.com
6. Changing the settings of the product
See chapter 3.10 in the supplied operator’s manual or on
the GARDENA website (www.gardena.com).
All settings for the product are done via the menu functions.
Read the operator’s manual and become familiar with the menus and settings.
Test run the product through narrow passages
Narrow passages in the garden can make it difficult for the mower to find the charging station. Use the
Test
function to test that the product can travel through the narrow passage.
1. Place the product in the charging station.
2. Select
Test
in the menu (
Settings > Lawn coverage > More > Test
) and press OK.
Then press the Start button and close the hatch.
3. Check that the product follows the guide wire through the passage.
a. If the product runs through the passage, the test is complete.
b. If the product does not get through the passage: Check that the guide wire has been laid
according to the instructions in chapter 3.3.4 in the operator’s manual.
Adjust the settings to suit the size of your lawn
Adjust the mowing time to suit your garden by using the
Schedule
function. If the
product is allowed to mow too often, the lawn may appear flattened.
Schedule
Use the scheduling wizard to set a suitable schedule depending on the size of the
lawn. If you want to change the schedule settings for individual days use the
Schedule - Advanced
menu.
2019-02-06
114 05 87-95
3
1
2
P01_P02_QG_USEN.indd 4 2019-02-06 14:50:05