Gastro Gastro-500B Simple manual
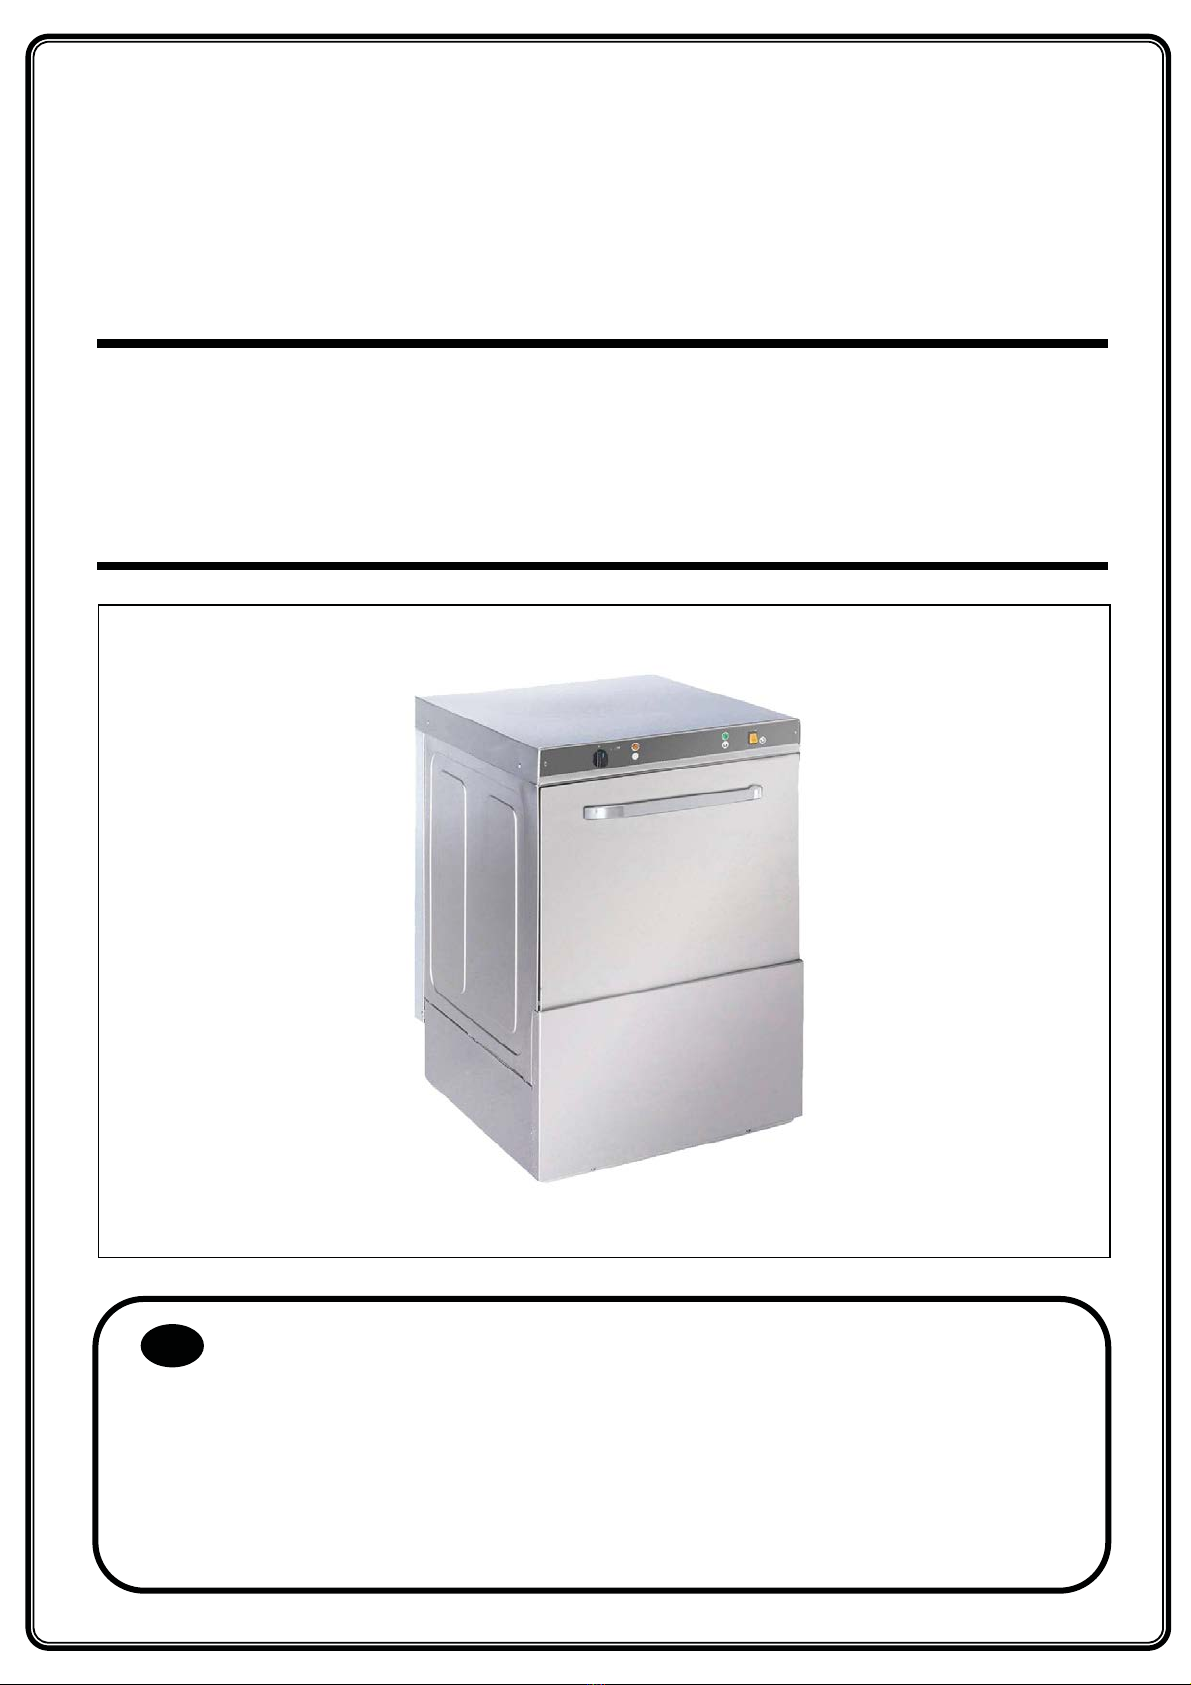
FRONT LOADING DISHWASHER
Gastro
Gastro-500B
Manual instructions
Installation and Operation
EN
28
www.horecaworld.nl
www.horecaworld.nl ENGLISH
Horecaworld would like to thank you for purchasing one of our products.
This manual contains the answers to any doubts or concerns you may have
regarding the product.
Please read the manual carefully to allow you to get the most out of the
product we have supplied.
Should you have any queries, we will be pleased to help you resolve them.
The machine you have purchased has been designed using the best available
technology, and always with respect for the environment.
Your satisfaction is our spirit of improvement.
FRONT LOADING DISHWASHER

29
www.horecaworld.nl
www.horecaworld.nl ENGLISH
WARNINGHIGH
VOLTAGEPLEASE READ
INSTRUCTIONS PROTECTIVE
EARTHEQUIPOTENTIAL
BONDING
1. QUICK START-UP GUIDE

30
www.horecaworld.nl
www.horecaworld.nl ENGLISH
2. INDEX
1. QUICKSTARTͲUPGUIDE.............................................................................................................................29
2. INDEX..........................................................................................................................................................30
3. INFORMATIONABOUTTHEMANUALANDWARNINGS.............................................................................31
3.1 INTRODUCTION.................................................................................................................................31
4. PRODUCTDETAILS......................................................................................................................................32
4.1 TECHNICALSPECIFICATIONS.............................................................................................................32
5. INFORMATIONFORTHEINSTALLER...........................................................................................................34
5.1 INSTALLATION...................................................................................................................................34
5.1.1 Removalofpackaging...................................................................................................................34
5.1.2 Mountingthemachine.................................................................................................................34
5.1.3 Electricalconnection....................................................................................................................34
5.1.4 Hydraulicconnection....................................................................................................................41
5.1.5 Drainageconnection.....................................................................................................................42
5.1.6 Rinseaiddispenser.......................................................................................................................42
5.1.7 Detergentdispenser(Optional)....................................................................................................43
5.1.8 Pressurepump..............................................................................................................................43
5.1.9 Recycling.......................................................................................................................................44
6. INFORMATIONFORTHEUSER....................................................................................................................45
6.1 Operation..........................................................................................................................................45
6.1.1 Controlpanelsymbols..................................................................................................................45
6.1.2 Switchingonthemachine............................................................................................................46
6.1.3 Preparationofthedishes.............................................................................................................47
6.1.4 Selectingthewashcycle...............................................................................................................47
6.1.5 Stoppingthewashcycleandendofwashcycle...........................................................................48
6.1.6 Drainageofthemachine..............................................................................................................48
6.1.7 Switchingoffthemachine............................................................................................................48
6.1.8 Cleaningthemachineattheendoftheday................................................................................49
6.2 Usefultips.........................................................................................................................................49
6.2.1 Maintenance.................................................................................................................................49
6.2.2 Rinseaidanddetergent................................................................................................................49
6.2.3 Hygieneregulations......................................................................................................................50
6.2.4 Optimumresults...........................................................................................................................50
6.2.5 Prolongedperiodsofnouse.........................................................................................................50
7. FAULTS,ALARMSANDBREAKDOWNS.......................................................................................................51
8. RECYCLINGTHEPRODUCT..........................................................................................................................53

31
www.horecaworld.nl
www.horecaworld.nl ENGLISH
3. INFORMATION ABOUT THE MANUAL AND WARNINGS
3.1 INTRODUCTION
This manual has been created to help you understand the operation, installation and maintenance
of the machine supplied by www.horecaworld.nl. It contains all the necessary information and warnings to
ensure that the appliance is installed and used correctly, together with information about the characteristics
and possibilities offered, so that you may enjoy your machine to the full.
BEFORESTARTINGTHEAPPLIANCE,PLEASEREADTHEINSTRUCTIONS
CONTAINEDINTHISMANUALCAREFULLY.
The manual should be kept safely to hand for future reference.
If the machine is sold or transferred, please pass the manual to the new user.
THEAPPLIANCEISEXCLUSIVELYFORPROFESSIONALUSE,ANDSHOULD
ONLYBEUSEDBYQUALIFIEDPERSONNEL.
¾The positioning and installation, and all repairs or modifications, should always be carried out by an
AUTHORISED TECHNICIAN, in accordance with the applicable legislation of the country. The
manufacturer does not accept liability if the machine is incorrectly installed.
¾The installation, incorrect adjustment, inappropriate maintenance or use of the appliance may cause
material damages and injuries.
¾The dishwasher should be correctly levelled and care taken to ensure that none of the electric cables,
water or drainage hoses are trapped or kinked.
¾DO NOT climb on top of the dishwasher or place heavy objects on top of the machine as it is only
designed to bear the weight of the basket of plates to be washed.
¾The dishwasher is designed for washing plates, glasses and other kitchenware with traces of
human food. All other objects must not be washed in the machine.
¾If your machine breaks down, please call the Technical Service Centre.
¾Unqualified or unauthorised personnel must NOT try to repair the machine.
¾Use of spare parts other than original parts will cancel the guarantee.
¾During all maintenance operations, the dishwasher must be disconnected from the main power
supply at the mains power switch, and the water intake tap must be closed.
¾Abrasive or corrosive products, acids, solvents and chlorine-based detergents must NOT be
used to clean the appliance, as this may damage the components.
¾This appliance is designed for use in ambient temperatures between 5 ϶C and 40 ϶C.
¾Only the baskets, soaps and rinse aids recommended by the manufacturer should be used.
FAILURETOCOMPLYWITHTHESEINSTRUCTIONSORTHEINCORRECTUSEOFTHE
APPLIANCESHALLRELIEVETHEMANUFACTUREROFANYOBLIGATIONS
REGARDINGTHEGUARANTEEORPOSSIBLECLAIMS.
32
www.horecaworld.nl
www.horecaworld.nl ENGLISH
4. PRODUCT DETAILS
The machine which you have just purchased is specially designed for cleaning tableware, glassware and
other items of kitchenware, used in the hotel and catering sector. As it is an industrial product, it has a high
dishwashing capacity. The characteristics of the product are listed below to help you understand your machine
better.
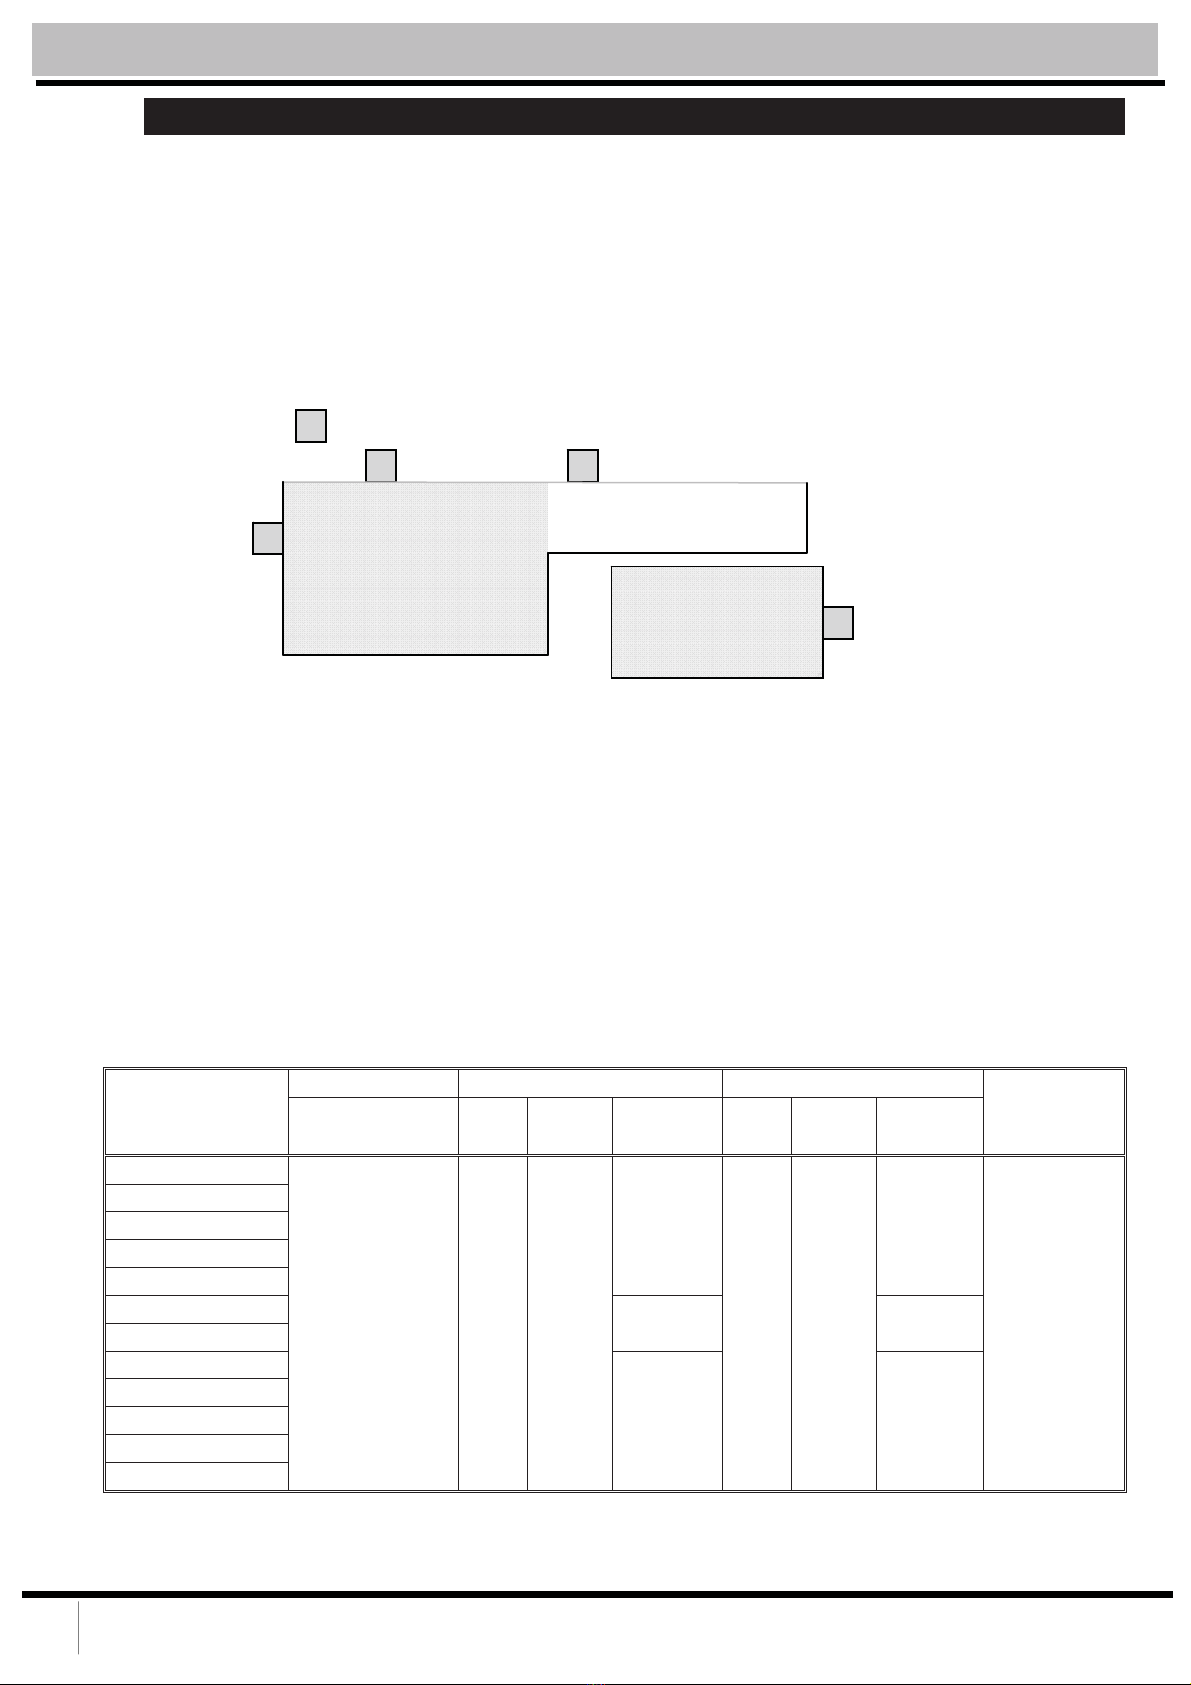
All the appliances have a nameplate which identifies the appliance and indicates its technical
characteristics.
1: NAME OF APPLIANCE4: ELECTRICAL SPECIFICATIONS
2: APPLIANCE REFERENCE5: WATER SPECIFICATIONS
3: SERIAL NUMBER + DATE OF MANUFACTURE
These details should be quoted if the technical service is called.
4.1 TECHNICAL SPECIFICATIONS
Table 1 shows some of the specifications of the www.horecaworld.nl dishwashers, for example the
heating powers and water consumption (please refer to your model).
Table1.Generalspecifications
MODEL
VOLTAGEBOILERTANKWATER
CONS.
(l/cycle)
SUPPLYCAP.TEMP.POW.
(W)CAP.TEMP.POW.
(W)
EASYͲ500
230V1N50Hz
230V1N60Hz
230V350Hz
230V360Hz
400V3N50Hz
400V3N60Hz
7L85϶C
2800
25L60϶C
2800
2.7
EASYͲ500DD
EASYͲ500B
EASYͲ500W
EASYͲ500WB
EASYͲ500DDUK22002000
EASYͲ500WUKB
EASYͲ500HP
60002800
EASYͲ500HPDD
EASYͲ500HPB
EASYͲ500HPW
EASYͲ500HPWB
Table 2 shows the more specific specifications of each model such as the number of cycles and the
cycle length in addition to other specifications (please refer to your model).
5
1
23
4

33
www.horecaworld.nl
www.horecaworld.nl ENGLISH
Table2.Specificcharacteristics.
MODEL
WASHCYCLES
BREAK
TANK
DRAINͲ
AGE
PUMP
DETG.
DOSETHERM
OSTOP
WASH
CAPACITY
(baskets/h)
N
oLENGTH(s)
EASYͲ500
1120
Ͳ
Ͳ Ͳ
Ͳ
30
EASYͲ500DDͲYES
EASYͲ500DDUKͲYES
EASYͲ500BYESͲ
EASYͲ500WYES
Ͳ YES
EASYͲ500WBYESYES
EASYͲ500WUKBYESYES
EASYͲ500HP
290/180
Ͳ
Ͳ Ͳ
40
EASYͲ500HPDDͲYES
EASYͲ500HPBYESͲ
EASYͲ500HPW YESͲ YES
EASYͲ500HPWB YESYES
The following table lists the specifications required for the power cable for the correct installation of the
machine.
Table3.Electricalspecificationsoftheinstallation.
Table 4 shows the measurements of the dishwasher.
Table4.Measurementsofthemachine
MODELWIDTHDEPTHHEIGHT
EASYͲ500,EASYͲ500HP
(DD/DDUK/B/W/WB/WUKB) 600mm 600mm820mm
MODELSUPPLY
VOLTAGE
MAXELECTRIC
POWERAMP.
MAIN
SWITCH
FUSE
NET
WEIG
HT
EASYͲ500
(DD/B/W/WB)
230V1N~50/60Hz3.4KW15A25A
54Kg
400V3N~50/60Hz15A25A
EASYͲ500DDUK230V1N~50/60Hz2.8KW12,5A16A
EASYͲ500WUKB
EASYͲ500HP
(DD/B/W/WB)
230V1N~50/60Hz
6.6KW
29A32A
60Kg
230V3~50/60Hz18A25A
400V3N~50/60Hz12A16A

34
www.horecaworld.nl
www.horecaworld.nl ENGLISH
5. INFORMATION FOR THE INSTALLER
This information is exclusively for the installer of the machine to avoid problems during installation. The
installer must be qualified to install the product. Incorrect installation of the product could damage the machin-
ery.
5.1 INSTALLATION
To install correctly, please observe the manufacturer's specifications.
5.1.1 Removal of packaging
Remove packaging from the machine and check for damage during transportation. If any damage is
observed, immediately notify the supplier and the transport company. In the event of doubt, do not use
the machine until the problem has been assessed.
PACKAGING(PLASTIC,EXPANDEDPOLYURETHANE,STAPLES,ETC…)
MUSTNOTBELEFTINTHEREACHOFCHILDREN,THEYAREA
POTENTIALHAZARD.
The machine should be moved using a fork-lift truck or similar to avoid damage to the structure.
Transport the machine to the installation location and then remove packaging.
All the packaging can be recycled. Dispose of packaging correctly.
5.1.2 Mounting the machine
The machine has adjustable legs to allow it to be perfectly levelled (see diagram). For
optimum operation, it is essential that the machine is correctly levelled. This appliance
is only suitable for use with a fixed connection. The flooring on which the machine is
to be installed must be able to bear the full weight of the machine.
INSPECTFINALLOCATIONOFTHEMACHINEPRIORTOINSTALLATION
TOPREVENTDAMAGEDURINGUSE.
5.1.3 Electrical connection
An AUTHORISED TECHNICIAN should always carry out the electrical connection of the appliance.
The legal standards in force in each country regarding connection to the mains should be taken into
account.
¾Check that the mains voltage corresponds to that indicated on the nameplate.
¾The electric cable should be flexible, with an oil-proof covering, and it should not weigh less
than the cable in an ordinary sleeve made of standard polychloroprene or an equivalent syn-
thetic elastomer (H05RN-F).

35
www.horecaworld.nl
www.horecaworld.nl ENGLISH
¾The machine you have purchased is supplied with a power cable suitable for the electrical
specifications of the machine.
¾An easily accessible switch device should be installed next to the appliance for all the phases,
with a minimum gap of 3 mm between contacts. This switch should be used to disconnect the
appliance during installation, repair, cleaning and maintenance work. The switch should have
fuses suitable for use with the rated current (A) of the machine. Alternatively, a suitable mag-
neto-thermal switch may be used.
¾The appliance must be earthed using a differential protector. The manufacturer will not be
held liable for damage originated by failure to observe this requirement.
¾If any faults are observed during the installation, the supplier should be notified immediately
for the subsequent analysis of the machine.
THEMANUFACTURERWILLNOTBEHELDLIABLEFORANYPERSONAL
ORMATERIALDAMAGETOTHEMACHINERESULTINGFROMTHE
INCORRECTINSTALLATIONORIGINATEDBYFAILURETOCOMPLYWITH
THEMANUFACTURER’SSPECIFICATIONS.
5.1.3.1 Configurationofmachinevoltage.
The voltage configuration of the machine is stipulated on the nameplate. If the mains voltage supply is
not the same as that stipulated on the machine, it has a terminal box from which the different voltage
options can be configured (230V 1N, 230V 3 or 400V 3N). In the event of a change, the supplier must
be notified to ensure that the machine’s guarantee remains valid. To access the terminal holder, undo
the machine’s cover (See figures 1, 2, 3).
ONLYAUTHORISEDPERSONNELmaychangetheelectrical
configuration.Usersmaynottamperwiththemachinery.
R
STN
a
mg
n
am/ve
nmg
a
Figure3.400V3NConnection
a
am/ve
ng
m
a
TSR
Figure2.230V3Connection
a
g
m
n
am/ve
ng
m
a
NR
Figure1.230V1NConnection

36
www.horecaworld.nl
www.horecaworld.nl ENGLISH
5.1.3.2 Electricalcircuitdiagram

37
www.horecaworld.nl
www.horecaworld.nl ENGLISH

38
www.horecaworld.nl
www.horecaworld.nl ENGLISH

39
www.horecaworld.nl
www.horecaworld.nl ENGLISH

40
www.horecaworld.nl
www.horecaworld.nl ENGLISH
5.1.3.3 Electricalcircuitdiagramlegend.

41
www.horecaworld.nl
www.horecaworld.nl ENGLISH
5.1.4 Hydraulic connection.
The new hoses supplied with the appliance should be used (do not reuse old hoses). Before connect-
ing the machine to the water supply, the water quality should be tested. Please refer to table 5.
Table5.Recommendedwaterquality:
RECOMMENDED WATER QUALITY
Hardness
5 - 10϶fH (French degrees)
7 - 14϶eH (English degrees)
9 - 18϶dH (German degrees)
Conductivity 400 - 1000 μS/cm
Water pH 6.5 – 7.5
Chloride concentration < 150 mg/litre
Chlorine 0.2 – 0.5 mg/litre
Impurities < 0.08 mm
Water temperature Max. 60 ϶C
If the water hardness is more than 10 ϶fH (French degrees), a descaler must be installed. In addition
to water quality, the pressure of the mains water supply at the installation must be considered. This is
important to ensure the machine operates correctly. (See table 6)
Table6.Requiredwaterpressure
DYNAMIC
PRES-
SURE
Minimum Maximum
BAR KPaKg/cm
2
PSI BAR KPaKg/cm
2
PSI
2 200 2.03 29 3.5 350 3.56 50.76
If the water pressure is higher than the recommended pressure, a pressure regulator must be
mounted at the main water output (see figure 4). If the mains water pressure is lower than the recom-
mended pressure, a pressure pump should be mounted at the mains water supply outlet (see figure
5).
S ĺShut-off cock
F ĺFilter
H ĺWater hose
E ĺElectrovalve
B ĺElectric pressure pump
Figure4.Directconnectionofwaterinputhose.Figure5. Pressurepumpconnection
42
www.horecaworld.nl
www.horecaworld.nl ENGLISH
The following requirements are necessary for the correct hydraulic installation of the machine.
¾The hydraulic circuit must be fitted with a valve to shut-off the water supply.
¾Check that the mains pressure is within the range indicated in table 6.
¾To optimise the working of the machine, the manufacturer recommends the water tempera-
ture at the machine intake is within the range indicated in table 7.
Table7.Intakewatertemperature
¾If using hot water, the water temperature must not exceed 60 ϶C / 140 ϶F.
¾All the machines should have a ¾” screw-on connection
FAILURETOCOMPLYWITHTHESERECOMMENDATIONSMAY
SERIOUSLYDAMAGETHEMACHINEANDCOULDRESULTININJURY.
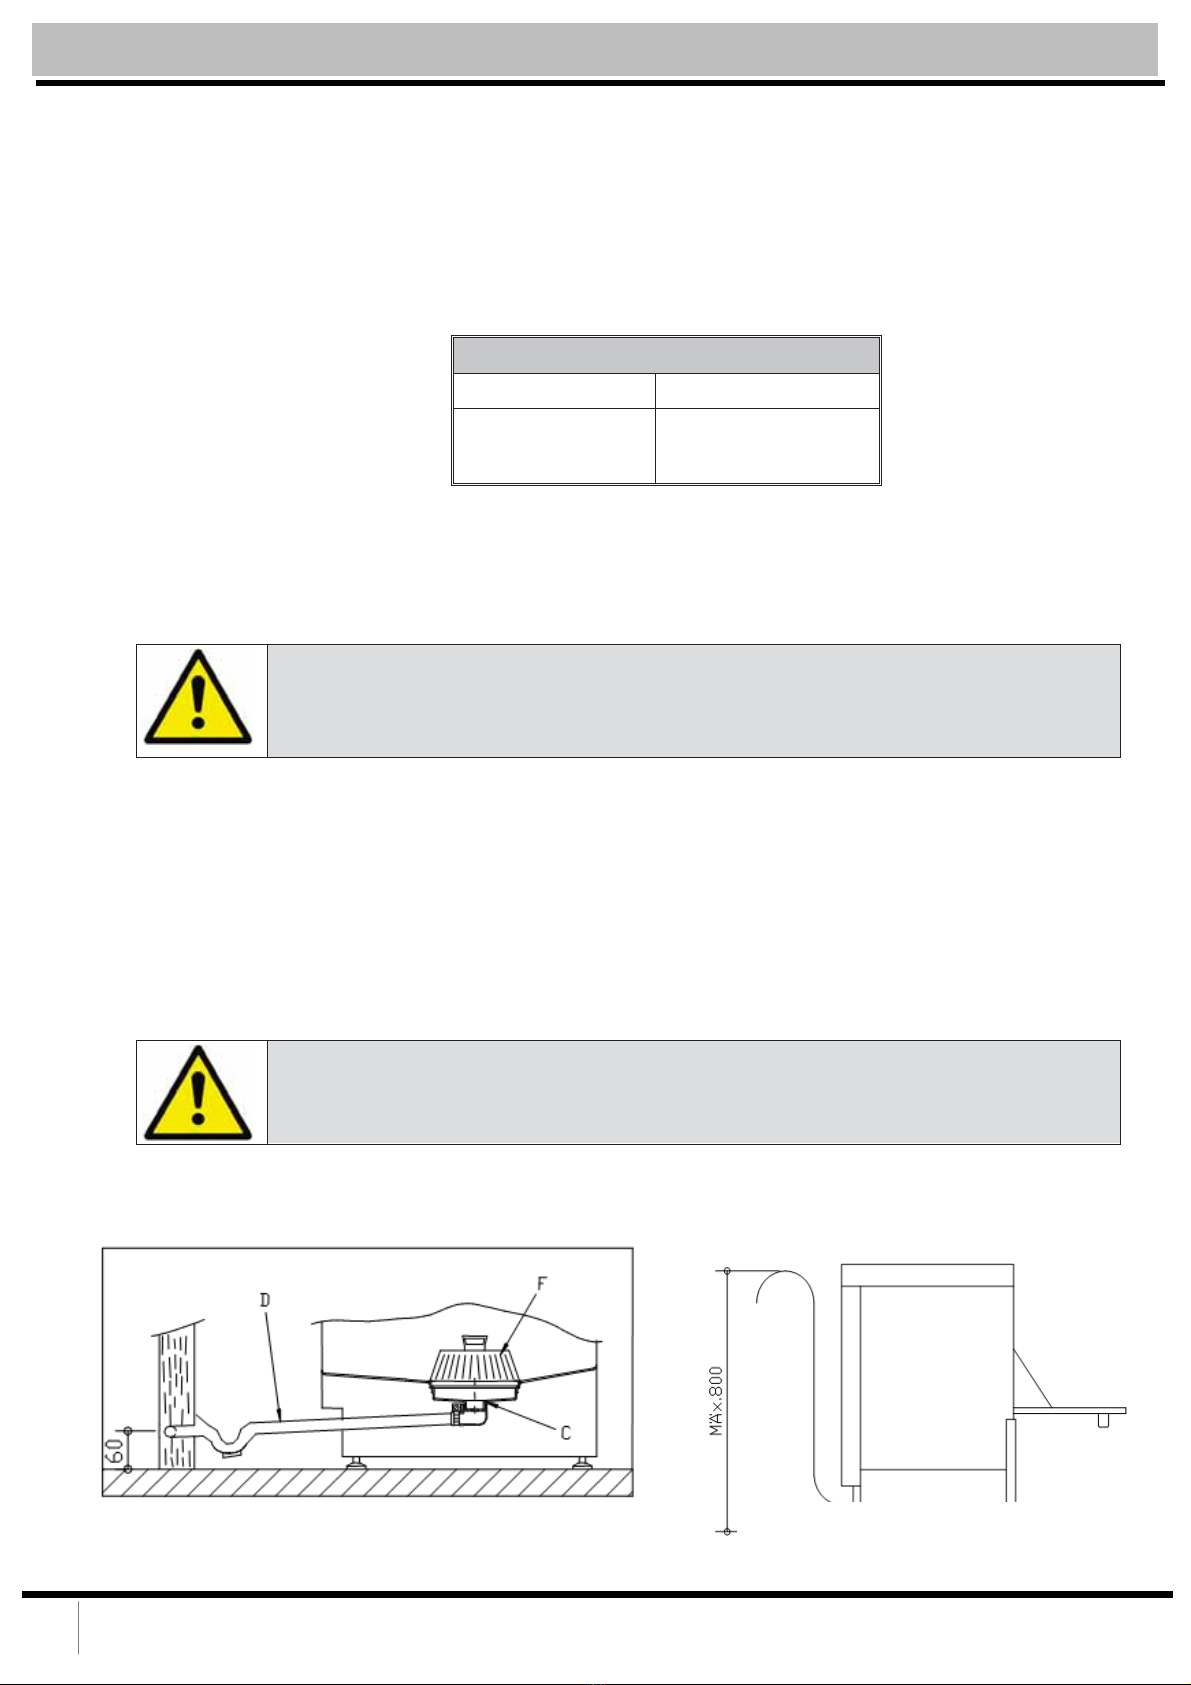
5.1.5 Drainage connection
The water draining from the machine must flow freely and therefore the drainage pipe should be lower
than the drainage outlet. If this is not possible, a drainage pump is required, but not higher than 800
mm (see figure 6). In this case, the pump may be requested at the time of purchase or subsequently.
THEDRAINAGEPUMPMAYBEONLYBEINSTALLEDBYAUTHORISED
PERSONNEL.THEMANUFACTURERDOESNOTACCEPTLIABILITYINTHE
EVENTOFINCORRECTINSTALLATION.
5.1.6 Rinse aid dispenser
Intake water temperature
Cold water Hot water
5϶C < Temp < 35϶C
41϶F < Temp < 95϶F
50϶C < Temp 60϶C
122϶F < Temp < 140϶F
Figure7. DrainageinstallationataheightFigure6.Drainageinstallation
43
www.horecaworld.nl
www.horecaworld.nl ENGLISH
The machine is fitted with a rinse aid dispenser. The dispenser is mechanical but an electric dispenser
can be requested.
5.1.6.1 Mechanicalrinseaiddispenser.
Operation: This dispenser absorbs the rinse aid when it detects a loss in pressure during rinsing.
That is, when the filling solenoid valve closes, a vacuum is created that makes the rinse aid dispenser
absorb the fluid to which it is connected.
Settings: The dispenser should be adjusted when the machine is installed to ensure that the wash is
optimised from the start. The setting should be adjusted according to the type of rinse aid and the wa-
ter hardness.
5.1.6.2 Electricrinseaiddispenser.(ONLYMODELW)
Operation: This dispenser absorbs the rinse aid when the electronic programmer gives the order to
rinse. The rinse aid is inserted in the BREAK TANK, to then be mixed with the rinse water from the
boiler.
Settings: The dispenser should be adjusted when the machine is installed to ensure that the wash is
optimised from the start. The setting should be adjusted according to the type of rinse aid and the wa-
ter hardness.
Gastrorecommendsthattherinseaidproductandthedispenser
settingaredefinedbyatechnicianspecialisedintheuseofchemical
productsinordertoensureamoreefficientwash.
5.1.7 Detergent dispenser (Optional).
This ensures that the correct measure of detergent is supplied to the machine.
Installation: the detergent dispenser output must be in the tub of the machine, above the maximum
water level. Please see the electrical circuit diagram for details of the electrical connection. The tub
should have an opening in which the dispenser is fitted. If this is not the case, make a Ø12 hole above
the maximum water level to mount the corresponding bushing.
Operation: the detergent dispenser is activated when the machine is taking water, whether it is in
rinse cycle or whether it is filling.
Settings: the measure of detergent used should be adjusted when the component is installed to en-
sure that the wash is optimised from the start.
Gastrorecommendsthatthedetergentandthedispensersettingare
definedbyatechnicianspecialisedintheuseofchemicalproductsin
ordertoensureamoreefficientwash.
5.1.8 Pressure pump.
If the mains water pressure is less than 2 bar (200 kPa), Gastro offers the option of installing a pres-
sure pump. If the pressure is less than 2 bar, the machine may operate incorrectly. The
pressure

44
www.horecaworld.nl
ww.horecaworld.nl ENGLISH
pump hydraulic connection is shown in figure 5. If the machine is a version W machine, it is not nec-
essary to use a pressure pump.
If the mains water pressure is less than 2 bar (200 kPa), please contact your supplier or the manufac-
turer to request the PRESSURE PUMP KIT.
Thepressurepumpmustonlybeinstalledbypersonnelauthorisedby
themanufacturer,andthemanufacturerdoesnotacceptliabilityinthe
eventofincorrectinstallation.
5.1.9 Recycling.
The product packaging consists of:
xA wooden pallet
xCardboard
xA polypropylene band
xExpanded polyethylene
All the packaging used around the machine can be recycled; The correct disposal of these products
will help to protect the environment. For further information regarding the recycling of these products,
please refer to the relevant office of the local body. Dispose of these materials in accordance with cur-
rent legislation.

45
www.horecaworld.nl
www.horecaworld.nl ENGLISH
6. INFORMATION FOR THE USER
BEFOREUSINGTHEAPPLIANCEFORTHEFIRSTTIME,PLEASEREADTHEINSTRUCͲ
TIONS GIVENINTHISMANUALCAREFULLY.
THISAPPLIANCEISEXCLUSIVELYFORPROFESSIONALUSEANDMUSTBEUSEDBYQUALIͲ
FIEDPERSONNEL.
This section provides all the information the user requires to get the most out of the product supplied
by Gastro. Please read this section carefully to get the best out of your dishwasher. In the event of doubt,
please contact your supplier.
6.1 Operation
The steps required to optimise the operation of your dishwasher are shown below, with all the available
options.
6.1.1 Control panel symbols
Amberlight,machineon.
Pilotlightandbutton,machineinwashcycle.Washcycle
starting.
Greenlight,machineready.
Figure8. EASYͲ500controlbutton
MACHINEOFF
120SCYCLEDRAINAGECYCLE
(OnlyforEASYͲ500B,WBmodels

46
www.horecaworld.nl
www.horecaworld.nl ENGLISH
6.1.2 Switching on the machine
Before switching on the machine, check the following:
9The mains switch must be on.
9The water stop cock must be open.
9There must be water in the mains network.
9The corresponding filters must be in place.
9The overflow should be mounted in place.
To switch on the machine, just move the selector switch from 0 to any of the wash cycles. (See fig-
ure).
6.1.2.1 Fillingandheating.
When the machine is switched on, it will start to fill. First the rinse boiler is filled and then the wash
tub. The filling process may last a few minutes. Once the wash tub is full, the boiler starts to heat up
and when it is hot, the tub is heated. Although it is possible to start the wash process, this is not rec-
ommended as the water inside the machine is not yet at the ideal temperature. When the machine
has reached the ideal temperature for washing the dishes properly, the green light comes on, advising
the user that the machine is ready.
The required temperature of the machine is 85 ϶C / 185 ϶F in the rinse boiler and 60 ϶C / 140 ϶F in
the wash tub. Gastro recommends that the water in the dishwasher is changed every 40/50
washes or twice a day.
Thedoormustbeclosedforthemachinetostartfilling.Forsafety
reasons,ifthedoorisopen,themachinewillnotfill.
MACHINEOFF
90SCYCLE
Figure9. EASYͲ500HPcontrolbutton
180SCYCLE
DRAINAGECYCLE
(OnlyforEASYͲ500HPB,WBmodels)
Table of contents


