manuals.online logo
Brands
  1. Home
  2. •
  3. Brands
  4. •
  5. GE
  6. •
  7. Garbage Disposal
  8. •
  9. GE Batch-feed Series Installation instructions

GE Batch-feed Series Installation instructions

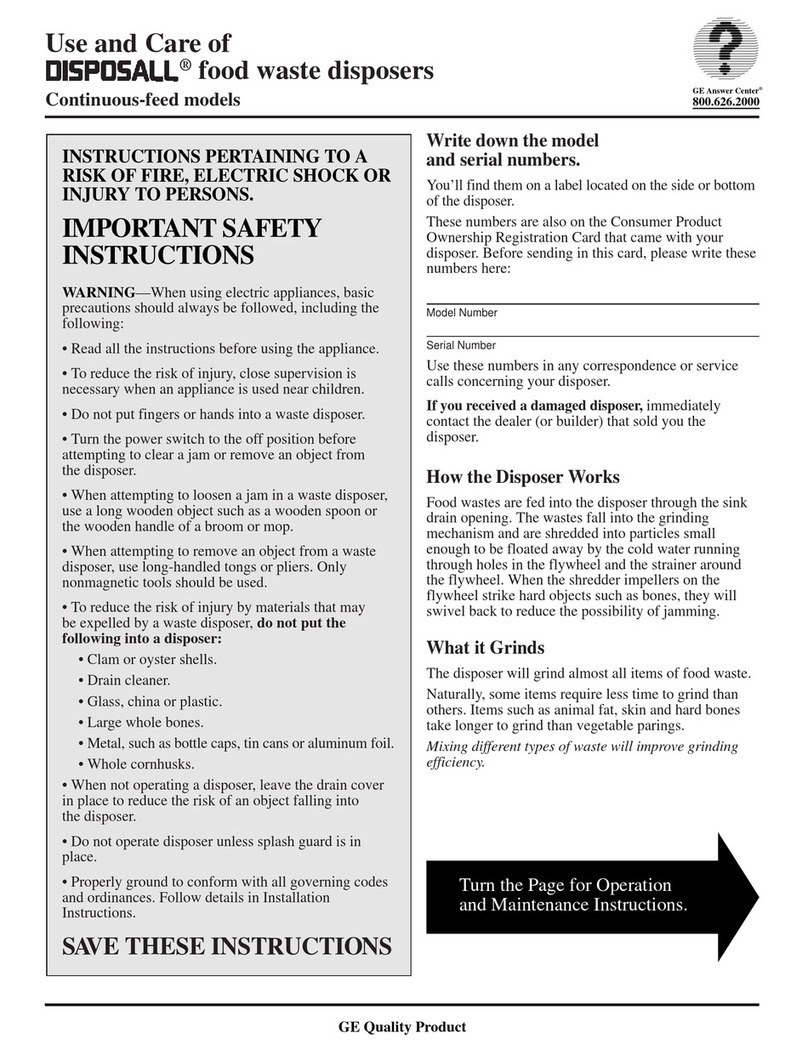
Use and Care of
D15POSALL”
food
waste
dkposers
—
Batih-feed
modek
~S~U~IONS
PE~M~G
~
A
~K
OF
F=,
EL~WC
SHOCK OR
I-Y
~
PERSONS
WO~ANT
S~TY
~STRUCTIONS
WAR~G—When
using electric appliances. basic
precautions should always be followed, including
the following:
●
Read all the instructions before using the appliance.
●
To reduce the risk of injury, close supervision is
necessary when an appliance is used near children.
. Do not put fingers or hands into a waste disposer.
●
Turn the power switch to the off position before
attempting to clear a jam or remove an object from
the disposer.
. When attempting to loosen a jam in a waste disposer,
use a long
-en
object such as a wooden spoon or
the
wooden
handle
of a broom or
mop.
. When attempting to remove an object from a waste
disposer, use long-handled tongs or pliers.
Ody
nonmagnetic tools should be used.
Q
To
rduce
the risk of injury by materials that may
be expend by a waste disposer,
do not put the
following into a disposer:
●
Clam or oyster shells.
●
Drain cleaner.
●
Glass. china or
plastic.
●
Large
whole bones.
●
Med.
such as bottle caps, tin cans or aluminum
fofl.
●
Whole
cornhusks.
. When not operating a disposer. leave the drain cover
in place to reduce the risk of an
objwt
falling into
the disposer. -
. Properly ground to conform with all governing codes
and ordinances.
Follow
details in Instigation
Instructions.
Write Down the Model
and Serial Numbers
YOU’11
find
them
on
a
labe]
located
on
the
side
or
bottom
ofthc
disposer.
These numbers are also on the Consumer Product
Ownership Registration Card which came with your
disposer.
Before
sending in this card,
please
write these
numbers
here.
Model Number
Serial Number
U
SC
these numbers
in
any
correspondence or service
calls concerning your disposer.
If
you
rweived
a
damag~
dispser,
immediately
contact
the
dealer
(o
r
builder)
hat
sold
you
the disposer.
How the
Dispser
Work
Fd
wastes are fed into the
dis~ser
through the
sink drain
opning.
The
wastes
fa]l
into the grinding
mechanis
m
and are
shr~d~
into
pafiic]es
small enough
to
k
floated away by the
cold
~ter
running through
holes in the
flywheel
and the
stminer
around the
flywheel.
When
the
shr~der
implle~
on the flywheel
strike
hard
objec~
such
as
~nes,
they
wil]
swivel back to
reduce the possibility of jamming.
What It Grinds
The disposer
wll]
grind
almost
all
items of food waste.
Naturally, som
e
items
require
less
time to grind than
others.
Items
such
as
anlma]
fat,
stin
and hard bones take
longer to grind than vegetable parings.
Mixing
different
?Pes
of
~s[e
w1l
improve grinding
eflcienq.
A Quality
hduct
of
GE~RAL
ELE~RIC
COWANY
HOW
~
OPEWTE
YO~
DEPOS~
WARN~G-To
reduce the risk of
fire,
electric shock, or injury
to persons, read the IMPORTANT SAFETY
lNSTRU~IONS
before operating this appliance.
❑
Remove
the stopper.
❑
Scrape food waste into the
disposer
through the sink drain but
DO NOT PACK
~
TIGHTLY.
~~R
PUSH
~GERS
OR
W-
~ED~G
~~
BEYOND THE
SW~H
PLUNGER.
❑
~rn
on
coti
water to
ftdl
flow.
Cold water hardens greases so they
can be ground up and floated
away
through the drain. A rapid flow of
cold
water assists grinding, cleans
out the disposer, carries food waste
through the drain lines and helps
kwp
pipes clean.
ALIGN
SMALLEST
SLOT WITH
PLUNGER
❑ To start disposer,
insefi
stopper into sink opening so one of
the two
s-11
slots lines up with the
switch plunger inside the neck of
the disposer. Push down
fitiy.
No
twisting is required.
❑
Run the disposer for 30
seconds after shredding stops
to
allow all food waste to be. flushed
through the drain line.
•~
shut the disposer off, lift
the stopper.
SEAL
1
DRAIN
POSITION POSITION
To
fill
sW,
insefl
stopper so the
k~esr
slot lines up with the switch
plunger. Stopper can now be pushed
down to
A
position without
activating disposer.
To
drain
sink, insert stopper so the
medium size
slot is
lined
up with
plunger. Water can drain, but
tableware, etc. cannot be
accidendly
dropped into disposer.
HOW
to
Speed
Up
Food W-Disposal
Cut up or break up large bones,
melon rinds, grapefruit skins, com
cobs and fibrous materials such as
pineapple or vegetable stalks before
putting them into your disposer.
Items such as large bones and
fibrous husks like lima bean pods
require considerable cutting time in
your disposer. You may prefer to
put them in the trash can or trash
compactor.
Do not put
lather,
cloth,
stdng,
rubber,
mfood
shells, artichoke
leaves or corn husks into your
disposer. These
items can cause
nuisance tripping of the motor
overload control.
USER
MMNTENNCE
~STRUCTIONS
Care and
Cleani~
Your disposer is permanently
lubricated. No
oiling is required
during the life of the unit.
Your
disposer is self<leaning
when used properly.
Always use a
rapid flow of cold water and allow
the unit to run long enough to do
a thorough job of grinding and
flushing the food waste throughout
each operation.
To deodorize your disposer,
should an odor develop in the unit,
run orange or lemon rind through
the disposer. This will dispel
unpleasant odors and leave the
sink with a clean, sweet smell.
Grinding a dozen or so ice cubes
sptied
with a generous amount of
regular household scouring powder
(not drain cleaner) also has a
cleaning, deodorizing
eff~t.
Do
not use water when grinding
ice cubes.
To
keep drain lines
clan,
flush
out the disposer once a day as
follows:
1. Operate disposer to eliminate
any
fd
waste in disposer.
2. Seal sink drain and run two to
three inches of inter in the sink.
3. Remove sink drain stopper and
allow sink to drain naturally.
=
m
Questiom?
-~:
Use This
~oblem
Solver
-
Your disposer is equipped with a
thermoelectric control which protects
the motor when overloading occurs.
When overloaded. the motor will
automatically stop.
If
disposer stops during use:
●
Remove the stopper.
. Remove cause of overload. See
CAUTION below.
. Wait a few minutes for the
overload control to
cool.
●
Press reset button on the bottom
of the disposer.
●
Insert the stopper to restart
disposer.
Overloading can be caused
by:
●
Packing food waste into disposer
too tightly.
●
Metallic object falling into the
unit and jamming the flywheel.
. Putting items such as leather,
cloth, string, rubber, seafood shells,
artichoke leaves or
com
husks into
your disposer.
If the disposer will not restart after
you have removed the apparent
cause, remove the splash guard and
use a lever such as a wooden spoon
or wooden broom or mop handle to
turn the flywheel to free the jam.
~UTION:
● NEVER PUT YOUR HAND
IN~
THE DISPOSER.
●
ALWAYS USE
~NGS
OR A LARGE SPOON
TO REMOVE
OB~~
PROM THE DISPOSER.
Iifi
REMOVE
S~PPER
If disposer will not start:
●
Remove the stopper.
. Remove splash guard.
●
Use a large wooden spoon or broom
handle as a lever to rotate flywheel.
If flywheel rotates freely:
. Depress reset button
unti
I it
clicks and remains depressed.
●
If reset button is already
depressed. check for a tripped
circuit breaker or a burned-out fuse.
If
fl}wheel
does
not
rotate freely:
●
Check to see if a foreign object
such as a nail or
a
metal
beverage-
can tab has lodged between the
flywheel and the shredding ring. If
so. dislodge the object by rotating
the flywheel with a lever such as
a
broom handle
or
large wooden
spoon and remove the object.
If disposer makes an unusually
loud noise:
●
This is normal when grinding
bones or fruit pits.
●
Accidental entry of a spoon,
bottle cap or other similar objects
can result in unusually loud noise.
To correct:
●
Remove the stopper.
●
Turn water off.
. Wait until flywheel stops.
. Remove object with tongs or a
tong-handled wooden spoon.
If you need more help..
.-11,
toll free:
The
GE
hswer
Cente@
8~262~
consumer information center
If You Need Service
To obtain service, see your warranty
on the back page of this leaflet.
We’re proud of our service and want
you to be pleased. But if for some
reason you are not happy with
the
service you receive, here are three
steps to follow for further help.
FIRST, contact the people who
serviced your appliance. Explain
why you are not pleased. In most
cases, this will solve the problem.
NEXT. if you are still not pleased,
write all the details—including
your phone number-to:
Manager. Consumer Relations
General Electric
Appliance Park
Louisville, Kentucky 40225
FINALLY. if your problem is still
not resolved,
write:
Major Appliance
Consumer Action Panel
20 North
V’acker
Drive
Chicago. Illinois
H
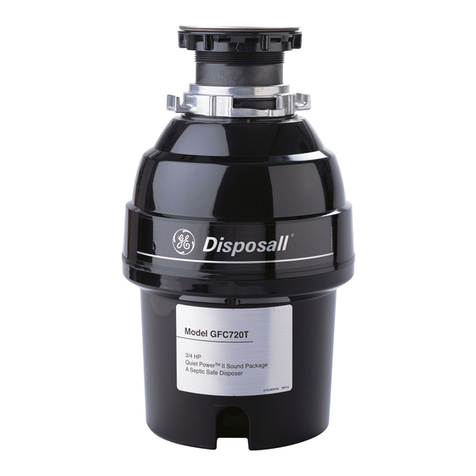
YOUR
DISPOSALL@
Staple sales slip or
cancelled
check
FOOD WASTE DISPOSER
here. Proof of original purchase date
WARRANTY is
needed to obtain service
under warranty.
WHAT IS COVERED
FULLFIVE-YEARWARRANTY
This warranty is extended to
For five years from date of original the original purchaser and any
purchase, we will provide, free of succeeding owner for products
charge, parts and service labor
purchased for ordinary home use
in your home to repair or replace
in the 48 mainland states, Hawaii
any
pafi
of
the
djsposer
that fails
and Washington,
D.C.
In Alaska the
because of a manufacturing defect.
warranty is the same except that it
If we determine the unit should be
is LIMITED because you must pay
to ship the product to the service
replaced, rather than repaired, the
shop or for the service technician’s
warranty on the replacement unit travel costs to your home.
will be limited to the unexpired
term of the original warranty. All warranty service will be
provided by our Facto~ Service
Centers or by our authorized
Customer
Car@
servicers during
normal working hours.
Should your appliance need
service, during warranty period or
beyond, call 800-GE-CARES
(800-432-2737).
WHAT IS NOT COVERED
●
Service trips to your home to teach
●
Replacement of house fuses or
you how to use the product. resetting of circuit breakers.
Read
your Use and Care material.
●
Failure of the product if it is used
If you then have any questions for other than its intended
about operating the product, purpose or used commercially.
please contact your dealer or our
Consumer Affairs office at the
c
Damage to product caused
by accident, fire, floods or acts
address below, or call, toll free: of God.
GE Answer
Cente@
800.626.2000 WARRANTOR IS NOT
consumer information service
RESPONSIBLE FOR
CONSEQUENTIAL DAMAGES.
. Improper installation.
If you have an installation problem,
contact your dealer or installer.
You are responsible for providing
adequateelectrical,plumbing and
other connecting facilities.
Some states do not allow the exclusion or limitation of incidental or consequential damages, so the above limitation or exclusion
may not apply to you. This warranty gives you specific legal rights, and you may also have other rights which vary from state to state.
To know what your legal rights are in your state, consult your local or state consumer affairs office or your state’s Attorney General.
Warrantor: General Electric Company
If further help is needed concerning this warranty, write:
Manager+onsumer
Affairs, GE Appliances, Louisville, KY 40225
This book is printed on recycled paper.
L
Part No. 560C247P02
Pub
No.
49-5377-1
BATCH-FEED MODELS
9-94
CG

Other GE Garbage Disposal manuals

GE Disposall GFC300F Series Original instructions

GE

GE Disposall GFC300F Series Original instructions

GE UCG1600L How to use

GE

GE UCG1600L How to use

GE GFC1000Y User guide

GE

GE GFC1000Y User guide

GE Disposall GFC1020T Owner's manual

GE

GE Disposall GFC1020T Owner's manual

GE ZCGP150LII INSTALL User manual

GE

GE ZCGP150LII INSTALL User manual

GE GFB760V User manual

GE

GE GFB760V User manual

GE Disposall GFC520V Owner's manual

GE

GE Disposall GFC520V Owner's manual

GE Disposall GFC530T Owner's manual

GE

GE Disposall GFC530T Owner's manual

GE Disposall GFC720T Owner's manual

GE

GE Disposall GFC720T Owner's manual

GE GFB760F Original instructions

GE

GE GFB760F Original instructions

GE Disposall GFB1050V Installation instructions

GE

GE Disposall GFB1050V Installation instructions

GE GFC530F - DirectWire 1/2 HP Continuous Feed... User manual

GE

GE GFC530F - DirectWire 1/2 HP Continuous Feed... User manual

GE Disposall GFC320 Series Operating instructions

GE

GE Disposall GFC320 Series Operating instructions

GE Disposall GFC325T Owner's manual

GE

GE Disposall GFC325T Owner's manual

GE GFC501VGB Series Original instructions

GE

GE GFC501VGB Series Original instructions

GE Disposall GFC535T Owner's manual

GE

GE Disposall GFC535T Owner's manual

GE Disposall GFC320V Owner's manual

GE

GE Disposall GFC320V Owner's manual

GE Disposall GFB1000F Series Original instructions

GE

GE Disposall GFB1000F Series Original instructions

GE Disposall GFC320 Series Operating instructions

GE

GE Disposall GFC320 Series Operating instructions

GE Disposall GFC300F Series Original instructions

GE

GE Disposall GFC300F Series Original instructions

GE DISPOSALL GREEN05 Operating instructions

GE

GE DISPOSALL GREEN05 Operating instructions

GE GFC530F - DirectWire 1/2 HP Continuous Feed... User manual

GE

GE GFC530F - DirectWire 1/2 HP Continuous Feed... User manual

GE Disposall GFB760 Series User manual

GE

GE Disposall GFB760 Series User manual

GE Disposall GFC535V Owner's manual

GE

GE Disposall GFC535V Owner's manual

Popular Garbage Disposal manuals by other brands

SIGURO SGR-WB-M645SU operating instructions

SIGURO

SIGURO SGR-WB-M645SU operating instructions

Emerson InSinkErator Grind2Energy Service manual

Emerson

Emerson InSinkErator Grind2Energy Service manual

KitchenAid KCDC200 Use and care guide

KitchenAid

KitchenAid KCDC200 Use and care guide

Tramontina 94522/003 Quick user guide

Tramontina

Tramontina 94522/003 Quick user guide

Jatco J-5000 SM-P 200 ABV Installation instruction

Jatco

Jatco J-5000 SM-P 200 ABV Installation instruction

Mikasa MVH-R100 Service manual

Mikasa

Mikasa MVH-R100 Service manual

Frigidaire Food Waste Disposer use & care

Frigidaire

Frigidaire Food Waste Disposer use & care

Waste King 1001 Dimensions

Waste King

Waste King 1001 Dimensions

Weber mt CR 6 Hd Operating and maintenance manual

Weber mt

Weber mt CR 6 Hd Operating and maintenance manual

Kraus KWD100-75 installation manual

Kraus

Kraus KWD100-75 installation manual

Biocare 375SIMPLE instruction manual

Biocare

Biocare 375SIMPLE instruction manual

Anzzi GD-AZ212 Install & Operation Manual

Anzzi

Anzzi GD-AZ212 Install & Operation Manual

IMC 04X Series Installation, operating and maintenance manual

IMC

IMC 04X Series Installation, operating and maintenance manual

Franke TF LO manual

Franke

Franke TF LO manual

ORKEL Dens-X Compactor user manual

ORKEL

ORKEL Dens-X Compactor user manual

Zanussi DU 4400 Instruction booklet

Zanussi

Zanussi DU 4400 Instruction booklet

Mistral Ultra 10504 Specifications

Mistral

Mistral Ultra 10504 Specifications

American Standard 1397464 instruction manual

American Standard

American Standard 1397464 instruction manual

manuals.online logo
manuals.online logoBrands
  • About & Mission
  • Contact us
  • Privacy Policy
  • Terms and Conditions

Copyright 2025 Manuals.Online. All Rights Reserved.