MICROWAV~G
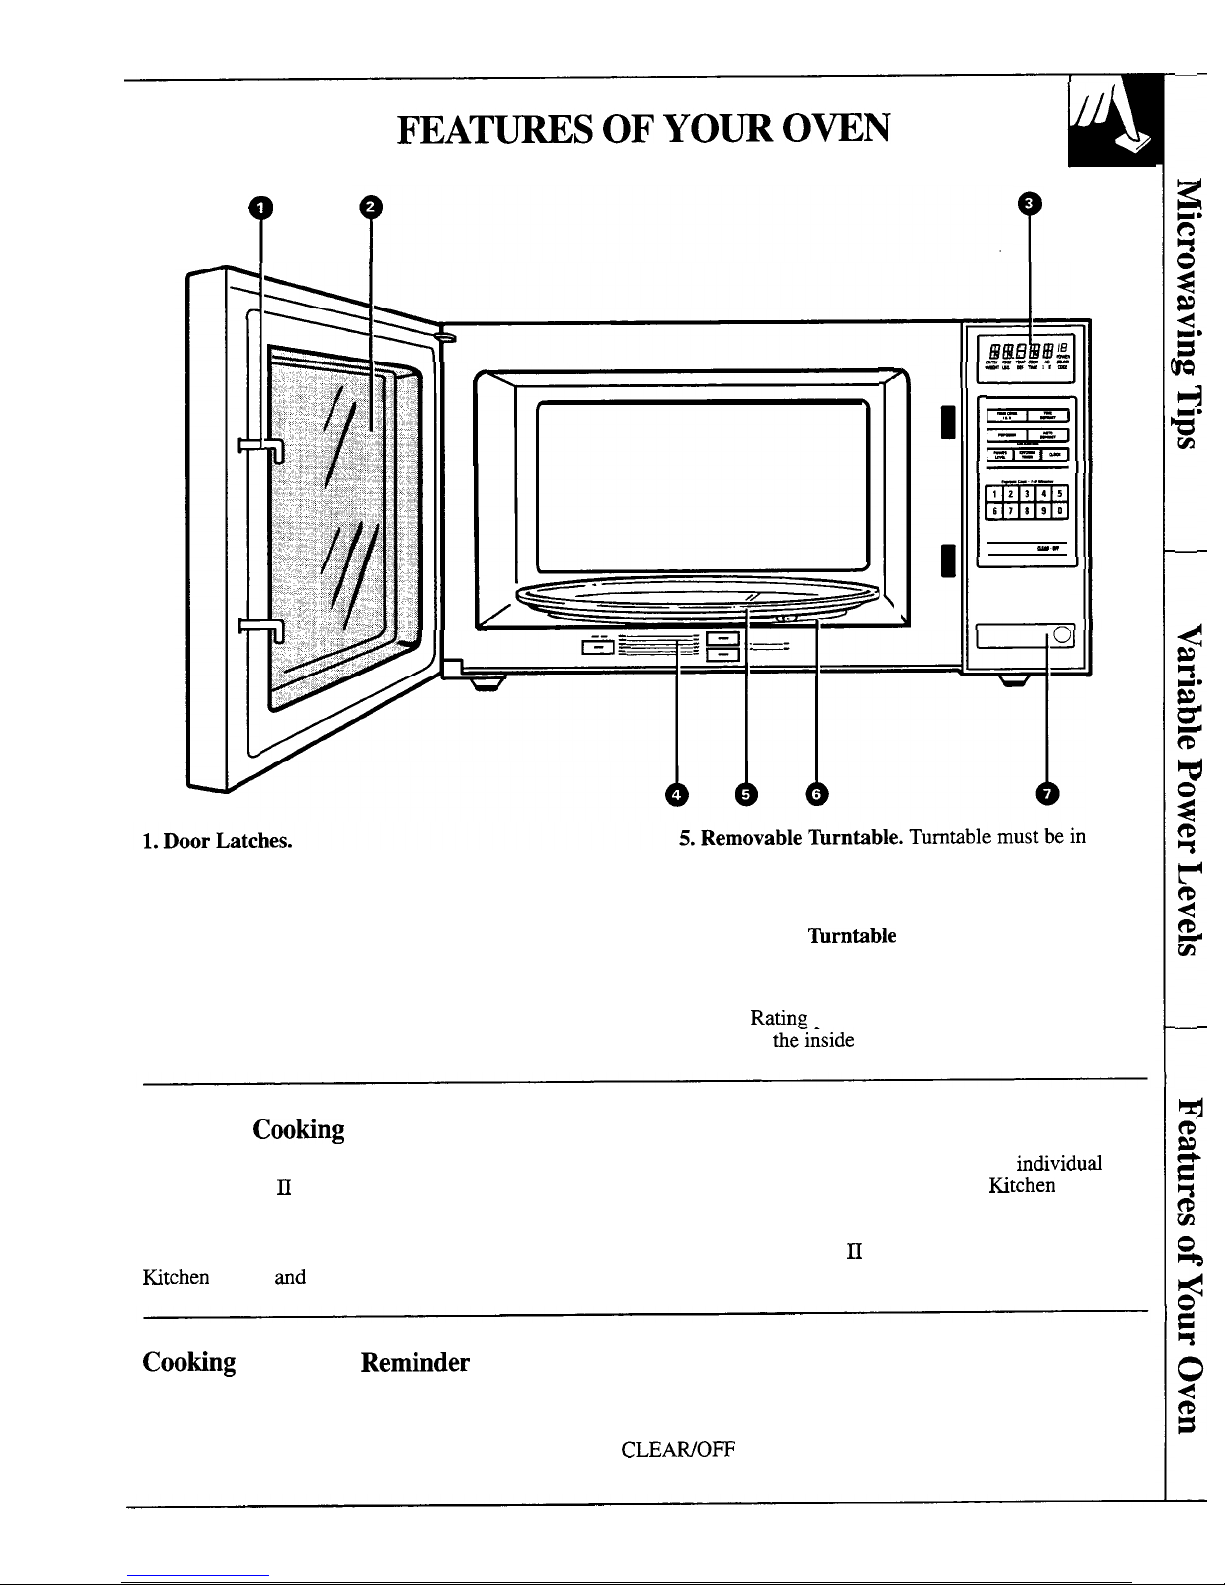
TIPS
●
Make sure all cookware used in your microwave
●
Paper towels, waxed paper and plastic wrap
oven is
suitible
for microwaving.
Most glass can be used to cover dishes in order to retain
casseroles, cooking dishes, measuring cups, custard moisture and prevent spattering. Be sure to vent
cups, pottery or china dinnerware which does not plastic wrap so steam can escape.
ha~e
rnetdl~c
trim or glaze with a metallic sheen can
be used. Some cookware is labeled “suitable for
microwaving”.
●
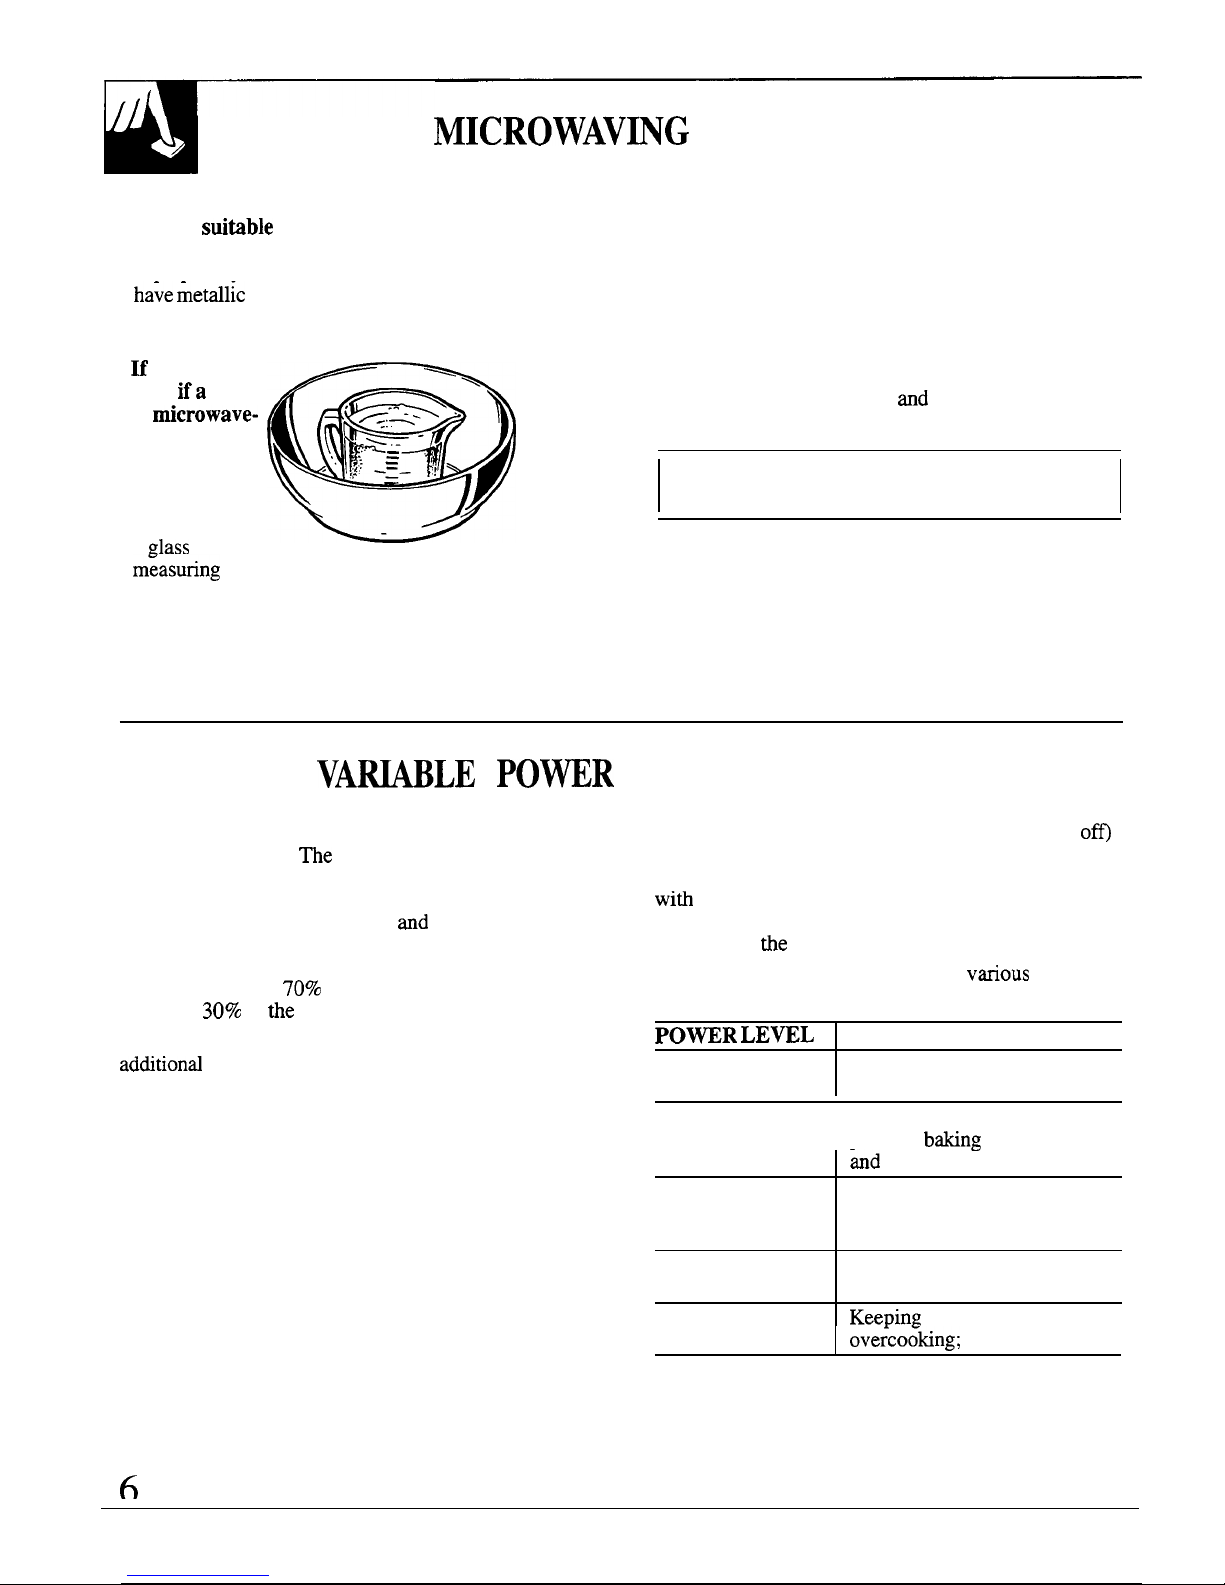
U
you are not
sure
ifa
dish
is microwave-
safe, use this
test:
Place in
the oven both
the dish you
are testing and
a
zlass
m~asunng
cup filled with one cup water—set the
measuring cup either in or next to the dish.
Microwave 1 minute at high. If the dish heats, it
should not be used for microwaving. If the dish
remains cool and only the water in the cup heats,
then the dish is microwave-safe.
●
Some microwaved foods require stirring, rotating
or rearranging.
Check the Cooking Guide.
●
Steam builds up pressure in foods which are
tightly covered by a skin or membrane.
Pierce potatoes, egg yolks
and
chicken livers to
prevent bursting.
If you use a meat thermometer while cooking,
make sure it is safe for use in microwave ovens.
VA~LE
PO~R
LEVELS
(1-10)
Variable power levels add flexibility to your
microwave cooking.
The
power levels on your
microwave oven can be compared to the surface
units on a range. HIGH (Power Level 10) or full
power is the fastest way to cook
and
gives you 100%
power. Each power level gives you microwave energy
a certain percent of the time. Power Level 7 is
microwave energy
70~0
of the time. Power Level 3
is energy
3070
of
the
time.
A high setting (10) will cook faster but may need
additiond attention such as frequent stirring, rotating
or turning over. Most of your cooking will be done on
HIGH (Power Level 10). A lower setting will cook
more evenly and with less attention given to stirring
or rotating the food. Some foods may have better
flavor, texture or appearance if one of the lower
settings is used. You may wish to use a lower power
level when cooking foods that have a tendency to boil
over, such as scalloped potatoes.
Rest periods (when the microwave energy cycles
o~
give time for the food to “equalize” or transfer heat
to the inside of the food. An example of this is shown
witi
Power Level 3—the defrost cycle. If microwave
energy did not cycle off, the outside of the food would
cook before
tie
inside was defrosted.
Here are some examples of uses for
vtious
power levels:
POWR
LEWL
BEST USES
High 10 Fish, bacon, vegetables,
boiling liquids.
Medium 7 Gentle cooking of meat and
poultry;
baking
casseroles
‘md
reheating. -
Medium 5 Slow cooking and tenderizing
such as stews and less tender
cuts of meat.
Low 3 Defrosting without cooking;
simmering; delicate sauces.
warm
1
Keeping
food warm without
ove~co~king;
softening butter.
6


M Service manual")