Microwave~me
Cooting
Time cooking is a familiar
method of cooking food for a
predetermined length of time.
You will find that cooking with
microwave energy takes a great
deal less time than conventional
cooking methods. And your
microwave oven, unlike many
other ovens, turns itself off
automatically after the preset
time has elapsed.
You can even program your oven
to Microwave Cook by time in two
stages! Cook at one power level for
a desired length of time; then the
oven automatically changes to a
different power level and continues
cooking until the food is done.
Check the cookbook for foods
requiring two power levels.
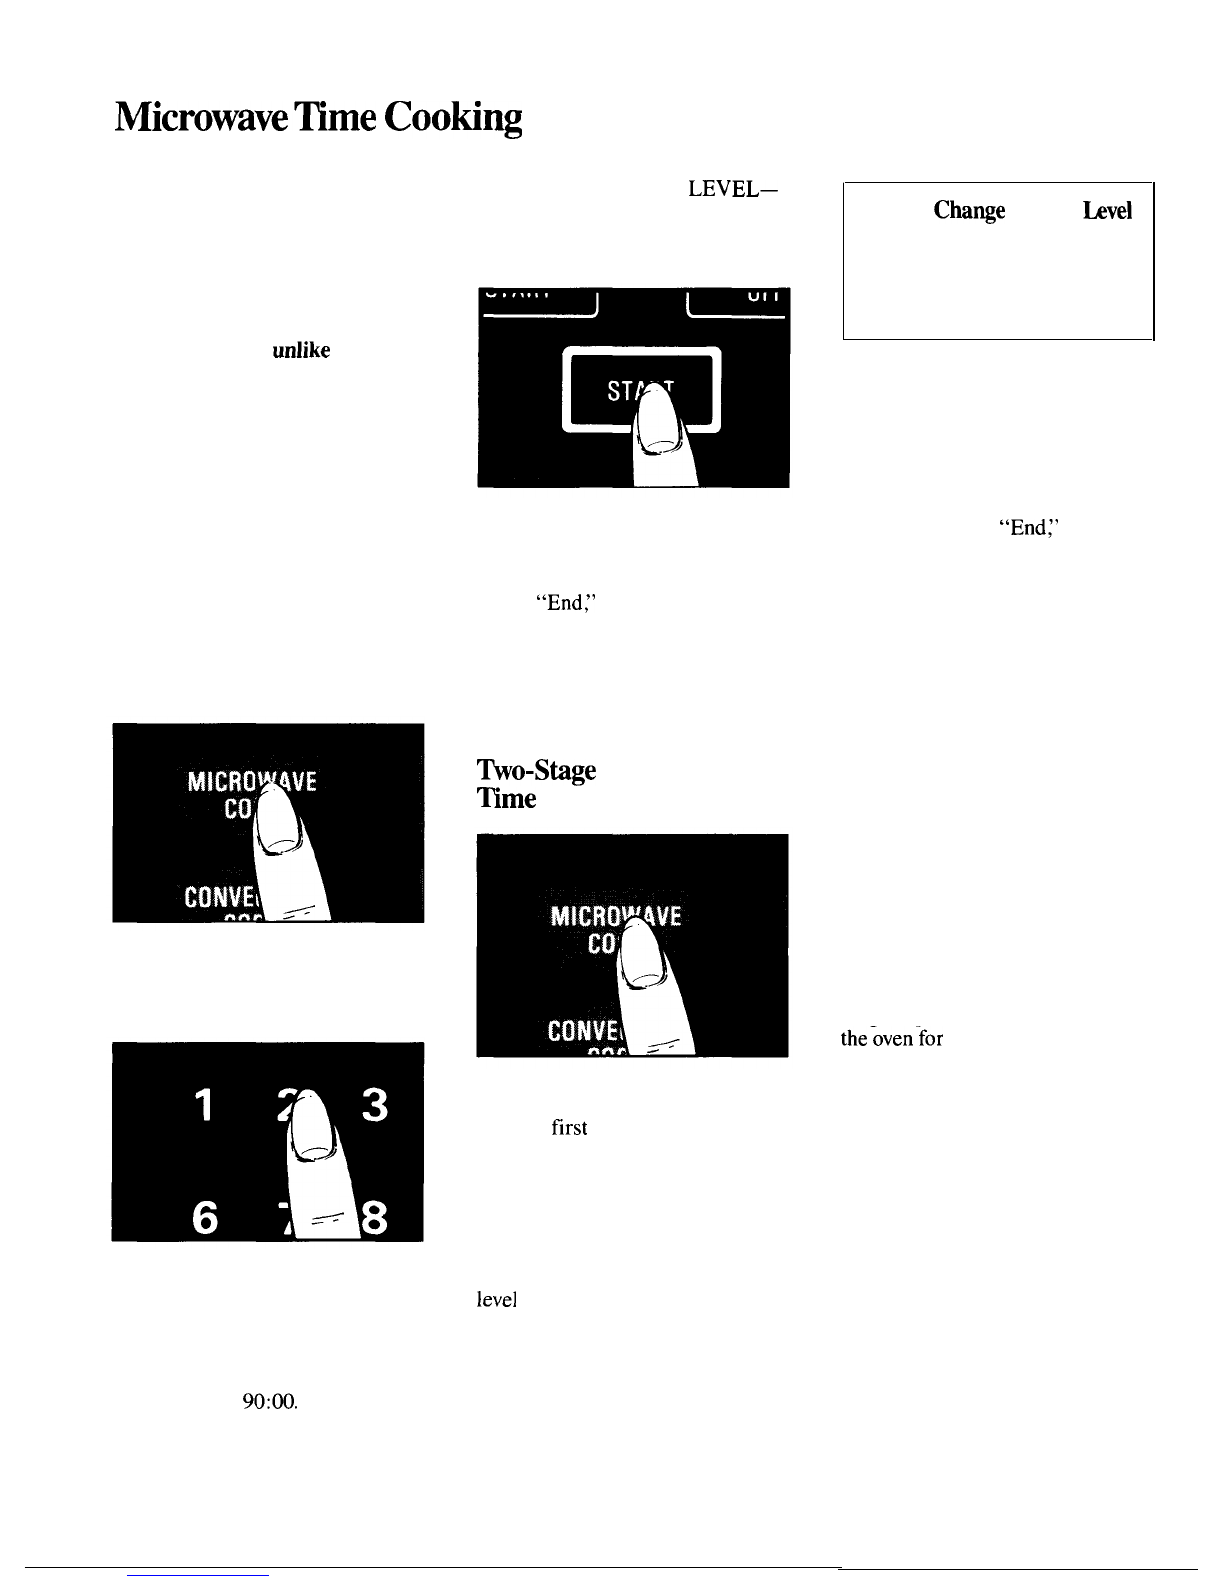
Setting the Oven Controls
touch MICRO POWER LEVEL—
“ENTER POWER” flashes. Touch
the number pad for the desired
power level.
Step
3: Touch START. The display
shows “COOK TIME” and the
remaining cooking time counting
down. When time is up, the display
shows
“End~’
the oven signals and
shuts off. If during cooking, you
wish to see what power level is
being used, touch MICRO POWER
LEVEL pad and the number appears
momentarily.
~o-Stage
Microwave
~me
Cooking
Step 1:
Touch MICROWAVE
COOK. The time of day disappears
from the display and “ENTER
COOK TIME” flashes.
Step 1:
Touch MICROWAVE
COOK and the the desired number
pads for
first
stage cooking time, as
described in Steps 1 and 2 above.
Step 2:
Enter the cooking time in
minutes and seconds. For example,
touch 1, 2 and O for 1 minute, 20
seconds. Display shows the cooking
time. When setting 1 hour and 30
minutes touch 9, 0, 0, and O.
Display shows
90:00.
The oven is
automatically set to cook at High
power (10), unless another power
level is selected. If needed,
theovenfor
the minimum time, test
the food for doneness, and cook a
little longer if necessary.
Step 2:
Touch MICRO POWER
LEVEL. Cooking time disappears
from the display and “ENTER
POWER” flashes. Touch the
number pad for first stage power
level
or oven automatically cooks
at High (10).
Step 3:
For the second cooking
stage, touch MICROWAVE COOK
and the numbers for second phase
cooking time. If a different power
level is required, see the following
instructions on how to change
power level.
How
to
Cha~e
Power
hvel
After setting cook time, touch
POWER LEVEL pad, then
touch desired number for new
power level.
Step 4: Now
touch START. First
stage cooking time appears on the
display counting down. When the
first stage time has elapsed, the
oven automatically changes to the
second stage of cooking and power
level. When cooking is finished,
the display shows
“EndJ’
the oven
signals and turns off.
Questions and Answers
Q. I touched the number pads to
enter cooking time but nothing
happened. Why?
A.
The MICROWAVE COOK pad
must be touched before setting the
number pads or the oven will not
accept the number entries.
Q.
I set my oven to Microwave
Cook by time for the period in
the recipe, but the food wasn’t
done at the end of that time.
What happened?
A. Since house electrical power
may vary, many Microwave Cook
by time recipes give you a time
range to prevent overcooking. Set
10


M Service manual")