GROUNDING INSTRUCTIONS/OPTIONAL KITS
WARNING
Improper use of the
grounding plug can result in
a risk of electric shock.
This appliance must be
grounded. In the event of an
electrical short circuit,
grounding reduces the risk
of electric shock by
providing an escape wire for
the electric current.
This appliance is equipped
with a power cord having a
grounding wire with a
grounding plug. The plug
must be plugged into an
outlet that is properly
installed and grounded.
Consult a qualified
electrician or service
technician if the grounding
instructions are not
completely understood, or if
doubt exists as to whether
the appliance is properly
grounded.
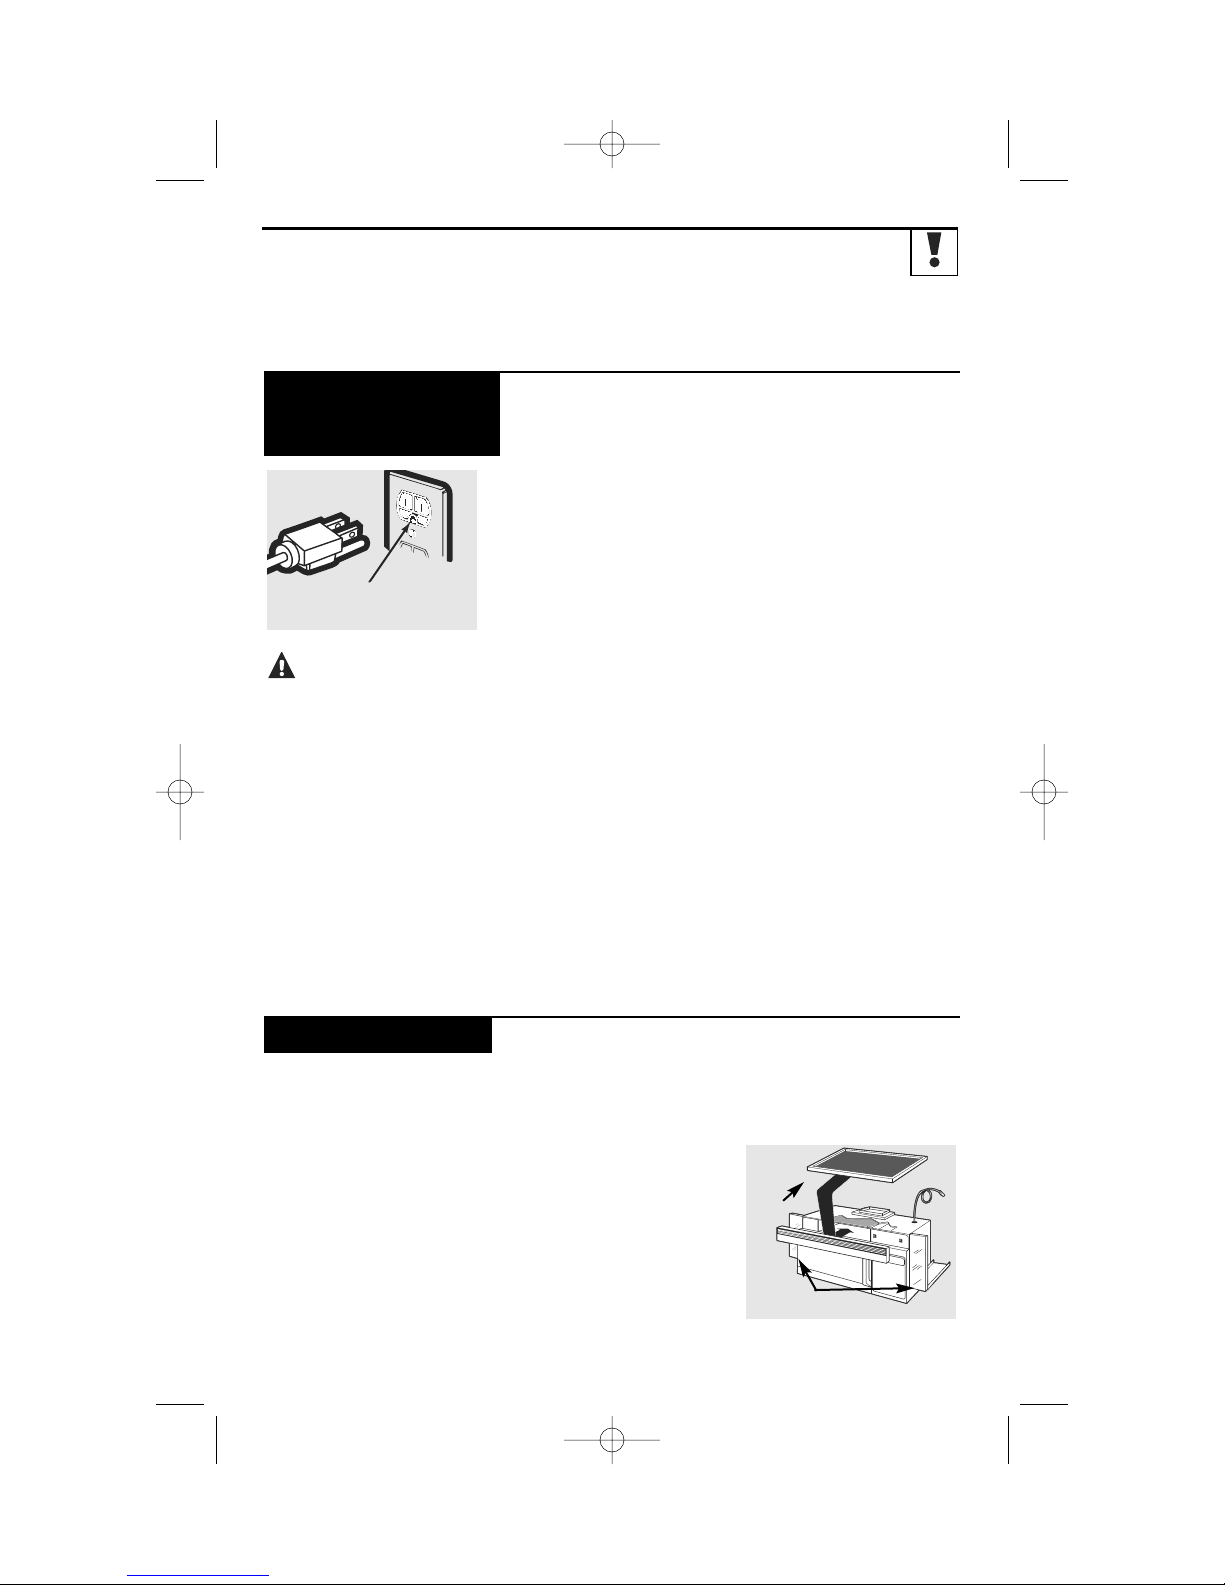
If the outlet is a standard
2-prong wall outlet, it is your
personal responsibility and
obligation to have it
replaced with a properly
grounded 3-prong wall
outlet.
Do not, under any
circumstances, cut or
remove the third (ground)
prong from the power cord.
Do not use an adapter plug
with this appliance.
Do not use an extension
cord with this appliance. If
the power cord is too short,
have a qualified electrician
or service technician install
an outlet near the appliance.
For best operation, plug this
appliance into its own
electrical outlet to prevent
flickering of lights, blowing
of fuse or tripping of circuit
breaker.
GROUNDING
INSTRUCTIONS
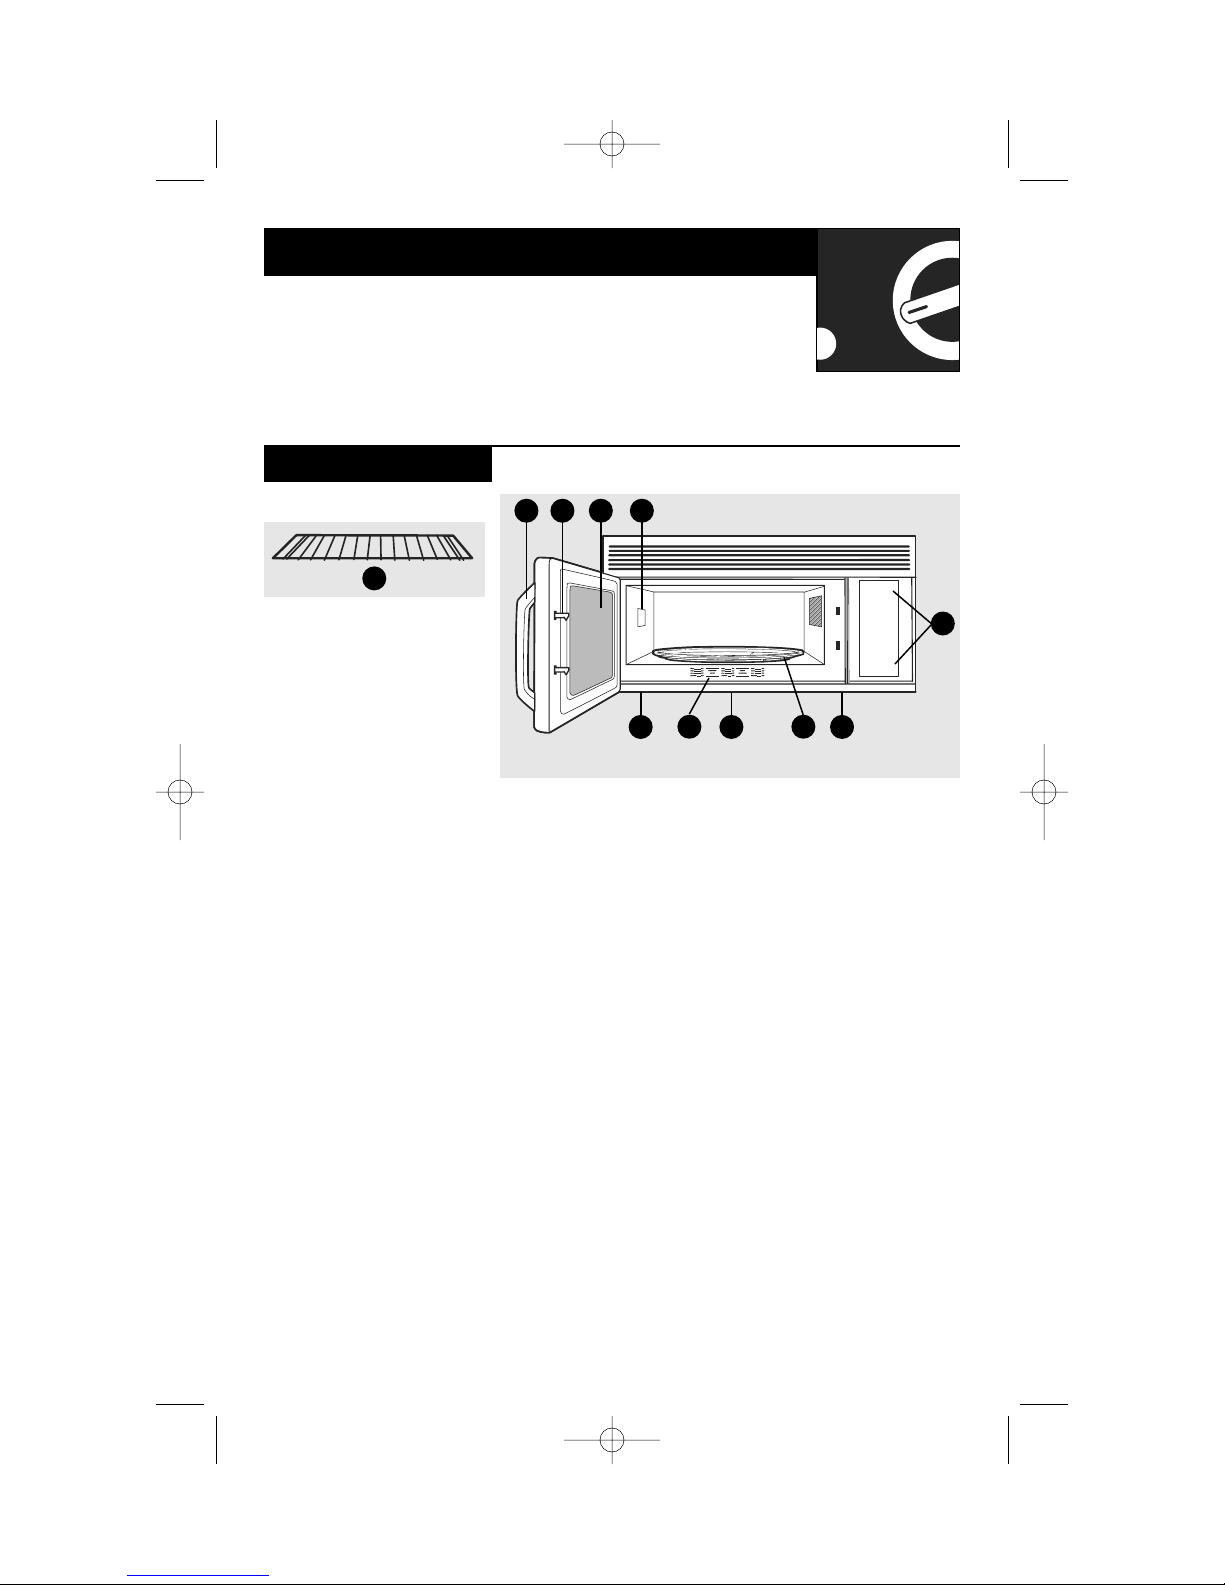
Filler Panel Kits
JX48WH—White
JX48BL—Black
When replacing a 36”
(91.4 cm) range hood, filler
panel kits fill in the
additional width to provide a
custom built-in appearance.
For installation between
cabinets only; not for end-of-
cabinet installation. Each kit
contains two 3” (7.6 cm)
wide filler panels.
JX81A — Recirculating
Charcoal Filter Kit
Filter kits are used when the
microwave oven cannot be
vented to the outside.
Available at extra cost from
your Mabe supplier, or see
Mabe Service Numbers.
Your serial number will be
needed to identify the
correct kit for your oven.
Optional Kits
Ensure proper ground exists
before use.
JX81A
9
JX48


M Service manual")