7
Your icemaker will produce eight cubes per cycle—approximately
100 cubes in a 24-hour period, depending on frozen food storage
compartment temperature, room temperature, number of door
openings and other use conditions.
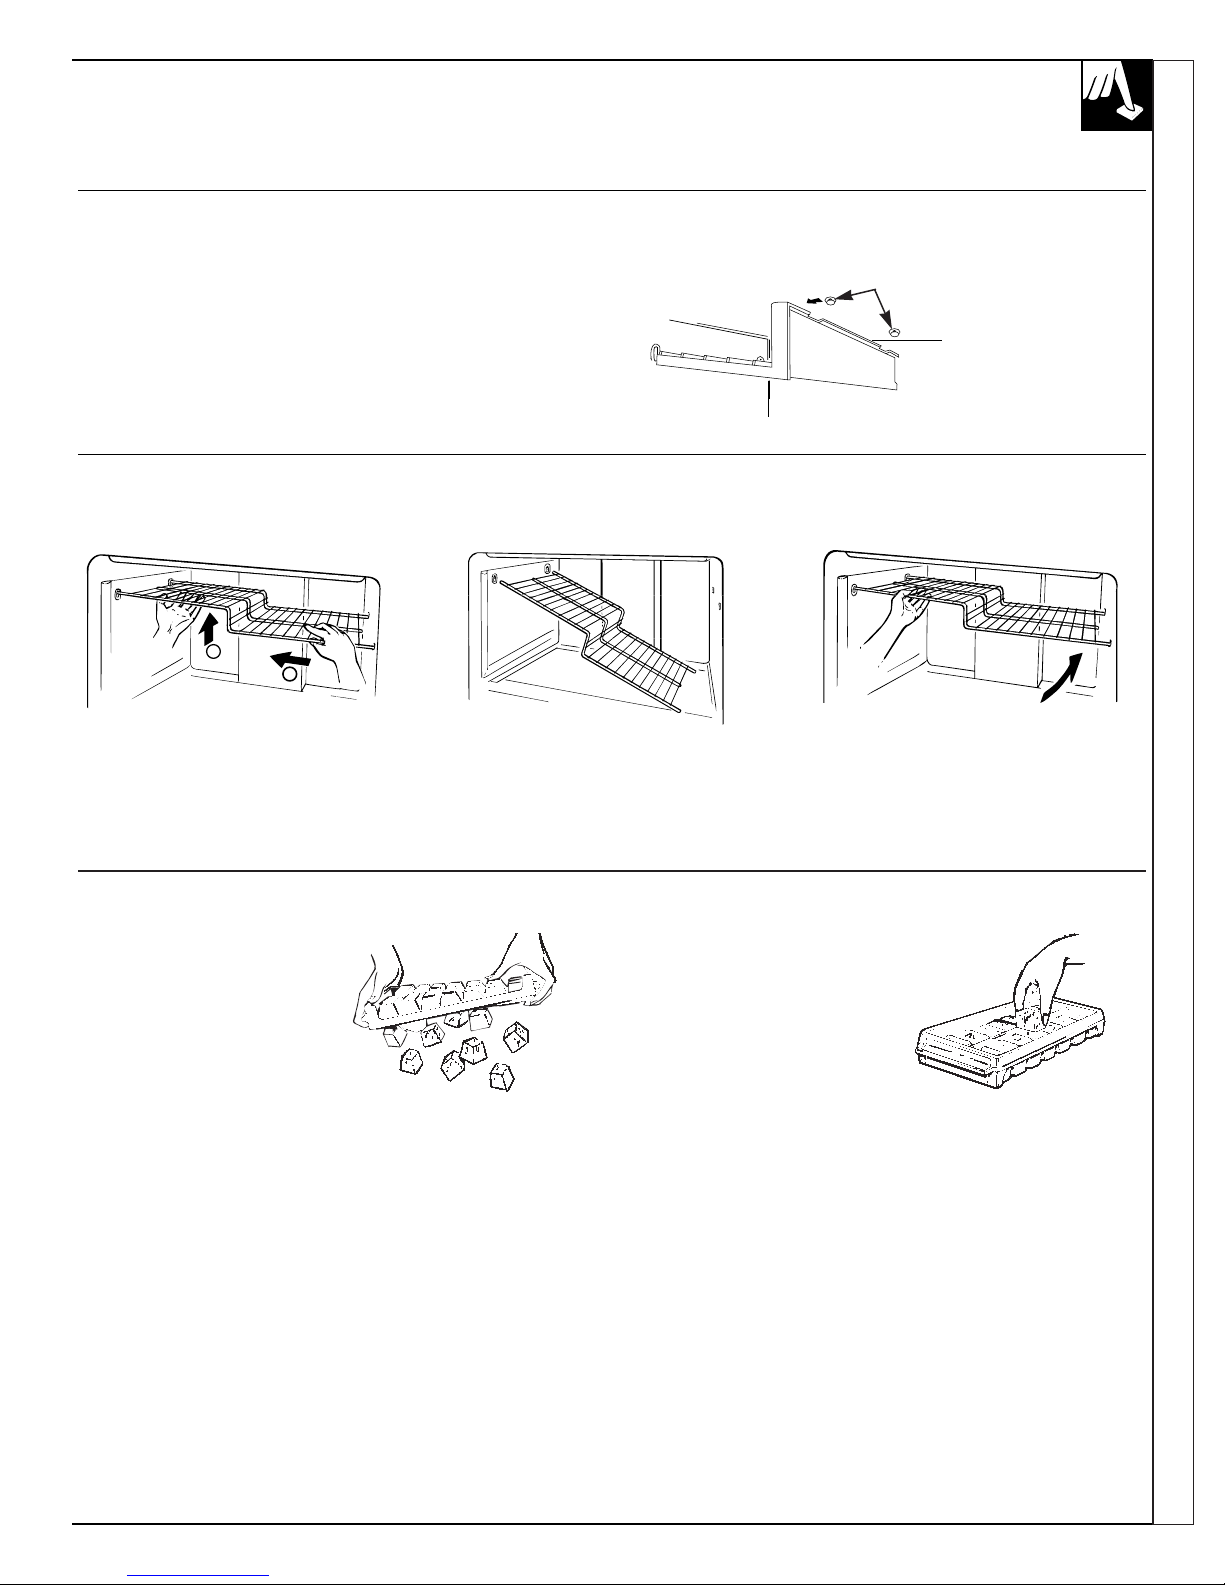
If your refrigerator is
operated before the water
connection is made to the
icemaker, keep the feeler arm
in the STOP (up) position.
When the refrigerator is first
installed, allow about 24 hours
for the frozen food storage
compartment to cool down to
icemaking temperatures.
Throw away the first few batches
of ice. This flushes away impurities
in the water line.
When the refrigerator has
been connected to the water
supply, move the feeler arm
to the ON (down) position.
Icemaking will continue until the feeler arm is pushed up to the STOP
(up) position by the ice cubes in the storage bin. For maximum ice
storage, level the stored cubes with your hand occasionally. Be sure
nothing interferes with the swing of the feeler arm.
The icemaker ejects cubes in groups of eight and it is normal for
several cubes to be joined together.
Move the icemaker feeler arm to the STOP (up) position when:
• Home water supply is to be off for several hours.
• Ice storage bin is to be removed for a period of time.
• Going away on vacation, at which time you should also turn off the
valve in the water supply line to your refrigerator.
• Turning the temperature control dial to the “ ” position.
If ice is not used frequently, old ice cubes will become cloudy and
taste stale. Empty the ice storage bin periodically and wash it in
lukewarm water. Be sure to allow the storage bin to dry before
replacing it—otherwise ice cubes may stick to other parts of
the icemaker.
If this is your first icemaker, you’ll hear occasional sounds that may
be unfamiliar. They are normal icemaking sounds and are not a cause
for concern.
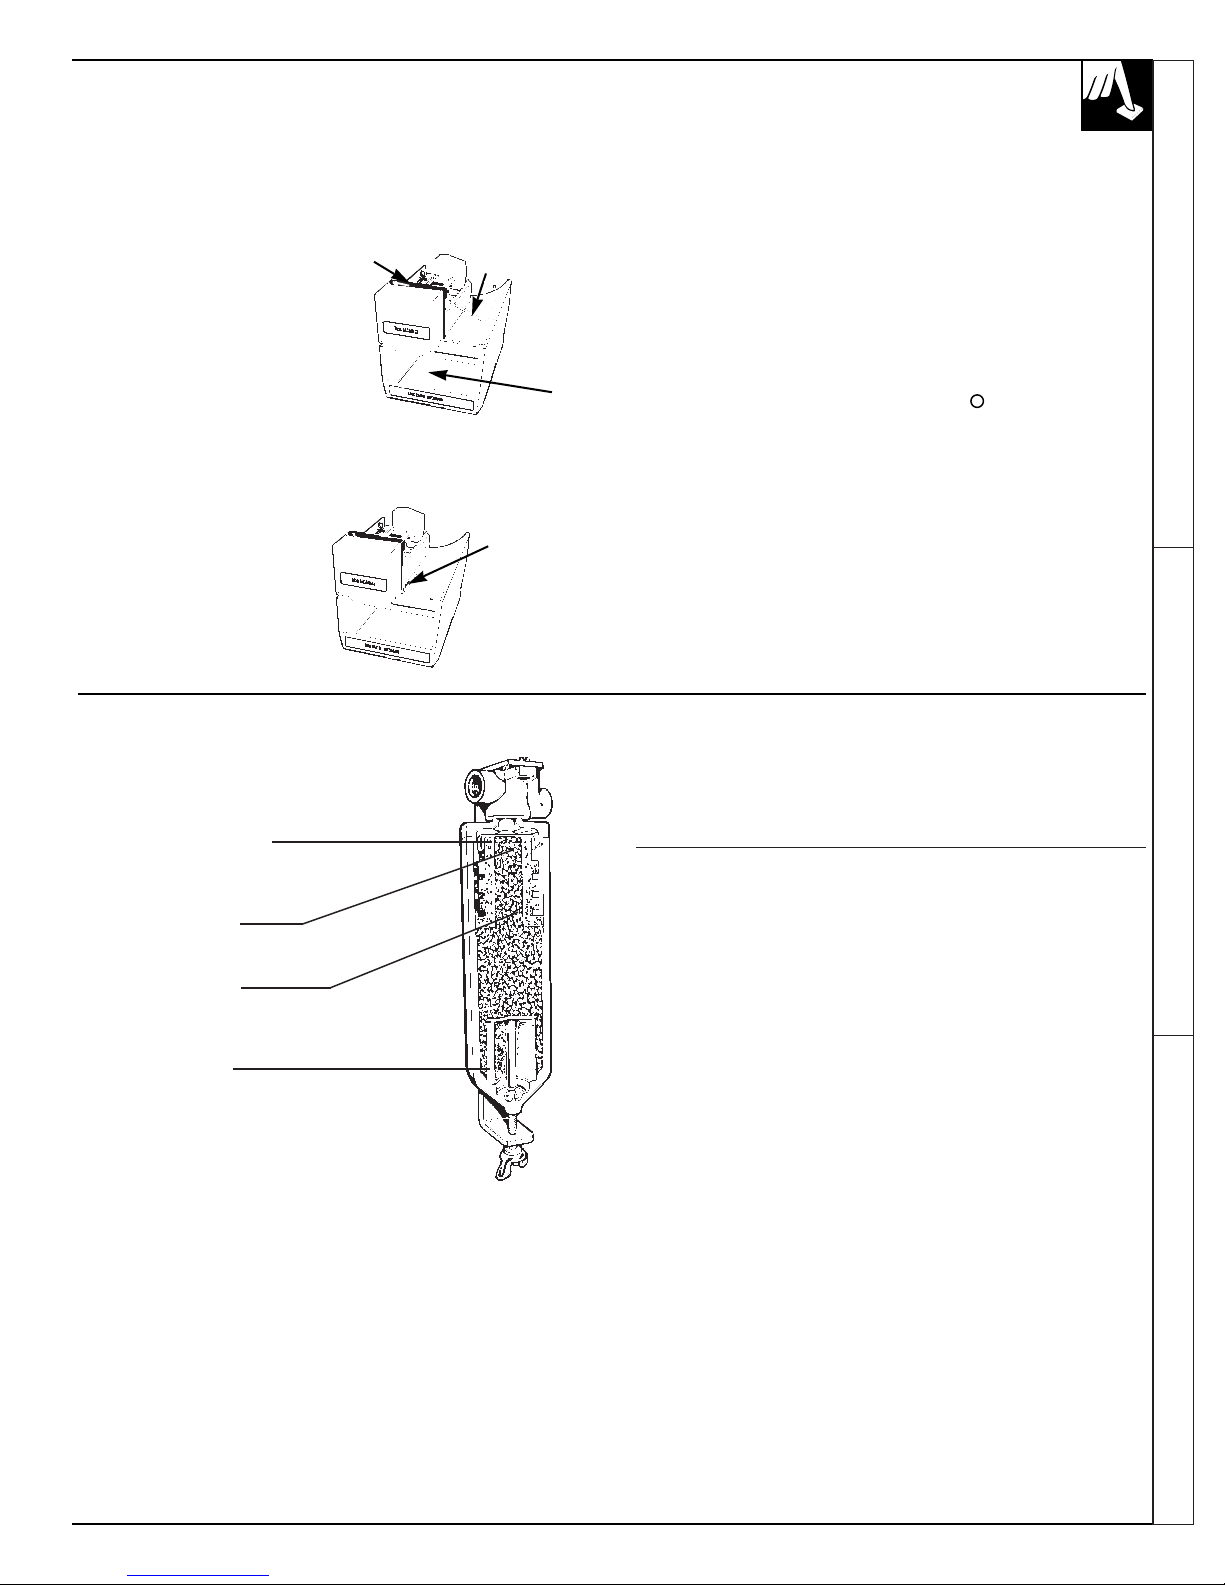
AUTOMATIC ICEMAKER
(on some models)
Icemaker
Ice
storage bin
Feeler arm in
STOP (up) position
Feeler arm in
ON (down)
position
Water Filter Accessory Water Supply Kit
Your ice cubes can only be as fresh-tasting
as the water that produces them. That’s why
it’s a good idea to purify your water with a
water filter.
REMOVES SEDIMENT
Rigid, porous graded density depth
cellulose fiber cartridge catches dirt,
rust particles, sand and silt.
REMOVES ODORS
Activated charcoal granules
remove musty, stale odors.
IMPROVES TASTE
Activated charcoal granules
remove oily, medicinal, plastic
and metallic tastes.
REDUCES SCALE
Special crystals reduce hard
scale deposit formation.
The water filter is an option at extra cost and is
available from your local distributor. It has
complete installation instructions and installs in
minutes on 1/4²O.D. copper water line.
A kit containing copper tubing, shutoff valve, fittings and instructions
needed to connect the icemaker to your cold water line is available at
extra cost. Contact your local distributor and order the appropriate kit
depending on how much copper tubing you need.
Icemaker Accessory Kit
If your refrigerator did not come already equipped with an automatic
icemaker, an Icemaker Accessory Kit is available at extra cost from
your local distributor. Check the back of the refrigerator for the
specific icemaker kit needed for your model.
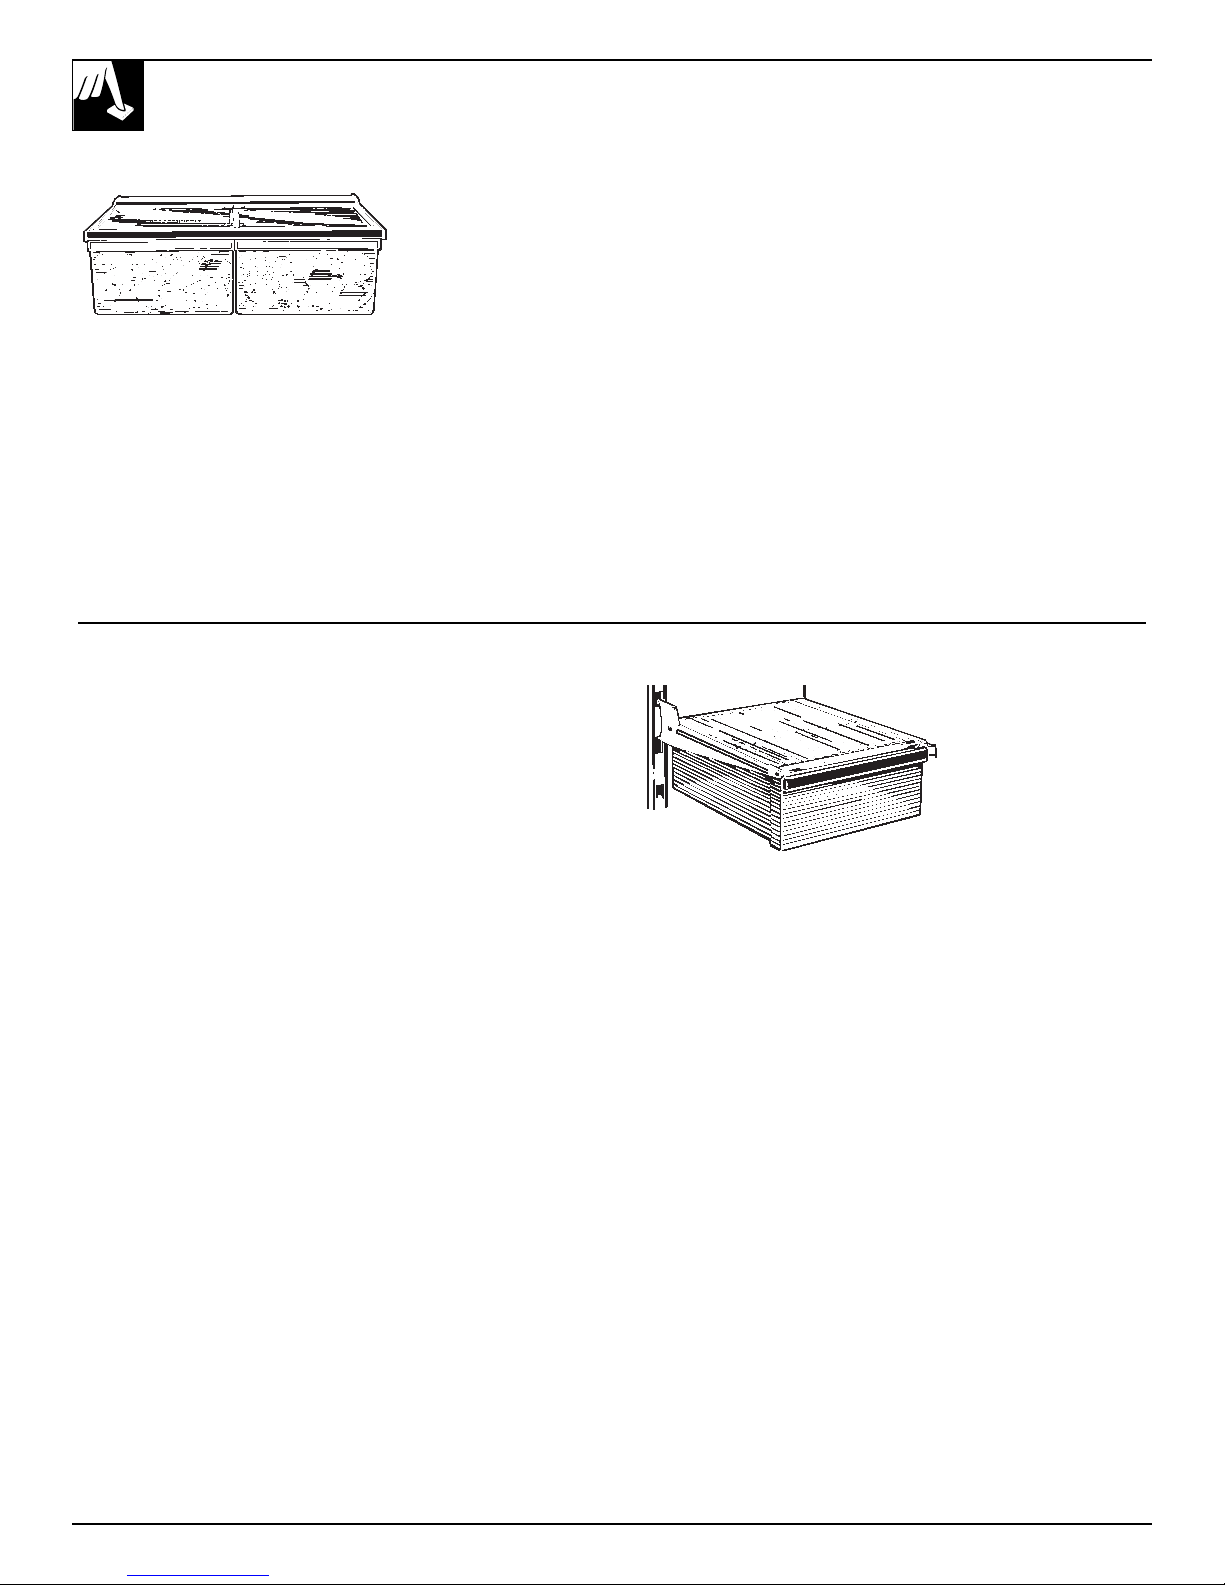
Storage Drawers Automatic Icemaker Accessories