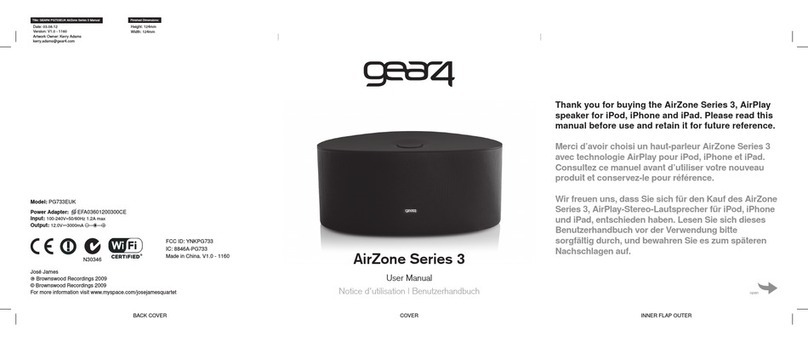
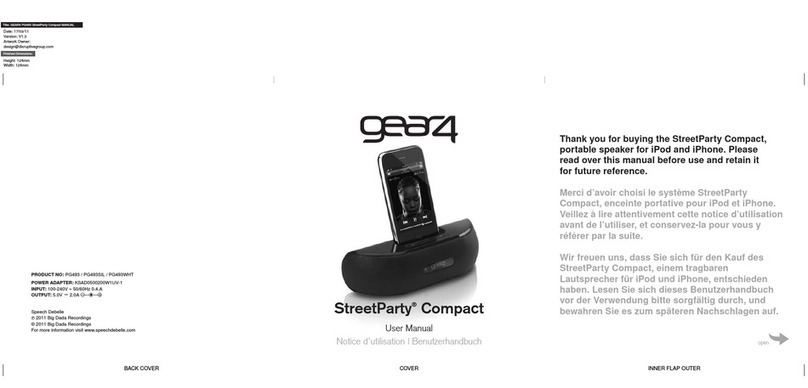
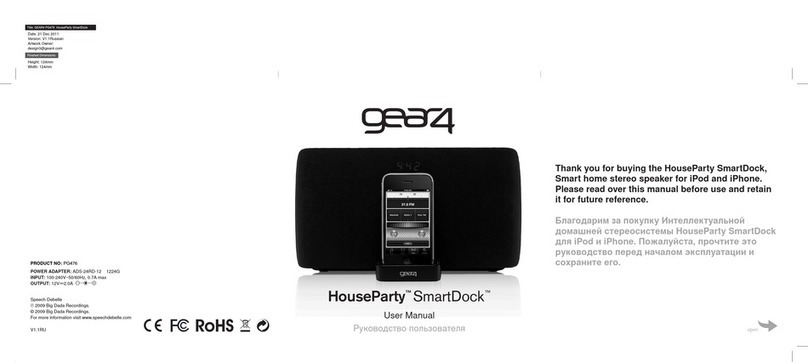
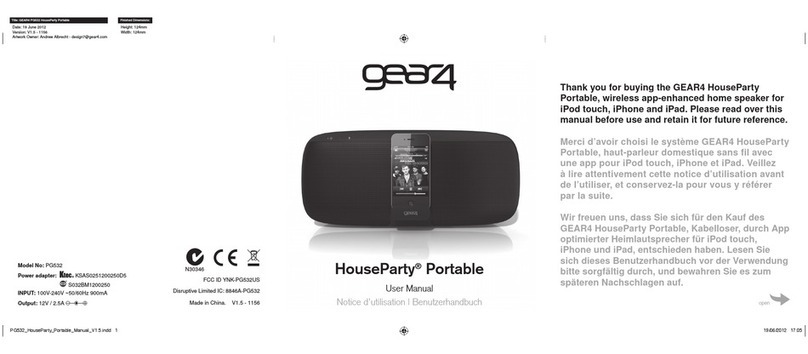
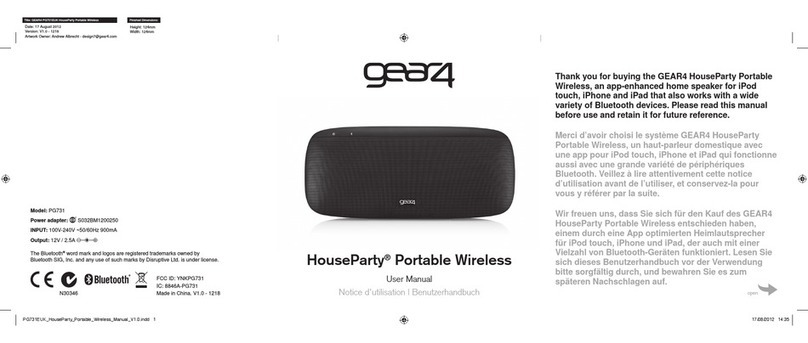
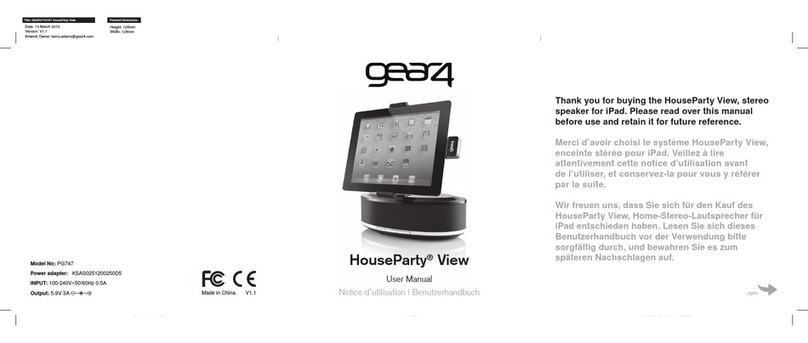
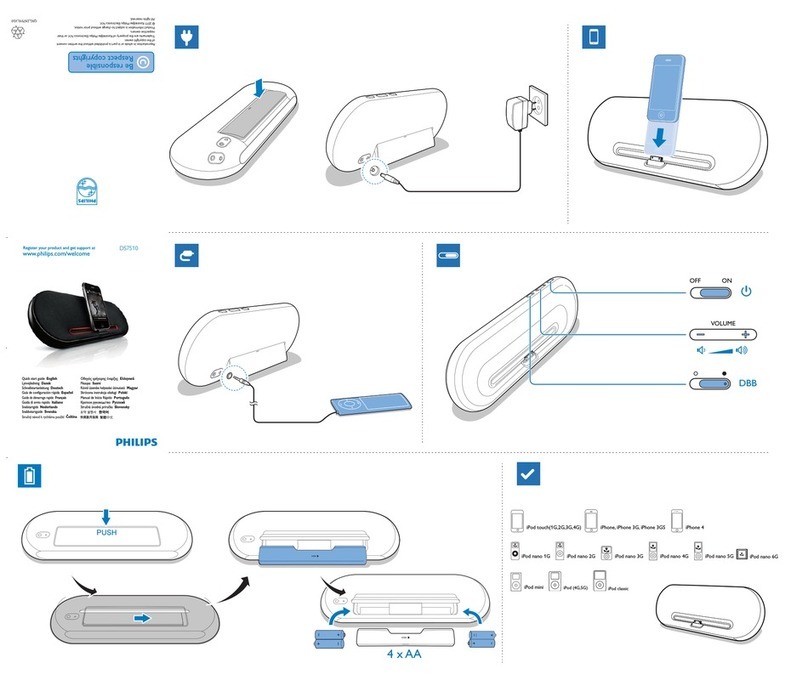
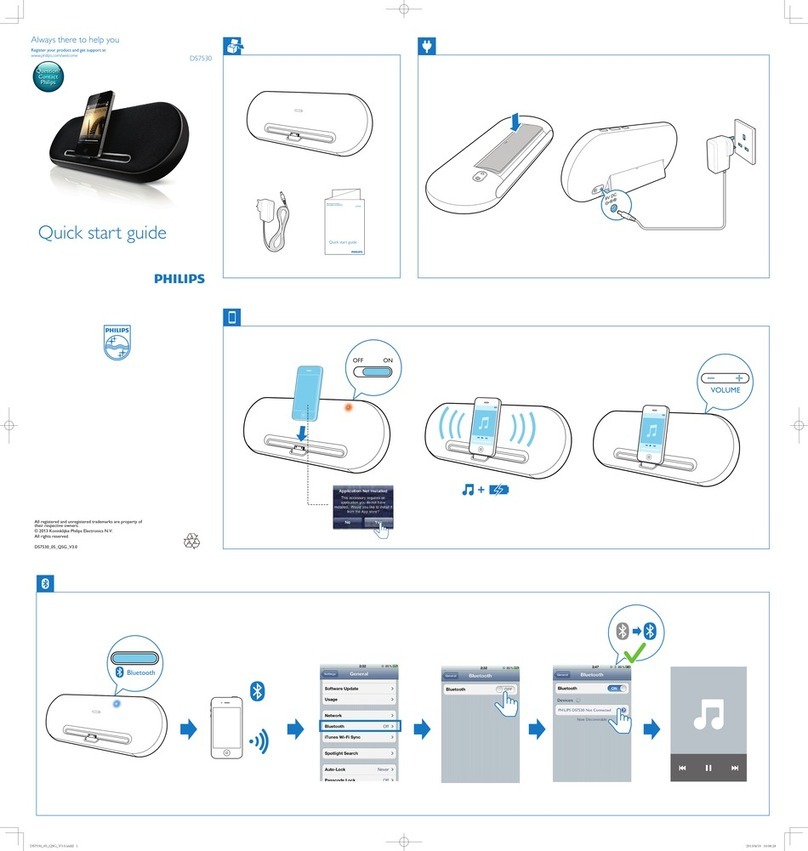
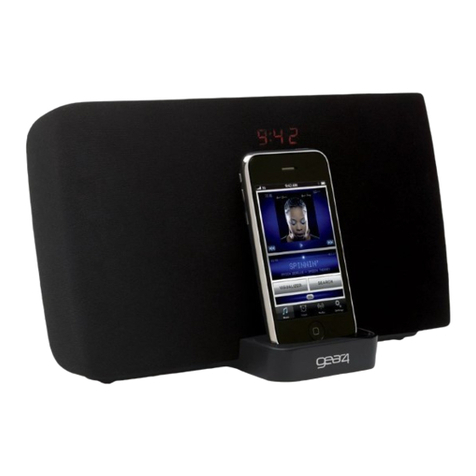
Gear4 PG533 HouseParty Rise 2 Wireless User manual


AlarmDock Prem UI V1.9
Revisions
Date Version Changes
24/2/11 V1.1 Default Mode when switched on
Dim levels
Volume
Snooze included
2/3/11 V1.2 Remote
8/3/11 V1.3 Rotary click dened
Brightness settings changed
11/4/11 V1.4 Sub Tree dened
Presets
Feedback loop
14/5/11 V1.5 Removed remote functionality
Added BT connection model
27/5/11 V1.6 Button Layout
20/6/11 V1.7 Included ‘escape’ button during settings
Factory Reset
Dened features that be used during Standby
Tones for BT memory clear
Changed AlarmDock to HouseParty during BT pairing
FM Scanning Display on long press
24/6/11 V1.8 Escape button removed
FM mode: clock display shows after 5s
Manual ON - Mode remains as previous
Auto On - Goes to iPod mode
Docking when speaker is ON
Connection time dened for docking with BT connected
Menu Tree Structure - Removed
Saving presets revised
Cycling presets revised
Setting Alarms and Times revised
Sleep timer revised
App Interaction with Speaker
Feedback loop alarms - removed
8/8/11 V1.9 Alarm Button display when alarms are already activated
Alarm settings accessible both when speaker is ON and
Standby
Alarm button functions when unit is ON and Standby
Page 2 of 24

AlarmDock Prem UI V1.9
Rotary Button
(One audio/physical click per incremental step of selection)
1 click 1 click
Page 3 of 24

AlarmDock Prem UI V1.9
On and Standby/O Mode
Display sequence for when speaker is turned on/o manually
Buttons Used:
Power button
Auto On Behaviour
If an iPod/iPhone is docked during Standby mode (speaker) - Speaker will turn on and enter iPod mode
Docking iPod when speaker is on:
Mode remains the same
Factory Reset
Accessible when speaker is ON or Standby
Buttons Used:
Power button
To restore to factory settings, press and hold the power button (Very long press 20s)
When the time has elapsed, there will be a bleep. When the factory reset is complete, the device will reset.
The following settings will be removed :-
* Time - reset to Midnight in 12hour mode.
* Alarm 1 - removed
* Alarm 2 - removed
* Paired devices and associated serial number list
* Local name
* Timeouts
* Connection mode
* FM Presets
* Last paired device
Brightness level: 7/7
‘Off’ will display for 2 seconds
Brightness level:1/7
‘’ON’ will display for 2 seconds
Brightness Level: 7/7
N.B. Any buttons pressed within the 2 seconds of‘ON’ showing
will have normal functionality and override the‘ON’displayed.
Short Press ‘Power’
Button
Short Press ‘Power’
Button
Speaker activates previous mode prior to speaker switching o.
(iPod mode (Paused State), FM, Aux)
Page 4 of 24

AlarmDock Prem UI V1.9
Modes
How to change modes and order of sequence
Only accessible when speaker is ON
Buttons Used:
Mode
iPod Mode
AUX mode
FM Mode
Press ‘Mode’ (short/long press)
Default display when in iPod mode
Default display when in FM mode
Default display when in AUX mode:
Display changes back to
clock display after timeout
(5s)
Page 5 of 24

AlarmDock Prem UI V1.9
Transport Buttons
iPod Mode
Short press
Skips to prev track
Skips to next track
Play/pauses track
Long press
Rewinds current track by 10 seconds per second
F.Forward current track by 10 seconds per second
FM Mode
Short Press
Decreases FM frequency by 0.1
Increases FM frequency by 0.1
Cycles through presets
Long Press
Scans up to next strong frequency
(Display will show the frequency scanning up to the next strong channel. At the tuned freq, display will show the radio frequency for 1s,
then continue scanning for the next station if the button is still held)
During Mode settings (setting time, alarms)
Short Press
Replicates one rotary button click
Long Press
Replicates rotary button action when turned fast
Page 6 of 24

AlarmDock Prem UI V1.9
Volume (Only accessible when speaker is in ON mode)
Turning the rotary button will bring up the volume display (This will only occur if the speaker is not
currently in any setup processes, e.g setting alarms, time, mode)
Volume level: 0 - 40
Clockwise turn: Volume UP
Anti Clockwise turn: Volume DOWN
Turning the button slow: volume will increase/decrease
Turning button fast: volume will move in 5 step intervals
Display will go back to the Default Mode Display 3 seconds after the volume button is released.
Dim button (Accessible when speaker is ON or Standby)
Press the dim button (short/long press) to cycle through brightness settings
Level 7 - Full brightness
Level 0 - O
Page 7 of 24

AlarmDock Prem UI V1.9
Time Setting (only available when speaker is on Standby)
Display sequence for setting the time
Buttons Used:
Set Button Press
Set Button - Rotary Function
Use rotary button to scroll
between 12h and 24h
(Track skip buttons can
also be used instead of rotary button)
No Activity for 5s
Hour digits will begin to flash instantly
Minute digits will begin to flash instantly
Turn rotary button to change minutes
Turn rotary button to change hour digit
(if 12h was set - digits will cycle from 01-12 with AM
then 01-12 with PM showing)
(if 24h was set - digits will cycle from 00-23)
Mo will begin to flash
Use the rotary button
to scroll through the days
Returns to Mode Display with new time/day
No Activity for 5s
Returns to previous mode
Exits Sequence
Set Button pressed (Short/Long press)
Set Button or ‘Alram’pressed (Short/Long press)
Set Button or ‘Alarm’pressed (Short/Long press)
Track skip buttons can
also be used instead of rotary button)
track skip buttons can
also be used instead of rotary button)
track skip buttons can
also be used instead of rotary button)
12h will begin to flash instantly
0.5s 0.5s off
Page 8 of 24

AlarmDock Prem UI V1.9
Alarm Setting Sequence
Display sequence for setting the alarms
Accessible when speaker is ON or Standby
Buttons Used:
Set Button Press
Set Button - Rotary Function
Power Button
Hour digits will begin to flash instantly.
(Digits will flash after 3 s have elapsed,
not when the user releases button)
Minute digits will begin to flash instantly
Turn rotary button to change minutes
(track skip buttons can
also be used instead of rotary button)
Turn rotary button to change hour digit
(If clock is set to 12h - digits will cycle from 01-12 with AM
then 01-12 with PM showing)
(if 24h was set - digits will cycle from 00-23)
(Track skip buttons can
also be used instead of rotary button)
Days will begin to flash immediately.
Use the rotary button to scroll through 3 options:
1.All Week: All days will flash
2.Weekdays: Mo - Fr will flash
3.Weekends: Sa - Su will flash
Seperate Days can only be set through app
and then synced
(track skip buttons can
also be used instead of rotary button)
iPod icon will begin to flash immediately.
Use the rotary button to scroll through 3 wake up method:
1. iPod
2. FM
3. BUZZ
(track skip buttons can
also be used instead of rotary button)
No Activity for 5s
Returns to previous mode
Exits Sequece
Alarm Button pressed (long)
Set Button or Alarm button pressed (short/long)
To set alarm 1, Alarm 1 icon must be illuminated ONLY
To set alarm 2, Alarm 2 icon must be illuminated ONLY
Set Button or Alarm button pressed (short/long)
Page 9 of 24

AlarmDock Prem UI V1.9
Alarm Setting Sequence
Display sequence for setting the alarms
Accessible when speaker is ON or Standby
Buttons Used:
Set Button Press
Set Button - Rotary Function
Power Button
Volume will be displayed.
Turn rotary button to set alarm volume.
Time,Wake up method, and Days for alarm
will be displayed for 3s
Returns back to clock display with Alarm 1 icon on
Set Button or Alarm Button pressed (short/long)
(track skip buttons can
also be used instead of rotary button)
Page 10 of 24

AlarmDock Prem UI V1.9
Alarm Button Sequence
Activating and deactivating alarms
Accessible when speaker is ON or Standby
Buttons Used
Alarm Button
Alarm Button/ Display Sequence when alarms are already activated
Pressing the alarm button when Alarm 1 or 2 is already active should display the alarm setting information.
(Only pressing the alarm button again should it cycle through to the next alarm ON/OFF mode)
If both alarms are already active, pressing the alarm button should display Alarm 2’s alarm setting infomation.
(Only pressing the alarm button again should it cycle through to the next alarm ON/OFF mode)
Buttons Used
Alarm button
Alarm Button pressed (short or long) Alarm Button pressed (short or long)
Alarm button pressed
(Short press)
Alarm button pressed
(long press)
Alarm button pressed
(Short press)
See Alarm Settings page
Alarm button pressed
(long press)
See Alarm Settings page
Alarm 1 icon will be activated
and displays alarm time *
Alarm 2 icon will be activated
and displays alarm time * Both alarms will be activated *
* N.B. After 5s of no activity, the display will return to clock display with alarm icon/s showing.
Alarm Button pressed (short)
Alarm Button pressed (long)
See Alarm Settings page
Alarm Button pressed (short)
No Activity for 5s
Alarm 1 settings will
displays
Returns to clock display
with Alarm 1 icon
Continues Alarm Activate/Deactivate cycle:
Alarm 1, Alarm 2, Both, No alarm
(See above sequence)
Page 11 of 24

AlarmDock Prem UI V1.9
Sleep Sequence
How to access sleep function
Only accessible when speaker is ON
Buttons Used:
Set Button Press
Set button - Rotary function
‘10’ will flash immediately,
Turn Rotary button to scroll between sleep timer
‘10, 20,30,45,60, OFF’
Set Button is pressed
Displays return to clock display with‘SLEEP’ icon
No Activity for 5s
Page 12 of 24

AlarmDock Prem UI V1.9
Snooze
Sequence of display for when an alarm rings
Buttons Used:
Snooze (Set Button)
Power Button
AUX modeFM Mode
When Alarm is ringing, the alarm icon will flash:
0.5s on, 0.5s off.
The time/date and wake-up method will also be display
(iPod, FM,BUZZ)
Alarm icon will stop flashing.
SNOOZE will be solidly displayed
After the snooze time - the alarm will begin to ring again
SNOOZE and alarm 1 icon will begin to flash and the
wake -up method will be displayed again.
SNOOZE is pressed
Pressing during alarm ring stops the alarm
and returns the speaker and display back to
what it was prior the alarm ring
Pressing during alarm ring stops the alarm
and returns the speaker and display back to
what it was prior the alarm ring
SNOOZE is pressed
Pressing stops the Snooze
and returns the speaker and display back to
what it was prior the alarm ring
Page 13 of 24

AlarmDock Prem UI V1.9
Presets (FM Mode Only)
How to cycle through set Presets
Buttons Used:
Play/Pause
Play/Pause button pressed (short)
Pr 01 will display for 1 second
Preset 1’s station will then display
FM will tune into this frequency
Pr 02 will display for 1 second
Preset 2’s station will then display
( FM will tune into this frequency)
Pr 03 will display for 1 second
Preset 3’s station will then display
( FM will tune into this frequency)
Page 14 of 24

AlarmDock Prem UI V1.9
Saving Presets (FM Mode Only)
Buttons Used:
Play/Pause Button
Rotary Button
Set Button
‘01’ will being to flash. Turn the rotary button
to cycle through the presets:
Pr 01 Pr 02 Pr 03... ...Pr 05
Play/Pause button pressed (long)
Set button / Play button pressed
(Track skip buttons can also be used instead of Rotary button)
No activity for 5s -> returns to previous frequency and display (Preset is not saved)
Page 15 of 24

AlarmDock Prem UI V1.9
BT - Pairing iPhone to speaker
Only accessible when speaker is ON
Buttons Used:
BT Button
1)
Settings > General > Bluetooth
2)
Press and hold BT button for 6 seconds
Speaker will enter pairing mode
BT icon: Flashing 200ms ON 200ms OFF
Speaker will enter Connected mode within 6s
BT icon: Solid ON
3)
Speaker appears under devices on iPhone
Select‘HouseParty’ to connect
HouseParty HouseParty
Tone: TBC Stratos
Page 16 of 24

AlarmDock Prem UI V1.9
BT - Connection Model
Refer to P1050 Connection Model document
Buttons Used:
BT Button
During Standby
BT Button on speaker will carry no functionality when speaker is in Standby I.e. cannot access pairing mode when unit is in standby.
Speaker will enter ON Mode if a paired device is connected via BT’s setting menu:
Further functionality through app:
Bluetooth disconnection timer (0min - 6days) Default: 30 mins (TBC after testing)
Power button to turn speaker ON/OFF
On Mode
BT is in connectable state
BT icon is off
Default disconnection time:
30mins
After 30mins
‘Turn on your speaker on or
re-connect your speaker via the iPhone Bluetooth Settings’
splash screen appears on app
Within 30mins:
- Pressing ‘Power’ on the app screen will turn speaker back on
- App and speaker has full functionality
Default BT mode: Connecting/Connectable
BT icon: flash 500ms On 500ms Off for 30s
Pressing BT Button
(Short Press)
Press and Hold BT Button
(6s)
Press and
hold BT button
(20s)
Pairing information cleared.
A tone will be played once the full
time has elapsed to indicate reset has been successful.
Enters pairing mode
BT icon: Flashes 200ms on 200ms off
If BT is connected: Goes to connectable
If BT is not connected: Remains in connectable/connecting state but BT icon is off
After 30s
BT Mode: Connecting/Connectable
BT Icon: Off
Page 17 of 24

AlarmDock Prem UI V1.9
BT - SmartLink app
App interaction when docked and undocked
Buttons Used:
BT Button
iPhone/iPod Touch docked
iPhone/iPod Touch Undocked
(Assuming both device and speaker have been previously paired and iPhone BT is switched on)
When iPod Touch/iPhone is docked
BT icon: Off
iPhone/iTouch and App is connected
to speaker via 30 pin connector
3) App is connected to speaker via BT.
Connection time: <8s
App can control speaker wirelessy as a remote
BT mode: connecting/connectable
BT icon: Flashing 500ms on 500ms off
Duration 30s
2) No connection after 30s
BT remains in Connecting/Connectable mode.
BT icon: Off
2) Device and Speaker
paired via BT
BT Mode: Connected
BT icon: Solid On
1) iPhone is undocked
Page 18 of 24

AlarmDock Prem UI V1.9
iPhone/iPod Touch docked
(Assuming both device and speaker have been previously paired and iPhone BT is switched on)
1) App connected via BT
3) Connection time <3s
2) Docking iPhone
Page 19 of 24

AlarmDock Prem UI V1.9
Speaker and App Interaction
Music Player interface:
Buttons required for speaker interaction:
- Play/Pause
- Track Skips
- Volume
- Menu Tabs (Modes)
- Power button (Turning speaker on/o) TBC
- EQ panel:
5 Presets
EQ Settings
Bass button
Hi Frequency Button
EQ tab:
App only buttons (No interaction with speaker):
- Visualiser
- Search Menu
- Loop and shue
Clock Interface:
Buttons required for speaker interaction:
Gesture Brightness levels
- Power Button (Turning speaker on/o) TBC
- Alarm Set
- Menu Tabs (Modes)
Gesture Control and Alarm Panel:
EQ Settings Panel:
- 5 sliders
- Bass
- Hi Frequency
- 5 Presets
(Off, Rock, Classical, Jazz,
Pop, Electronic)
- Power Button (TBC)
Tap active area to
bring up Alarms panel
Gesture Control
Up and down: Gradual change in brightness
Double tap: Min brightness / Max brightness
Brightness level is
mirrored in LED display
(Levels 1-7)
(Alarms Sync to speaker)(Alarms Sync to speaker)
Page 20 of 24
Other manuals for PG533 HouseParty Rise 2 Wireless
1
Table of contents
Other Gear4 Docking Speakers manuals

Gear4
Gear4 StreetParty Size 0 User manual

Gear4
Gear4 SoundOrb Aurora User manual

Gear4
Gear4 HouseParty SmartDock PG476 User manual

Gear4
Gear4 HouseParty User manual

Gear4
Gear4 HouseParty Portable PG532 User manual

Gear4
Gear4 HouseParty SmartDock PG476 User manual

Gear4
Gear4 StreetParty User manual

Gear4
Gear4 AirZone 3 Series User manual

Gear4
Gear4 StreetParty Compact User manual

Gear4
Gear4 HouseParty User manual