Geberit Bambini 599113000 User manual

MAINTENANCE MANUAL
INSTANDHALTUNGSANLEITUNG
MANUEL DʼENTRETIEN
ISTRUZIONI PER LA MANUTENZIONE


Deutsch .......................................................................................................................... 4
English............................................................................................................................ 12
Français.......................................................................................................................... 19
Italiano............................................................................................................................ 27
Nederlands..................................................................................................................... 35
18014402994624651-1 © 10-2018
968.643.00.0 (01) 3

DE Sicherheit
Zielgruppe
Dieses Produkt darf nur von Fachkräften gewartet und repariert
werden. Eine Fachkraft ist eine Person, die aufgrund ihrer fachlichen
Ausbildung, Schulung und/oder Erfahrung befähigt ist, Risiken zu
erkennen und Gefährdungen zu vermeiden, die bei der Benutzung
des Produkts auftreten.
Bestimmungsgemässe Verwendung
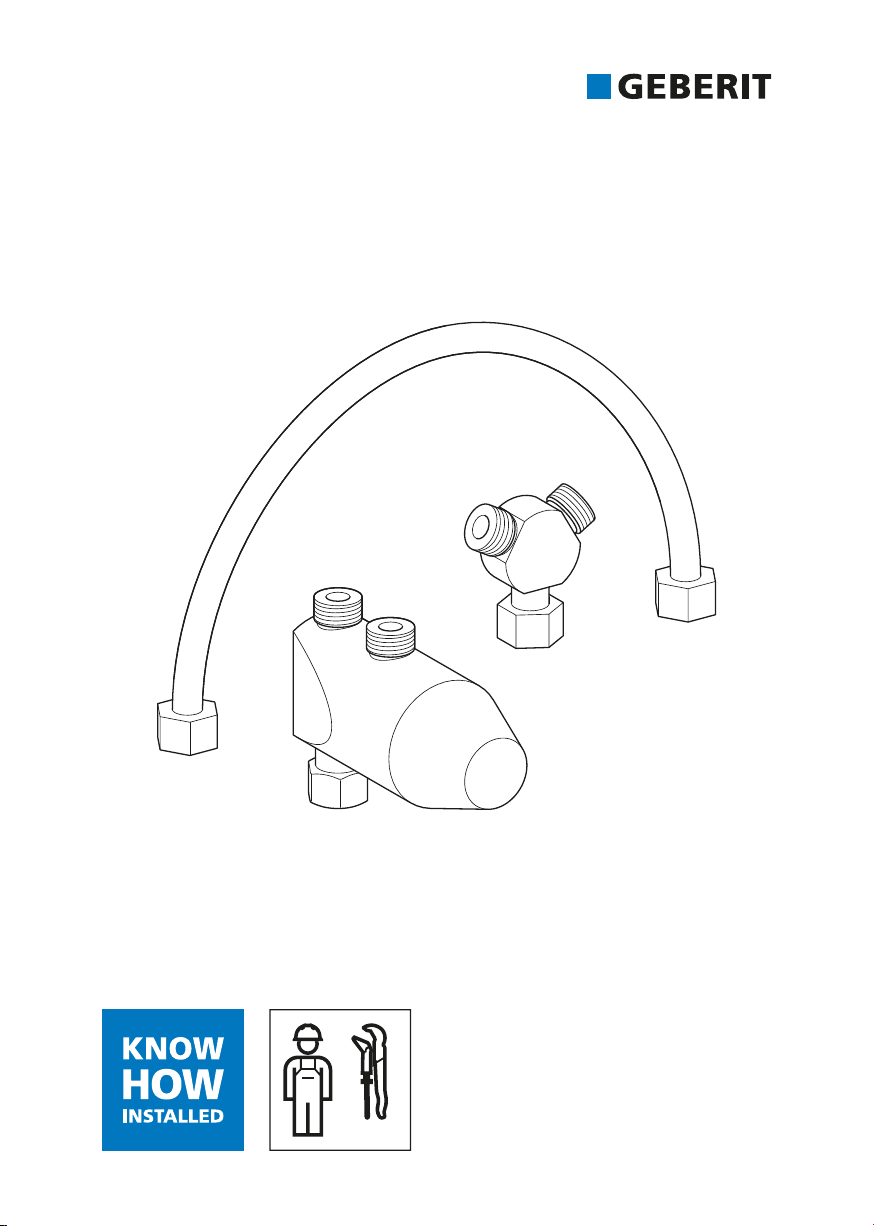
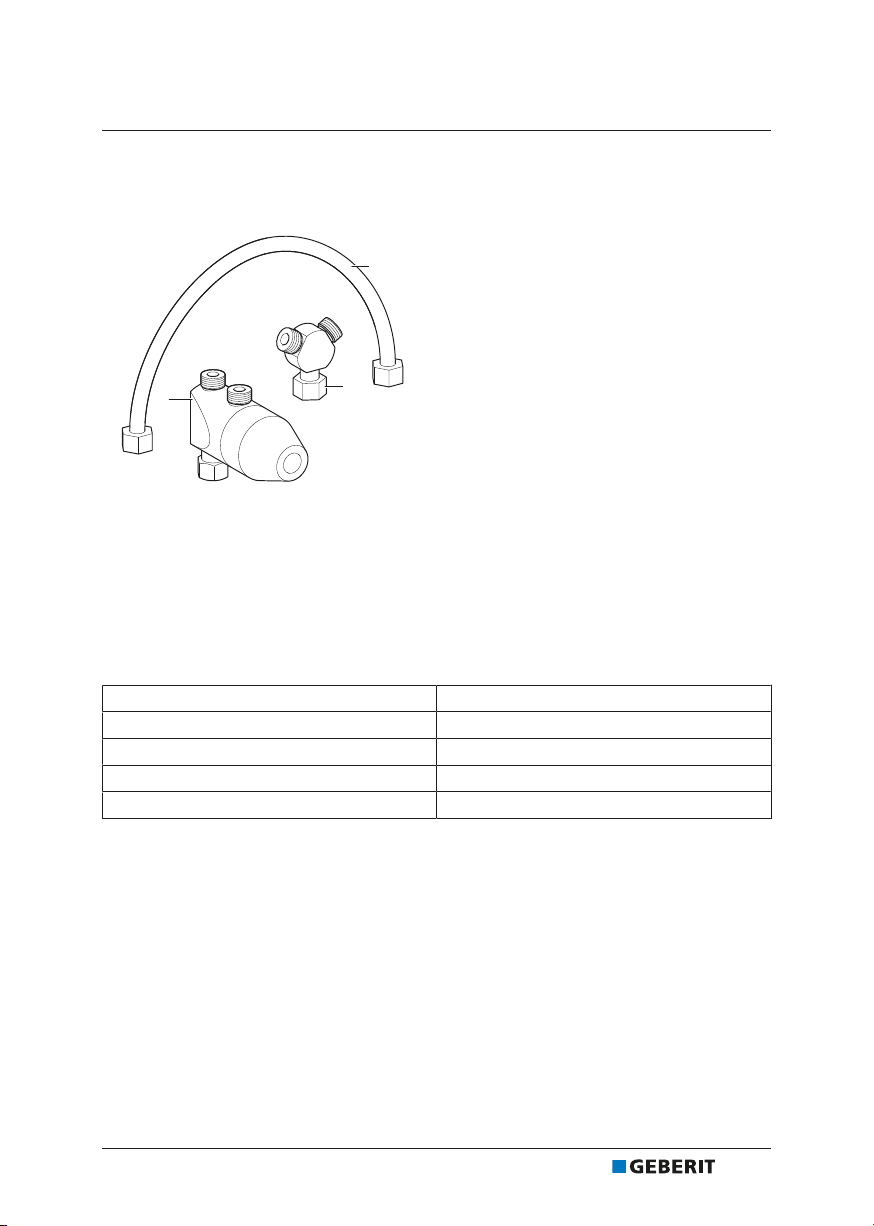
Der Minithermostat ist für folgende Verwendungen bestimmt:
•
Für Waschtischarmaturen Bambini
•
Zum Einstellen und Begrenzen der Warmwassertemperatur
•
Zum Verhindern von Verbrühungen bei Ausfall der
Kaltwasserversorgung
•
Zur Montage auf Eckventilen 3/8″
Jede andere Verwendung gilt als nicht bestimmungsgemäss. Der
Hersteller übernimmt keine Haftung für die Folgen aus nicht
bestimmungsgemässer Verwendung.
Warnstufen und Symbole in dieser Anleitung
Warnstufen und Symbole
ACHTUNG
Kennzeichnet eine Gefahr, die zu Sachschäden führen kann, wenn
sie nicht vermieden wird.
Weist auf eine wichtige Information hin.
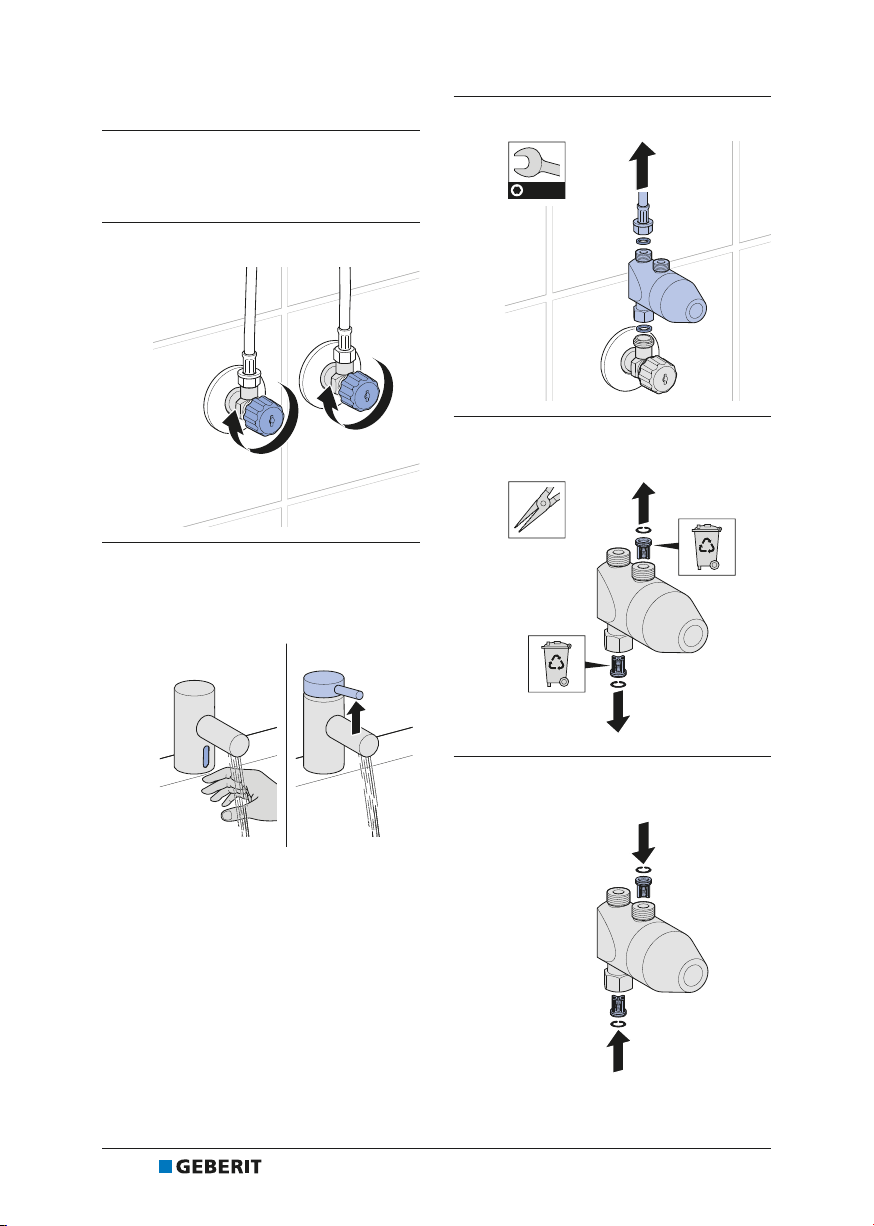
Sicherheitshinweise
Unsachgemässe Wartungsarbeiten oder Reparaturen können zu
Beschädigungen oder Funktionsstörungen führen.
•
Zur Reparatur nur Originalersatzteile verwenden.
•
Keine Veränderungen oder Zusatzinstallationen am Produkt
vornehmen.
418014402994624651-1 © 10-2018
968.643.00.0 (01)

DE
Produktbeschreibung
Aufbau
Abbildung1: Minithermostat
1 Minithermostat
2 Y-Stück
3 Verbindungsschlauch
Technische Daten
Betriebsdruck 1–5 bar (100–500 kPa)
Betriebstemperatur Warmwasser 60–65 °C
Betriebstemperatur Kaltwasser 10–15 °C
Durchfluss bei 3 bar 12 l/min
Werkstoff Messing verchromt
18014402994624651-1 © 10-2018
968.643.00.0 (01) 5

DE Bedienung
Störungen beheben
Störung Ursache Behebung
Wasser fliesst nicht
Wasserzufuhr unterbrochen ▶ Wasserzufuhr
wiederherstellen.
Thermokartusche defekt
▶ Thermokartusche
ersetzen. →Siehe
„Thermokartusche
ersetzen“, Seite9.
Korbfilter verstopft ▶ Korbfilter reinigen.
Rückflussverhinderer defekt
▶ Rückflussverhinderer
ersetzen. →Siehe
„Rückflussverhinderer
ersetzen“, Seite8.
Verbrühschutz wurde aus-
gelöst
▶ Kaltwasserzufuhr
wiederherstellen.
Wasser zu warm
Kaltwasser abgestellt ▶ Eckventil für Kaltwasser
öffnen.
Wassertemperatur falsch ein-
gestellt
▶ Wassertemperatur neu
einstellen. →Siehe
Montageanleitung
968.642.00.0.
Thermokartusche defekt
▶ Thermokartusche
ersetzen. →Siehe
„Thermokartusche
ersetzen“, Seite9.
Korbfilter verstopft ▶ Korbfilter reinigen.
Rückflussverhinderer defekt
▶ Rückflussverhinderer
ersetzen. →Siehe
„Rückflussverhinderer
ersetzen“, Seite8.
618014402994624651-1 © 10-2018
968.643.00.0 (01)

DE
Störung Ursache Behebung
Wasser zu kalt
Warmwasser abgestellt ▶ Eckventil für Warmwasser
öffnen.
Wassertemperatur falsch ein-
gestellt
▶ Wassertemperatur neu
einstellen. →Siehe
Montageanleitung
968.642.00.0.
Thermokartusche defekt
▶ Thermokartusche
ersetzen. →Siehe
„Thermokartusche
ersetzen“, Seite9.
Korbfilter verstopft ▶ Korbfilter reinigen.
Rückflussverhinderer defekt
▶ Rückflussverhinderer
ersetzen. →Siehe
„Rückflussverhinderer
ersetzen“, Seite8.
Wasserstrahl zu schwach
Strahlregler verschmutzt
Strahlregler reinigen.
→Siehe Montageanleitung
968.642.00.0.
Thermokartusche defekt
▶ Thermokartusche
ersetzen. →Siehe
„Thermokartusche
ersetzen“, Seite9.
Korbfilter verstopft ▶ Korbfilter reinigen.
Rückflussverhinderer defekt
▶ Rückflussverhinderer
ersetzen. →Siehe
„Rückflussverhinderer
ersetzen“, Seite8.
Verbrühschutz wurde aus-
gelöst
▶ Kaltwasserzufuhr
wiederherstellen.
18014402994624651-1 © 10-2018
968.643.00.0 (01) 7

DE Instandhaltung
Rückflussverhinderer
ersetzen
1Eckventile schliessen.
2Armatur betätigen.
3Minithermostat demontieren.
NN
4Sicherungsringe und
Rückflussverhinderer entfernen.
5Neue Rückflussverhinderer und
Sicherungsringe montieren.
818014402994624651-1 © 10-2018
968.643.00.0 (01)

DE
6Minithermostat montieren.
7Eckventile öffnen.
8Funktion der Armatur prüfen.
9Wassertemperatur prüfen und
einstellen. →Siehe
Montageanleitung 968.642.00.0.
Thermokartusche ersetzen
1Eckventile schliessen.
2Armatur betätigen.
3Abdeckung entfernen.
18014402994624651-1 © 10-2018
968.643.00.0 (01) 9

DE 4Kappe demontieren.
3+
5Befestigungsmutter lösen.
6Thermokartusche demontieren und
entsorgen.
7Neue Thermokartusche montieren
und Befestigungsmutter
festschrauben.
8Kappe und Abdeckung montieren.
9Eckventile öffnen.
10 Funktion der Armatur prüfen.
11 Wassertemperatur prüfen und
einstellen. →Siehe
Montageanleitung 968.642.00.0.
10 18014402994624651-1 © 10-2018
968.643.00.0 (01)

DE
Entsorgung
Entsorgung
▶Inhaltsstoffe den länderspezifischen
Vorschriften entsprechend
entsorgen.
18014402994624651-1 © 10-2018
968.643.00.0 (01) 11

EN Safety
Target group
Maintenance and repair work on this product may only be performed
by skilled persons. A skilled person is a person who, due to their
specialist education, training and/or experience, is able to recognise
risks and avoid hazards that may arise when using the product.
Intended use
The mini thermostat is intended for the following purposes:
•
for washbasin taps Bambini
•
for setting and limiting the hot water temperature
•
for preventing scalding in the event that the cold water supply fails
•
for mounting on 3/8″ angle stop valves
Use for any other purpose is deemed improper. The manufacturer
accepts no liability for the consequences of improper use.
Alert levels and symbols in this manual
Alert levels and symbols
ATTENTION
Indicates a hazard which, if not avoided, can lead to material
damage.
Refers to important information.
Safety notes
Incorrect maintenance work or repairs can result in damage or
malfunctions.
•
Only use original spare parts when making repairs
•
Do not modify the product or add any additional modules
12 18014402994624651-1 © 10-2018
968.643.00.0 (01)

EN
Product description
Structure
Figure1: Mini thermostat
1 Mini thermostat
2 Y-piece
3 Connection hose
Technical data
Operating pressure 1–5bar (100–500kPa)
Hot water operating temperature 60–65 °C
Cold water operating temperature 10–15 °C
Flow rate at 3 bar 12 l/min
Material Chrome-plated brass
18014402994624651-1 © 10-2018
968.643.00.0 (01) 13

EN Operation
Troubleshooting
Malfunction Cause Rectification
Water does not run
Water supply interrupted ▶ Restore the water supply.
Thermostatic cartridge
defective
▶ Replace the thermostatic
cartridge. →See
"Replacing the
thermostatic cartridge",
page17.
Basket filter clogged ▶ Clean the basket filter.
Check valve defective
▶ Replace the check valve.
→See "Replacing the
check valve", page16.
Scald protection was
triggered
▶ Restore the cold water
supply.
Water too hot
Cold water shut off ▶ Open the angle stop valve
for cold water.
Water temperature set incor-
rectly
▶ Reset the water
temperature. →See
installation manual
968.642.00.0.
Thermostatic cartridge
defective
▶ Replace the thermostatic
cartridge. →See
"Replacing the
thermostatic cartridge",
page17.
Basket filter clogged ▶ Clean the basket filter.
Check valve defective
▶ Replace the check valve.
→See "Replacing the
check valve", page16.
14 18014402994624651-1 © 10-2018
968.643.00.0 (01)

EN
Malfunction Cause Rectification
Water too cold
Hot water shut off ▶ Open the angle stop valve
for hot water.
Water temperature set incor-
rectly
▶ Reset the water
temperature. →See
installation manual
968.642.00.0.
Thermostatic cartridge
defective
▶ Replace the thermostatic
cartridge. →See
"Replacing the
thermostatic cartridge",
page17.
Basket filter clogged ▶ Clean the basket filter.
Check valve defective
▶ Replace the check valve.
→See "Replacing the
check valve", page16.
Water jet too weak
Tap aerator dirty
Clean the tap aerator. →See
installation manual
968.642.00.0.
Thermostatic cartridge
defective
▶ Replace the thermostatic
cartridge. →See
"Replacing the
thermostatic cartridge",
page17.
Basket filter clogged ▶ Clean the basket filter.
Check valve defective
▶ Replace the check valve.
→See "Replacing the
check valve", page16.
Scald protection was
triggered
▶ Restore the cold water
supply.
18014402994624651-1 © 10-2018
968.643.00.0 (01) 15

EN Maintenance
Replacing the check valve
1Close the angle stop valves.
2Activate the tap.
3Demount the mini thermostat.
NN
4Remove the snap rings and check
valves.
5Mount new check valves and snap
rings.
6Mount the mini thermostat.
16 18014402994624651-1 © 10-2018
968.643.00.0 (01)

EN
7Open the angle stop valves.
8Test the function of the tap.
9Check and set the water
temperature. →See installation
manual 968.642.00.0.
Replacing the thermostatic
cartridge
1Close the angle stop valves.
2Activate the tap.
3Remove the cover.
4Demount the cap.
3+
5Remove the lock nut.
18014402994624651-1 © 10-2018
968.643.00.0 (01) 17

EN 6Demount and dispose of the
thermostatic cartridge.
7Mount the new thermostatic cartridge
and screw on the lock nut.
8Mount the cap and cover.
9Open the angle stop valves.
10 Test the function of the tap.
11 Check and set the water
temperature. →See installation
manual 968.642.00.0.
Disposal
Disposal
▶Dispose of the constituents in
accordance with country-specific
regulations.
18 18014402994624651-1 © 10-2018
968.643.00.0 (01)

FR
Sécurité
Clientèle visée
Ce produit ne doit être entretenu et réparé que par des personnes
qualifiées. On entend par personne qualifiée, une personne qui, en
raison de ses connaissances techniques, de sa formation et/ou de
son expérience, est en mesure d’identifier des risques et d'éviter les
dangers survenant lors de l'utilisation du produit.
Utilisation conforme
Le mini thermostat est conçu pour les utilisations suivantes:
•
pour robinetteries de lavabo Bambini
•
pour régler et limiter la température de l’eau chaude
•
pour éviter les brûlures en cas de défaillance de l’alimentation en
eau froide
•
pour montage sur robinets équerres 3/8″
Toute autre utilisation est considérée comme non conforme. Le
fabricant ne saurait être tenu responsable des conséquences d’une
utilisation non conforme.
Avertissements et symboles utilisés dans ce manuel
Avertissements et symboles
ATTENTION
Désigne un danger susceptible d'entraîner des dommages matériels
s'il n'est pas évité.
Signale une information importante.
Consignes de sécurité
Les travaux de maintenance ou les réparations inappropriés peuvent
entraîner des endommagements ou des dysfonctionnements.
•
N'utiliser que des pièces détachées d'origine pour les réparations.
•
N’effectuer aucune modification ou installation complémentaire sur
le produit.
18014402994624651-1 © 10-2018
968.643.00.0 (01) 19

FR Descriptif du produit
Structure
Illustration1: Mini thermostat
1 Mini thermostat
2 Pièce en Y
3 Flexible de raccordement
Caractéristiques techniques
Pression de service 1–5bar (100–500kPa)
Température de service eau chaude 60–65 °C
Température de service eau froide 10–15 °C
Débit à 3 bars 12 l/min
Matériau Laiton chromé
20 18014402994624651-1 © 10-2018
968.643.00.0 (01)
Table of contents
Languages:
Other Geberit Thermostat manuals
Popular Thermostat manuals by other brands

Herschel
Herschel T-MKW Installation and operating instructions

Neptronic
Neptronic TRO5404 installation instructions

Honeywell
Honeywell Y9120W Sundial RF2 Pack 4 user guide

Gemo
Gemo AT961 quick start guide

Full Gauge Controls
Full Gauge Controls Microsol SWP Advanced user guide

Honeywell
Honeywell RTH1100 series Quick installation guide

Honeywell Home
Honeywell Home Lyric T6 Pro Wi-Fi Professional install guide

Vykon
Vykon VT7200 Series Integration manual

White Rodgers
White Rodgers 1F95CA-391 Installation & configuration guide

Neptronic
Neptronic EFCB Specification & installation instructions

Watts Industries
Watts Industries MILUX user guide

Salus
Salus Quantum SQ610 Full user manual