Geeetech 3D WiFi User manual

Geeetech 3D WiFi Module
—User Manual—

Contents
Terms ..............................................................................................................................................................1
Safety and Compliance...................................................................................................................................3
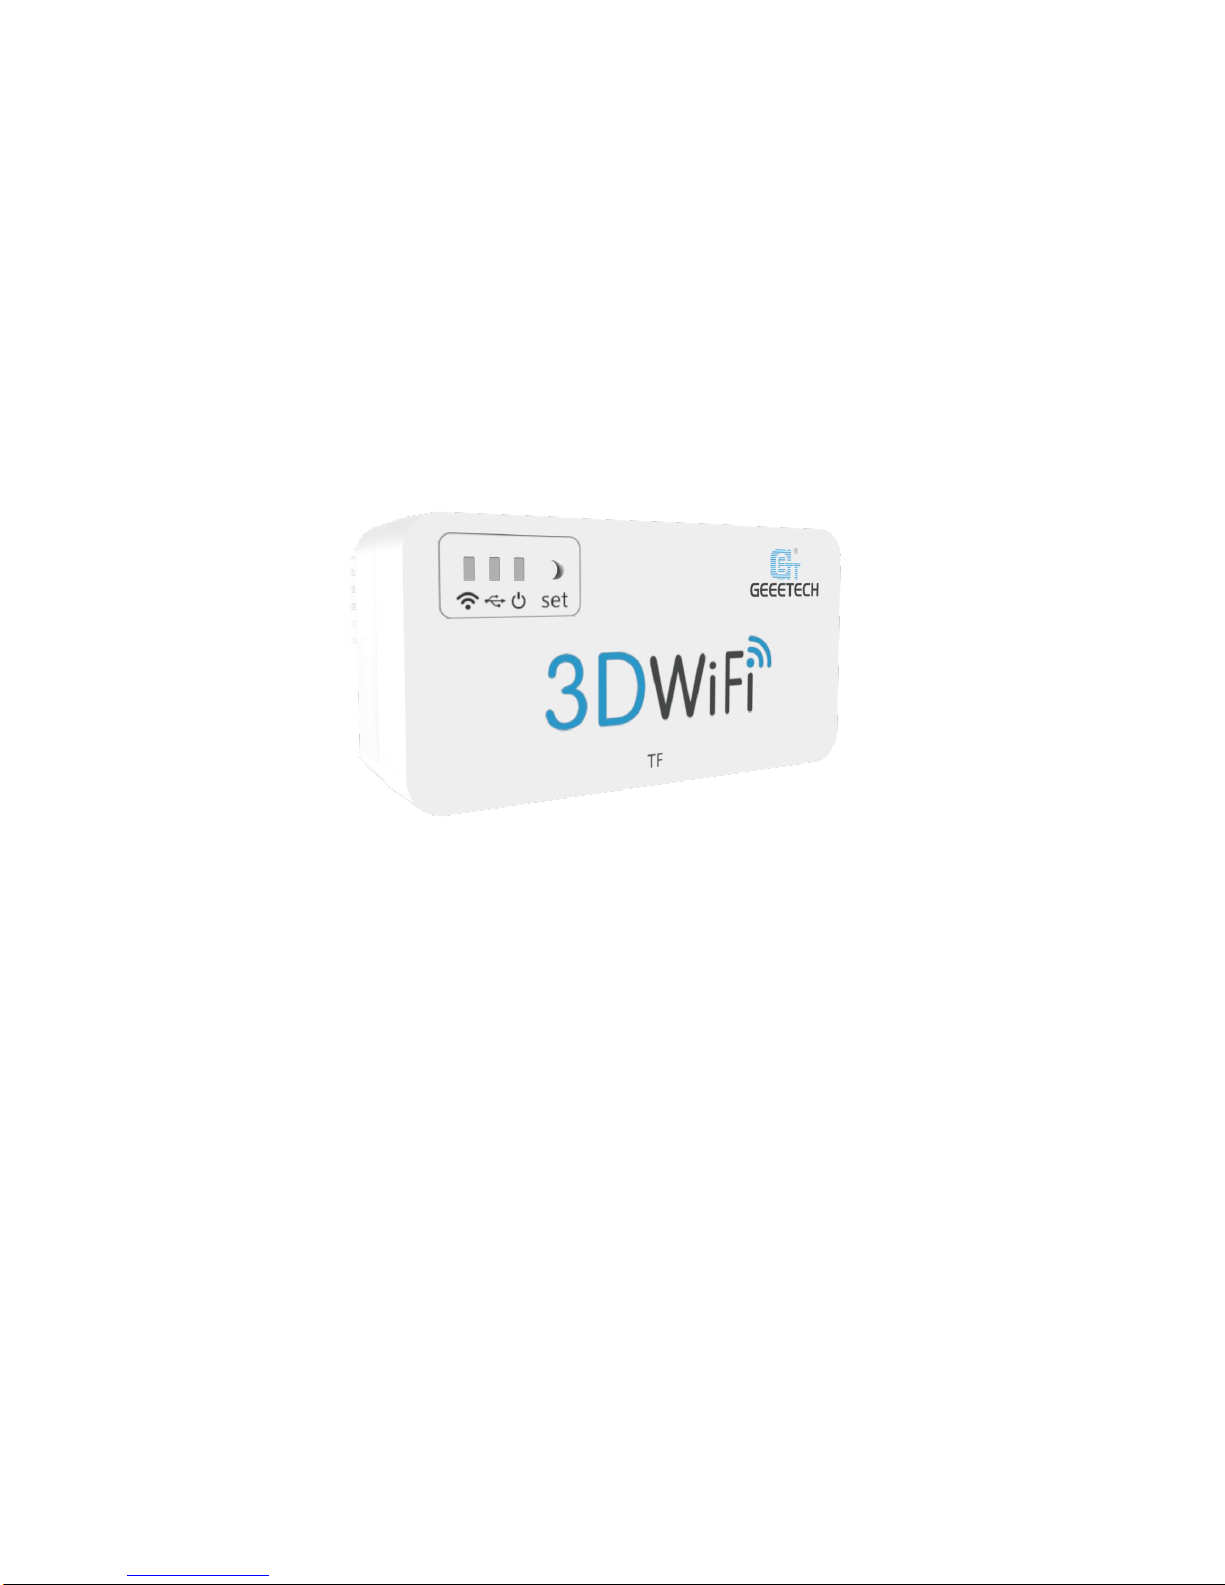
1. About Geeetech 3D WiFi Module ..........................................................................................................4
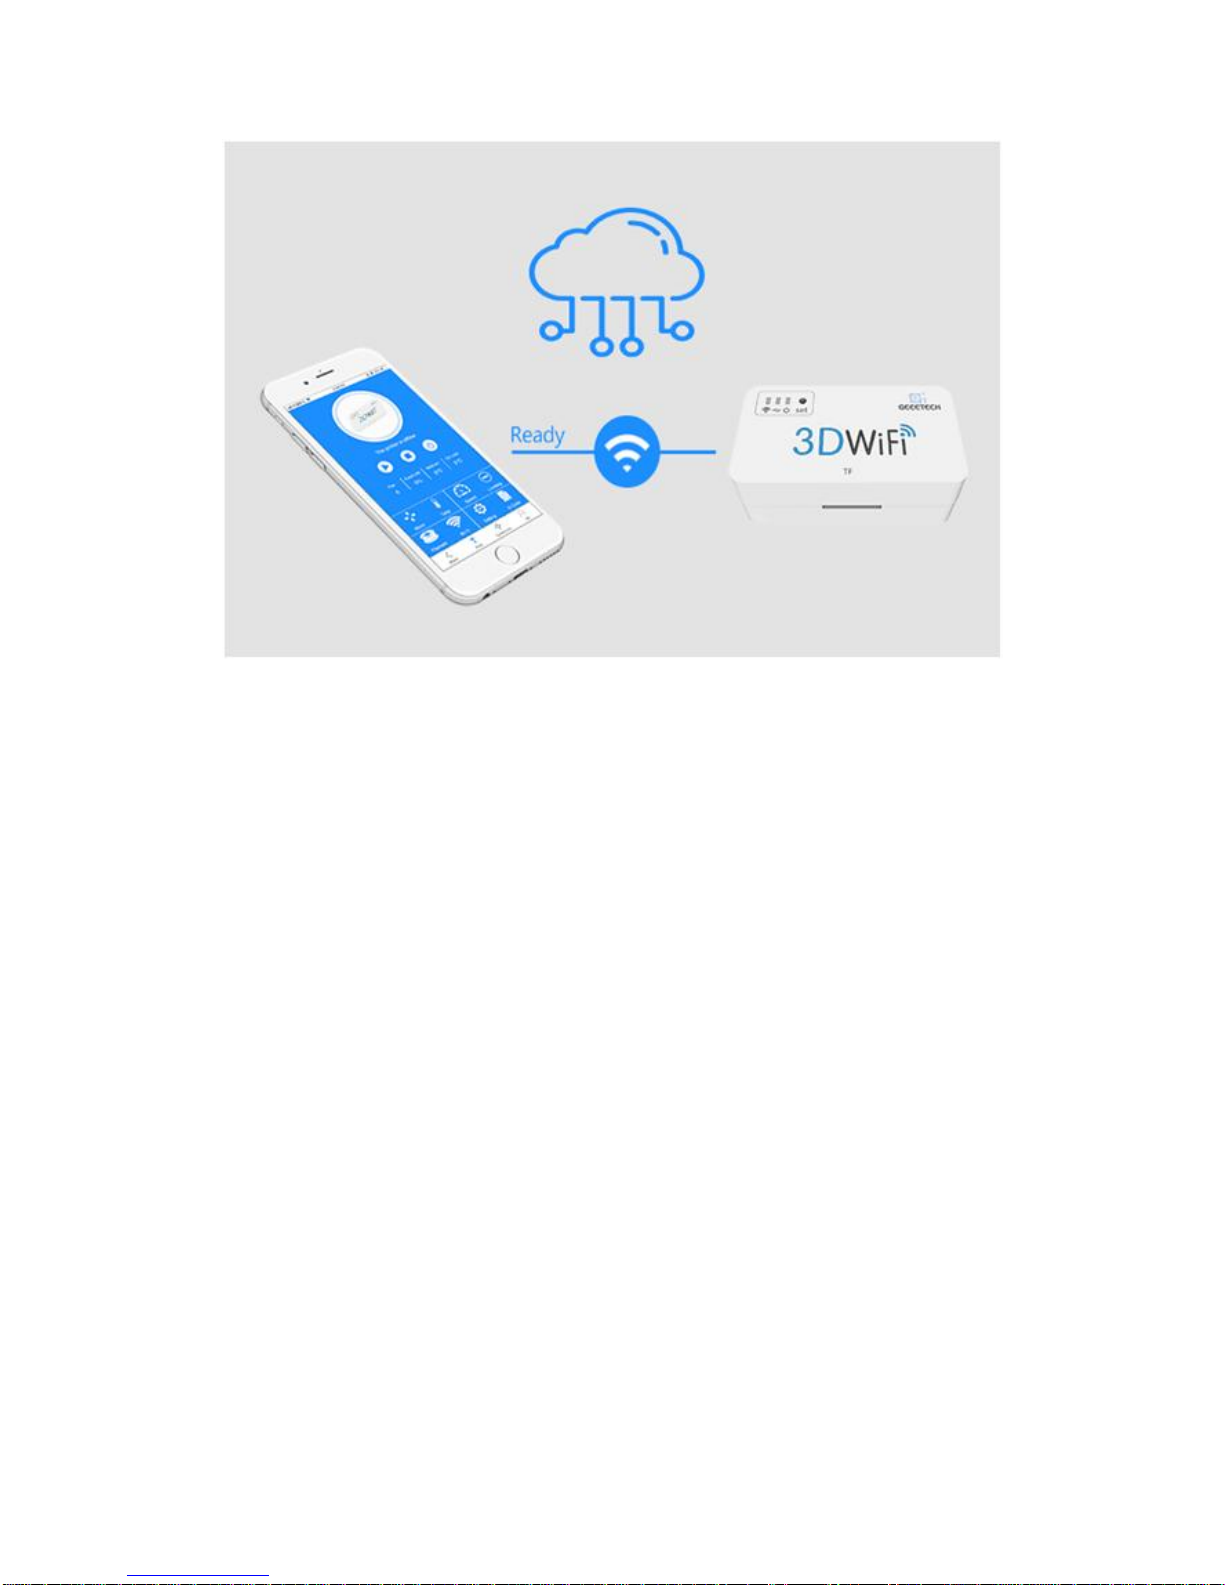
1.1 Introduction.......................................................................................................................................4
1.2 Main Features of 3D WiFi Module...................................................................................................5
1.3 Tips for Using 3D WiFi Module.......................................................................................................6
2. Install EasyPrint 3D App ........................................................................................................................7
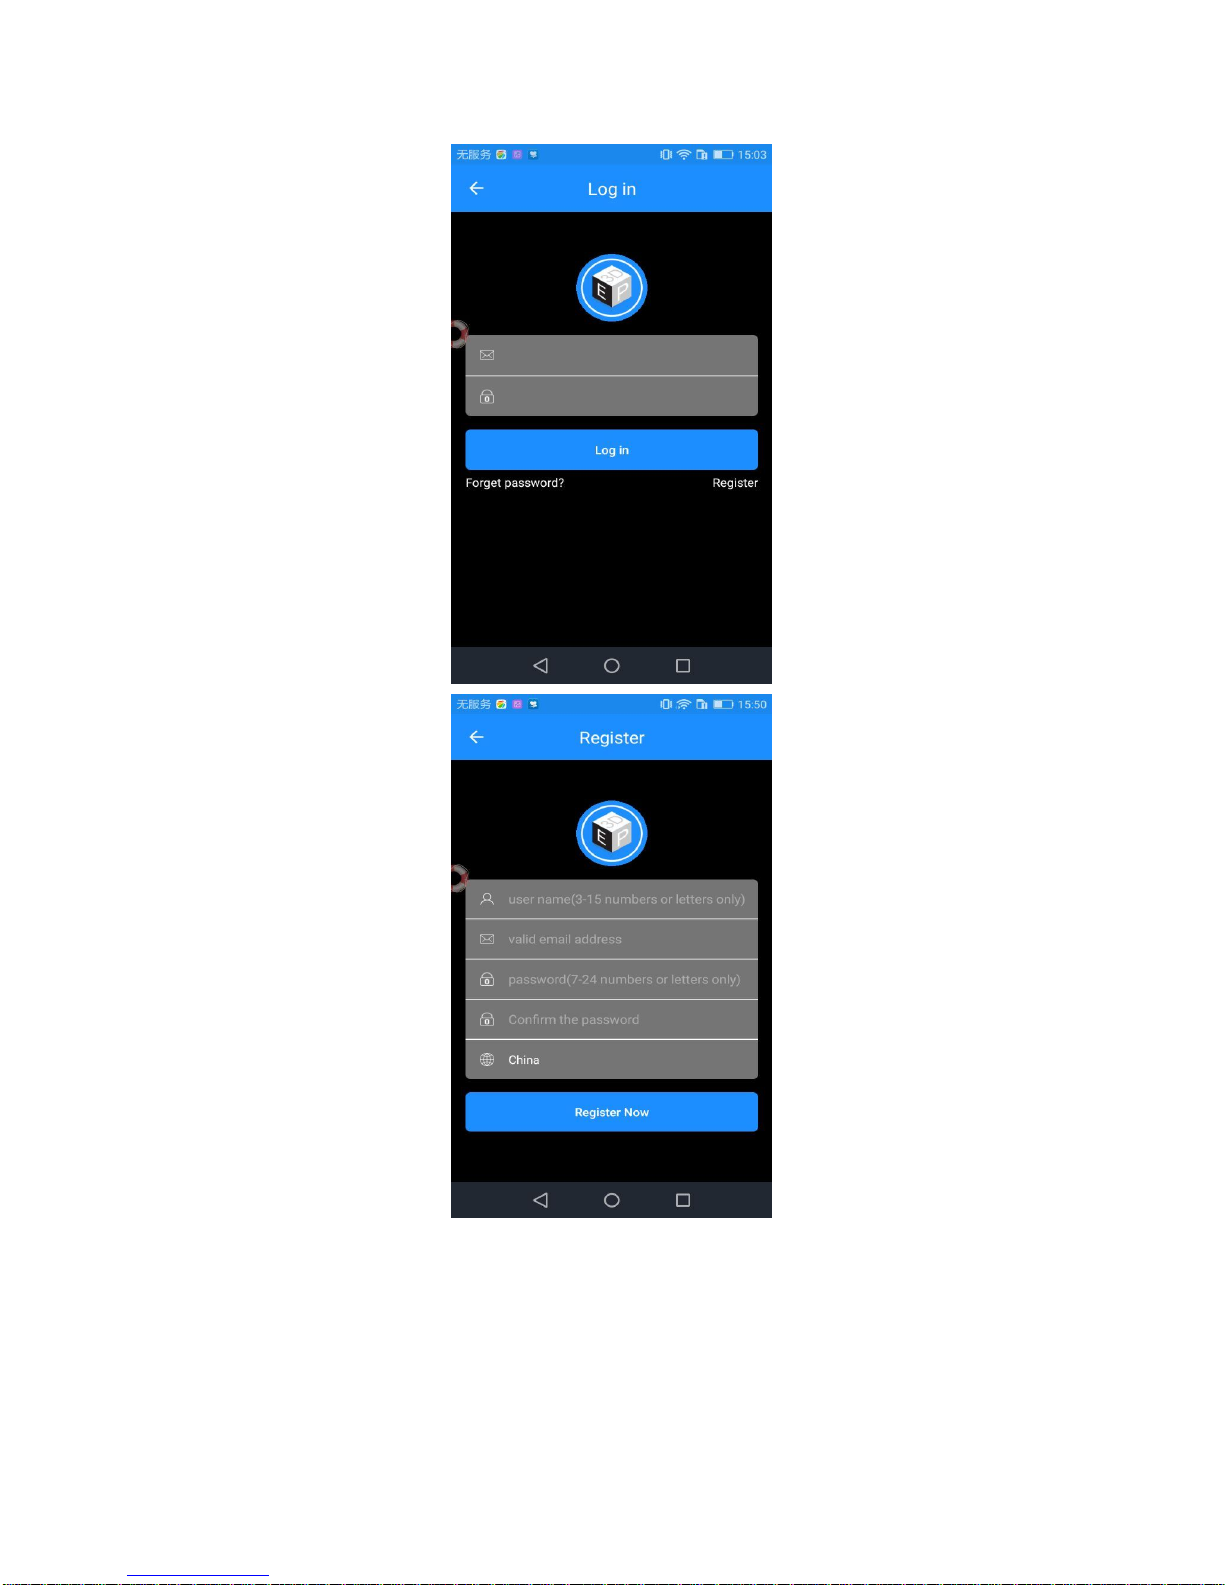
3. Bind 3D printer to EasyPrint 3D App.....................................................................................................9
4. Wi-Fi Configurations............................................................................................................................12
5. Printing via EasyPrint 3D App..............................................................................................................18
5.1 Control Your 3D Printer with EasyPrint 3D App............................................................................19
5.1.1 Introduction to Print Interface.......................................................................................19
5.1.2 Move.............................................................................................................................20
5.1.3 Temp .............................................................................................................................21
5.1.4 Level .............................................................................................................................22
5.1.5 Filament ........................................................................................................................23
5.1.6 Wi-Fi.............................................................................................................................24
5.1.7 Config ...........................................................................................................................25
5.2 Introduction to Gallery Interface.....................................................................................................26
5.2.1 Printing from 3D printer’s SD Card.....................................................................................26
5.2.2 Printing from 3D WiFi module’s TF Card ...........................................................................30
5.2.3 Printing from Gallery...........................................................................................................31
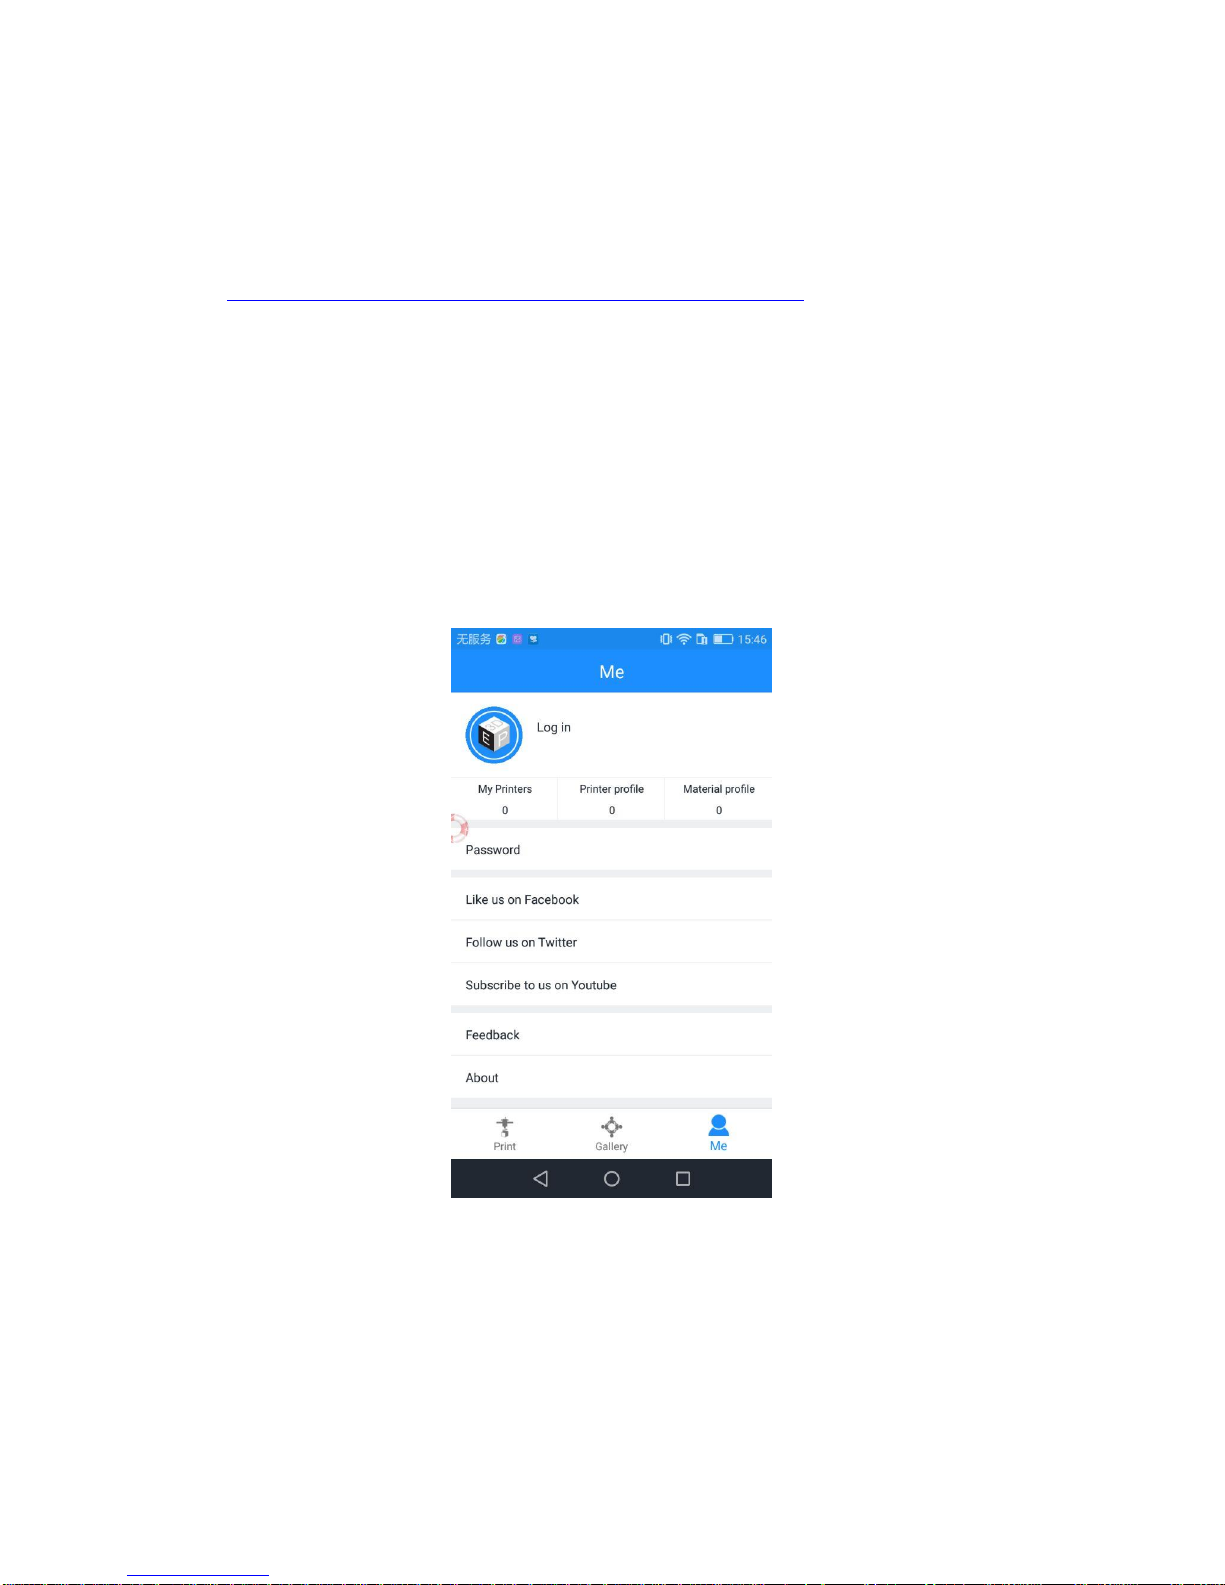
5. 3 Introduction to Me Interface..........................................................................................................35
6. Firmware Upgrade for 3D WiFi Module ..................................................................................................40
6.1 Firmware Upgrade for Control Board.............................................................................................40
6.2 Firmware Upgrade for 3D WiFi Module ........................................................................................42
7. FAQ...........................................................................................................................................................43
8. Specs.........................................................................................................................................................45
9. Contact us .................................................................................................................................................46

1
Terms
Please be advised of the following terms (the ―Terms‖) regarding this User Manual (this
―Manual‖):
All information in this Manual is subject to change at any time without notice and is
provided for convenience purposes only. Geeetech reserves the right to modify or revise this
Manual in its sole discretion and at any time. You agree to be bound by any modifications
and/or revisions. Contact the Geeetech Support Team for up-to-date information.
Content Copyright. The design of this Manual and all text, graphics, information,
content, and other material are protected by copyright and other laws. The contents are
copyright 2017 Shenzhen Getech Technology CO, LTD, or our respective affiliates and
suppliers.
All rights reserved. Certain trademarks, trade names, service marks, and logos (the
―Marks‖) used in this Manual are registered and unregistered trademarks, trade names, and
service marks of Geeetech and its affiliates. Nothing contained in this Manual grants or
should be construed as granting, by implication, estoppel, or otherwise, any license or right to
use any Marks without the written permission of Geeetech. Any unauthorized use of any
information, materials, or Marks may violate copyright laws, trademark laws, laws of privacy
and publicity, and/or other laws and regulations.
DISCLAIMERS. Neither Geeetech nor any of our affiliates warrants the accuracy
orcompleteness of the information, products, or services provided by or through this Manual,
which are provided ―as is‖ and without any express or implied warranties of any kind,
including warranties of merchantability, fitness for a particular purpose, or non-infringement
of intellectual property. To the fullest extent permissible by the applicable law, we hereby
disclaim all liability for product defect or failure or for claims that are due to normal wear,

2
product misuse or abuse, product modification, improper product selection, noncompliance
with any codes, or misappropriation. To the fullest extent permissible by the applicable law,
we hereby disclaim any and all responsibility, risk, liability, and damages arising out of death
or personal injury resulting from assembly or operation of our products. Geeetech assumes no
responsibility, nor will be liable, for any damages to, or any viruses or malware that may
infect your computer, telecommunication equipment, or other property caused by or arising
from your downloading of any information or materials related to Geeetech products. The
foregoing exclusions do not apply to the extent prohibited by law; please refer to your local
laws for any such prohibitions. We make no warranties to those defined as ―consumers‖ in
the Magnuson-Moss Warranty–Federal Trade Commission Improvement Act.
LIMITATIONS OF LIABILITY. In no event will Geeetech or any of our respective
officers,directors, employees, shareholders, affiliates, agents, successors, or assigns, nor any
party involved in the creation or production of our products, be liable to you or anyone else
for any indirect, special, punitive, incidental, or consequential damages (including, without
limitation, those resulting from lost profits, lost data, or business interruption) arising out of
the use, inability to use, or the results of use of this Manual, whether based on warranty,
contract, tort, or any other legal theory and whether or not advised of the possibility of such
damages. The foregoing limitations of liability do not apply to the extent prohibited by law;
please refer to your local laws for any such prohibitions.

3
Safety and Compliance
Radio and Television Interference
This equipment has been tested and found to comply with the limits for a Class B
digital device, pursuant to Part 15 of the Federal Communications Commission (FCC) rules.
These limits are designed toprovide reasonable protection against harmful interference in a
residential installation. This equipment generates uses and can radiate radio frequency
energy and, if not installed and used in accordance with the instructions, may cause harmful
interference to radio communications. However, there is noguarantee that interference will
not occur in a particular installation. If this equipment does cause harmful interference to
radio or television reception, which can be determined by turning the equipment off and on,
the user is encouraged to try to correct the interference by one or more of the following
measures:
•Reorient or relocate the receiving antenna.
•Increase the separation between the equipment and the receiver.
•Connect the equipment to an outlet on a circuit different from that to which the receiver
is connected.
•Consult the dealer or an experienced radio/TV technician for help.
The following booklet compiled by FCC may help you:“How to Identify and Resolve
Radio-TV Interference Problems‖
Changes and modifications not expressly approved by the manufacturer or registrant of
this equipment will void your right to use the equipment in accordance with FCC regulations.
Radio Specifications
Frequency
WLAN RF Frequency
Gange
Protocol
Wireless Types
Wireless Specification
Taoglas,P/N
Within 2.4 GHz Band
2.4 GHz
2.412 - 2.472 GHz
802.11 b/g/n
FX831.07.0100C
2.5 dBi

4
1. About Geeetech 3D WiFi Module
1.1 Introduction
Geeetech developed 3D WiFi Module, with the only aim of enabling all the 3D printing
hobbyists to control their printer wirelessly. 3D WiFi Module is mainly composed of two
parts: control board and Wi-Fi module. Thumb-size as it is, it is powerful enough to connect
your 3D printer with Geeetech’s cloud server, making it a reality for you to control your
device on EasyPrint 3D App.
3D WiFi Module is ready to use right out of box. You just need to connect your printer
to its USB port and finish simple configurations on EasyPrint 3D App. That’s all. Then you
can start to control your printer wirelessly.
3D WiFi Module is cloud-based.Via EasyPrint 3D App, it is extremely simple and
convenient to direct control over your printer anywhere and anytime. Besides, you would
have access to a large cloud gallery, which covers 9 categories of 3D models for printing.
What’s more exciting is that you could record and share your printing moments on EasyPrint
3D App in seconds.
3D WiFi Module is broadly compatible with many different kinds of 3D printers on the
market. As long as the USB to serial chip of your printer belongs to one of these three ones
(CH340, FT232 and PL2303) and is controlled by G.code instructions, our 3D WiFi Module
can upgrade your machine as Wi-Fi enabled and make it comparable to other prohibitively
expensive Wi-Fi connected 3D printers.
Coded professionally and adopting high-performance chips, 3D WiFi Module could
transmit model files and your commands to your printer in a stable and reliable way.

5
1.2 Main Features of 3D WiFi Module
As a bridge for data transmission between mobile phone and 3D printer, 3D WiFi
module integrates some instructions, convenient for users directing control over 3D printer
from App. Besides, it is compatible with the feedback info from 3D printer to control the
printer and display the related printing data on App.
In this section, a brief introduction to its main features is made to help get a better
knowledge of how 3D WiFi module works.
a. Config mode: Long press the hole labeled with “set”with a pin about 3s, until the
Wi-Fi indicator light turns dim and flickers quickly. Loosen the pin and 3D Wi-Fi will enter
the config mode. In the config mode, you can finish the Wi-Fi connectivity onApp.
b. When the Wi-Fi indicator light flickers quickly and you do not loosen the pin, the
light will flicker slowly to enter the reset mode. In the reset mode, your phone could not
detect GT_printer hotspot.
c. When the network is not stable, 3D WiFi module will re-connect the hotspot
automatically.

6
In the following part, a detailed introduction to the App menu will be made.
1.3 Tips for Using 3D WiFi Module
* Make sure 3D WiFi module and 3D printer could communicate smoothly with your
firmware with your USB interface.
* Ensure that M26, M27, M110, M114, M119 commands are valid and of correct format,
so that EasyPrint 3D App could display the printing status normally and operations via App,
such as stopping printing and leveling the building platform, are available.
M26, M27, M110 is related to the display and modification of printing status and
parameters on App, when the printer runs with SD card or TF card. M114 and M119 for
leveling the building platform.
If the format of these commands is not in alignment with what is shown in the following
table, please make the corresponding modification.
*You can use serial debugging tools or Repetier-host to send these commands to your
3D printer to test how your machine responds.
M26
Start printing from a specific byte of a g.code file, which is being printed.
G.code: M26 Snnn. ―nnn‖for the numbers.
M27
Obtain info of printing progress.
G.code: M27; Return: ―SD printing byte nnn/nnn‖
M110
Set the line sequence, for instance, the present line No. is nnn, and the next
line should be nnn+1.
G.code: Nnnn M110
M114
The present coordinates for X/Y/Z/E.
G.code: M114; Return: ―X: nnn Y: nnn Z:nnn E: nnn‖
M119
G.code: M119
Return: eg. ―x_min: H y_min:H z_min:L‖
Or ―x_min:OPEN x_max:TRIGGERED y_min: OPEN y_max: TRIGGERED
z_min:TRIGGERED z_max: OPEN‖

7
2. Install EasyPrint 3D App
Download the EasyPrint 3D APP and install it by following the instructions.
http://www.geeetech.com/firmware/EasyPrint_3D_Android.apk
You could also download EasyPrint 3D App on Google Play and App Store.
Once finishing installation, enter Me to register and log in.
Note: As the EasyPrint 3D APP is continuously upgraded, some UI and workflow may
be different, please follow the APP.
Here are the login steps.
Step1. Open EasyPrint 3D App. Click the [Log in] button in the [Me] interface to finish
your registration.
Step 2. For beginners, click [Register] to create an account. Enter your own account
information (Note: There is no space in the user name. For foreign users, please choose
―English‖for your server address.)

8
Step 3. Click [Register Now] and a pop-up interface will appear for you to check your
email.

9
Step 4. Log in with your account information.
3. Bind 3D printer to EasyPrint 3D App
Log in and bind the printer. In Me
—
My 3D Printer, finish the binding process following
the instructions on App.
1. Go to ―Me‖and click ―my printers‖to pair your 3D printer.

10
2. Click ―Start to bind‖button.
3. Enter the serial number on the back of 3D WiFi module. After you entering, click ―next‖.

11
4. An interface of ―Successfully bind‖will pop up.
That’s the whole binding process. In the next part, we will finish the Wi-Fi configurations
step by step. Be patient~

12
4. Wi-Fi Configurations
Detailed configuration procedures are as follows.
Step 1. Use the power cable to connect 3D WiFi Module with your adapter to power it
up. The red power supply indicator light is on, while the yellow indicator lights for USB and
Wi-Fi signal flicker quickly.
Step 2. Connect your 3D printer to the USB port of 3D WiFi Module with your USB
cable for data transmission. The red power supply indicator light and the yellow USB
indicator light are on, while the yellow Wi-Fi signal indicator light flickers slowly.
Step 3. Please check if the TF card is inserted into the slot in the right way.

13
Step 4. Long press the hole labeled with “set”with a pin about 3s, until the Wi-Fi
indicator light turns dim and flickers quickly. Loosen the pin and 3D Wi-Fi will enter the
config mode. You could finish Wi-Fi configuration on EasyPrint 3D App.
Note: When the Wi-Fi indicator light flickers quickly and you do not loosen the pin, the
light will flicker slowly to enter the reset mode. In the reset mode, your phone could not
detect GT_printer hotspot.
Step 5. Go to the Wi-Fi list of your phone and connect the hotspot ―GT_printer‖.

14
Note: Make sure the GT_printer hotspot is well connected, while you are configuring the
Wi-Fi
4. Open EasyPrint 3DApp and click ―Print‖. At the pop-up interface, click the“Wi-Fi”icon
(Pic 1)and“next”button (Pic 2) to enter Wi-Fi configuration mode, as shown in the pictures
below.

15
(1)
(2)

16
5. Enter the name and password of your router and click “Ok”.
6. Click “Ok”in the following interface. Now the config process is completed and the
Wi-Fi light will be on stably.
Note: It takes about 5s for the grey offline interface (Pic 1) to change into the online status
(Pic2).

17
(1)
(2)

18
Till here, the configuration between App and your printer is finished. Now you can print
and control the printing via EasyPrint 3D App.
Note: 1. During the above config process, your Phone is connected to the GT-printer
wifi hotspot, which has no access to the internet connection. So you will be logged out. After
your successful config., your phone will be connected to your previous network automatically.
If not, please connect it manually and log in to EasyPrint 3D again.
2. If you are asked to switch the network during the wifi config, please choose NO to
stay with the GT-printer wi-Fi network, as shown in the following picture.
5. Printing via EasyPrint 3D App
As above, once the configuration between APP and the printer is successful, you can
start to print.
Note: ATF card is still needed when print via Wi-Fi to save the files.
Other manuals for 3D WiFi
1
Table of contents
Other Geeetech Network Card manuals