DAMPER OUT ASS'Y
Requirements
1
2
3
4
Process Picture Instruction
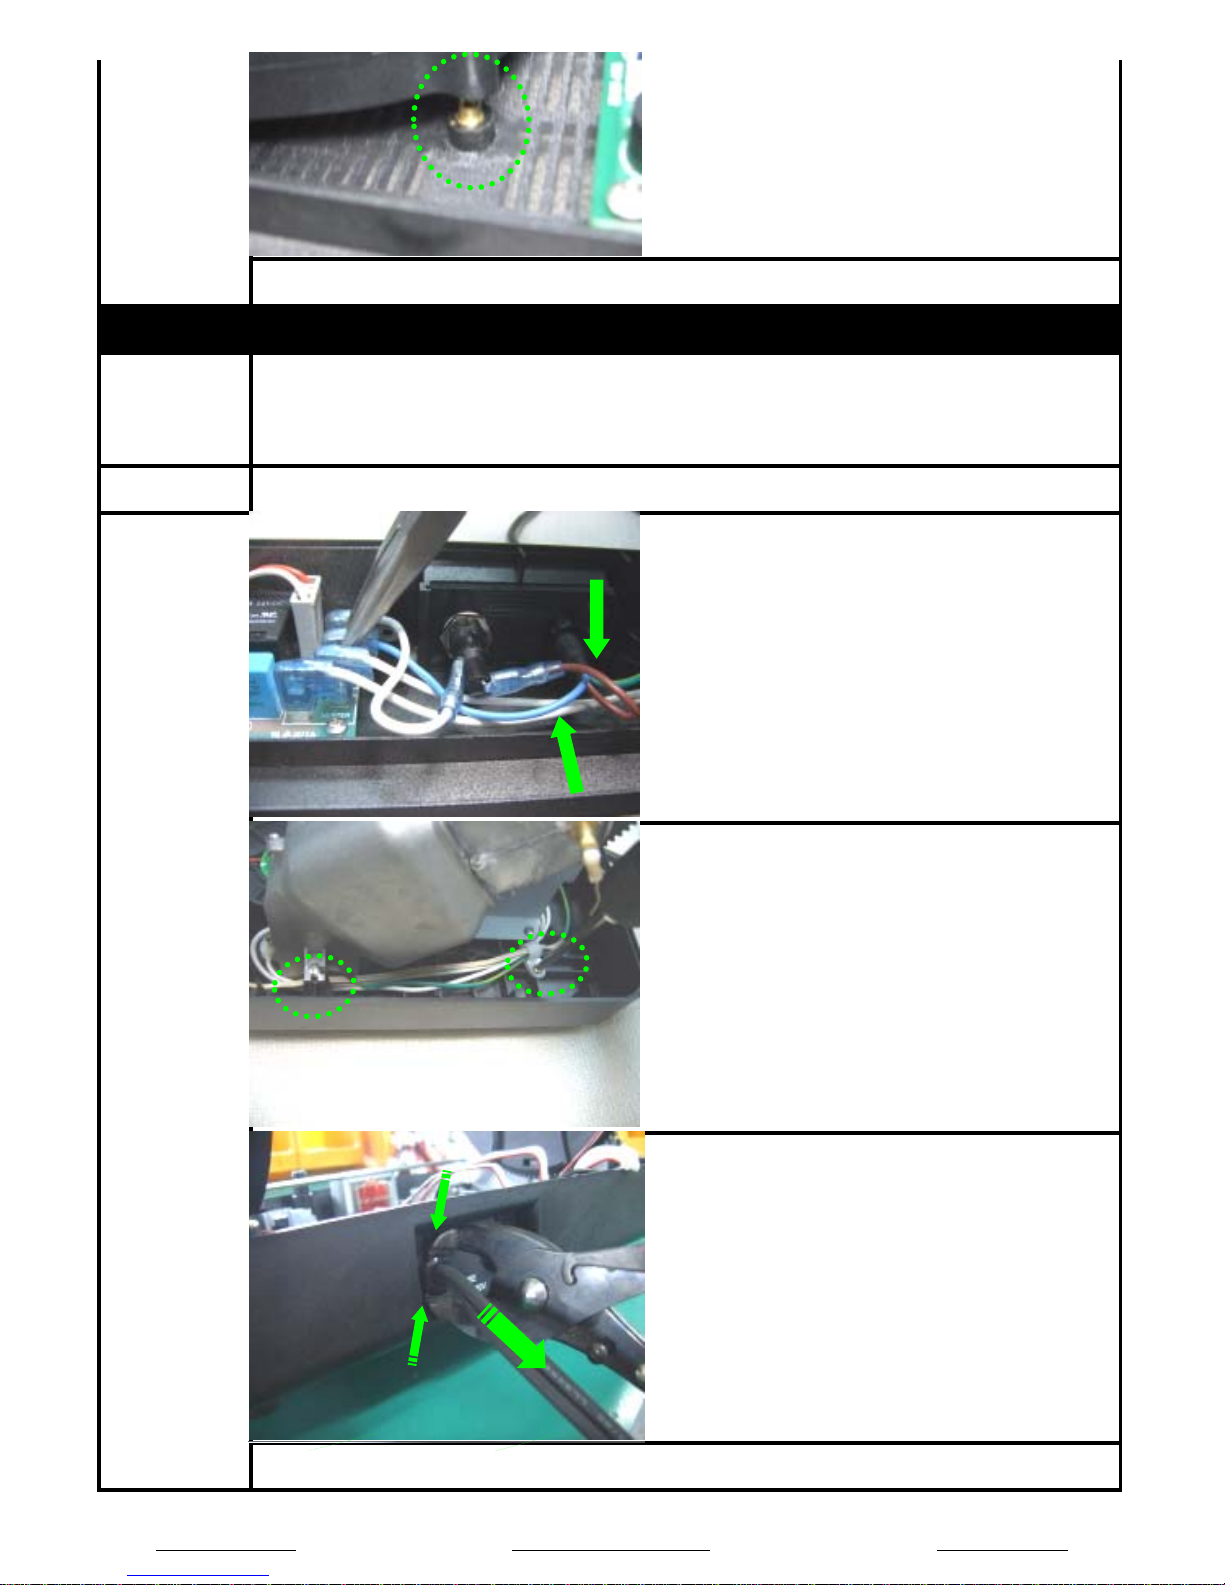
Disassembly
●In the main PCB, remove the "Temp Sen(1)"
by long nose.
●Rescrew them as indicated in this picture and then,
Remove the bottom cabinet as lift the damper out Ass'y.
●With minus driver, Remove the motor gear from
motor shaft as indicated by this picture.
Assembly opposite operation of disassembly.
DAMPER IN ASS'Y
Requirements
1
2
3
4
Process Picture Instruction
●In the main PCB, remove the "Temp Sen(2)"
GS-DOC-0704-CS Innovative off-axis rotation Genesis Co., Ltd.