Generalmusic Promega 2 Page3
VOLUME
This controls the overall volume of the entire instrument. For best
results it should be set to about 75% of the maximum value. When
connecting the Promega to an amplification system for the first time,
begin by setting the VOLUME slider to its minimum position and
then increase the volume slowly to set the audio level. Adjust the
amplifiers input gain so that the best listening level can be achieved
with the VOLUME slider set at about 75% of the maximum value.
INPUT
This controls the volume level of the devices connected to INPUTS 1
and 2 on the back panel. When connecting a device for the first
time, this slider should be set at minimum level and its value gradually
increased until a desirable listening level is reached.
HEADPHONES JACK
There are two headphones jacks located at the extreme left side of
the metal rail which runs beneath the keyboard; just below the
STANDBY button.
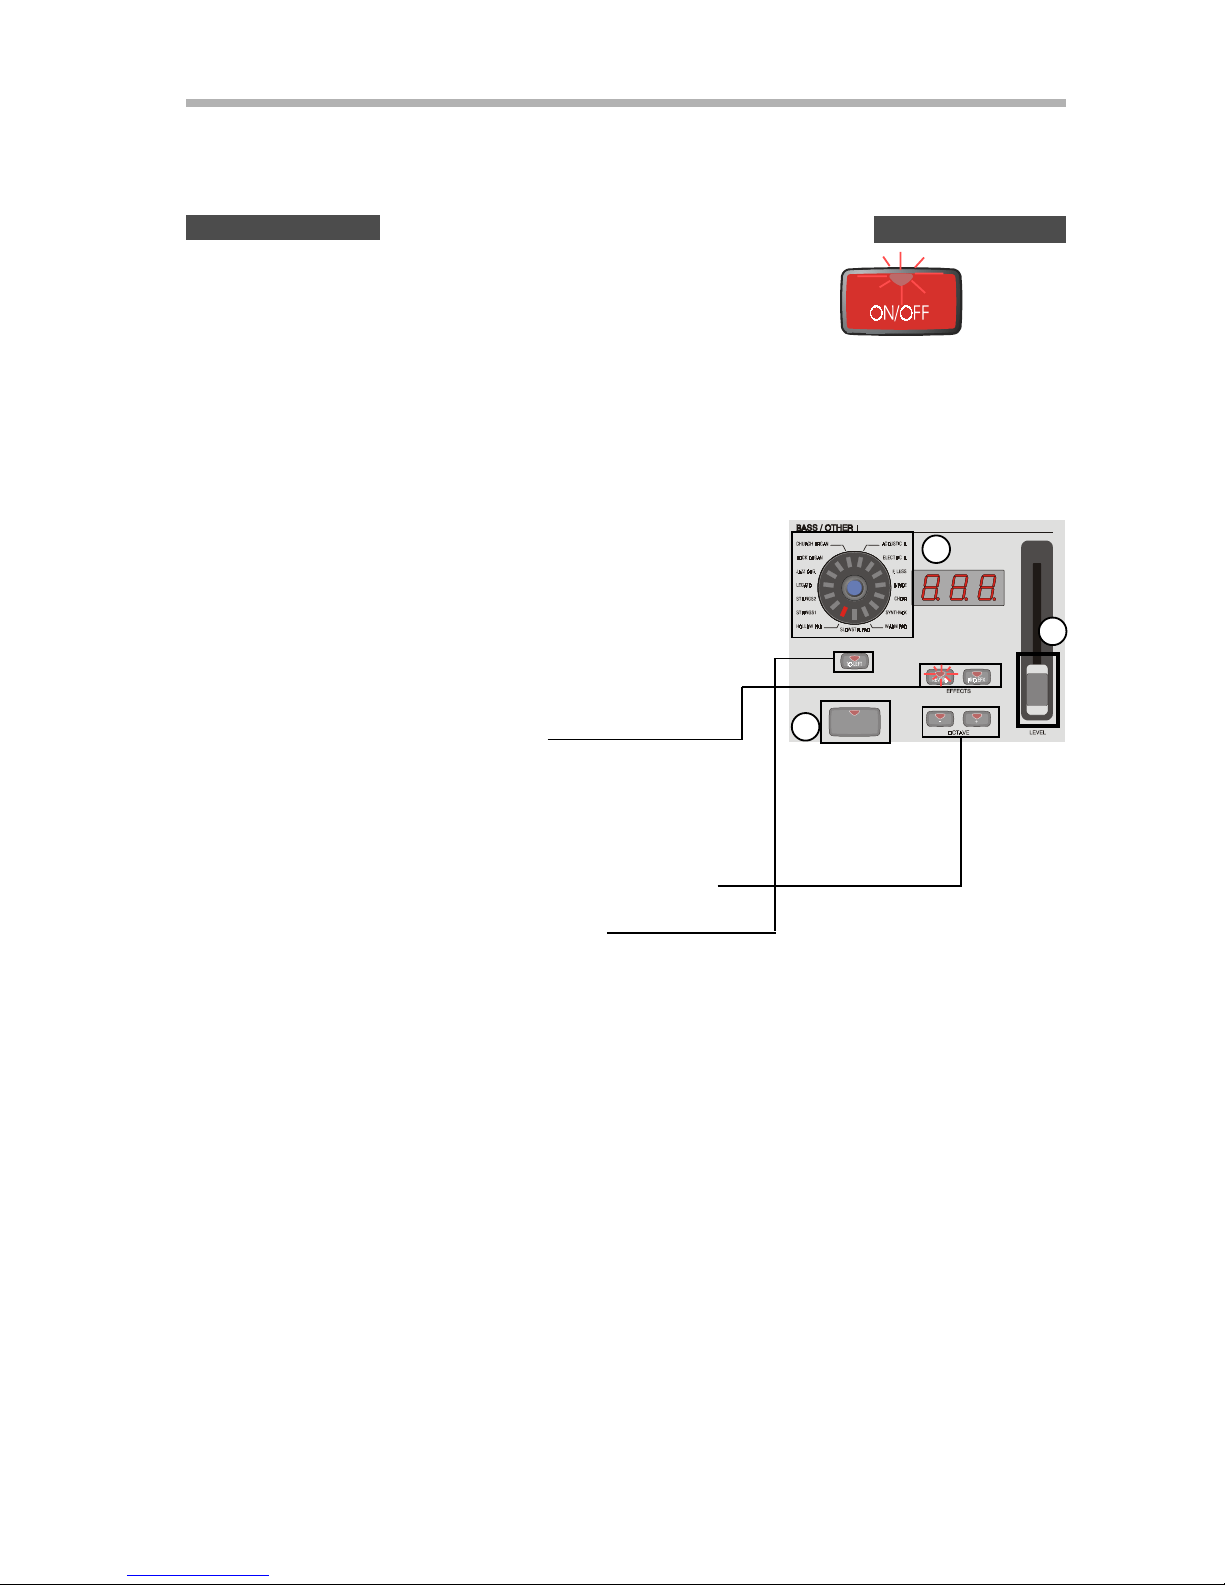
POWER and STANDBY
MASTER CONTROLS
J
The main power switch is located on the back panel of the
instrument. When you first turn the Promega on, the
instruments internal memory data is decompressed ready
for playing. This process takes around 60 seconds to comple-
te.
On the left side of the rail below the keyboard you will find the STANDBY
button. This button can be used instead of the main power switch. When
you turn off the instrument with the STANDBY button the uncompressed
data remains in memory eliminating the need to wait when you switch the
instrument on next time.
To turn the instrument off with the STANDBY button, you need to keep it
pressed down for about two seconds. This is designed to avoid the possibility
of switching the instrument off in case the button is accidentally pressed
momentarily. You can release it when you see the panel lights go out. To
switch the instrument on again just press the STANDBY button quickly.
The light in the STANDBY button has two colors. Green for ON and red for
OFF.
For most purposes, the STANDBY button should be used instead of the main
power switch, (in much the same way that you might use the sleep or
standby function on a computer instead of shut down). If you are going
to leave the instrument turned off for a long period of time, (say, overnight
or longer), then you should shut the instrument down with the main power
switch. Also, if you plan to move the instrument and disconnect it from the
power socket, you should first turn it off using the main power switch instead
of using the STANDBY button.
NOTE: Some devices such as CD players, MiniDisc Players
etc. will have a very different output level from an electronic
keyboard like the Promega. Wherever possible, you should
adjust the output volume of the device so that it delivers only
enough volume to allow the INPUT slider to be set to about
75% of its maximum value.