P.10
B. Advanced Operation
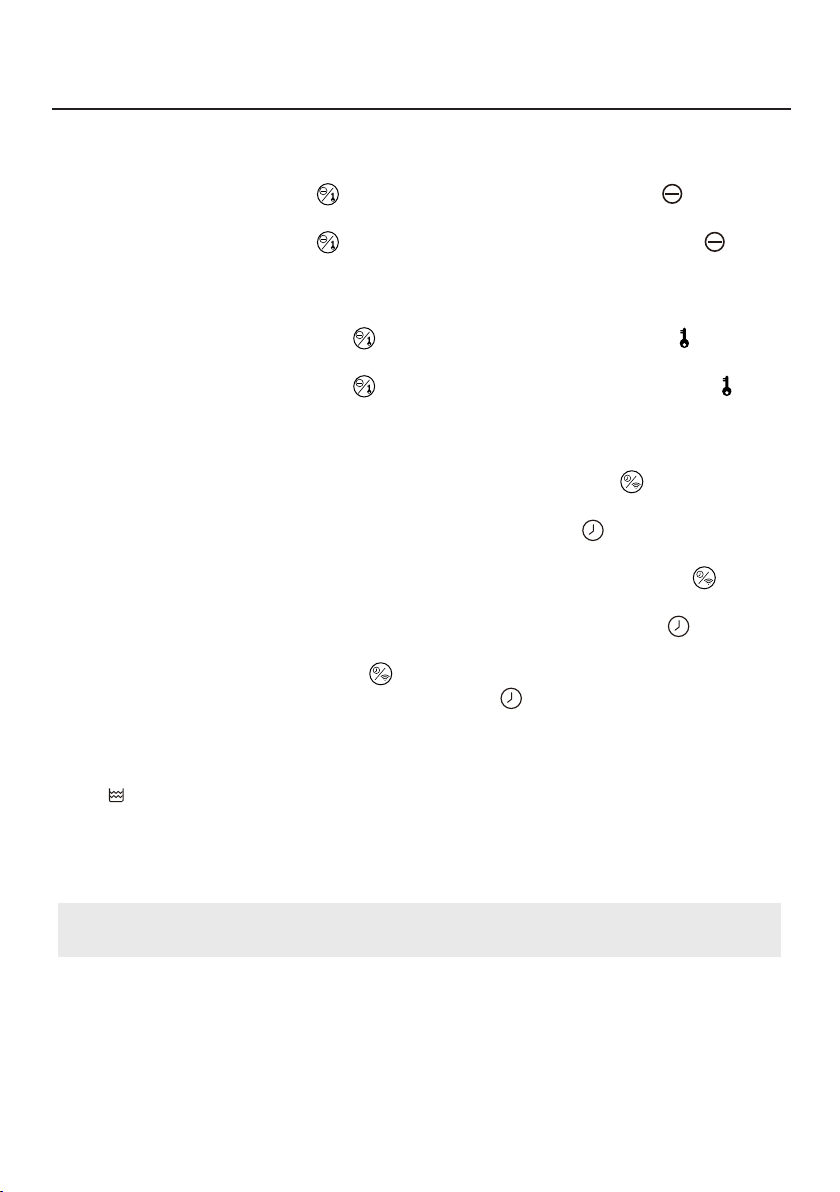
Anion Function
1. Press Anion/Child Lock Button to turn on Anion Function, Anion Indicator Light lights up
constant.
2. Press Anion/Child Lock Button again to turn off Anion Function, Anion Indicator Light goes
dark.
Child Lock Function
1. Long-press Anion/Child Lock Button for 3 seconds to turn on Child Lock Function , Child
Lock Indicator Light lights up constant, all buttons become inoperable.
2. Long-press Anion/Child Lock Button for 3 seconds again to turn off Child Lock Function ,
Child Lock Indicator Light goes dark.
Timer Function
1. Set product to turn on (On-Timer): In standby state, press Timer/WiFi Button repeatedly to
select Timer between 0-24 hour, display panel blinks for 3 seconds then automatically conrm
setting, display panel will start to countdown and Timer Indicator Light lights up constant.
When countdown nishes, the product will automatically turn on.
2. Set product to turn off (Off-Timer): When product is operating, press Timer/WiFi Button to
select Timer between 0-24 hour, display panel blinks for 3 seconds then automatically conrm
setting, display panel will show current ambient humidity, and Timer Indicator Light lights up
constant.
3. Cancel timer: Press Timer/WiFi Button until display panel shows “00”, display panel will blink
for 3 seconds then cancel timer, and Timer Indicator Light goes dark.
C. Drainage Instructions
When the water tank is full, the product will automatically stop operating, Water Tank Full Indicator
Light will light up constant in red, buzzer will beep continuously.
1. Turn off the product, then pull out the water tank and empty out the water.
2. Reinstall the water tank, make sure the water tank is inserted back properly into the product body.
3. Turn on the product and it will resume normal operation.
Note:
If water tank is not properly installed, the buzzer will beep continuously.
Continuous Drainage
This product is equipped with a continuous drainage outlet, user can purchase a drainage hose with
inner diameter 9.5mm, and connect it to the back of the product body to drain off water. It is
recommended not to immerse the end of the drainage hose in water or use a drainage hose that is too
long, which may lead to the opening of the hose becoming clogged and causing pressure to build up
inside the hose, resulting in inadequate drainage leading to water leakage.
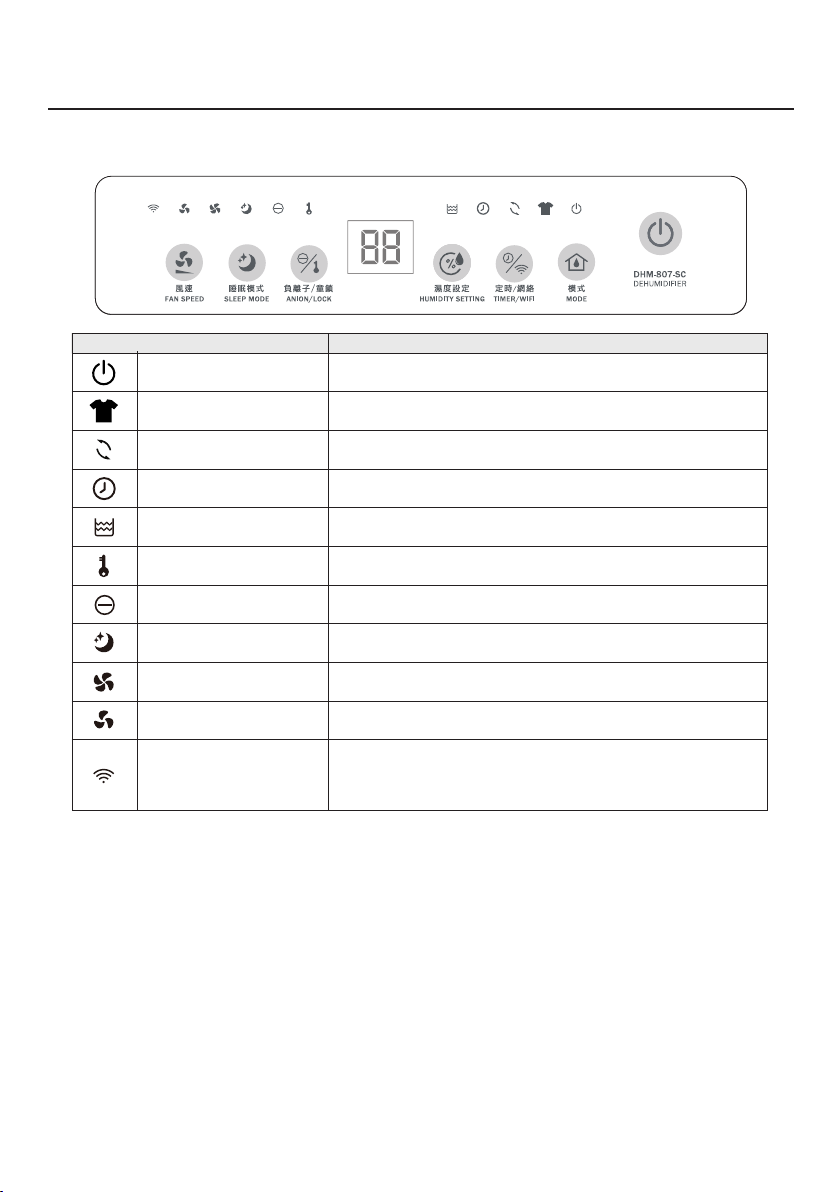
Operation Instructions