5
Setting the
Temperature Control Cool Down Period
•For safe food storage, allow 4 hours for freezer to cool down completely. The
freezer will run continuously for the first several hours. Foods that are already
frozen may be placed in freezer after the first few hours of operation. Unfrozen
foods should NOT be loaded into freezer until freezer has operated for 4 hours.
• Whenloadingfreezer,freezeonly3poundsoffreshfoodpercubicfootoffreezer
space at one time. Distribute packages to be frozen evenly throughout the
freezer. It is not necessary to turn control knob to a colder setting while freezing
food.
Temperature Control
The temperature control is located inside the freezer on upright models, and on
the left outside wall on chest models. The temperature is factory preset to provide
satisfactoryfood storage temperatures.However, the temperaturecontrolis
adjustable to provide a range of temperatures for your personal satisfaction. If a
coldertemperature is desired,turn the temperature control knob toward COLD-
EST and allow several hours for temperatures to stabilize between adjustments.
Freezer Optional
Features NOTE: Your freezer may have some, or all of the features listed below.
Become familiar with these features, and their use and care.
Rapid Freeze
Rapidfreezeallowsyoutolower yourfreezer'stemperaturetothelowestpossible
temperaturebypushingtheswitchtoON.Formaximumbenefit,rapidfreezeshould
be selected 24 hours before placing a large quantity of unfrozen food into the
freezer.Foodshouldthenbespreadthroughoutthefreezercompartmenttospeed
upthefreezingprocess.Rapidfreezemust be manuallyturnedoff bypushingthe
switch to OFF. (This will return the compressor to the normal operating mode.)
Power On Light
The Power On Light indicates that the freezer is properly connected to electrical
power. The light glows even when the temperature control is turned to OFF. If
the light goes out, refer to "Freezer does not run" in the Avoid Service Checklist.
Temp Alarm (audible only or audible with warning light)
This feature is designed to provide a warning of possible malfunction. If the
temperatureofthefoodrisestoalevelunsafeforlong-termstorage,thebuzzerwill
sound.Theredlightwillalsoglowonmodelssoequipped. TheTempAlarmfeature
operatesonhouseholdelectricity. Ifpowerfails,thealarmwillnotperform. AnON/
OFFswitchallowsyoutodeactivatetheTempAlarmwhennotwanted. Thefreezer
isshippedwithTempAlarmintheOFFposition. Afterfreezerhasrunapproximately
4 hours, the red light, if equipped, will go off. Then you may activate the Temp
Alarm without the alarm sounding.
To activate the Temp Alarm, press the eraser end of a pencil, or a freezer key into
the hole marked ON, moving the rocker switch. To deactivate the Temp Alarm,
press the OFF switch.
If the alarm sounds, be sure freezer is properly leveled, and the door closes freely,
andsealsproperly. Ifyoususpectatechnicalmalfunction,callanauthorizedservicer
immediately.
Slide-Out Basket (upright models)
TheSlide-OutBasket,locatedatthebottomofthefreezerprovidesseparatestorage
spacefor items that are difficult to store on freezer shelves. To remove basket, pull
out, and lift up.
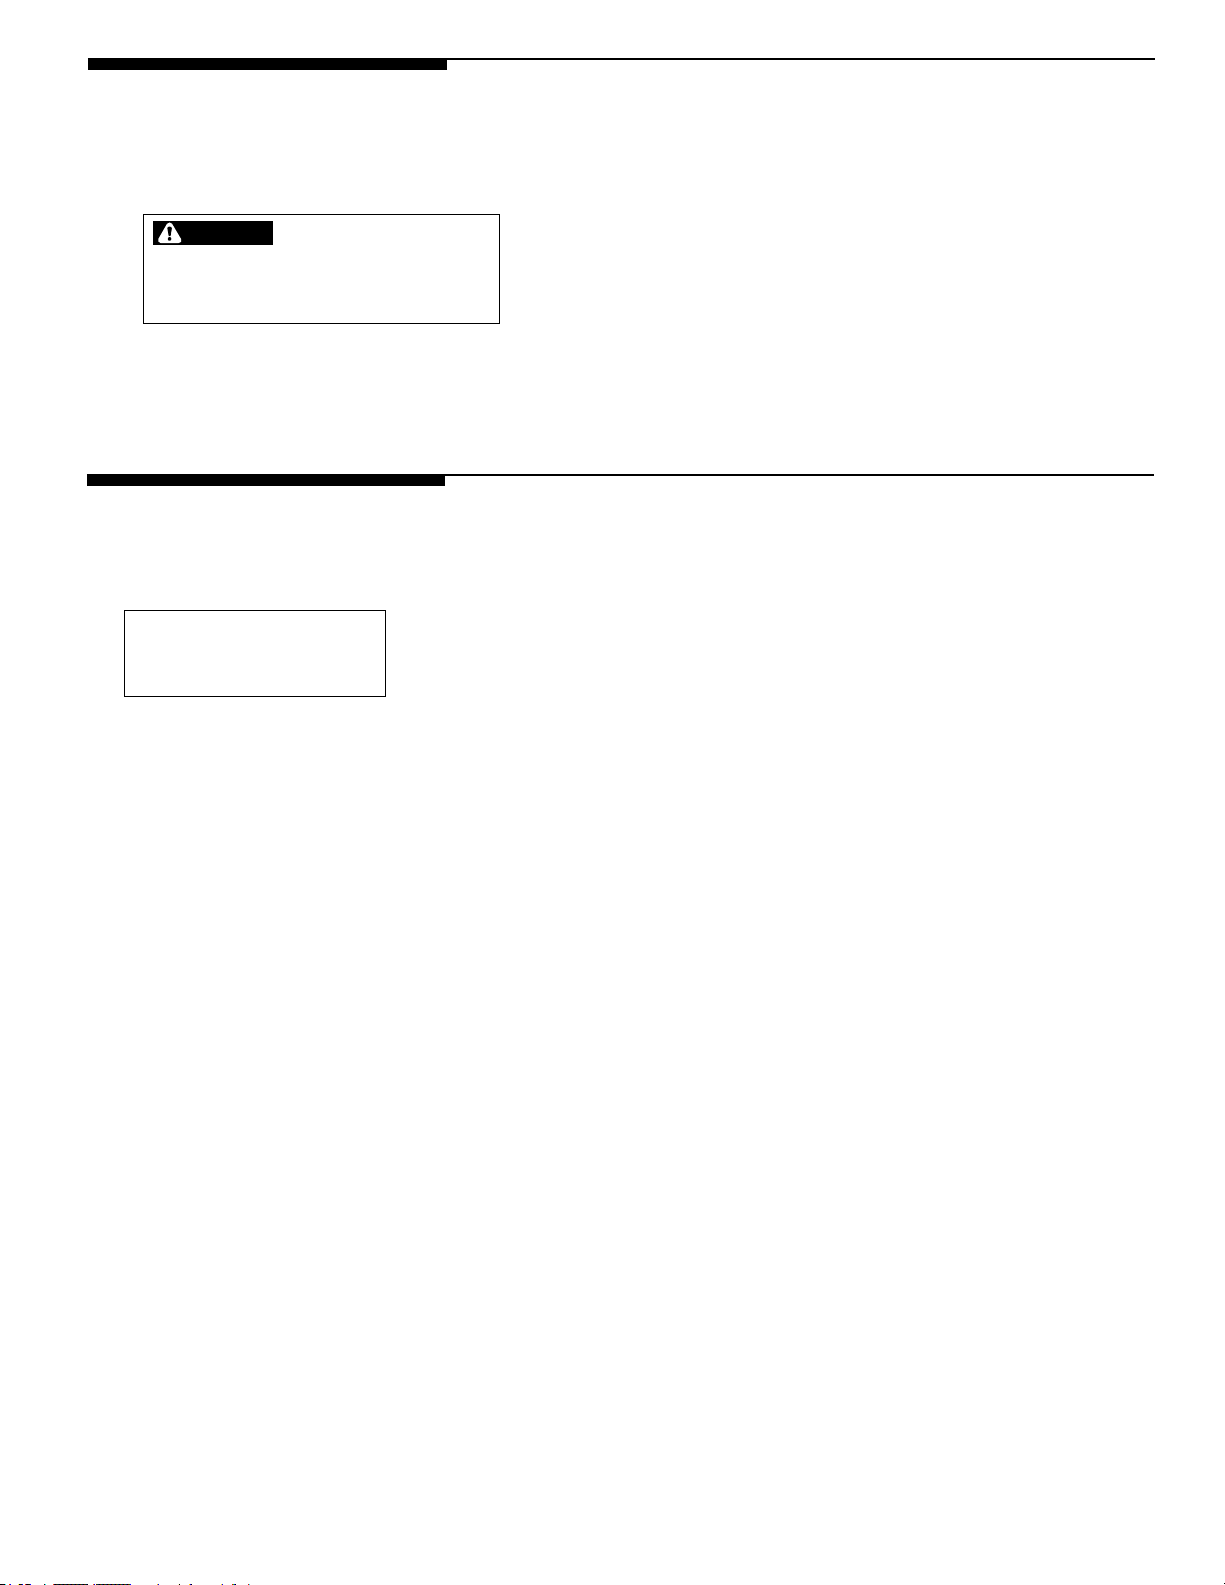
TEMP. ALARM
OFF ON
ALARM
Temp Alarm - Upright Freezers