Glen RB60K User manual

BUILT-IN OVEN

kGjSG
{GGGGGGGGGGGUG
{GGGGGGGGGGGGG
GGUG{GGGGGGGGGGGGGGG
GGGUG
wGGGGUGpGGGGGSGGGGGG
GGGGGGGGGGGGUG
{GGGGGGGGGGGGGGSGGGG
GUGhGGGGGGGG GGGG
GUG
{GGGGGGGGGGGGSG
GGGGGGUG
ptwvy{hu{G pumvyth{pvuG mvyG jvyylj{G kpzwvzhsG vmG {olG wyvk|j{G puG
hjjvykhujlG~p{oGljGkpylj{p}lGYWWYV`]VljUG
hGGGGGGSGGGGGGGGGGUGpGG
GGGGGGGGGGGGGGG
GGUG
kGGGGGGGGGG
G G G G G G G G G G G G
UGhGGGGGGGGGGGSGG
GGGGGTGGU
ptwvy{hu{Gwlyjh|{pvuzGhukGyljvttlukh{pvuzG
hGGGGSGGGGGGGGUG
pGGGGSGGGGGGGGGGGGG
UG
wGGOUUG GSGGSG SG GSGUPG
GGGGGGGGGSGGGGGG
UG
kGGGGGGGGG G GGGGG
GGGUG
kGGGGGGGGGGGGG
GGGGGGGUG
pGGGGGGGGGGGOGGGGG
GPSGGGGSGGGGGGGGGG
G G G G G G G G G G
SG G G G G G G ¡G G G G
SGGGGGGGGGGGUG
2

ptwvy{hu{G wyljh|{pvuzG hukG yljvttlukh{pvuzG mvyG |zlG vmG lslj{ypjhsG
hwwsphujlzG
|GGGGGGGGGGGGGG
UGpGaG
uGGGGGGGGbG
kGGGGGbG
kG G G G G G G G G G G G G
UG
{G G G G G G G G G G G SG
GGGGGGUG
|zpunG{olGv}luGmvyG{olGmpyz{G{ptlG
GGGGGGGGaG
hG G G G G G G G G G G ˈjG G
ˉG
zGGGGvuGGGGGGGGGG
GGGGGGGUG
sGGGGSGGGGGSGGGGGGG
GGGGGGGGGGGGUG
haG
kGGGGGUGjGGGGGGGG
GGUG
~hyupunaG
hGGGGGGUGGGGGGUG
~hyupunaG
hGGGGGGGGGGUGjGGGGUG
haG
kGGGGGGGGGGGGGGGG
GGGGGSGGGGGGGGUG
haG
{G G G G G G G G G G GGGGG
GGGGGGGGGGGGGGGG
SGGGGGGGGGGGGUG
G
haG
{GGGSGGGGGGGGGGGGG
GUG
3
Don’t clean the glass door by rough scour or sharp knife,if the glass door is scratched,
this will make the glass door into shatter.
WARNING:

GET TO KNOW YOUR OVEN
Control Panel/Button Define
The Oven Diagram
1. Control Panel
2. Roof liner
3. Inside light
4. Rack and tray support frames
5. Insert for the rotisserie rod
6. Oven fan
7. Gasket
Mode
M
Defrost
T.temp/Timer
T.temp/Timer Timer/Clock
Start/pause/reset
Mode
M
Defrost
T.temp/Timer
T.temp/Timer Timer/Clock
Start/pause/reset
Mode
M
Defrost
T.temp/Timer
T.temp/Timer Timer/Clock
Start/pause/reset

Structure diagram
Screen display rules
When the Oven power on, the display screen begin demo. and icons on screen begin flashing from left to right/
top to botton in 2HZ frequency. When all icons lighting on, they will flashing for two times and then flash off for a cycle
Press any button to setting water hardness(botton 4 “8” dispaly “soft” always lighting, upper 4 “8” display “DUR”
always lighting.
When selected any function, if the funtion not start the icon will flash in 2HZ frequency,
untill function starts the icon keeps lighting.
Under the situation of demo., standby, setting process or cooking ended, if do not push any button within 3minutes,
the display screen will back to standby situation with LCD back light off. Press any button to wake up the LCD light.
During the cooking process, the LCD back light keeps lighting.
5

USING THE OVEN
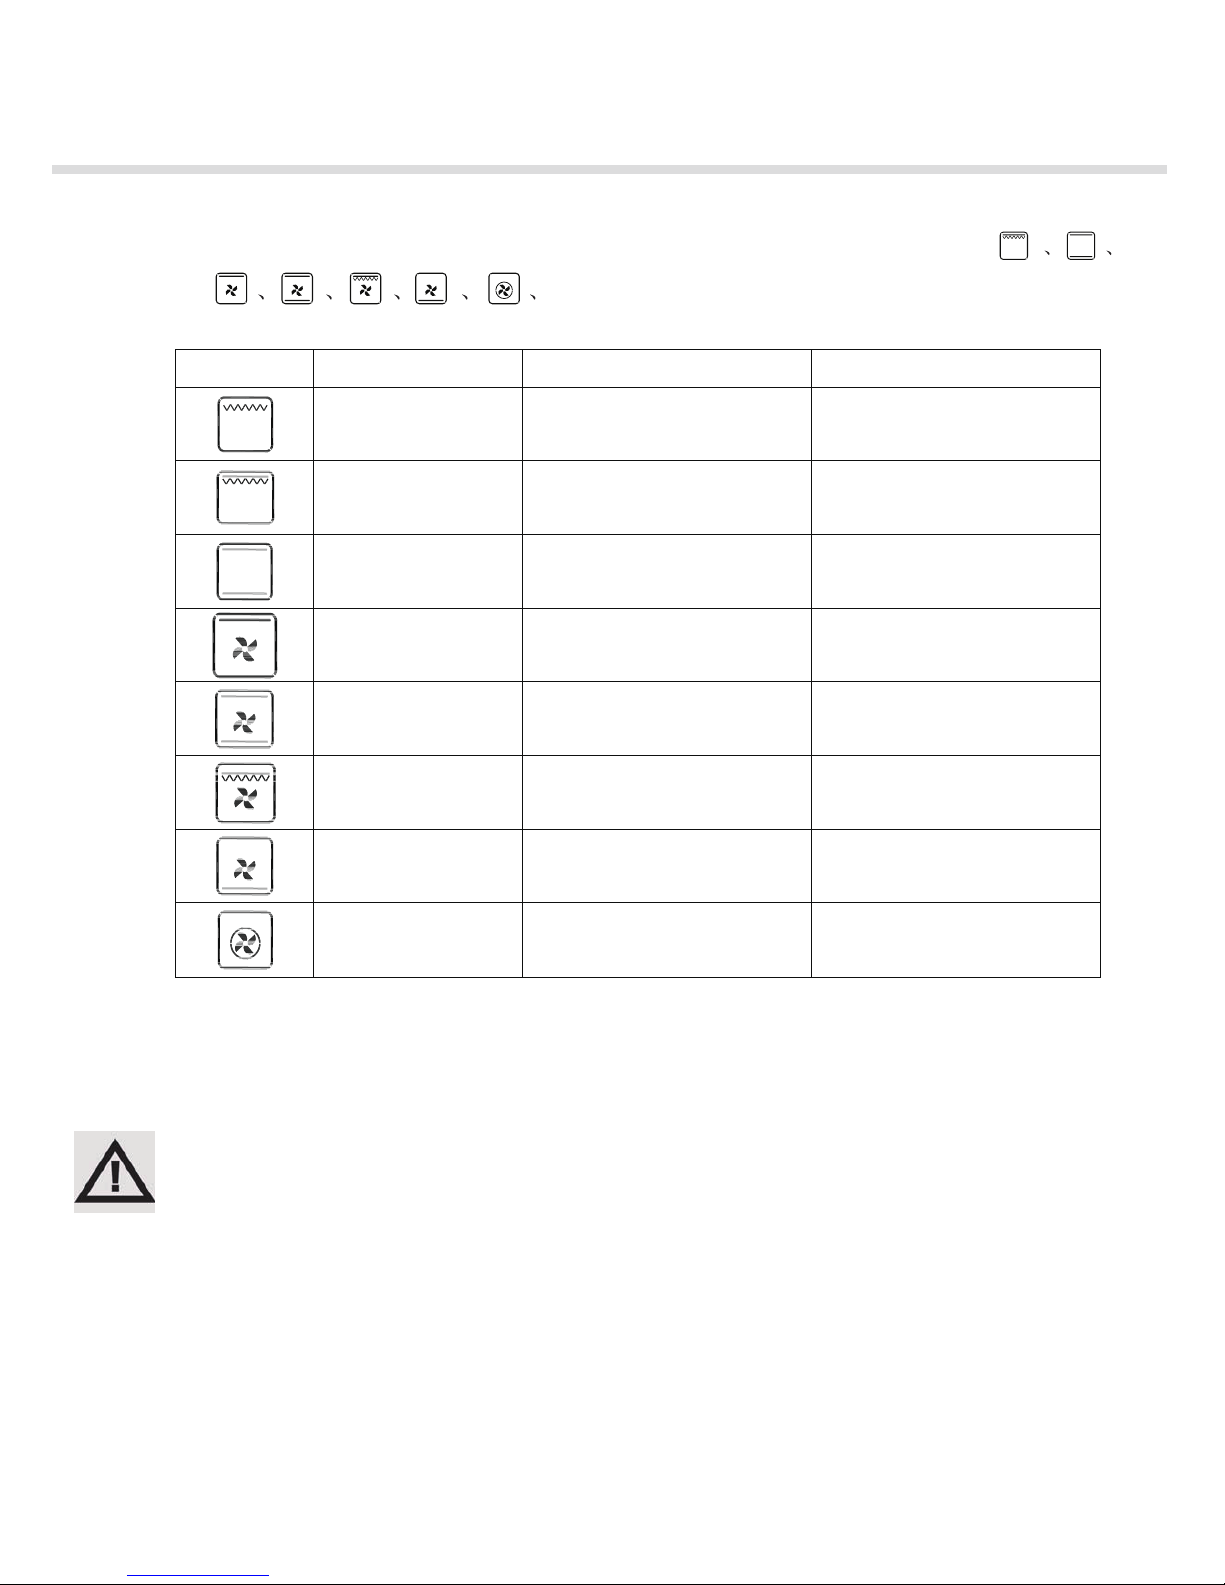
Description On functions
Setting Cooking time, temperature
Input cooking time/temperature: use time+, or time- to setting cooking time
0-23 hour 59 minutes: evry push for 1 minute
50C degree to 250C degree: every push for 25C degree.
Time+ for add ; Time-- for reduce; cycle setting
Press time+ or time-- for 1.5S, the setting automatically add or reduce.
Clock Function
Under standby situation, press clock/time button the hour bit begin flashing, flashing; press time+ or time--
to setting hour bit, and then press clock/time button, hour bit setting ok; To begin setting minute bit, press time+
or time-- to setting minute bit, then press clock/time button to finish time setting. keeps lighting, “:” flashing.
After clock setting ok, you can change the setting with the same steps above.
Clock setting is 24 Hours
During Working situation, it is allowed to check clock/time
Clock/timer Alarm Function
Under the situation of time setted ok, press clock/timing button, and time+/-- button to setting hour bit; then push
clock/timing and time+/-- to setting minute bit; Finally press”Start/Cancel” button, lighting, and setting OK.
Under the running of Clock/timer alarm function,the query time is clock/timer alrm time, flashing.
When setted Clock/timer starts, the clock beeps for 10 times.
Cooking reservation(Clock setted)
Under the situation of time setted ok, press clock/timing button, and “time+/--” to setting hour; Press clock/timing,
and then “time+/--” to setting minute bit; According actual situation to setting cooking type( fire power, time).
Press start the reservated cooking is begin, reservated time begin to cook when beep twice.
During setting process, flashing. After setting ok, keeps lighting.
After setting ok, it is allowed to check reservation by “clock/timing” button.
After setting working model and baking temperature, press Start buton to begin work, and cooling motor begin
work at the same time. When cavey temperature come to setted temperature+5C degree, it stop work. When
Cavey tempeature below setted tempareture-5C degree, it begin work; Working in cycle way. After stop cook,
the cooling motor keeps work for extra 1 minutes.
During cooking process, press “Clock/Timer” buttom for 3S to shift the temperature unit between Celsius&
Fahrenheit, and after setting ok it memory for all time use.(Default setting is Celsius degree temperature).
Shife unit: Fahrenheit=32+1.8Xcelsius
6

Function models setting
Under standby situation, open the oven door and put food inside, press fire button display icons:
and the default temperature of models for setting please ref. below:
After choice the working model, close the door and press “Start/Reset” button, oven begin heating for 3 minutes
and during heating, “C” begin flashing, and after heating finished “C” keeps lighting and beeps for 3 time to remind
user to open oven door, and then put food into oven, close the door to press start button to begin cooking.
Remind: After 3minutes heating, if the oven door not open in 1minutes the oven will begin working automatically.
For each model, if not setted the working time, the oven max working 2hours before stop; And if setted the work
time the oven finish work as setted time.
During cooking process, press model button allow to change the cooking model. Press “clock/timer”, the disply
temperature begin flashing(5 seconds not setting, it will keeps lighting), then press “timer+/-” to change the
temperature and then press”clock/timer” for confirmation of setting.
7
Models
Default Temp
Default Time(hour)
Allowed Temperature
(℃) (℃)
150 2 50-250
200 2 50-250
150 2 50-250
150 2 50-175
200 2 50-250
225 2 50-250
150 2 50-175
175 2 50-250

Defrost function
a. When standby, open oven door and put food inside to press defrost, icons flashing, upper 4bit “8” display
“30C”(default), bottom 4bit “8” display “30:00”(default), then press”start/cancel” button to begin work; icon
keeps lighting.
b. During setting or Cooking, press defrost button, “30C” begin flash,press “timer+/-” to change temperature, (temp.
range: 30-40C degree); then press defrost, the just setted temperature keeps lighting, and cooking time begin
flashing, press”timer+/_” allowed to change cooking time. During the precoss, if 5S not input data, the changed data
come to lighting. Close the door to begin defrost, keeps lighting.
C. During defrost process, the Stir motor keeps working.
Safety Protection
When thermistor short or open circuit, it display “ERR1” and all buttons in no functions situation,
And the oven enter into safety proection. It remind the user to change a working thermistor and
then back into working standby situation.
Suppose the thermistor can not check oven temperature(such as poor performance) at non-
short or open circuit, then the oven works 1 hour to show “ERR2”, the heat pipe, the furnace
lights stopped working. Cooling fan works for 1 minutes to stop working. And remind that it need
to replace the thermistor.
Child Safety Lock
Under Oven Standby situation, press “time+” and “time-” at the same time 2s, keeps lighting, and then all buttons
are invalid for functions. It can avoid the hurt to child if miss pressed. Press “time+” and “time-” at the same
time for 2s, flash off, the child lock dismissed, flash off and back to standby situation.
! Under door open, press “start/reset” to cancel cooking and back to standby situation.
! Uner door close: during cooking to press”start/reset”, oven pause working, and then
press “start/reset” to begin work. During cooking to press”start/reset” for 3S, back to
standby situation.
! Under setting clock/reserve situation, press “start/reset” to back standby situation.
8

CLEANING AND MAINTENANCE
NEVER USE A STEAM JET FOR CLEANING THE APPLIANCE.
Cleaning stainless steel
To keep stainless steel in good condition it should be cleaned regularly after
use. Let it cool first.
Cleaning the glass of the lid
To keep the glass surfaces in good condition they should be cleaned regularly
after every use of the oven . Let it cool first.
Ordinary daily cleaning
To clean and preserve the surfaces, always use only specific products that do
not contain abrasives or chlorine-based acids.
How to use: pour the product onto a damp cloth and wipe the surface, rinse
thoroughly and dry with a soft rag or microfibre cloth.
Food stains or residues
Do not use steel sponges or sharp scrapers as they will damage the
surface.
Use normal non-abrasive products and a wooden or plastic tool if
necessary. Rinse thoroughly and dry with a soft cloth or a microfibre
cloth.
Do not allow residues of sugary foods (such as jam) to set inside the
oven. If left to set for too long, they might damage the enamel lining of
the oven.
Cleaning the door glazing
The glass in the door should always be kept thoroughly clean. Use absorbent
kitchen roll; remove stubborn dirt with a damp sponge and an ordinary
detergent.
Do not use abrasive or corrosive cleaners for cleaning the door glazing.
(e.g. powder products, oven-cleaner sprays, stain removers and metal scouring
pads).
Do not use rough or abrasive materials or sharp metal scrapers to clean the
oven’s glass doors since they may scratch the surface.
Cleaning the inside of the oven
For the best oven upkeep, clean it regularly after having allowed it to cool.
dry.
9

WHAT TO DO IF...
a. No wind or weak wind
c. Temperature not going down
1. Check the motor blade turning in right position, if turning in opposite direction, do change the wire + with wire --.
2. Blade wheel is dropping, open oven door and remove the blade cover and replace the balde, fix the screw.
3. Wind motor not turning or wind motor power is cutted, if the motor power is cutted, it required to power off
immediately and check motor power wire, or motor is broken and need to replace motor.
b. Temperature not rising
1. Heating pipe is broken and it need to replace a new heating pipe.
2. Heating pipe power wire is not connected good, and check power wire to connect it.
1.Electric contactor contact burn broken, electric power can not be disconnected, replace the contactor.
2.Thermometer is damaged, should be replaced.
3.Temperature line is damaged, should be replaced.
10

jGGG
nlulyhsGhk}pjlG
paG
iG G G G G G G G G G G G
GUG
pG G G G G G G G G G G G G G G
GUG
hGGGGGGOGSGSGUPGGGUG
hGGGGGGGGGUG
{GGGGGGGGSGGGGGGG
GGGGGZWGGGGGGGGG
GGGUG
z{hpuslzzG z{llsG z|ymhjlzG ~p{oG hu{pTmpunlywypu{G
{ylh{tlu{G
jh|{pvuaG
{GGGGGGGGGGGGzGsGG
GTGUG
{GGGGSGGGGGGGGGGG
GGGGUG
vusG zv|wV~hytG ~h{lyG t|z{G ilG |zlkG {vG jslhuG {olG z{hpuslzzG z{llsG
z|ymhjlzUG
G
G
kGGGGGGGGGGGGGGGGG
UG
G
z{hpuslzzG z{llsG hukG hs|tpup|tG why{zG hukG zpsrTzjylluG
wypu{lkGz|ymhjlzUG
jGGGGUG
hGGUG
ptwvpy{hu{aG G G G G G G G G G G G
UGGGGGGGGGGGUG
G
luhtlsslkGwhy{zG
hGGGGGGGGGGGGGGGG
TGUG
11

kGGGGGUG
G
G
G
puzpklGvmGv}luG
{GGGGGGGGSGGGGGGG
GGGGGZWGGGGGGGGG
GGGUG
G
G
kGGGGGGGUG
G
G
G
v}luGmp{{punGv|{G
tGGGG
ThGGGGGGGGGGXGUG G
TzGSGGGSGGGGGUG
G {GGGGGGGGGSGGGGGSGGG
GGGUG
T{GSGGGGUG
G
ylwshjpunG{olGv}luGspno{G
iGGGGGGGGGGSGGGG
GGGGUG
TsGGGGGGGGGbG
TzGGGGbG
T|GGGbG
T|G G G G G G G G G G G G G
OZWWjPGGGaGYZW}¥\WGo¡SGX\~SGlX[G
TyGGGG
uv{laGvGGGGGGGGG
G
G
G
G
G
G
G
G
12

13
{GGGSGGGGGGGGGG
GUG
{GGGGGGGGGTGUG
{GGuv{GGGGGGGGUG
lGG
iG G G G G G G G G G G G
GGGUG
G
580
560
pG
ptwvy{hu{G
{GGGGGGGx|hspmplkGpuz{hssh{pvuG{ljoupjphuUG
{GGGGGGGGGGUG
G
G
{GGGGGGGSGGGG]WGUG
pGGGGGGGGUG
vGGGSGGGGGGGGGGUG
G
568-578
568-578

14
nlulyhsG
{GGGGGGGGGGGGG
GGGGGGUG
{GGGGGGGGGGGGGG
GGGGGGGGGGGGG
GGGGGGGGGGGGGGGG
UG
pGGGGGGGGGGGGGGGG
GGGSGG¡GGGGGGGGUG
{GGGGGGGGGGGGGGG
GGGGGGGGUG{GGGGG
GGaG
UGGGVGGGGGGGGGlGGGG
GGGVbG
UGGGGGGGGGGGGuGGGbG
UGGGGGGGGGGGsGGGUG
{GTGGGGGGGGGGGGGG
GGGUG
pG G G G G G G G G G SG G G G G G G
GGGGGGGGGZGGGG
GGGUG
{GGGGGGGGGGGGGGGG
GGGG^\GGGUG
vGGGGGSGGGGGGGGUG
pG G G G G G G G G G G G G G G
GGGGGUG
GuUiUGmGGGGSGGGGSGGGGGG
GGGGGUG
G
pGGGGGGGGGGGGUG
oGGGGGGGGGGGGGGGG
GUG
G
{GGGGGGGGGGUG{GG
GGGGGGGGGGGG
UG
jvuulj{pvuGvmG{olGwv~lyGz|wwsGjhislG
|G G G G G G G G G G G G G G
UG
vGGGGGGSGGGGGGGG
UG
{GGGSGGGGGSGGGGGGG
GGUGG

Electric oven
43L
Model
Rated Voltage/Frequency
Rated Power
Net Weight
Gross Weight
Capacity Cavity
Product Name
220-240V~50Hz
Outside Dimensions
Oven Cavity Dimensions
GL 658 TOUCH
2600W
SPECIFICATIONS
31kg
34kg
595mm(W)X520mm(D)X455mm(H)
673mm(W)X656mm(D)X560mm(H)
Instructions for the installor
Open the oven door, and fix the oven to intergrated kitchen with 4 selfscrew.
as above diagram.
15

SCHEMATIC DIAGRAM
(DOOR OPENED,COOK OFF CONDITION)
L FM CM
H3 H1 H2 H4
N
FU2
L FU1
L
E
N
RY RY RY RY RY RY RY
RY6 RY3 RY7 RY4 RY2 RY1 RY3
JP1-1
JP1-2
CONTROLLER
CIRCUIT SUBJECT TO CHANGE WITHOUT NOTICE
L:LAMP
FM:FAN MOTOR
CM:CONVECTION MOTOR
H:HEATER

This manual suits for next models
1
Table of contents
Other Glen Oven manuals
Popular Oven manuals by other brands

ETNA
ETNA OM670Ti/E02 Instructions for use

Bosch
Bosch HSG656R 1 Series User manual and installation instructions

Siemens
Siemens HM676G0 6 Series instruction manual

Middleby Marshall
Middleby Marshall PS536-Series Owner's operating and installation manual

AEG
AEG B 88.1 T operating instructions

Beko
Beko GE 15320D user manual