GMC A2DIY-GM3X Instruction Manual

Courtesy of: DiscountCarStereo.com
Serving the internet community since 1995
Required XM TUNER MODULE
A2DIY-GM3X
QUICK START INSTALLATION GUIDE FOR GM CLASS II WITH XM TUNER MODULE
Created: November 19, 2019
Revised: April 12, 2022

PRODUCT SAFETY & DISCLAIMER
READ ALL INSTRUCTIONS CAREFULLY BEFORE INSTALLING, FAILURE TO DO SO MAY CAUSE
PERSONAL INJURY OR DAMAGE TO PRODUCT AND/OR PROPERTY
This installation guide is provided as a GENERAL installation guide, some vehicles vary and
may require additional steps. We do not accept responsibility for third party labor charges
or modifications. Exercise due-diligence when installing this product.
We do not accept any responsibility for vehicle damage or personal injury resulting from
the installation of this product.
Careless installation and operation can result in equipment damage
Requirements
XM TUNER MODULE (U2K) WITH OR WITHOUT SUBSCRIPTION
Introduction
(Newest version 4.25)
The A2DIY-GM3x kit is compatible with virtually all Bluetooth phones, and sounds
great whether using for mobile conversations, streaming music or retaining XM
(if subscribed), The A2DIY-GM3x works in 2003-12 GM Class-II vehicles equipped
with an XM tuner module (See Fig. 18) regardless of subscription status. If
subscription has expired, an AUX input jack is provided for users to connect and
play portable audio devices such as MP3 players, iPod etc. If subscription is
“Active” it remains operational. A new media bottom (remote) is included from
which users can adjust smartphone volume, track selection and more and
optional Smart USB charging kit is available to charge those power-hungry
devices while on the road. The A2DIY-GM3x adds Bluetooth features to older GM
vehicles with XM tuner module –must have the Tuner seen in Fig. 18
Warning: Vehicles without XM Tuner module are not compatible.
See Frequently Asked question at the end of this guide for more details.
Installation
Radio removal required (Vehicle specific radio removal instructions are not part
of this guide, but may be available upon request)
1. Disconnect 12-pin plug from radio by squeezing blue lock tabs (See Fig. 1)
Fig. 1
factory 12-pin plug
2. Connect factory 12-pin plug to harness 12-pin socket (See Fig. 2)
Fig. 2
3. Connect harness 12-pin plug (See Fig. 3) to radio socket
Fig. 3
harness 12-pin plug
4. If NOT retaining XM (Expired subscription):
Connect male-to-male cable audio cable (See Fig. 4) to module “AUX”
jack (See Fig. 5)

Fig. 4
3.5mm male to male cable
Fig. 5
Module
5. Secure microphone (See Fig. 6) to visor or headliner using included
visor clip (See Fig. 7)
Fig. 6
Microphone
Fig. 7
Visor clip
6. Route microphone cable (10 ft.) down pillar, under driver kick panel and
across to radio cavity and connect to module “MIC” jack (See Fig. 5)
Be cautious not to damage or cut both microphone cable.
7. Connect installation harness Red wire to 12V Accessory supply in vehicle.
Do not use 12V constant supply (battery).
Tip: Accessory (ACC) is not available on radio harness but can be found in fuse
panel. Accessory power is active when ignition is in “ACC” or “ON
“positions.
8. Connect installation harness Black wire ring terminal to radio chassis by
removing chassis screw and secure ring terminal or simply ground to
alternate location.
Warning: The A2DIY-GM3x will not operate in RAP (Retaine Accessory
Power) mode. Ignition must be turned ON in order to hold phone calls,
stream applications or listen to XM (if subscribed)
For module to work in RAP mode we recommend purchasing our TR-4
module

Optional charging kit (not for thumb drives etc.)
Optional charging kit can be added to support BC1.2, QC2.0, QC3.0, PE1.1, PE2.0,
FCP, SFCP fast charge protocols (Samsung, Huawei etc.).
Features:
» Input voltage: 6-24V DC
» Working current: 30mA
» Default output voltage: 5V or 3V-12V (device dependent)
» Max output power: 24W
Should you decide to add it, we suggest one of 3 connecting options:
A. Flush to dash/panel requires drilling a ¾” hole
B. Flush with Support bracket (Mount USB terminal wherever your installation
demands without drilling)
C. USB port- (freestanding- default)
A. Flush to Dash or Panel (drilling required)
1. Drill a ¾” hole in the dash or panel using a step drill bit or equivalent (See
Fig. 9)
Fig. 9
Step drill bit
2. Insert supplied USB male terminal (See Fig. 10) through hole created in step
1 and connect to module female port (See Fig. 11)
Fig. 10
Fig. 11
3. Snap USB header (See Fig. 12) in place until flush with mounting
surface (See Fig. 13)
Fig. 12
header
Fig. 13
Flush mounted to dash

B. Bracket Mount (No drilling)
1. Locate a flat surface at location of choice within 3.2 ft. of module and mount
USB support bracket (See Fig. 14) to surface using adhesive/tape or
screws (included).
Fig. 14
USB mounting bracket
2. Insert male terminal through hole in bracket (See Fig. 15) and connect to
female USB terminal (See Fig. 11)
Fig. 15
3. Snap USB head (See Fig. 15) to bracket until flush (See Fig. 16)
Fig. 16
4. Connect BLACK wire to ground (radio chassis, radio ground wire etc.), and
RED or YELLOW to accessory or battery supply. Your choice!
Tuck away any extra wires and verify BLUE LED is lit.
Media remote control
Pairing: Ensure Bluetooth is enabled on your device (e.g., Smartphone/Tablet
etc.)
Press and hold pause/play until Blue LED begin flashing
Scan smartphone for available devices and select BT009 from list. (Blue LED
turns off).
Installation:
Attach the button to steering wheel (includes holder) or attach to dashboard
using included double-sided tape –your choice.
Because the media button pairs with your Smart device, it can also be used at
home, in the park or wherever you decide to play your tunes.
Operation:
Once paired with smart device (e.g., Phone, Tablet, etc.), users may perform the
following functions on iOS with Bluetooth 3.0 and later or Android 4.0 or later.
Media button functions applies to smartphone NOT the C5 radio.

Charging:
Media button built-in rechargeable 200mAH battery may last up to 10 days.
Connect included USB cable to charge charging port at the back.
Red LED indicates charging; A full charge is reached after 2 hours at which time
LED turns off.
Module pairing
Pairing varies among devices but basic steps are the same. This process is done
upon initial install and will not have to be repeated.
1. Turn ignition and radio “ON”
LED inside module peephole will flash rapidly (pairing mode)
2. Open device (e.g. Smartphone)
Bluetooth Settings
3. Verify Bluetooth is enabled otherwise turn it on
4. Tap
Scan or search for devices
.
5. Wait for Bluetooth device name (See Fig. 17) to appear and tap it.
Once
paired confirmation tone is heard on car speakers
Fig. 17
Noteworthy: Renaming Bluetooth device to something of your choosing is
possible on some Android devices and may not be possible on newer iOS
devices. Please consult device manual.

Operation
1. Turn ignition and radio “ON”
2. Press “BAND” or “XM” button on radio
3. Launch smartphone music streaming application
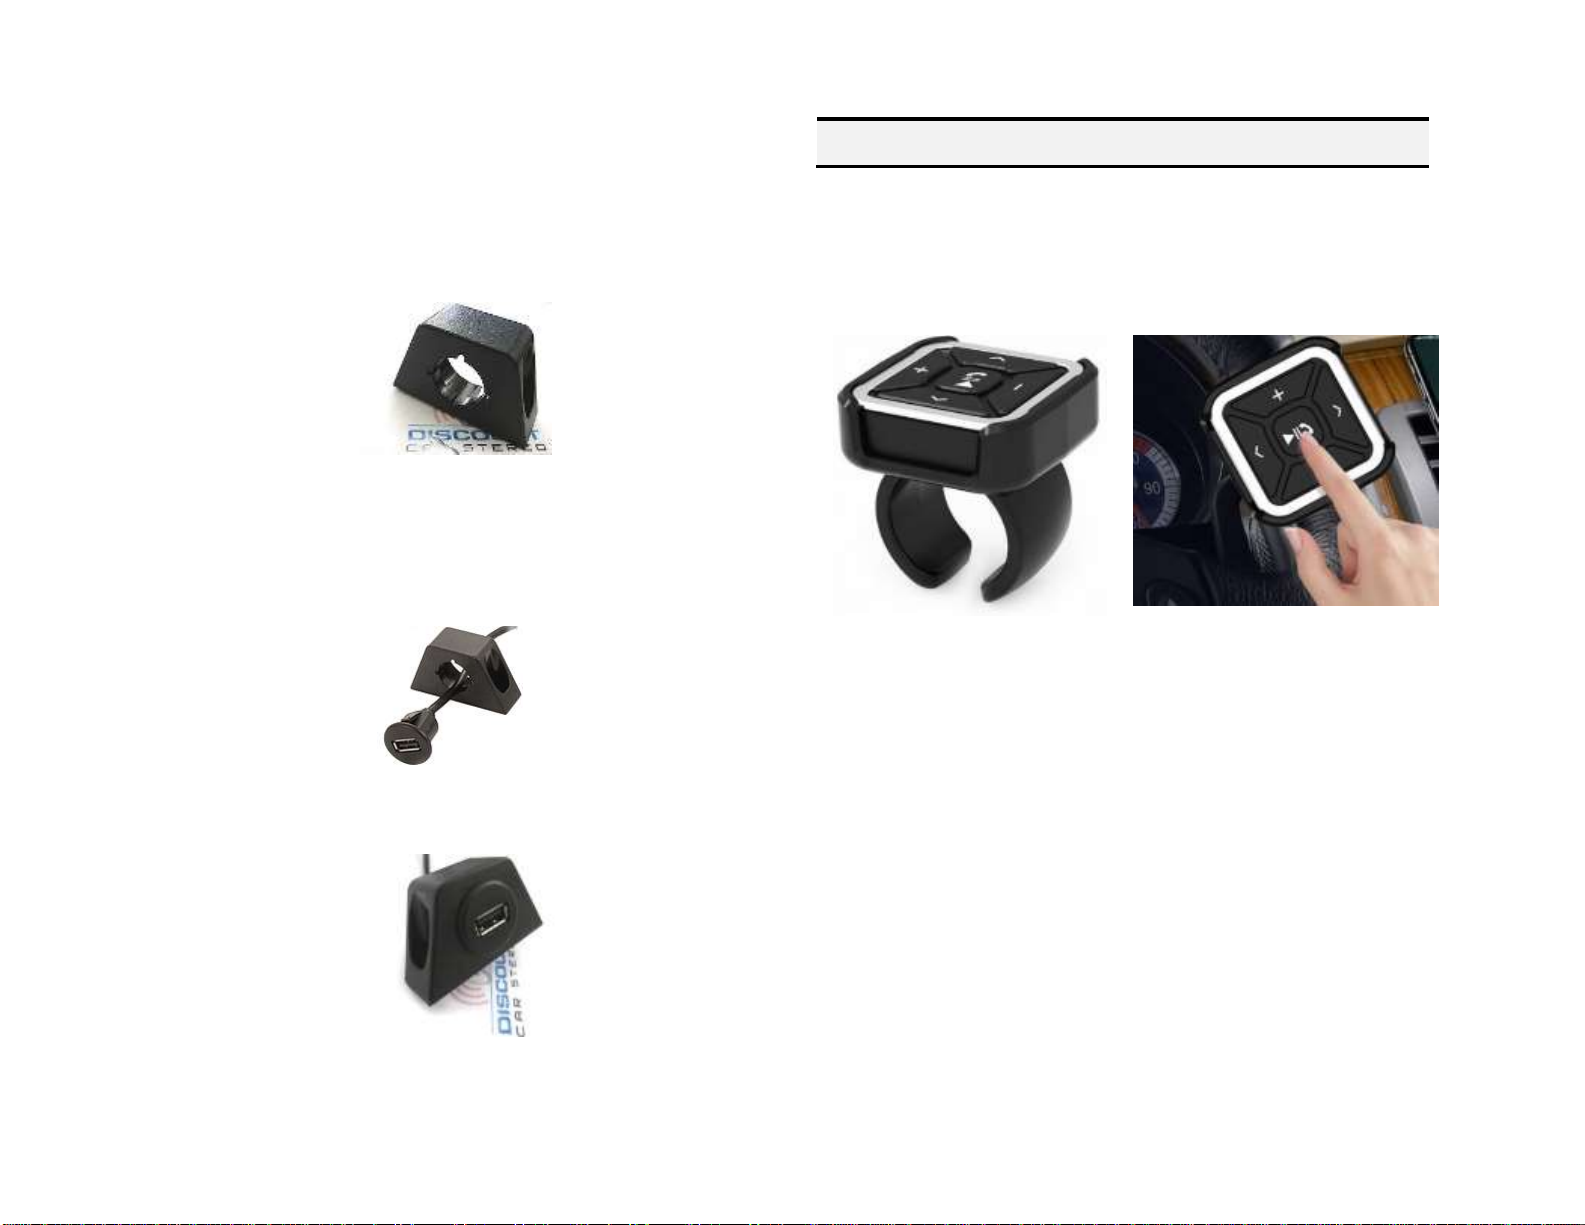
4. Use smart remote to change tracks, adjust device volume, pause etc.
5. Place test call or ask someone to call. Use push button to accept call
(iPhone and Android) or press Pause/Play on smart remote (Android
only)
6. If correct operation is confirmed go ahead and reinstall radio.
Warning: Caller ID and text are not shown on radio display. Operate
Bluetooth device via wireless remote control, VR (voice recognition) or
smartphone built-in controls. Radio buttons can be used to adjust
playback level
Listening to XM or AUX:
a. Press radio “BAND” or “XM” button
b. Press media button Pause/Play
Control XM from radio buttons as customary.
2. To return to music streaming:
Press pause/play on media button.
Note: Once paired, streaming has priority. XM/AUX playback is
possible when audio device is paused, un-paired, or out of range.
Frequently asked question & troubleshooting
1. My vehicle has XM tuner but subscription has expired. Will the A2DIY-
GM3x work?
YES.If subscription has expired, an aux input jack is provided for users to
connect and play an audio device (Mp3 Players, iPod, DVD, iPad etc.)Aux.
input option is not available for active subscribers.
2. I’m not the original owner and don’t know if vehicle has XM Tuner. How
can I find out without ripping it apart?
Turn radio “ON”, press “BAND” button repeatedly to cycle through
AM/FM/CD/XM1/XM2. If only AM/FM is displayed, vehicle does not have
required XM Tuner.
3. Does the A2DIY-GM3x work on all GM radios?
Works on Navigation and non-Navigation GM Class-II radios and XM tuner
module with or without subscription. (All must have XM Tuner Module)
4. Can I control Smartphone music from radio buttons?
NO; you must continue to use audio device built-in controls or included
media button/or voice commands. Use radio volume control to set
playback level.
5. Is caller name/phone number shown on radio display?
NO. Caller ID information, song name etc. are not displayed on radio screen.
6. What do I need for the A2DIY-GM3x to work in my vehicle?
For the A2DIY-GM3x to work, vehicle must have XM tuner module (metal
box installed in remote area—See Fig. 18) XM Tuner module is not built-
into the AM/FM radio --- don’t ignore this.
7. How do I listen to XM?
Press BAND, XM button on radio to enter XM mode (if not already), then
press pause/play on remote control.
8. Will radio mute when I receive or make a phone call?
This system will not mute unless radio is in “XM (Bluetooth mode). If in
AM/FM/CD or TAPE mode, radio will not mute. In addition, user must switch
radio to Bluetooth mode (XM)
9. How do I pair a second phone to module?
In order to pair a second phone make sure no other phones are connected.
Once Bluetooth is disabled on first device, module will be ready for pairing.

10. My radio has a built-in 6-CD changer. Will the A2DIY-GM3x work?
YES, So long vehicle has an XM tuner module which is not built-into
AM/FM radio, but rather a metal box installed near glove box
(trunks/SUV’s), trunk or hatch (sedans) See Fig. 18
Fig. 18
vehicle must have this XM tuner module
11. When I turn ignition “OFF”, the radio remains “ON” but
streaming/hands-free operations does not. What solution is there to
allow module to turn off with radio?
Purchase and install this Low voltage trigger
Connect ground (black), battery (yellow) to respective circuits on radio
harness. Connect trigger input (Green) to any speaker ouput wire on radio
harness. Finally connect +12V output wire (Blue) to module accessory wire
(RED)
Disclaimer
• This product has no affiliation with GM
• We’re not liable for misuse of this product.
•We recommend professional installation
email support@discountcarstereo.com
© 1995-Apr-22 Discount Car Stereo, Inc. All rights reserved. Information in this document is
subject to change without notice. Other products and companies referred to herein are
trademarks or registered trademarks of their respective companies or mark holders.
Table of contents
Popular Tuner manuals by other brands

Mitchell & Johnson
Mitchell & Johnson DR201V user guide

Kenwood
Kenwood KT-3300D instruction manual

Pioneer
Pioneer XC-IS22CD Service manual

TC Electronic
TC Electronic POLYTUNE 3 user manual

Superchips
Superchips flashpaq 3808 Programming instructions

inDESIGN
inDESIGN iDCDP-110 Installation & operation manual