Godwing Electronics CD-1560B User manual

CDCD--1560B TFT LCD Color Monitor1560B TFT LCD Color Monitor
User's manualUser's manual

CONTENTS
1 Introduction……………………………………………………….2
2 Precautions………………………………………………….….…2
3 Cleaning the TFT LCD Color Monitor………………………..….3
4 Package contents………………………………………………….3
5 Installation …………………………………………………...…3
a. Installation location(Illustrate vertical scope)……………….4
b. Connect the signal cable……………………………………..4
c. Connect the power cord………………………………………4
6 Operation ………………………………………………………..4
a. Angle of pitch and horizontal position adjustment………..…4
b. Power Switch and power-on………………………………… 5
c. OSD Function Control Keys…………………………………6
d. OSD Adjustments ……………………………………………6
e. OSD Chart Illustration………………………………………7
7 Troubleshooting……………………………………………… 11
8 Technical Data…………………………………………………...12
1

c. Introduction
The advantages of LCD monitor are that it has not harmful X radiation caused by high energy
electron bombing the screen. It also has not air pollution caused by screen high voltage static
electricity molecule adsorbing. And because of its soft and steady image quality, your eyes will
never feel dry and sore.
This monitor has more features as follows:
High resolution, high contrast color TFT LCD providing sharp, flicker-free images.
Power management circuit conforming to VESA®DPMSTM standard that reduces energy
consumption when the LCD is not in use.
Equipped with DDC1TM and DDC2BTM for Plug & Play compatibility.
Supports a true VGA resolution of 1024X768 as well as VGA modes for IBM or PC
compatibles and Power Macintosh, Power PC, and Macintosh compatibles.
Saves more than 2/3 of space (foot print) & energy (power).
Two speakers each 2W, able to use in multi-media application.
International Standard Met: UL, CSA, FCC, TV/GS, CE and U.S. FCC Standard
Built-In Power Supply has power-saving function.
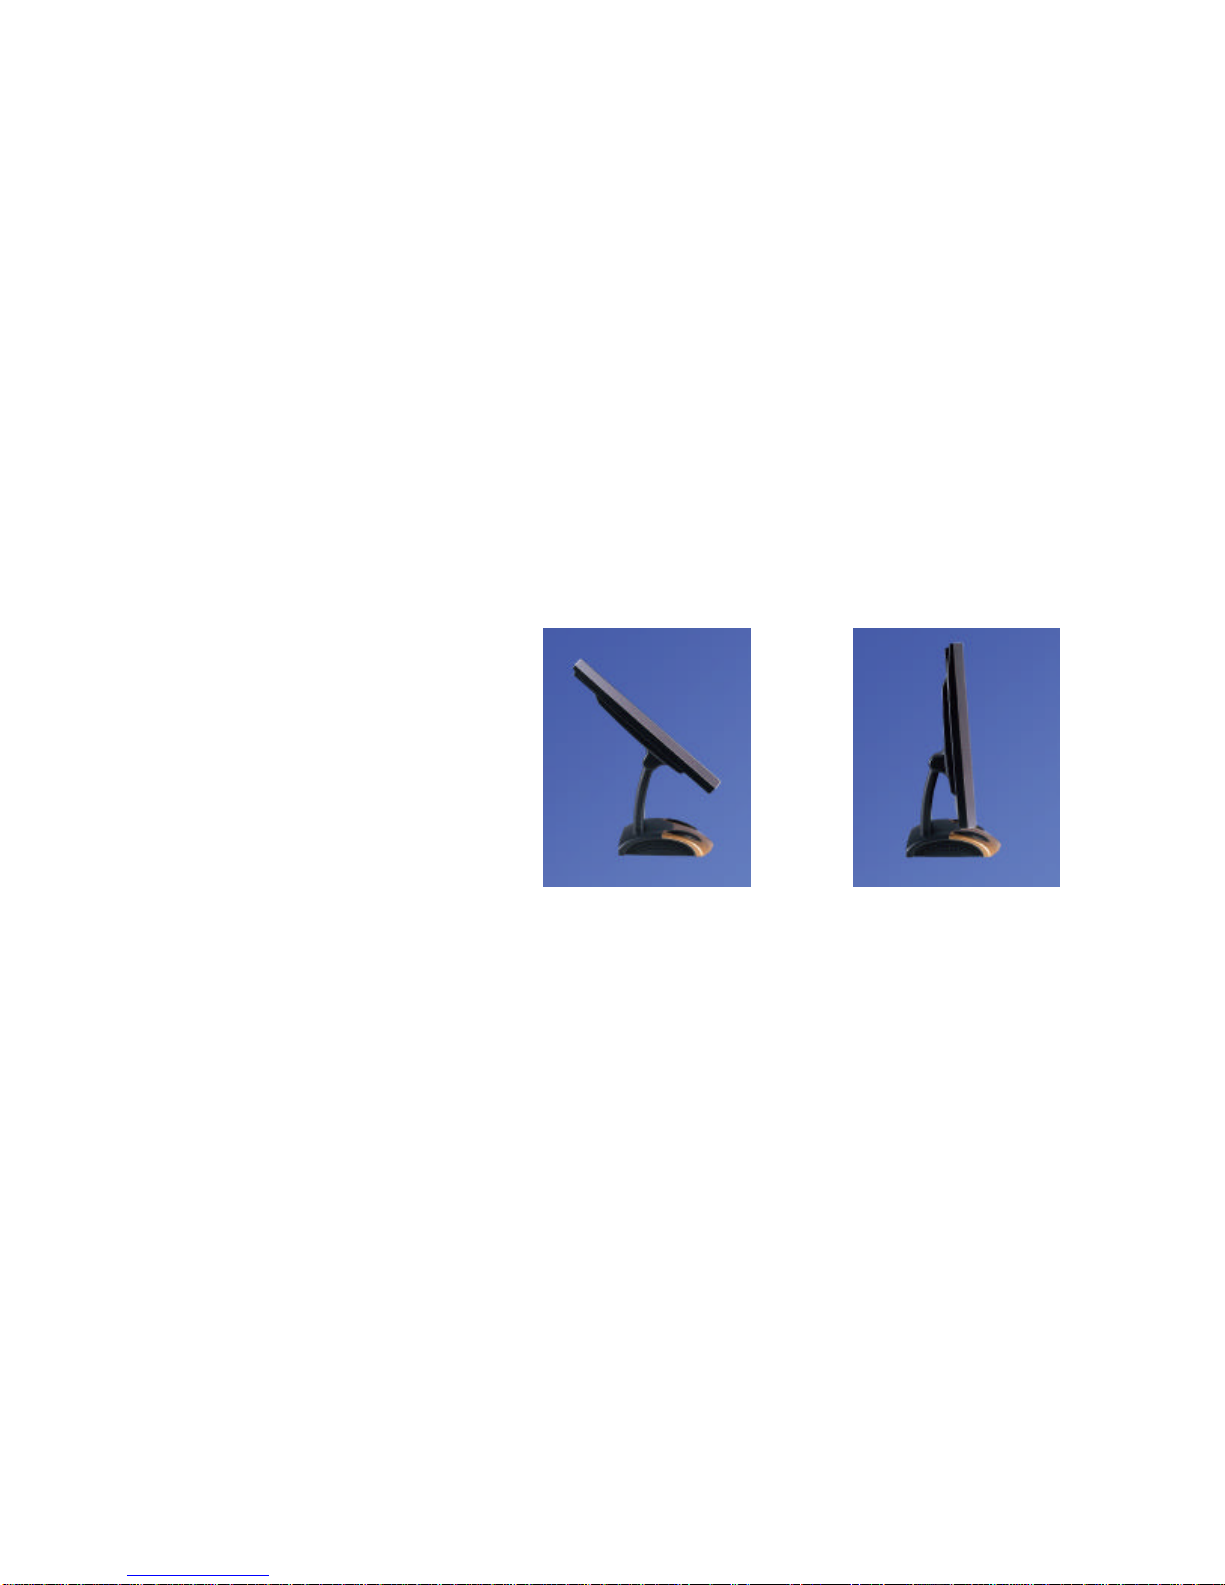
2Precautions
Sit at least 18” from the TFT LCD Color Monitor.
Do not apply pressure to the screen because the LCD is very delicate.
Do not touch the screen directly with your fingers, because you may damage the screen, and
the oil from your skin is difficult to remove.
Do not place anything on top of the LCD.
Ensure the area around the LCD clean and moisture-free.
Do not place heavy objects on the power cord, video or audio cables, or
2

on the LCD.
If smoke, abnormal noise, or strange odor is present, immediately switch the LCD off and
call your dealer. It is dangerous to continue using the LCD.
Never remove the rear cover, because the display unit contains high-voltage parts and you
may suffer electric shock if you touch these parts.
Always handle your LCD with care when moving it.
3.Cleaning the TFT LCD Color Monitor
To clean the screen:
1. Gently wipe the screen with a clean camel hair lens brush, or a soft, clean,
lint-free cloth. This removes dust and other particles that can scratch the screen.
2. If it still not clean, blow on the screen and gently wipe with a soft, clean,
lint-free cloth.
Never pour or spray any liquid directly onto the screen or case of the LCD.
DO NOT APPLY PRESSURE TO THE SCREEN.
d. Package content
Your TFT LCD Color Monitor package includes the following:
e. 15 inch TFT LCD Color Monitor
f. Power Cord
g. Signal Cable
h. User’s manual
i. Audio Cable
If any of the above items missed or damaged, please contact your distributor.
5Installation
3
a Select location

j. Make sure that your monitor will be set up on a stable surface.
k. The Power socket will be near the monitor.
l. Choose a well-ventilated space to position your monitor.
m. Avoid exposing the LCD to direct sunlight.
n. Adjust the environmental light for the best viewing condition.
b. Connect the signal cable
o. Plug in the ends of the signal cable to the monitor and the computer separately, and
tighten the connection bolts.
c. Connect the power cord
Plug in the female end of the power cord to the back of the monitor.
Plug in the male end of the power cord to the power socket.
6Operation
p. Inclination and horizontal position adjustment
Inclination range-5~ +145as follows:
4
Horizontal position adjustmentturn the monitor to any directions you wish.

b. Power Switch and power-on
Power Switch
Power switch locates on the back of monitorPress I , turn monitor on
press O, turn monitor offOnce the power switch turns on, you needn’t turn it
off, you need only control and switch on the panel. When PC powers off or
enters power-saving state, the power of monitor will automatically change to
power-saving state.
WARNINGYou must pull out the power cord from the socket, if you want
your monitor is thoroughly on power-off condition.
Display Switch
Display switch is at position on the panel(Fig4-1)Using this switch,
you can switch on and off the monitor screen at anytime.
Display Indicator
The LED locates on the front panel(Fig4-1)When LED turns green, the
monitor is ready to use; When LED is not bright, the monitor is on power
saving mode, or, the power-off mode.
5

q. OSD(On Screen Display) Keys
Your TFT-LCD Color Monitor is controlled by five easy to use
buttons----Screen ON/OFF , Menu, +, -, Select(Fig4-1).
r. OSD Controls and Adjustments
OSD menu will be appears by clicking the menu key. You can use the four
OSD keys for controls and adjustments of optional value.(e.g. brightness, contrast,
etc.)
The functions of OSD keys are as follows:
Keys Switch function
Menu
First click: Pop up the OSD main menu.
Second click: Remove OSD Menu or move to Previous Menu.
+Move to next menu item or increase current optional value.
-Move to previous menu item or decrease current optional value.
Select Select and confirm
Screen ON/OFF
6
s. OSD Image Illustration

OSD Main Menu
AUTO ADJUSTMENT
By select this item, the system will automatically adjust the clock, phase, H-position
and V-position values.
CLOCK
By selecting this item, you can adjust the main clock value.
PHASE
By selecting this item, you can adjust the phase of clo
7

H-POSITION
By selecting this item, you can adjust the horizontal position of screen.
V-POSITION
By selecting this item, you can adjust the vertical position of screen.
OSD DISPLAY TIME
By selecting this item, you can adjust the display time of OSD.
CONTRAST
By selecting this item, you can adjust the contrast. You can select the RED, GREEN, or
BLUE sub-option.
MODE SELECT
By selecting this item, you can select the mode between 640X400 and 720X400.
8

LANGUEGE
By selecting this item, you can select the language of OSD.
COLOR CONTROL
By selecting this item, you can adjust the color temperature.
9

RESET
By selecting this item, all mode settings are stored in the EEPROM by factory will be
restored.
BRIGHTNESS
By selecting this item, you can adjust the brightness.
OSD WINDOW LOCATION
By selecting this item, you can adjust the location of OSD window.
10

7. Troubleshooting
PROBLEM SOLUTION
The power switch is on, but The
LED light doesn't work.
Check and make sure that the
power cord and signal cable are
securely connected, then press
key on the front panel.
There is a glaring line at the edge
of screen(vertical or horizontal
line), or the display is not at
the center of screen.
Enter MENU, select Auto or
H-POSITION or V-POSITION,
adjust it.
The screen picture quivers and
shows unsteady.
Connect the signal cable tightly and
correctly.
The screen picture jitters and
waves.
Move electric facilities away, which
will interfere the monitor.
The picture is fuzzy, or the
color is not bright.
Enter MENU, select
BRIGHTNESS, CONTRAST, and
COLOR CONTROL, adjust it.
The picture is adjusted to a mess,
and can't come back to the
original settings.
Enter MENU, select AUTO or
Reset.
11

8Technical data
Model Name CD-1560
Display Type TFT
Display Size 15"
Resolution 1024X768
Pixel Pitch 0.297(H)X0.297(V)
Display Area 304.128(H)X228.096(V)
Response Time 20ms
Number of Colors 16,194,277
Contrast 300 : 1
Brightness 250 cd/m2
Viewing angles Horizontal: -65~+65
Vertical: -40~ +50
Input Signal Analog RGB: 0.7Vpp
Input Connector D-SUB 15 PIN
Plug & Play Support VESA DDC1/2B
Power Management DPMS
Vertical Frequency 56 ~ 75Hz
Horizontal Frequency 18K~ 60KHz
Input Voltage AC100V ~ 230V, 50/60Hz
Power Consumption 30W(Max.)--Operation
0.1W(Max.)--Energy Saving Mode
Accessories Power Cord, Signal Cable, User's Manual,
Audio Cable
Operating Temperature:0 ~ 50CHumidity:85%
User Control OSD: Menu+-Select
Outline Dimension 465 X 243 X 473 mm
Weight Net: 4.5kg Gross:5.9kg
12

FCC INFORMATION
This equipment has been tested and found to comply with the limits of a Class B digital device,
pursuant to part 15 of the FCC Rules. These limits are designed to provide reasonable protection
against harmful interference in a residential installation. This equipment generates, uses and can
radiate radio frequency energy, and if not installed and used in accordance with the instructions,
may cause harmful interference to radio communications. However, there is no guarantee that the
interference will not occur in a particular installation. If this equipment does cause unacceptable
interference to radio or television reception, which can be determined by turning the equipment off
and on, the user is encouraged to try to correct the interference by one or more of the following
measures-reorient or relocate the receiving antenna; increase the separation between equipment
and receiver; or connect the into an outlet on a circuit different from that to which the receiver si
connected.
FCC WARNING
To assure continued FCC compliance, the user must use a grounded power supply cord and the
provided shielded video interface cable with bonded ferrite cores. Also, any unauthorized changes
or modifications to Am TRAN products will avoid the user's authority to operate this device. Thus
Am TRAN will not be held responsible for the product and its safety.
CE CERTIFICATION
This device complies with the requirements of the EEC directive 89/336/EEC with regard to
electromagnetic compatibility.
13

Table of contents