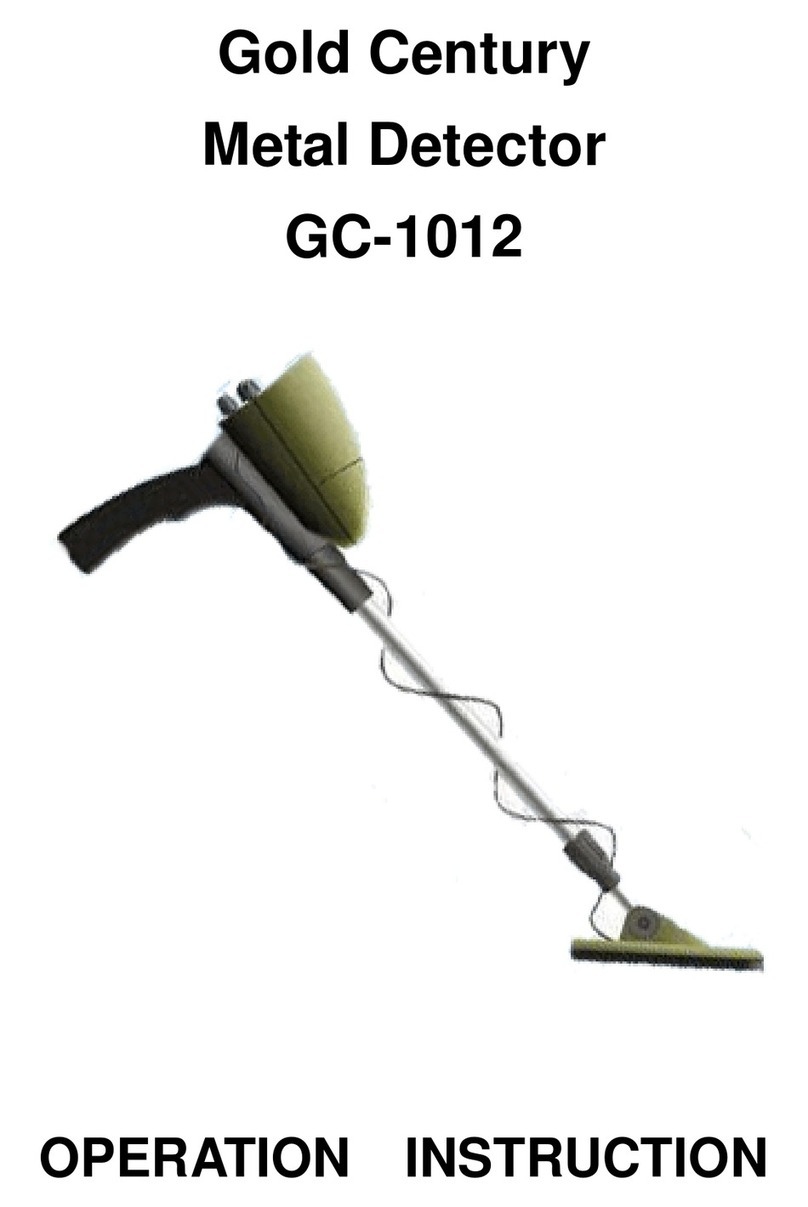
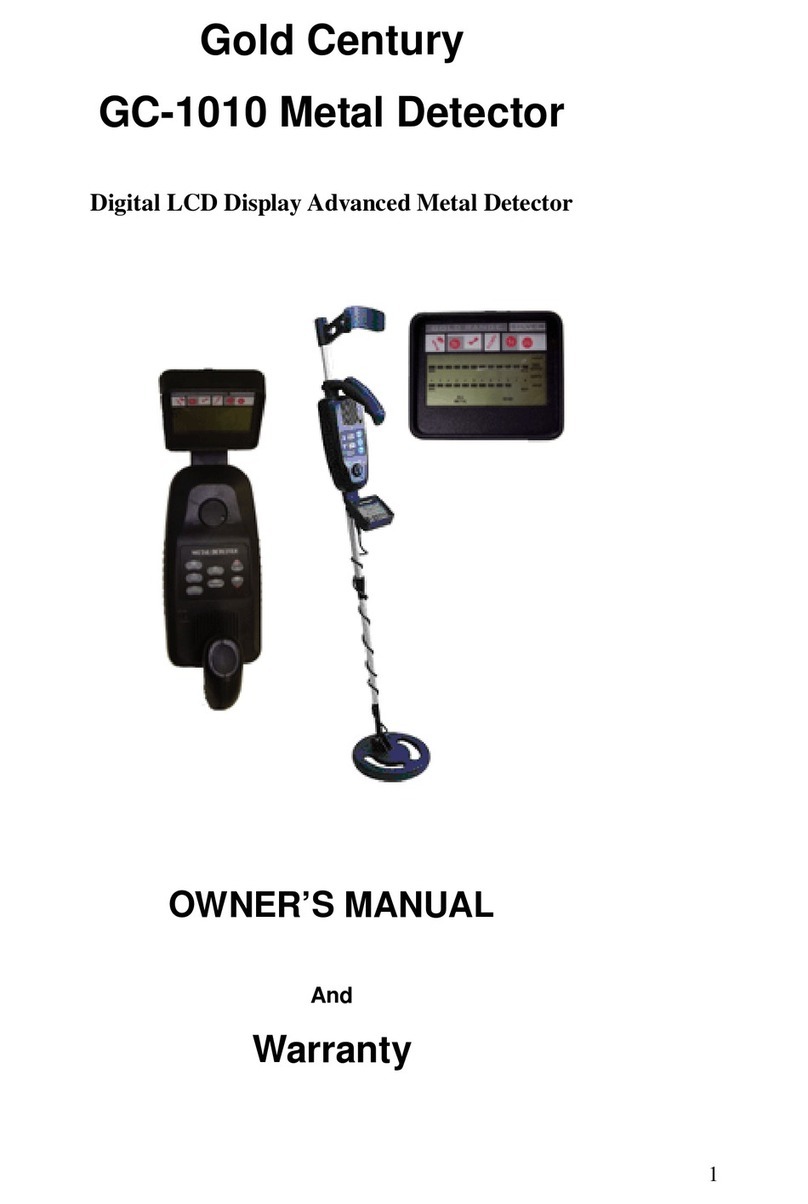
Gold Century GC-1007 User manual

GC-1007 Metal Detector
USER’S MANUAL
Please read the manual before using the detector.

QUICK ASSEMBLY
2
1. Insert the coil cable plug into the 5 pin jack connected with S stem.
2. Secure the nut on the plug properly.
3. Loosen the lock nut on the mid stem and lengthen the stem.
4. Sheathe the mid stem on S stem aligning the holes on the stems.
5. Secure with the fixing knob.
6. Tighten the lock nut counter clockwise.
1 2
3
4 5
6

FEATURE
With your metal detector, you can hunt for coins, relics, jewelry, gold, and
silver just about anywhere. The detector is versatile and easy to use.
The detector’s features include:
Headphone Jack—let you connect headphones (not supplied) and
operate without trouble.
LCD—shows the probable type of metal being detected .
Waterproof Search Coil—can be used in shallow water.
Note:The search coil is waterproof, but the control housing is not
waterproof.
Adjustable stem—let you adjust the detector’s length for comfortable use.
Power—2x 9V DC battery (not supplied)
PREPARATION
1. Installing The Detector
The installation does not require tools, just following the steps below:
1. Insert the coil cable plug into the 5 pin jack connected with S stem.
2. Secure the nut on the plug properly.
3. Loosen the lock nut on the mid stem.
4. Sheathe the mid stem on S stem aligning the holes on the stems.
5. Secure with the fixing knob.
3
COIN DEPTH
SENS
TARGET
ID
POWER
PHONE
MODE
SURFACE
SENSDISC
Lock nut
Coil cable plug
5 pin jack
nut
Fixing knob
S stem
Mid stem

6. Tighten the lock nut counter clockwise.
7. Turn the stem’s lock nut clockwise until it loosens.
8. Lengthen or shorten the stem so when you stand upright with the
detector in your hand, the search coil is level with and about one half to
2 inches above the ground with your arm relaxed at your side.
Then turn the stem’s lock nut counter clockwise to lock it in place.
9. Loosen the knobs at the search coil’s end, then adjust the search coil to
the desired angle. (The search coil should be parallel with the ground.)
Tighten the knobs just enough to keep the search coil from rotating or
wobbling.
2. INSTALLING BATTERIES
2. Turn off the detector.
3. Slide the battery cover off in the direction of the arrow.
4. Insert the battery into the compartment as indicated by the polarity
symbols (+ and -) marked inside the compartment. Then replace the
cover.
Cautions:
5. Always remove old or weak batteries which can leak chemicals that can
destroy electronic parts.
6. If you do not plan to use the detector for a week or more, remove the
batteries.
7. Dispose the old batteries promptly and properly according to State and
Federal Guidelines.
8. Replace the battery when "LOW BATT" displays on LCD.
3.USING HEADPHONES
You can connect a pair of stereo headphones (not supplied) to the
4

detector so you can listen to it privately. Using headphone also saves
battery power and makes it easier to identify subtle changes in the sounds
you hear, for better detection results.
To connect headphones to the detector, insert the plug into the
headphone jack on the side of the control housing.The detector’s internal
speaker disconnects when you connect the headphone.
Listening Safely
9. Do not listen at extremely high volume levels. Extended high volume
listening can lead to permanent hearing loss.
10. Do not wear earphones while operating your detector near high-traffic
areas. For safety, always be aware of your surrounding.
OPERATION
Quick Look at The Detector
1. Press power button to turn on the detector. Press it again to power off.
2. Press MODE, LCD displays SENS, then press + or - to increase or
decrease the level of sensitivity.
When SENS (without DISC) is on the LCD, the detector is available for
detecting all kinds of metal. If the detector finds 25 cent or 10 cent, silver or
copper object, arrow on LCD points to icons of 25 cent / 10cent. The
detector sounds a high tone. Also LCD displays the probable depth of
target.
If 5 cent, pull tab or s-cap, aluminum or zinc object is found, arrow points to
icons of 5 cent / 1cent / pull tab / s-cap and the detector sounds a medium
3
5

tone.A low tone will be heard when iron is found and arrow will point to nail
/ bottle cap.Also LCD displays the probable depth of target.
3. Press MODE again to choose DISC mode. Then choose the unwanted
target as follows:
a. Press MODE, the arrow pointing to nail / bottle cap flashes. This means
nail, bottle cap or iron object will be ignored. The detector will have no
reaction to these objects.
b. Press MODE again to move the flashing arrow to 5 cent / 1cent / pull tab
/ s-cap. At this time, 5 cent / 1cent / pull tab / s-cap will be ignored. The
detector will have no reaction to these objects.
c. Press MODE again after the above unwanted target is chosen, one more
flashing arrow pointing to nail / bottle cap will flash. This means the
detector will not have reaction neither to iron nor to 5 cent / 1cent / pull tab /
s-cap.
Note:
- 25 cent / 10 cent can’t be ignored. Because they are made of valuable
material.
- Flashing arrow will point to what the user would like to eliminate. If the
user doesn’t detect any metal, the arrow will keep flashing. Once the
user detects the metal objective, the flashing arrow will disappear and
another arrow turns up to point out the Target Indicator. At the same
time, the detector emits a tone. This arrow for Target Indicator will stay
on LCD display around 10 secs. If there is no other metal objective
which has been detected, the arrow will disappear.
- When you go back to detect, the flashing arrow for eliminated metal
won’t be back. Therefore, please remember which metal you have set
up to ignore.
A detailed setting of discrimination is as below for your reference.
Discrimination Settings:
6

Metal
Ignored
Status Tone
Display for Discrimination
Nail / bottle
cap (Iron )
High for 25 cent,
10 cent, silver &
copper;
Medium for 5
cent / 1cent /
pull tab / s-cap
Flashing
arrow points
to nail /
bottle cap
5 cent
Pull-tabs,
screw caps,
some gold,
zinc, nickels
High for 25 cent
& 10 cent ;
Low for iron.
Flashing
arrow points
to 5 cent /
1cent / pull
tab / s-cap
Nail / bottle
cap (Iron );
5 cent
Pull-tabs,
screw caps,
some foil,
gold, zinc,
nickels
High for 25 cent,
10 cent, silver&
copper
Flashing
arrow points
to 5 cent
/1cent
Pull-tabs,
screw caps
and
nail/bottle
cap.
Testing Sample
1. Place a sample of the material you want the detector to find (such as a
gold ring or a coin) on the ground.
2. Hold the search coil level to the ground about 1~2 inches above the
surface, slowly move the search coil over the area where you placed
the sample, sweeping the search coil in a side-to-side motion in an arc
line of 7cm motion.
When the detector detects a ferrous target, it sounds a low tone and arrow
7

points to nail/ bottle cap. When it finds a non- ferrous target, it sounds a
medium or high tone and arrow points to 5cent/1 cent/pull tab/ s-cap or 25
cent/ 10 cent.
Search Coil Sweeping Hints:
Never sweep the search coil as if it were a pendulum. Raising the
search coil while sweeping or at the end of a sweep will cause false
readings.
Sweep slowly hurrying will cause you to miss targets.
It’s better you sweep the search coil from side to side in an arc line of 3
inches motion and keep the search coil parallel with the ground.
Factors That Affect The Detecting
It’s difficult to have an accurate detecting result. It needs practice to get
better detection results. Sometimes the detecting may be restricted by
some factors.
If there are interference from other instruments or electrical cable or
TV or radio in your searching area, lower the sensitivity, or to change
the current searching area.
When searching in highly mineralized area, the unit will sound even if
there’s no metal. In this case, you can lower the sensitivity and
increase the height between the search coil and the ground until the
false signal disappears.
8

TROUBLE SHOOTING
Problem
Suggestion
The detector displays
or sounds false
signals.
You might be sweeping the detector’s search coil
too fast or at the wrong angle. Sweep the search
coil more slowly and hold the detector correctly.
The detector might sound a false signal if it detects
heavily oxidized metals. Try pinpointing the target
from several different angles. If the detector does
not display and sound the same signal each time,
the target is probably heavily oxidized metal.
The display does not
show the correct
metal type when the
detector finds a
target.
There might be more than one target in the area
you are searching.
The target might be a type of metal that the
detector does not recognize.
If the target is heavily oxidized, the detector might
not display the correct metal type. This is not a
malfunction.
9
Table of contents
Other Gold Century Metal Detector manuals
Popular Metal Detector manuals by other brands

Tesoro
Tesoro Sand Shark Operator's instruction manual

Garrett
Garrett PD 6500i user manual

Teknoloji Ekibi
Teknoloji Ekibi Delta Pulse 3S Plus user manual

XP Metal Detectors
XP Metal Detectors DEUS II quick start guide

Elenco Electronics
Elenco Electronics K-26 Assembly and instruction manual

Handy Man
Handy Man Nail Finder operating manual