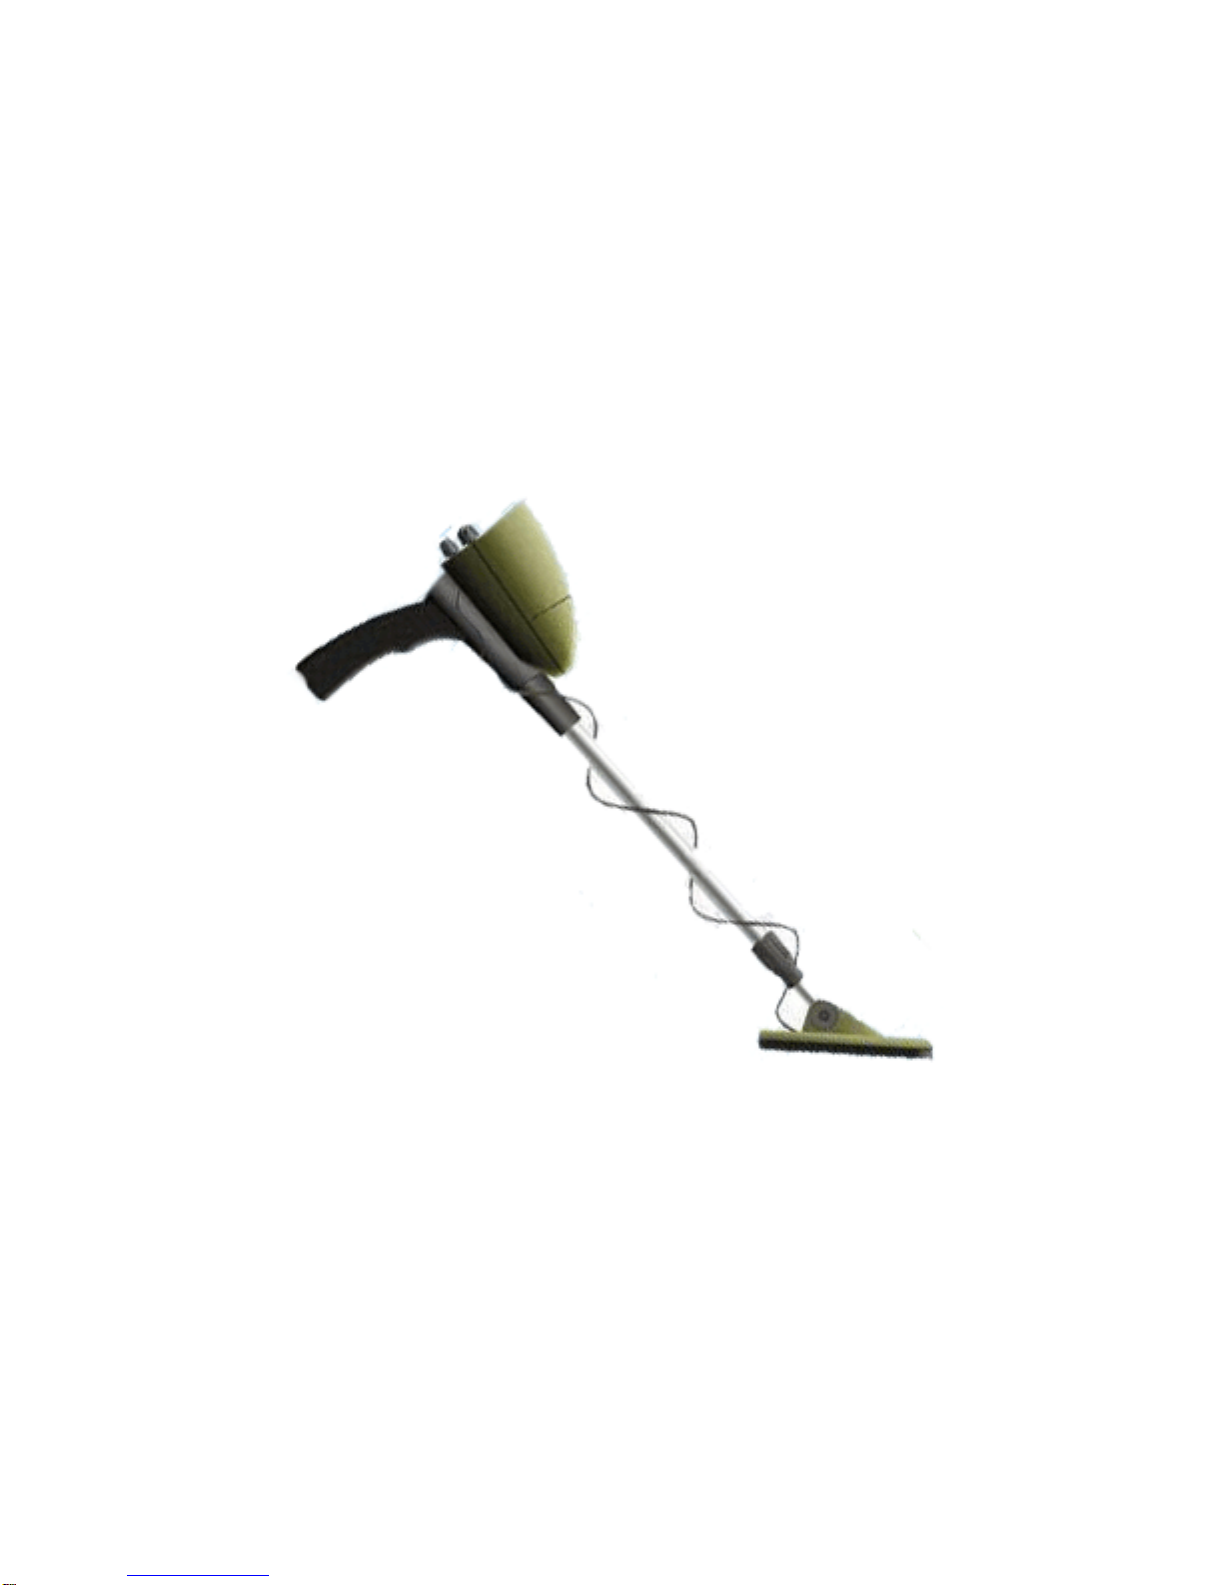
Gold Century GC-1012 Technical manual

Gold Century
Metal Detector
GC-1012
OPERATION INSTRUCTION

2
FEATURES
With your Metal Detector, you can hunt for coins, relics, jewelry, gold,
and silver just about anywhere. This metal detector is versatile and easy
to use.
The detector’s features include:
Earphone Jack – lets you connect earphones (not supplied) to the
detector in private.
View meter and Pointer – shows the probable type of metal being
detected and lets you know when it is time to replace the batteries.
Water proof Search Coil – lets you use the detector’s search coil even if
you must put it under water.
Note: The search coil is waterproof, but the control housing is not
waterproof.
Adjustable Stem – lets you adjust the detector’s length for comfortable
use.
Note: Your metal detector requires one 9 volt batterie (not supplied).

3
TREASURE HUNTER’S CODE OF ETHICS
All treasure hunters might be judged by the example you set. Here are a
few basic rules you should follow while using your detector.
Always get permission before searching any site.
Respect the rights and property of others.
Observe all national, state, and local laws while treasure hunting.
Never destroy historical or archaeological treasures. If you are not
sure about an object you
have found, contact a museum or historical society in your area.
Leave the land and vegetation as it was. Fill in any holes you dig.
Use your detector only in safe areas.
Dispose of any junk you find, only in approved areas. Do not leave it
for the next treasure hunter to find.
PREPARATION
ASSEMBLING THE DETECTOR
Assembling the detector is easy and requires no special tools. Just follow
these steps.
1. Loosen the stem’s lock nut in the direction of the arrow.
2. Lengthen or shorten the stem, so when you stand upright with the
detector in your hand, the search coil is level with and about 1/2 to 2
inches above the ground.

4
3. Turn the stem’s lock nut in the reverse direction of the arrow to lock
it in place.
4. Unscrew the knobs on the search coil and remove the knobs and
the connector. Insert the stem and align the holes on the search coil
bracket and the stem. Push the connector through the holes, then
replace and tighten the knobs.
5. Insert the latch on the top of the handle into the assembly hole on
the bottom of the control box. Then slightly pull the handle in the
direction of IN on the handle to fix the latch in place.
Assembly hole latch
6. Insert the search coil cable plug into the five pin jack on the front
control box’s housing.
Caution:
The search coil cable plug fits into the connector only one way. Do
not force the plug or you could damage it.
You don’t need to disassemble the stem lock nut. In case you
disassemble it carelessly, place the washer on the top of the stem
connected with the handle with the small head of the washer
upwards. Then hitch the stem lock nut on the washer then tighten it
to lock it in place.
OPEN
IN OUT

5
ADJUSTING THE SEARCH COIL
Loosen the knobs at the search coil’s end, then adjust the search coil to
the desired angle. (The search coil should be parallel with the ground.)
Tighten the knobs just enough to keep the search coil from rotating or
wobbling.
INSTALLING BATTERIES
You need one 9V alkaline battery to power your detector.
Cautions:
Use only fresh battery of the required size and recommended type.
1. If the detector is on, turn VOLUME (on the control housing) to OFF
(The control clicks.)
2. Press on the battery compartment cover and slide the cover off in
the
direction of the arrow.
3. Insert the battery into the compartment.
4. Replace the cover.
Cautions:
Always remove old or weak battery; battery can leak chemicals
OPEN

6
that can destroy electronic parts.
If you do not plan to use the detector for a week or more, remove
the battery.
Dispose of old battery promptly and properly.
When LOW BATT lights, replace the battery.
You can extend battery life by using earphones, which require less power
than the built-in speakers.
USING EARPHONES
You can connect a pair of stereo earphones (not supplied) to the detector
so you can listen to it privately. Using earphones also saves battery
power and makes it easier to identify subtle changes in the sounds you
hear, for better detection results.
To connect earphones to the detector, insert the earphones’1/8-inch plug
into the EAR jack on the side of the control housing.
Note: The detector’s internal speaker disconnects when you connect
earphones.
LISTENING SAFELY
TUNING PUSH
VOLUME
O FF M AX MIN MAX
LOW BATT
TARGET
DI SCRIM INATION
METAL DETECTOR
SENSITIVITY
EAR jack

7
To protect your hearing, follow these guidelines when you use
earphones.
Set the volume to the lowest setting before you begin listening.
After you begin listening, adjust the volume to a comfortable level.
Do not listen at extremely high volume levels. Extended high
volume listening can lead to permanent hearing loss.
Once you set the volume, do not increase it. Over time, your ears
adapt to the volume level, so a volume level that does not cause
discomfort might still damage your hearing.
Traffic Safety
Do not wear earphones while operating your detector near high-traffic
areas.
Even though some earphones are designed to let you hear some outside
sounds when listening at normal volume levels, they still can present a
traffic hazard.
OPERATION
Your Metal Detector distinguishes between ferrous and nonferrous
metals. Ferrous metals contain iron, while non-ferrous metals such as
gold, silver, copper, platinum, aluminum, lead, and zinc do not.
When the detector senses a metallic object, the meter reading changes
and the detector might sound a tone. The actual reaction depends on
what metal is detected.

8
PREPARING THE DETECTOR
Turning On the Detector
Hold the detector in a comfortable position, then rotate VOLUME away
from OFF to the desired sound level.
Tuning the Detector
TUNEING fine-tunes the balance between the detector’s receiver and
transmitter circuitry to provide consistent pointer and tone indications.
Follow these steps to set TUNEING.
1. Rotate VOLUME to the 11 o’clock position.
2. Set DISCRIMINATION to the its midpoint.
3. Hold the search coil about 1foot away from the ground and any
metal
object, hold down the PUSH button, and slowly rotate TUNEING left
and right until the pointer on the view meter rests at or near 0, then
release the PUSH button. At this time, the TARGET indicator lights
off.
As you search, you can fine-tune the detector using DISCRIMINATION.
Note: Press the PUSH button at any time during operation to
automatically return the pointer to 0 and the TARGET indicator lights off.
TESTING AND USING THE ECTECTOR
To learn how the detector reacts to different metals, you should test it
before you use it the first time. You can test the detector indoors or
outdoors.

9
Indoor testing
1. Remove any watches, rings, or other metal jewelry you are
wearing, then place the detector on a wooden or plastic table.
2. Adjust the search coil’s angle so the flat part faces the ceiling.
Note: Never test the detector on a floor inside a building. Most
buildings have metal of some kind in the floor, which might
interfere with the objects you are testing or mask the signal
completely.
3. Rotate VOLUME to the 11 o’clock position.
4. Set DISCRIMINATION to its midpoint.
5. Move a sample of the material you want the detector to find (such
as a gold ring or a coin) about 2 inches above the search coil.
Notes:
The search coil will not detect without motion. You must move the
object since you are not sweeping with the detector at this time.
If you are using a coin, the detector detects it more easily if you hold
it so a flat side is parallel with the flat side of the search coil (not the
edge).
If the detector detects the material, it sounds a tone and the pointer
moves to the left and the TARGET indicator indicates by red light (ferrous)
or to the right and the TARGET indicator indicates by green light
(non-ferrous) while the detector determines the type of metal it is
detecting.
If the detector does not detect the material, check the battery power and
verify that the search coil is properly connected. Also, you might need to
fine-tune the detector (see “Fine-Tuning the Detector” ).

10
Outdoor Testing and use
1. Find an area on the ground outside where there is no metal.
2. Place a sample of the material you want the detector to find (such
as a gold ring or a coin) on the ground. (If you are using valuable
metal such as gold to test the detector, mark the area where you
placed the item, to help you find it later. Do not place it in tall
grass or weeds.)
3. Rotate VOLUME about two-thirds clockwise.
4. Press and release the PUSH button. Slowly rotate TUNE until the
pointer is at or near 0 and the TARGET indicator lights out. You
should barely hear a tone.
5. While holding the search coil level and about 1-2 inches above
the ground, slowly move the search coil over the area where you
placed the sample, sweeping the search coil in a side-to side
motion.
Search Coil Sweeping Hints:
Never sweep the search coil as if it were a pendulum. Raising the
search coil while sweeping or at the end of a sweep causes false
readings.
Sweep slowly – hurrying makes you miss targets.
If the detector detects the material, it sounds a tone and the pointer
moves to the type of metal it found.
If the detector does not detect the material, make sure you are moving
the search coil correctly.
Notes:
The detector responds with a strong signal when it detects most
valuable metal objects. If a signal does not repeat after you sweep

11
the search coil cover the target a few times, the target is probably
junk metal.
False signals can be caused by trashy ground, electrical
interference, or large irregular pieces of junk metal. False signals
are usually broken or non-repeatable.
6. Try finding other metal in the area. When you find a metal item,
wait a few seconds after the tone stops before continuing, to
allow the detector time to reset (or, press the PUSH button
to return the pointer to the center of the view meter and the
TARGET indicator lights out).
FINE-TUNING THE DETECTOR
After you become familiar with how your detector works, you can
fine-tune it to make it more selective in what it finds.
Discrimination is the detector’s ability to differentiate between types of
metal. The detector’s DISCRIMINATION setting determines whether the
detector will distinguish between different types of ferrous and
non-ferrous metals.
You can set DISCRIMINATION to minimum (fully counterclockwise), to
maximum (fully clockwise), or anywhere in between. As you set
DISCRIMINATION to higher levels, the detector first does not detect
small pieces of silver paper, then thick foil, and finally metal objects like
pull tabs from aluminum cans.
Note: Each time you use the detector in a different area, you must adjust
DISCRIMINATION. Each search location presents new challenges.

12
FALSE SIGNALS
Because your detector is extremely sensitive, trash-induced signals and
other sources of interference might cause signals that seem confusing.
The key to handling these types of signals is to dig for only those targets
that generate a strong, repeatable signal. As you sweep the search coil
back and forth over the ground, learn to recognize the difference
between signals that occur at random and signals that are stable and
repeatable.
To reduce false signals when searching very trashy ground, scan only a
small area at a time using slow, short overlapping sweeps.
DETECTION HINTS
No detector is 100 percent accurate. Various conditions influence metal
detection. The detector’s reaction depends on a number of things:
The angle at which the object rests in the ground
The depth of the object
The amount of iron in the object
The size of the object
PINPOINTING A TARGET
Accurately pinpointing a target makes digging it up easier.
Accurate pinpointing takes practice, and we suggest you practice finding
and digging up small metal objects on your own property before you
search other locations.

13
Sometimes, targets are difficult to accurately locate due to the sweep
direction. Try changing your sweep direction to pinpoint a target.
Follow these steps to pinpoint a target.
1. When the detector detects a buried target, continue sweeping the
search coil over the target in a narrowing side-to-side motion.
Make a visual note of the exact spot on the ground where the
detector beeps.
2. Stop the search coil directly over this spot on the ground. Then
move the search coil straight forward away from you and straight
back toward you a couple of times.
Make a visual note of the exact spot on the ground where the
detector beeps.
3. Repeat Steps 1-2 at a right angle to the original searchline,
making an “X” pattern. The target should be directly below the “X”
at the point of the loudest response.
Notes:
If trash in an area is so heavy that you get false signals, slow your
sweep speed and use shorter sweeps.
Recently buried coins might not respond the same as coins buried
for a long period of time because of oxidation.
Some nails, nuts, bolts, and other iron objects (such as old bottle
caps) oxidize and create a “halo” effect. A halo effect is caused by a
mixture of natural elements in the ground and the oxidation created
by different metals. Because of the metal mixtures, target signals
might not be in a “fixed” position. This effect makes these objects
very hard to detect accurately. (See “Fine-Tuning the Detector”).

14
TROUBLESHOOTING
If your detector is not working as it should, follow the suggestions below
to see if you can eliminate the problem.
Problem Suggestions
You might be sweeping the detector’s
search coil too fast or at the wrong
angle. Sweep the search coil more
slowly and hold the detector correctly.
See “Testing and Using the Detector”
and “Pinpointing a Target”.
The detector displays or
sounds false signals.
The detector might sound a false
signal if it detects heavily oxidized
metals. Try pinpointing the target from
several different angles (see
“Pinpointing a Target”). If the detector
does not display and sound the same
signal each time, the target is
probably heavily oxidized metal.
There might be more than one target
in the area you are searching.
The target might be a type of metal
that the detector does not recognize.
The display does not show
the correct metal type
when the detector finds a
target.
If the target is heavily oxidized, the
detector might not display the correct
metal type. This is not a malfunction.
CARE AND MAINTENANCE
Your Metal Detector is an example of superior design and craftsmanship.

15
The following suggestions will help you care for your metal detector so
you can enjoy it for years.
Keep the metal detector dry. If it gets wet, wipe it dry immediately.
Liquids might contain minerals that can corrode the electronic
circuits.
Use and store the metal detector only in normal temperature
environments. Temperature extremes can shorten the life of
electronic devices, damage batteries, and distort or melt plastic
parts.
Keep the metal detector away from dust and dirt, which can cause
premature wear of parts.
Handle the metal detector gently and carefully. Dropping it can
damage circuit boards and cases and can cause the metal detector
to work improperly.
Wipe the metal detector with a damp cloth occasionally to keep it
looking new. Do not use harsh chemicals, cleaning solvents, or
strong detergents to clean the metal detector.
Modifying or tampering with the metal detector’s internal parts can cause
a malfunction and might invalidate your metal detector’s warranty.
The search coil supplied with the detector is waterproof and can be
submerged in either fresh or salt water. However, do not let water enter
the detector’s control housing. After using the search coil in salt water,
rinse it with fresh water to prevent corrosion of the metal parts.

16
Warranty
This product is warranted against defects in materials and workmanship for 1
year from date of purchase. The item must be shipped at buyer’s expense to
our offices where we will, at our discretion, repair or replace it free of charge.
Please include your original purchase receipt. This warranty is not valid for
defects caused by accidents, misuse, improper care, alteration or abuse, nor is
it valid if any service or repair is performed by non-authorized personnel.
Please contact us for a return authorization at 334-567-2300 or by email at
service@lg-outdoors.com. Please include a letter describing the problem
and your return address.
Return to:
LG Enterprises, LLC
1794 Marshell Rd.
Wetumpka, AL 36093
Table of contents
Other Gold Century Metal Detector manuals
Popular Metal Detector manuals by other brands

Fisher Labs
Fisher Labs F5 operating manual

Kompernass
Kompernass POWERFIX KH 2902 operating instructions

Bounty Hunter
Bounty Hunter Junior Target I.D. user manual

Tesoro
Tesoro Deep Search VI Operator's instruction manual

Fisher
Fisher M-SCOPE 1225-X operating manual

Ger Detect
Ger Detect Gold Hunter user manual