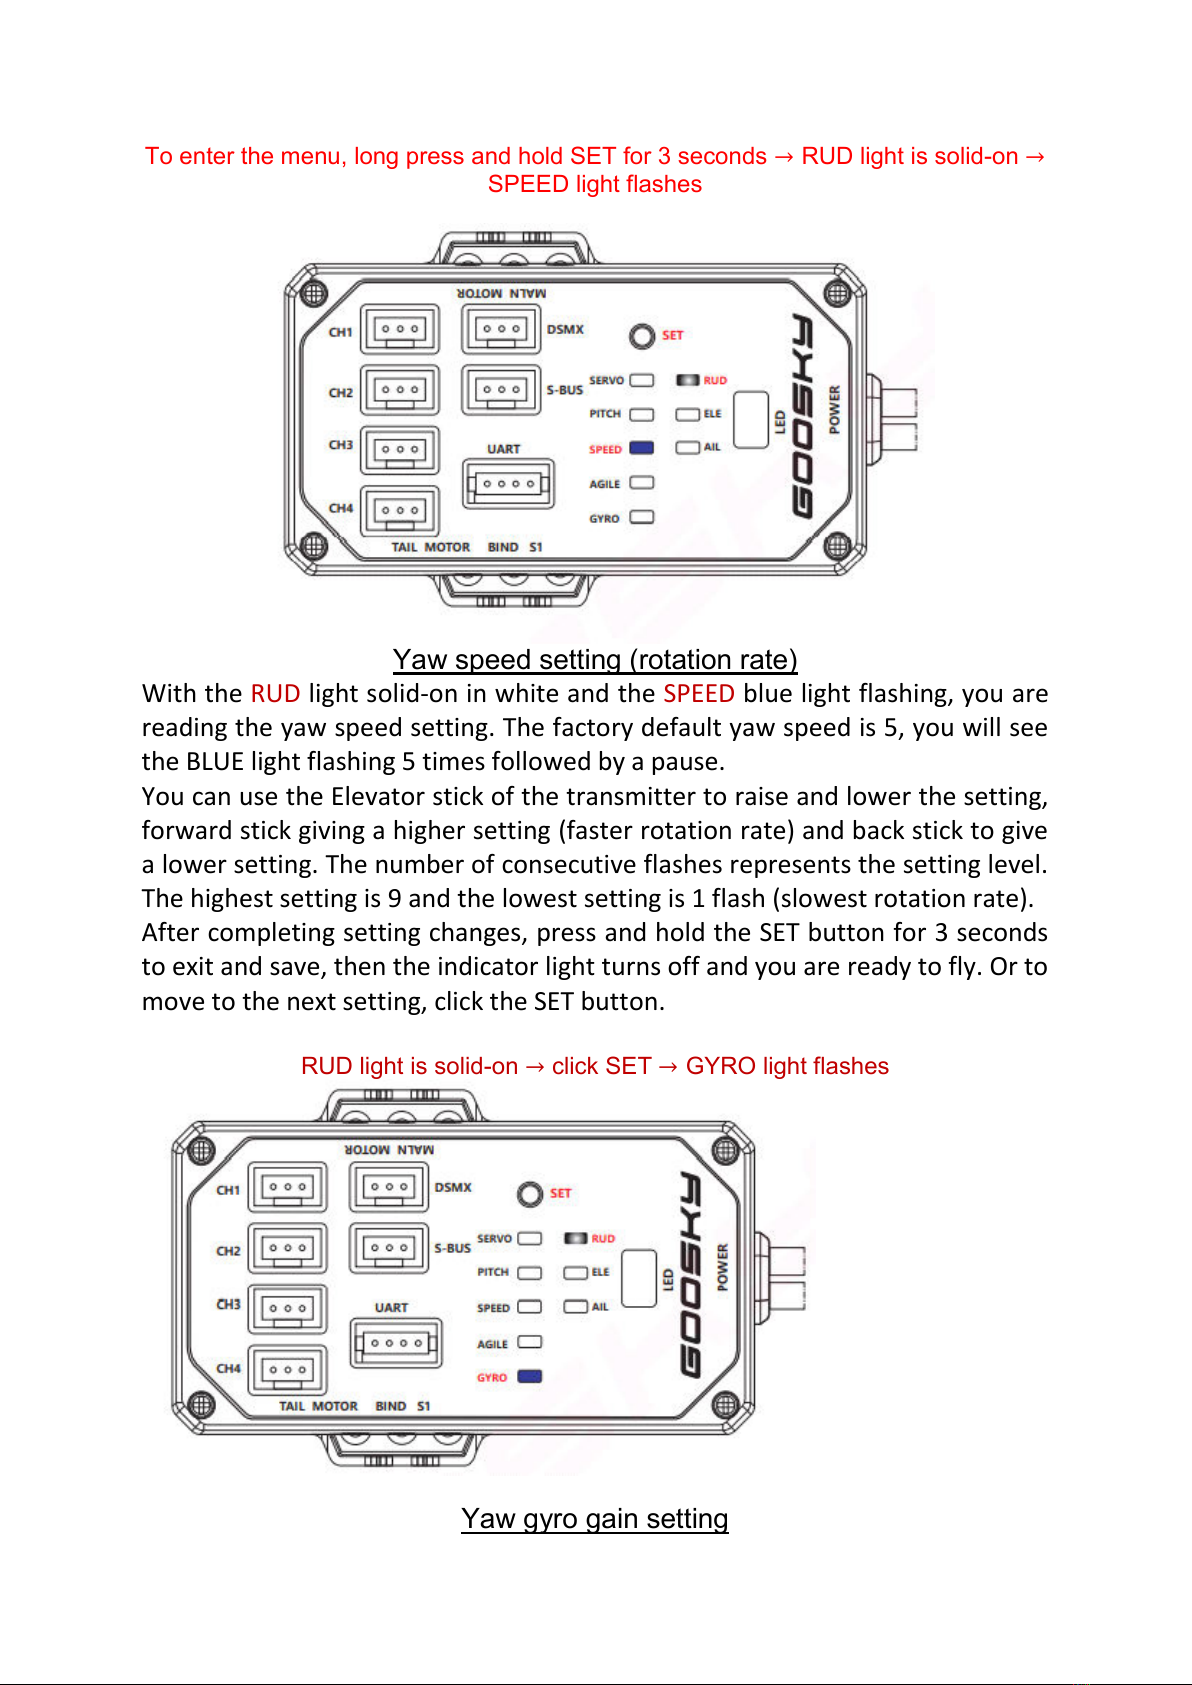
Press and hold the SET button for 3 seconds to enter the tuning mode, short
press the SET button until the indicator light RUD is solid-on and the GYRO light
flashes. The factory default yaw gain is 5 and you will see the BLUE light
flashing 5 times followed by a pause.
You can use the Elevator stick of the transmitter to raise and lower the setting,
forward stick giving a higher setting (higher gain) and back stick to give a lower
setting. The number of consecutive flashes represents the setting level. The
highest setting is 9 and the lowest setting is 1 flash (lowest gain).
After completing setting changes, press and hold the SET button for 3 seconds
to exit and save, then the indicator light turns off and you are ready to fly. Or to
move to the next setting, click the SET button.
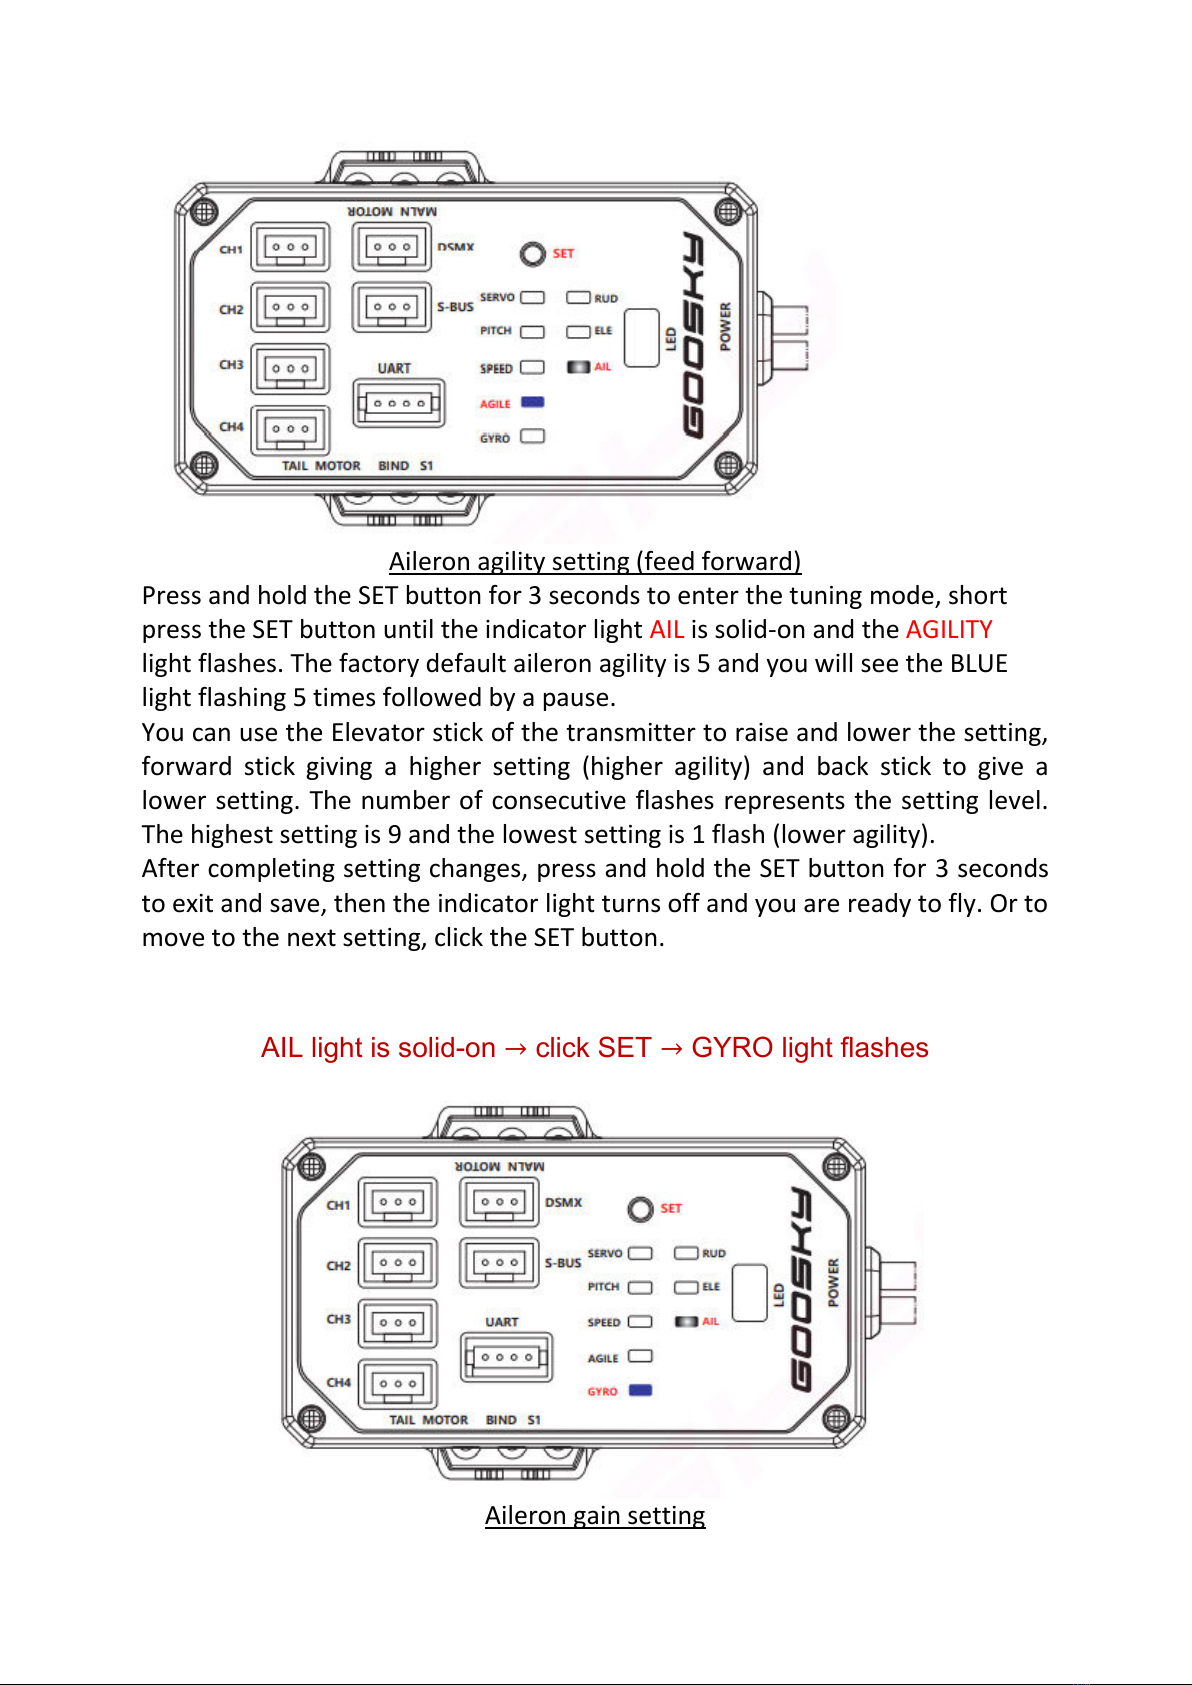
ELE light is solid-on →click SET →SPEED light flashes
Elevator speed setting (rotation rate)
Press and hold the SET button for 3 seconds to enter the tuning mode, short
press the SET button until the indicator light ELE is solid-on and the SPEED light
flashes. The factory default elevator speed is 5 and you will see the BLUE light
flashing 5 times followed by a pause.
You can use the Elevator stick of the transmitter to raise and lower the setting,
forward stick giving a higher setting (faster rotation rate) and back stick to give
a lower setting. The number of consecutive flashes represents the setting level.
The highest setting is 9 and the lowest setting is 1 flash (slowest rotation rate).
After completing setting changes, press and hold the SET button for 3 seconds
to exit and save, then the indicator light turns off and you are ready to fly. Or to
move to the next setting, click the SET button.
ELE light is solid-on →click SET →AGILE light flashes