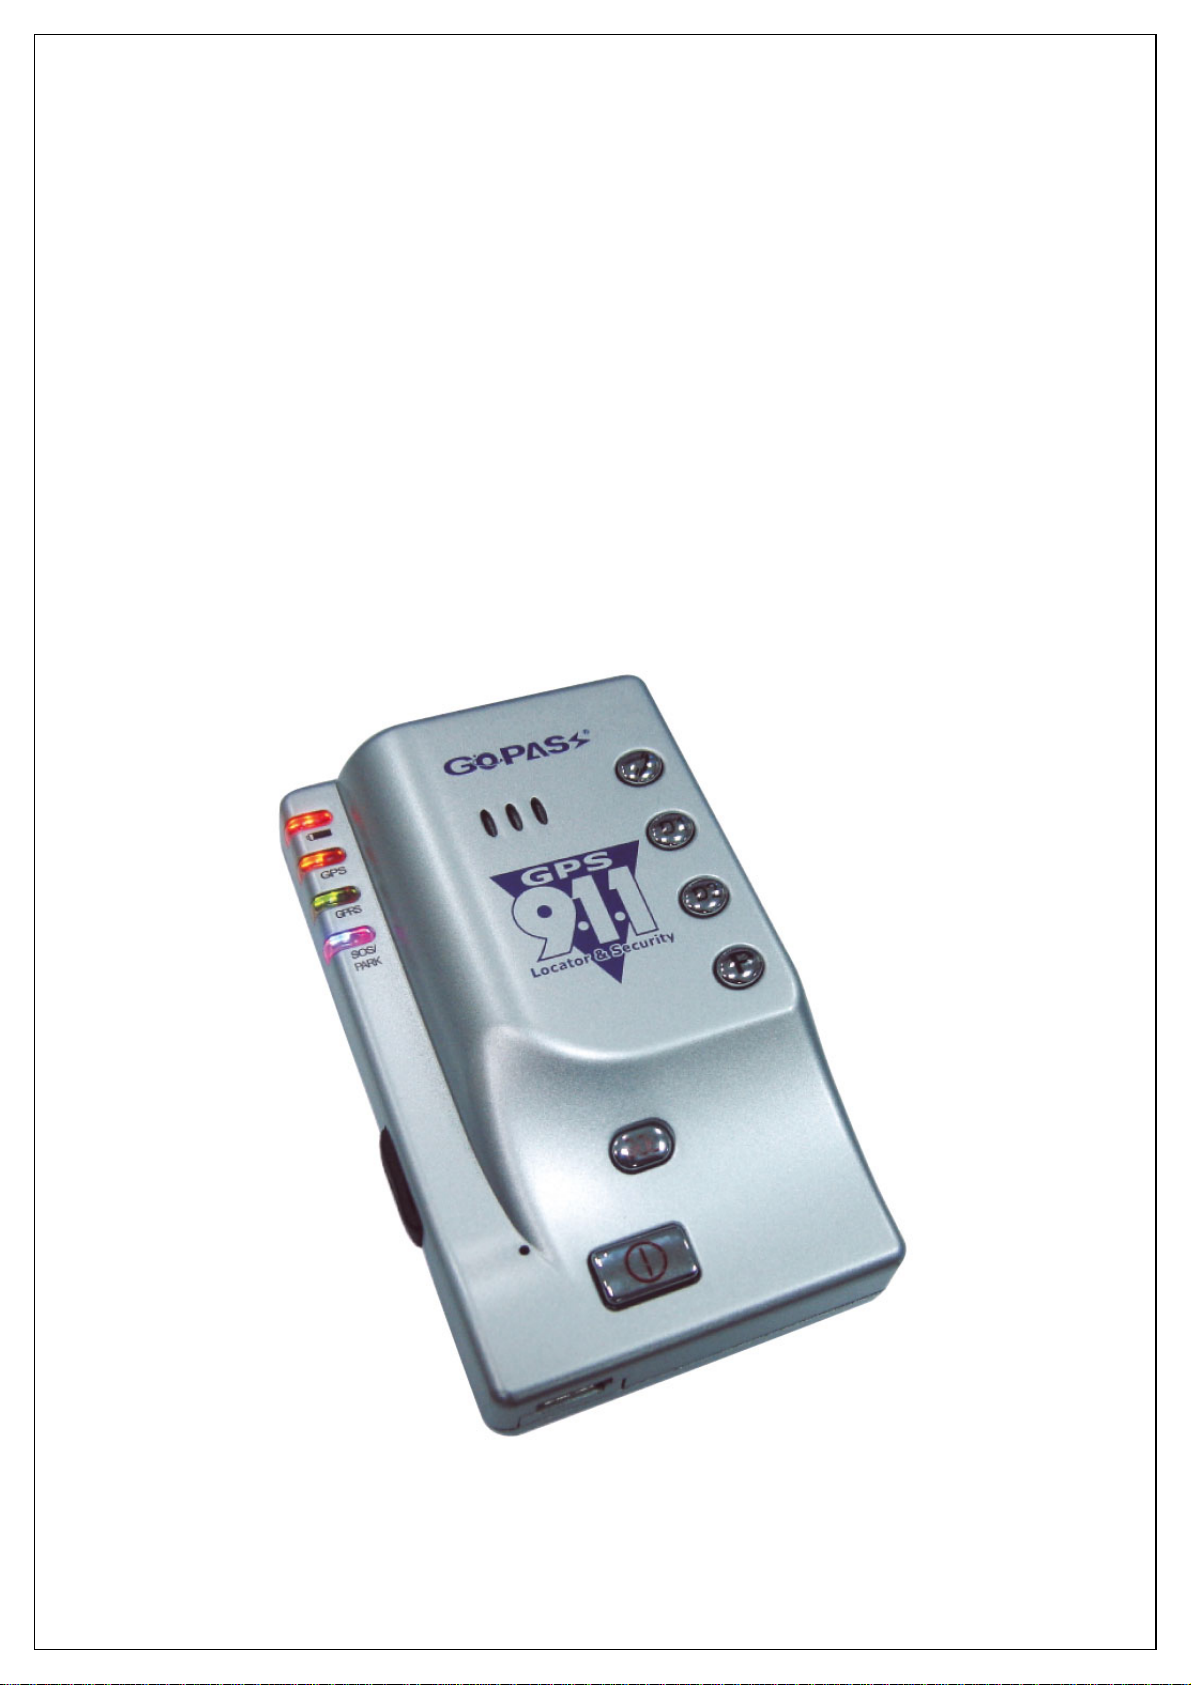
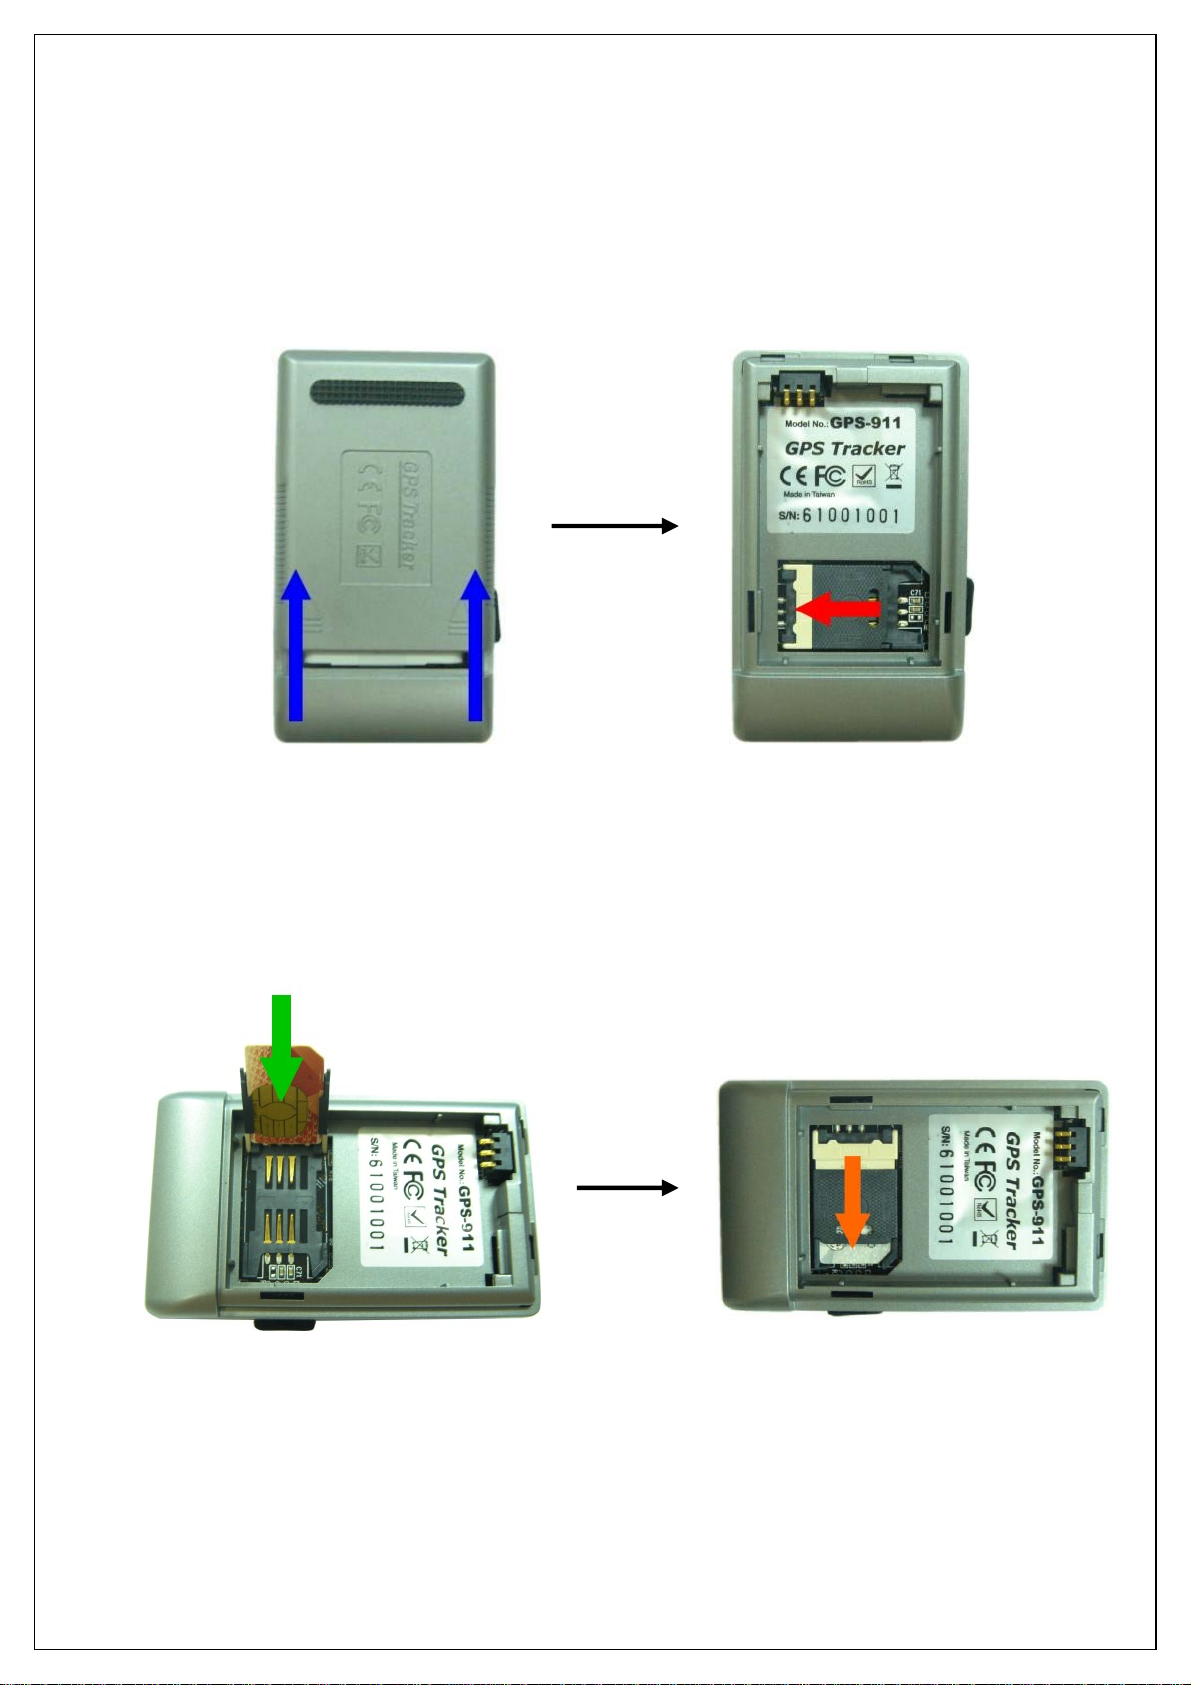
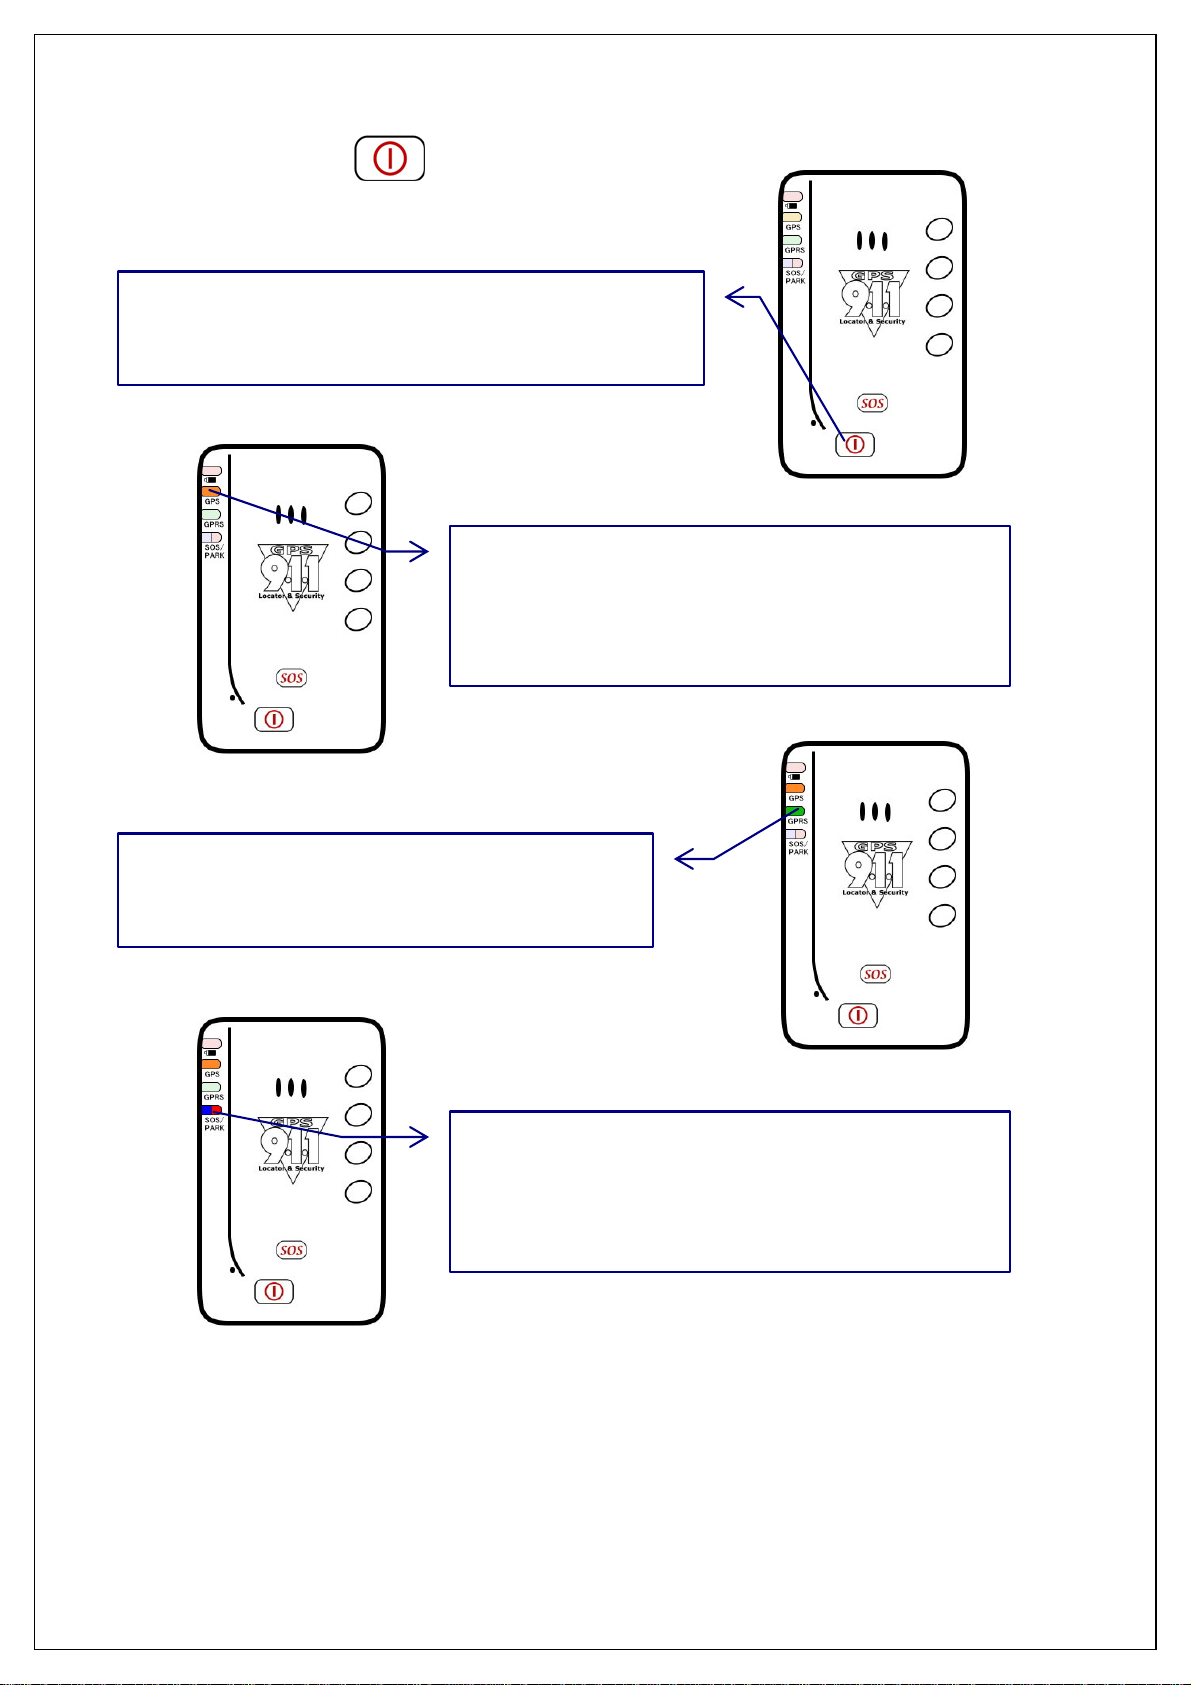
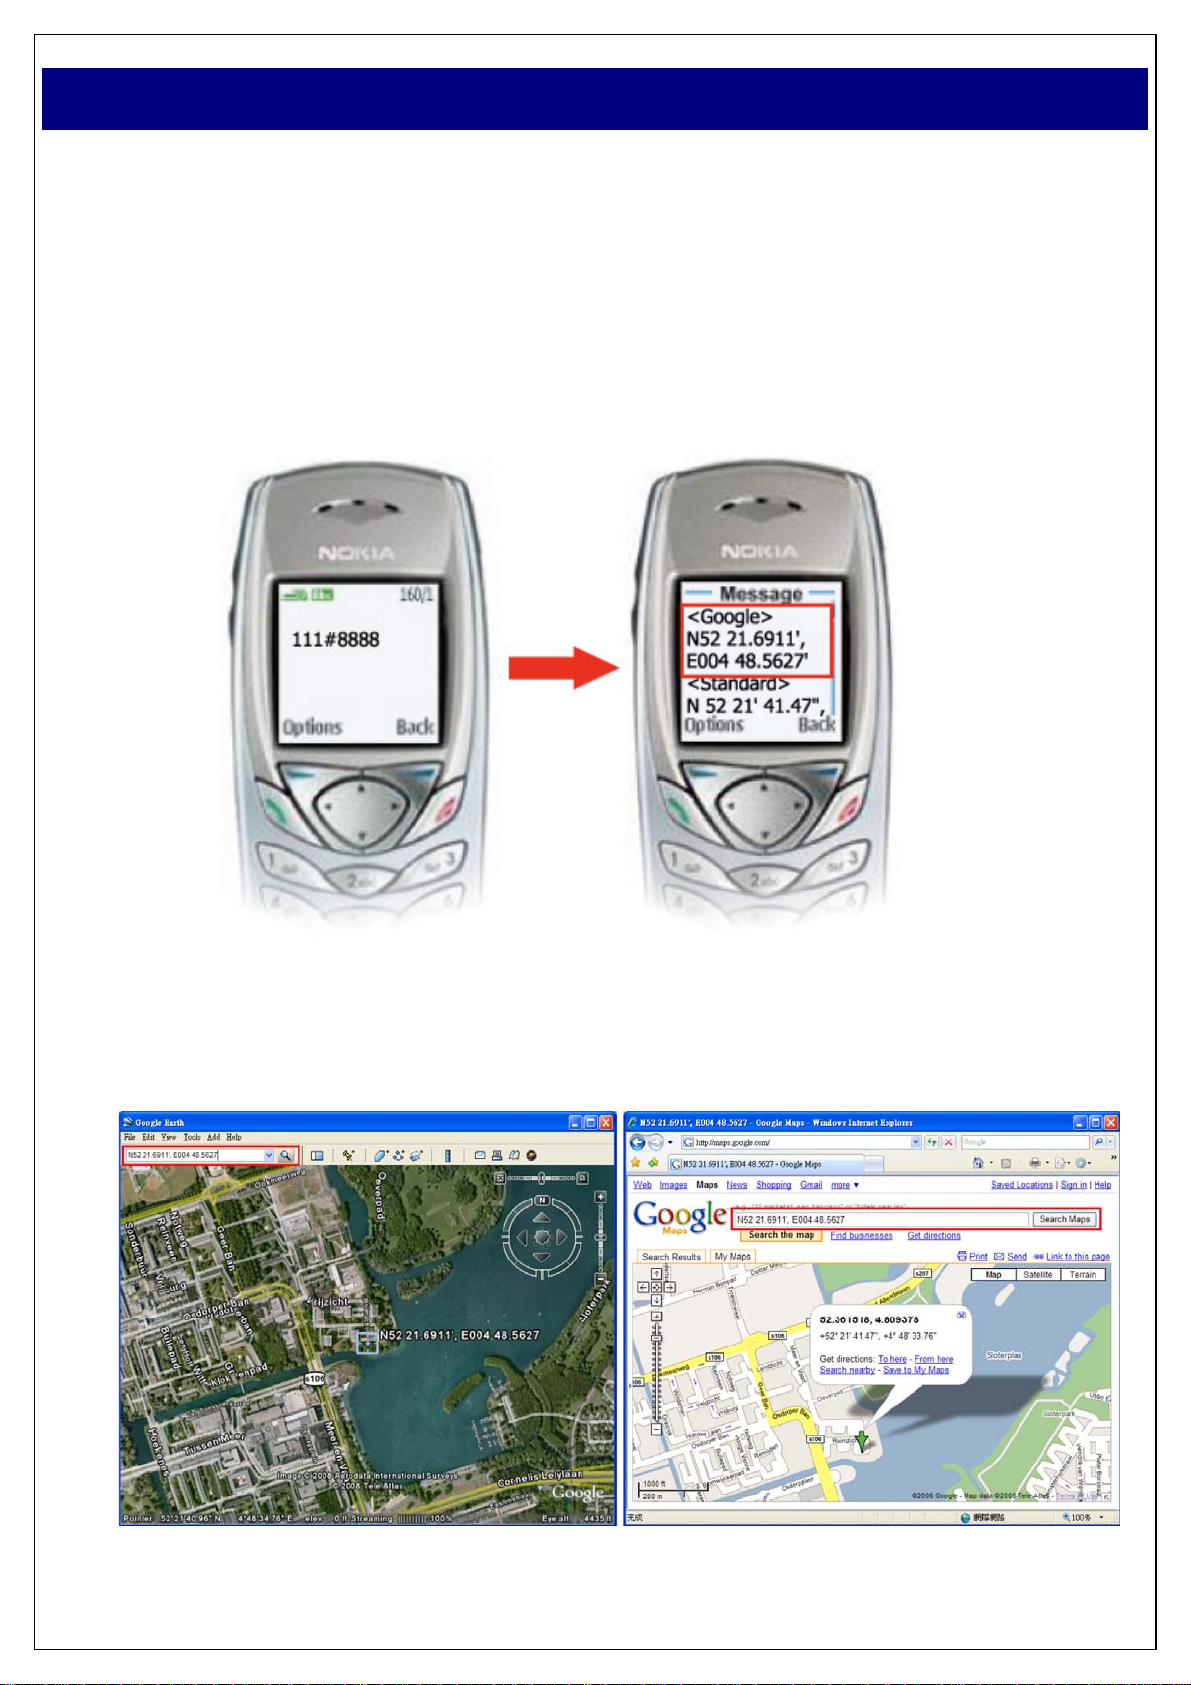
GoPass GPS-911R User manual
Other GoPass GPS manuals
 User manual")
GoPass
GoPass ANL-901(C) User manual

GoPass
GoPass GDL-601 User manual

GoPass
GoPass GPS-911M User manual

GoPass
GoPass AVL-900M Manual

GoPass
GoPass GPS-911 User manual

GoPass
GoPass GPS-911M User manual

GoPass
GoPass GPS-201 User manual

GoPass
GoPass AVL-901D User manual

GoPass
GoPass AVL-901C User manual

GoPass
GoPass AVL-900M User manual

GoPass
GoPass AVL-901C Assembly instructions

GoPass
GoPass GPT-810 User manual

GoPass
GoPass AVL-900 Operating instructions

GoPass
GoPass AVL-901 User manual

GoPass
GoPass AVL-900R User manual

GoPass
GoPass GPS-911R User manual

GoPass
GoPass GPT-800 Manual

GoPass
GoPass AVL-901C Manual

GoPass
GoPass GPT-800 User manual

GoPass
GoPass GPT-801 User manual