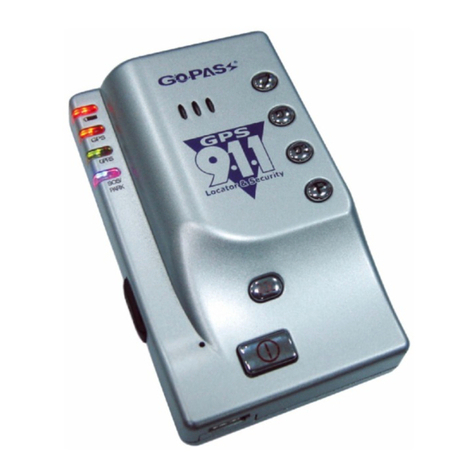
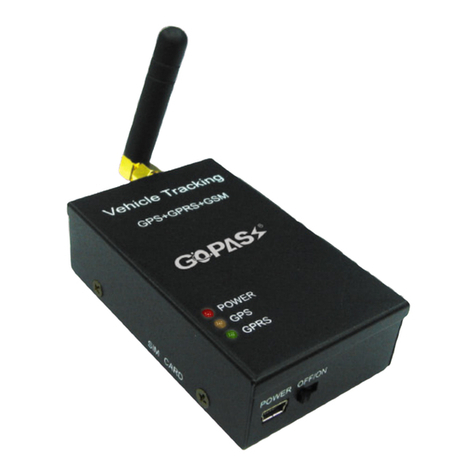
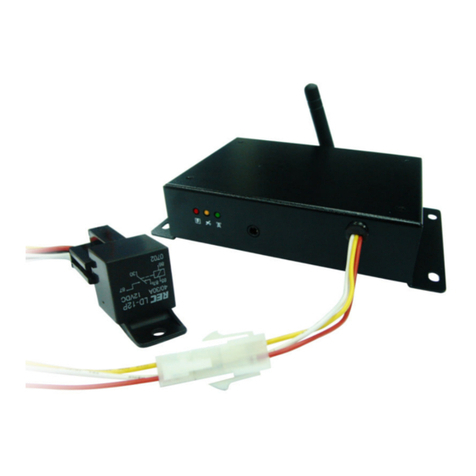
GoPass ANL-901(C) User manual

A
AV
VL
L-
-9
90
01
1(
(C
C)
)
Q
Qu
ui
ic
ck
k
S
St
ta
ar
rt
t
G
Gu
ui
id
de
e

1
1. Precaution before Installation
zPrepare a SIM card for GSM communication. Use some other mobile phone to confirm
that the PIN code has not been set, and that it can dial out and receive telephone calls
without problem.
zBefore install the SIM card, make sure to cut off power from the AVL unit. The correct
installation method is to push the tray completely into the AVL unit, until you feel it is
hooked by something.
zIt takes around over 20 minutes for the very fist time positioning.
zThe factory default password is “8888”.
2. Panel Description
AVL-901(C) Hardware Quick Installation Guide

2
3. Installation
Step 1: Install GPRS Antenna
Connect the GPRS Antenna to the unit.
Fasten the connection by turning the screw in the bottom.
Please do not swing round the antenna itself.
Step 2: Install SIM Card
(1) Unscrew and remove the back cover of your locator. Push the holder top upward to
loose it.
(2) Insert the SIM card by sliding it into the card holder slot, with the chip module facing to
the connectors on PCB, as shown in the picture.
(3) Flip down the holder top. Push the holder top leftward, and let it snap in completely.
Step 3: Connect GPS Antenna
GPS antenna is used to receive satellite signals in
the sky. It should be positioned at a place where it
will have an unobstructed view of the sky, such as
the metallic windshield.
If your car is with metallic windshield, please cut a hole
on the windshield above the place where you put the
GPS antenna, so that the antenna can receive the GPS
signals.
Step 4: Power On
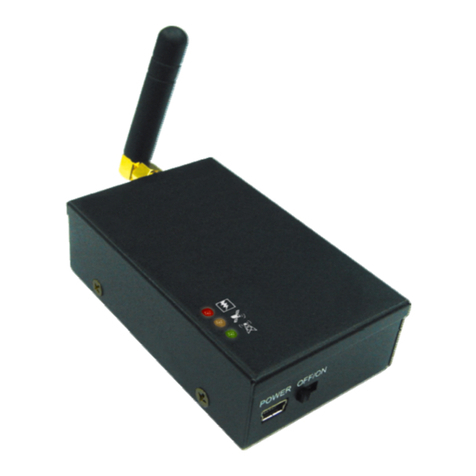
Connect AVL-901(C) to the power source, slide power switch to “ON” to turn on the unit.
After power on, Power LED will light constantly; GPS LED will light steady orange or
flashing orange. The device will be ready to work in about 30-45 seconds after turn on
the power.
If AVL-901(C) is connected to the optional back-up battery, the unit will be always ON;
power switch will be of no function.
Step 5: Check if GPS can works properly
Method:When GPS has got position fixed, the GPS LED will turn from constant glow to
“blinking light”. Check if the GPS LED has turned to “blinking light”.
1 23

3
4. Operating Instructions
(1) Geo-fence (Park) Function
Slide the Park switch to the left to activate Geo-fence function, the PARK LED will be
“constant glow”. AVL-901(C) will send a SMS alert message to the preset phone
numbers, if the car is moved beyond the preset distance range. Slide the Park switch
back to the right, the PARK LED will shut off; and Geo-fence (Park) function will be cut
off. The accuracy of GPS positioning is liable to be affected by time, weather, & other
environmental factors. It is suggested to set the geo-fence range over 200 meters.
(2) SOS Emergency Help Function
When SOS button is pressed for 2-3 seconds, the device will send out a SMS message
for emergency help, one time each 3 minutes. The person(s) who receive the message
can activate the voice monitoring function, and offer assistance in time. The phone
numbers list can be set by the users.
(3) Sound Monitoring Function
If you want to know what is happening inside the car, you can send a SMS command
code 100#Password to the unit to monitor the situation in the car, LIVE & REAL-TIME.
(4) Conversation Function
Call In: One can make phone call to AVL-901(C) by simply dialing the SIM card number.
To receive the incoming phone call, one should press the “Pick-Up/ Hang-Up”
button to start the phone conversation.
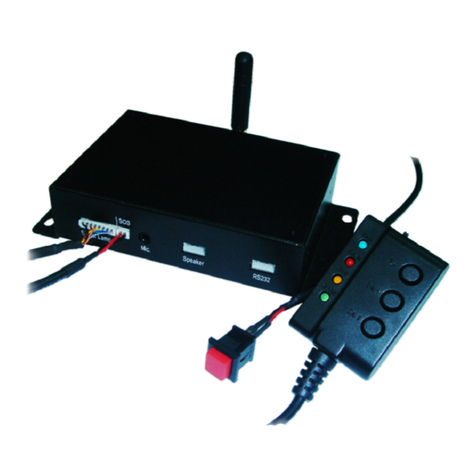
Call Out: AVL-901(C) has two buttons for speed dial; you can preset two sets of phone
numbers of those you want to talk with. After the setting, you can make phone
call to the preset phone numbers by pressing down either of the two speed
dial buttons, “Dial 1” or “Dial 2”.
(5) Setting the Volume & Ring
Volume:Press “Dial 1” for 3-5 seconds, the device will ring up. By then, you can press
Dial 1(+) or Dial 2(-) to adjust volume up/ down; and press “Pick-Up/
Hang-Up” button to confirm the setting.
Ringing:Press “Dial 2” for 3-5 seconds, the unit will ring up. By then, you can press
Dial 1(+) or Dial 2(-) to select the ring sound; and press “Pick- Up/ Hang-Up”
button to confirm the setting.
4
5. Power Charging
6. Description of the LED Indicators
PARK
(BLUE LED) POWER
(RED LED)
GPS STATUS
(ORANGE LED)
GSM/GPRS
(GREEN LED)
Flash --- ---
GPS is on, and
position is fixed GSM is sending data
or in talking mode
Constant
Glow Geo-fence function
has been activated normal GPS is on, but
position not yet fixed GSM is on, but not yet
connected to the network
Constant
Dark Go-fence function
not yet activated in trouble or
no power GPS is off, or
GPS has troubles
GSM is in the standby mode;
or SIM Card was installed
improperly; or in trouble
7. Inspection Items after Installation
After connected to the power source, the RED LED Indicator should be “constant glow”.
The GREEN LED for GSM/GPRS state will flash when sending/receiving data or phone call.
The status of the ORANGE LED for GPS state:
- go to an open air place, check the status of the orange indicator
- make sure GPS has got position fixed, and the Orange LED “flashes once per second”
- make a phone call to the AVL unit, and ask it to report its current position
Complete the installation, and restore the interior of the car.
* This should be done by the professional technician.

5
You can get the latitude & longitude data by sending “111#Password” SMS (short
message) command Code to the GPS Tracker. Input the received latitude &
longitude data to Google Earth (from earth.google.com) or Google Maps (maps.google.com),
then you can find the position fix in the map. Please find below the example.
Step1. Send a SMS Command Code“111#8888"to the GPS Tracker.
Step2. GPS Tracker will send back the latitude & longitude data.
Step3. Input the latitude/longitude data (N52 21.6911', E004 48.5627) into the
column of “Search” and click on search button, Google Earth/Google Maps
will display the position map for you.
[About how to track by PDA Phone, please read SMS Track User Manual in the CD.]
Track GPS Location by SMS

6
1. Requirements
(1) Make sure you did have installed a GSM SIM Card to AVL; and its GPRS function
had been enabled.
(2) FIX IP Address is required for GooTrac Server (the computer to receive the GPS
data sent by GPRS from the vehicle trackers); Intranet is not workable for the
operation. If you do not have a FIX IP, you can use our FIX IP (59.120.2.234) for the
real-time tracking.
(3) Your PC should be 100% compatible with Windows O.S.
(4) Your PC must support 3D graphic.
(5) Google Earth Free Version (4.0 or later) should be installed in your PC in advance.
(6) To display the route in different color/ width for different speed, please go to Google
Earth -> Tools -> Options -> 3D View -> Graphics Mode and choose OpenGL mode.
2. Installation
Put the CD delivered with the tracker to the CD driver of your computer; click on
“GooTrac” to install the software into your computer.
GooTrac Software Quick Installation Guide

7
3. Set Up The GPS Tracker
First of all, run GooTrac software in your PC.
Step1. Set GPRS APN - send SMS command 600# to the tracker.
600#Password #APN#IP#User#APN_Password
ex. 600#8888#airtelnet.es#0.0.0.0#vodafone#vodafone
(You can find the right command in http://www.gopasstech.com by clicking "send my GPRS
APN command".)
Step2. Set IP Address - send SMS command 999# to the tracker.
999#Password#ServerIP#Port
ex.999#8888#59.120.2.234#3000 - send the data to GoPass server
(Go to http://www.gopasstech.com; click “See my IP Address” to get the data.)
Step3. Set transmission time interval - send SMS command 115# to the tracker.
115#Password#XX
ex.115#8888#20 - send the GPS data once each 20 seconds
1. Set GPRS APN 2. Set IP Address 3. Set transmission
time interval

8
4. Data Switch -> Client
After set up the GPS tracker, please go to "GooTrac” -> Tool" -> "Data Switch" -> "Client"
-> "Add" and key-in the columns as follows.
Target IP: 59.120.2.234 TargetPort:8088
Username: iptest Password:iptest ConfirmPassword:iptest
The IP address of the data serve
r
Connection status
The default delivery listen port
Client Activate

9
5. Get GPS data
The position GPRMC data will be displayed in GooTrac main screen; you can start to track
over Google Earth.
- Press down icon will have the GPS position data forwarded to Google Earth.
- Pick “ Select Button” will have the camera fly to the vehicle position automatically,
once when its GPS position data is received.
- Tick the “ Visible Box” will create a vehicle object in Google Earth. Un-tick it will
remove the object in Google Earth.
[For other functions, please read GooTrac User Manual in the CD.]

10
Please check with your telecom company for the following data beforehand.
zThe Access Point Name (APN) of the telecom company.
zIs the User_Name and APN_Password required for the APN setting?
zYou can refer to http://www.gopass.com.tw/other/APN_Table.pdf for the examples of the
GPRS APN set-up.
zPlease make sure the SIM card does support GPRS communication; and the GPRS
function has been activated.
zPlease note that WAP and MMS are not workable for real-time tracking; GPRS is a must
for the operation.
Please send the SMS command "600#Password#APN#IP#User#APN_Password"
referring to following examples.
Example 1: Vodafone (Airtel) - from Spain
APN: airtelnet.es | Username: vodafone| Password: vodafone
600#8888#airtelnet.es#0.0.0.0#vodafone#vodafone
(*must key in "0.0.0.0" as the IP, when "User" & "APN_Password" is required)
Example 2: Telefonica (Movistar) - from Spain
APN: movistar.es | Username: movistar | Password: movistar
600#8888#movistar.es#0.0.0.0#movistar#movistar
Example 3: Telmore (TDC) - from Denmark
APN: internet | Username: tdc
600#8888#internet#0.0.0.0#tdc
(*must key in "0.0.0.0" as the "IP", when "User" is required)
Example 4: Telia - from Denmark
APN: www.internet.mtelia.dk | Username: telia
600#8888#www.internet.mtelia.dk#0.0.0.0#telia
Example 5: Taiwan Cellular
APN: internet
600#8888#internet
(*no need to key in the "IP", when "User" & "APN_Password" are not required)
How to set GPRS APN?

11
It is because the position data of your device still can not be sent back to GooTrac server by
GPRS. There must be some problem with the SIM card, or the GPRS APN settings, or some
other telecom problem.
Following are some of the possible factors which may cause the data can not be sent back to
GooTrac server by GPRS.
1. The APN setting is not correct
Please check with your mobile operator for the latest & exact GPRS APN settings; if
Username & APN_Password required for the APN settings. Please note that the data
provided by us were what found in the internet, which maybe out of date. You must check
with your local telecom company for the correct APN data.
2. The SIM card does not support GPRS communication
Please check with the telecom company if the GPRS function of the SIM card has been
activated. Maybe the SIM card does support GPRS; but not yet been activated. You must
call & ask the telecom company to have the GPRS function opened.
(Please note that one can link to internet by WAP, or MMS, or GPRS; but only GPRS is good for real-time
tracking; WAP & MMS are not workable - i.e. it is not for sure that the SIM Card does work on GPRS,
even though you can link to internet with the SIM card.)
3. The GPRS communication is simplex, not duplex
Please check with your telecom company if the GPRS communication is duplex not simplex
- i.e. the device can both receive & send out GPRS data.
4. The 3 SMS commands to set up the GPS tracker were not sent correctly
Please double check the 3 SMS commands sent to the device, and make sure the
commands were sent correctly.
5. Firewall or Anti-virus Software
The operation of GooTrac is blocked by firewall or anti-virus software. We suggest you to
disable all the firewall/protection for the PC used for testing; and have this PC linked to
internet directly, not thru router/intranet... After the communication problem solved, then you
add on the required protection one by one, so that you can find out where the problem
resulted from.
Why I can’t find the IMEI# of my device in GooTrac main screen?

12
For software update or technique support, please contact your local distributor
or contact:
http://www.gopasstech.com
E-mail: support@gopasstech.com
Table of contents
Other GoPass GPS manuals

GoPass
GoPass GPT-810 User manual

GoPass
GoPass GPT-800 User manual

GoPass
GoPass AVL-900 User manual

GoPass
GoPass AVL-900R User manual

GoPass
GoPass GPS-201 User manual

GoPass
GoPass GPS-911R User manual

GoPass
GoPass AVL-900 Operating instructions

GoPass
GoPass GPT-810 User manual

GoPass
GoPass AVL-900M User manual

GoPass
GoPass AVL-901D User manual

GoPass
GoPass GPT-800 Manual

GoPass
GoPass AVL-900R Manual

GoPass
GoPass GPS-911M User manual

GoPass
GoPass AVL-901C Manual

GoPass
GoPass AVL-901C User manual

GoPass
GoPass GPT-801 User manual

GoPass
GoPass GPS-911 User manual

GoPass
GoPass AVL-901D Manual

GoPass
GoPass GDL-601 User manual

GoPass
GoPass AVL-900M Manual