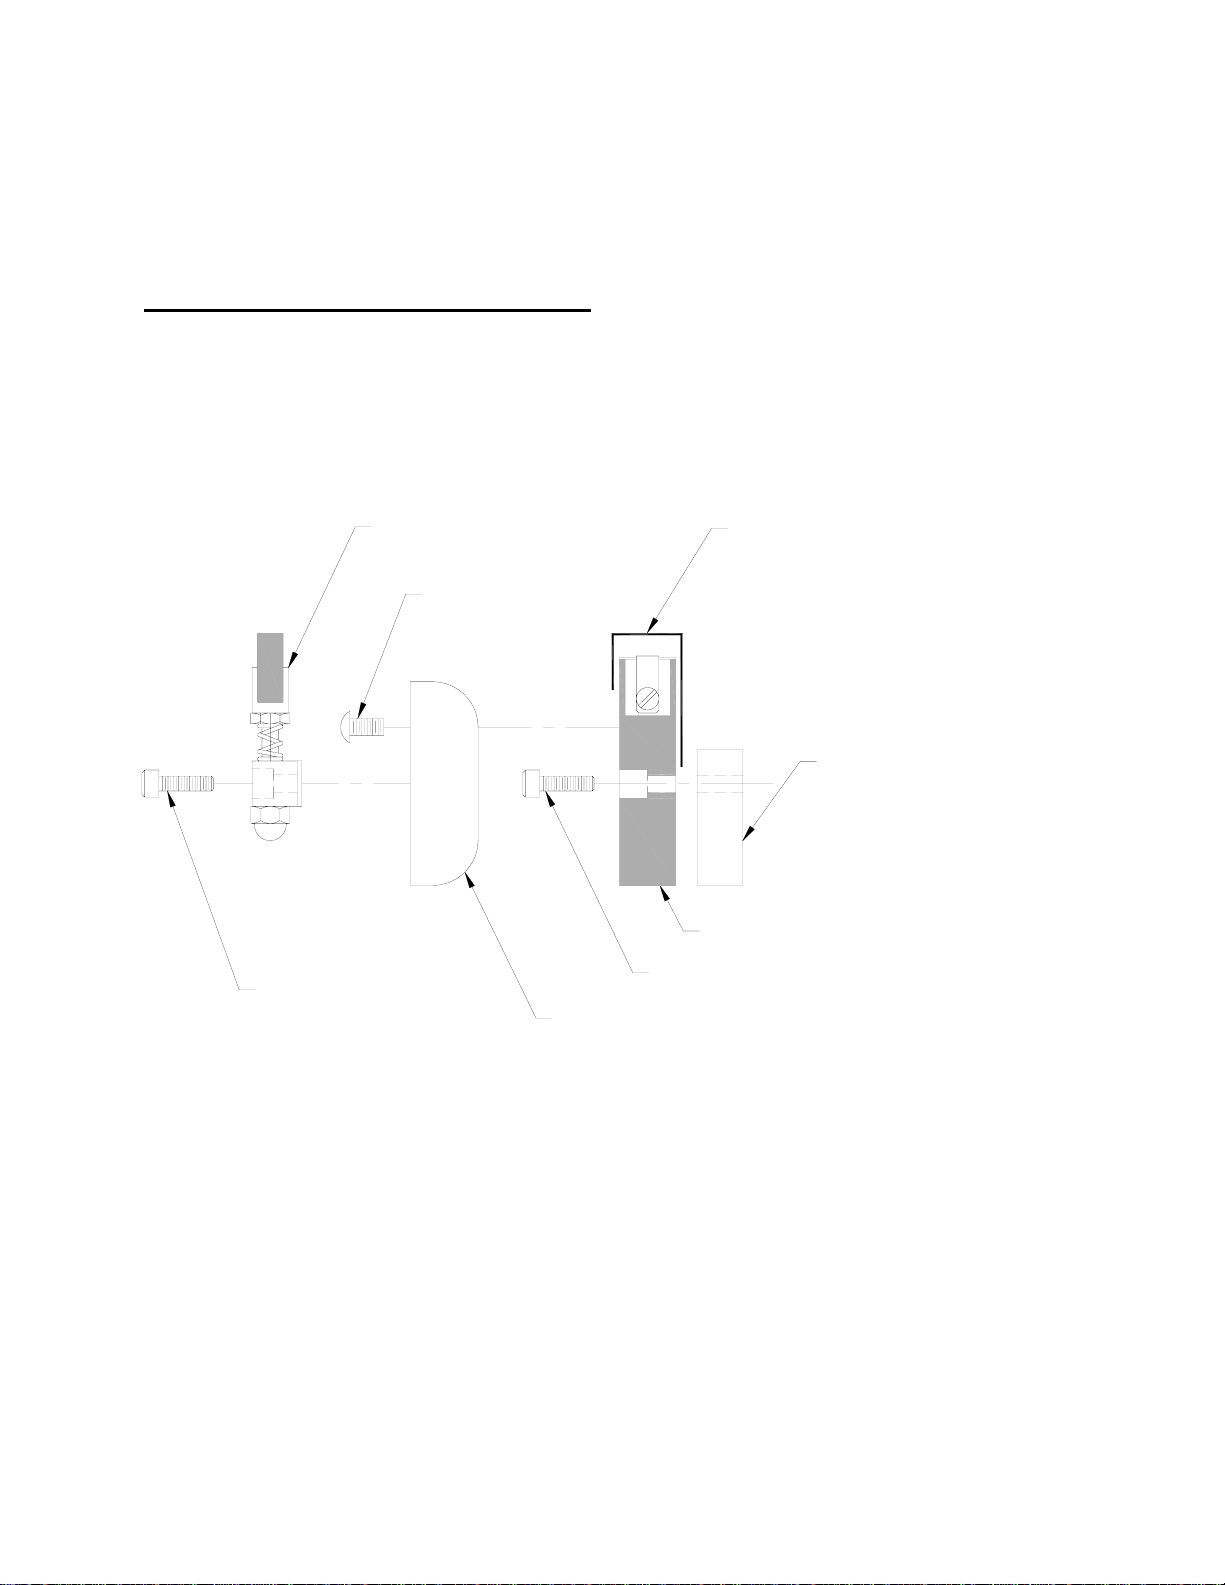
Gramatech GVS Series User manual

Dear Customer
You are now the proud owner of a Gramatech GVS Sealing Machine, and proud you should be, for
your machine is manufactured and assembled in the United States of America.
The finest materials and components along with advanced engineering and design have been used
in the manufacture of this machine.
The GVS Sealing Machines are used in a variety of industries: food, medical, industrial, etc.
Because of its many uses, it is important that prior to its use any operator of the GVS Sealing
Machine should read and understand this manual, and the operation and maintenance of this
machine.
GVS Sealers are equipped with built-in safety switches to provide greater safety in today’s
workplace. However, Gramatech will not be liable for any injury or damage incurred to persons
operating, or to products packaged with the GVS Sealing Machine, regardless of fault, i.e. operator
performance, faulty machine, or both. CAUTION must always be used.
GVS Sealing Machines are designed and built to provide years of trouble-free use, and come with a
Full One-Year Warranty*. A factory-qualified technician must do any repairs beyond normal
maintenance.
Thank you for choosing the GVS Sealing Machine from Gramatech to meet you packaging needs.
*Warranty includes parts and labor, but does not include any shipping charges incurred. Teflon covers, teflon insulators,
terminal blocks, vacuum rubber and heating elements are not included in the warranty.
Warranty is void if machine is altered in any way, if preventive maintenance schedule is not followed, or in factory’s
judgement, the machine has been misused or damaged by operator error.
1

Table of Contents
Foreword 1
Table of Contents 2
Unpacking Checklist and Installation 3-4
Machine Familiarization 5
Basic Operation 6
Maintenance 7
General service Procedure 8
Service Detail-Mounting Assembly 9
Service Detail-Terminal Block Element 10
Troubleshooting 11
Appendix 12
Electrical Drawing 13
2

Unpacking Checklist and Installation
Please check that the following parts have been received.
1. Foot Switch
2. Exhaust Muffler
3. Air Filter/Regulator Assembly
(4.) Vacuum Line Filter Assembly (Coffee Pak Units Only)
Setup & Installation
Section # 1: Machine Setup
The following instructions are intended to assist you with the setup and normal operation of your GVS Vacuum
/ Gas Flush machine. If you require further assistance please call Seco Industries / Gramatech Division. The
phone number is (323) 726-9721.
Step # 1, Unpacking
If you have not already done so please unpack your machine, carefully checking the contents against the
checklist provided. Once you have determined that all of the parts have arrived in good order setup can
proceed. If any parts are missing or appear to be damaged please notify Gramatech and your freight company
at once.
Step # 2, Installation of components on the rear panel.
1. Install the air inlet filter. Note: You must supply the intake fitting. (the thread size is (¼” NPT) The
incoming air pressure should be between 80 and 125 PSI. (Minimum of 7.5 cfm @ 80 PSI)
(Jaw will open when pressure is applied)
2. Install the gas inlet fitting. Note: You supply this fitting. (the thread size is ¼” NPT)
The incoming gas pressure should be set at a maximum of 20 PSI.
3. Install the muffler
4. Plug Foot Switch into receptacle.
5. Plug Power Cord into 110 volt, single-phase, 3-wire outlet.
6. Check Low Pressure Gauge – should be set at 20 PSI.
7. Check High Pressure gauge – should be at 90 PSI.
Note: Pressures are adjusted with the regulator directly beneath the gauge. Pull out knob, turn counter-clockwise
to zero, and then turn clockwise, raising the pressure until the desired pressure is reached. Push in knob to lock.)
3

Step # 3, Connect the machine to electric power and compressed air.
Now that the components have been installed onto the rear panel you are ready to plug the machine
into an adequate power source and to connect it to a compressed air supply. If your machine was
ordered with the 220 VAC option then there will be no plug supplied as there are many types of 220
VAC connections. In regards to the compressed air supply it is very important that the machine be
supplied with clean & dry air. You can also plug the footswitch into the outlet on the rear panel at
this time (refer to page 5).
The number shown around all three dials are for reference purposes and do not represent seconds
or any other time interval. The higher the number the dial points to the longer that function will be
engaged. The toggle switch shown on the control panel will let the PLC know whether you want gas
or vacuum to be the first operation to take place. Important note: If you want to vacuum only with
no gas flush then set this switch to the Gas / Vac setting for best results.
4

Familiarization
Front Panel
On /Off Switch
Low Pressure Regulator & Gauge Vacuum Time Seal Time
High Pressure Regulator & Gauge Seal Only Switch
Rear Panel
10
0
7
9
8
46
5
3
2
1
10
0
7
9
8
46
5
3
2
1
GAS VACUUM SEAL
VAC SEALSEAL C / MAN VACAUTO VA
HIGH
PRESSURE
LOW
PRESSURE
ON
POWER
0
40 120
160
80
30
60
50
10
0
20 40
0
GAS / VAC VAC / GAS
1
28
56
3
9
10
4
7
GAS AIR EXHAUST
INLET INLET
SWITCH
FOOTFUSE
Power Cord Fuse Footswitch Connection Gas Inlet Air Inlet Exhaust Port
5

Basic Operation
You will need some bags and sample product to use during the initial set-up of the machine to match your specific
requirements.
1. Set the Vacuum Timer at # 5
2. Set the Seal Timer at # 5.
3. The PLC “Smart Seal System” will automatically set the cooling time.
4. Set Vacuum On/Off switch to the vacuum / seal position
5. Turn on the Power Switch.
6. While placing the open end of the vacuum bag into the sealer jaws, gently slide an
open portion of the bag around both vacuum nozzles, then between the Vacuum
Rubber and over the Seal Jaws.
7. Position the bag opening far enough into the seal jaws that the unsealed portion will
be clamped by the seal jaws in the location you desire your seal to be.
NOTE: If the item being packaged is too far from the nozzle ends, you may experience collapsing of the bag,
which will effectively ‘seal off’ the product region from being fully vacuumed. Solutions are a smaller bag, moving
the item closer to the nozzles, or manipulating the bag to create vacuum flow channels between the bag sides
during the vacuum cycle.
8. Once the bag has been satisfactorily positioned, pull both sides of the bag outward to
flatten the material between the seal jaws and minimize wrinkles.
9. Depress the Foot Switch, holding it down until the vacuum/seal jaws close and the
vacuum cycle begins (You will hear the vacuum exhaust from the machine rear.)
10. Release the Foot Switch once the Vacuum cycle begins.
11. Support the bag during the Vacuum and Seal cycles as needed until the machine
has finished.
12. Remove the vacuum-sealed bag and evaluate your results.
Adjust the Vacuum Timer until you achieve sufficient vacuum in your bag.
Adjust the Seal time using the following guidelines:
a. Use the lowest Seal Time that will give satisfactory results.
b. Always allow a sealed bag to return to room temperature before evaluating seal integrity.
6

Maintenance
Operating environments and usage requirements vary considerably and you as owner or operator
must arrange suitable periodic checks to verify proper operation of the machine according to the
guidelines below.
Regular checks must be done before and after every use of the Sealing Machine.
Operators and maintenance personnel must note any odd sounds, electrical or mechanical
problems. Any malfunction, improper performance, loose part or unusual condition must be
corrected immediately to prevent operator injury, machine damage or product rejection.
1. Clean the machine regularly with Stainless Steel Cleaner (part #3000SC).
The removal of dust, spills, etceteras is important. One reason for sudden failure of sealing
machines is lack of attention to cleanliness. By cleaning the machine often, you will know what
kind of condition it is in.
2. Inspect the Teflon Cover daily.
Before operating the machine, run your finger along the surface of the Teflon.
It must be smooth with no bumps (any bumps may indicate heating element damage and
must be investigated as outlined in General Servicing), wrinkles or burns in the sealing area
(The covers will develop burn marks near the ends which is normal with usage)
If damaged, burned or torn, replace the Teflon. Lightly coat the Teflon with Sil-Stick
#SS747 to extend its useful life.
3. Check High and Low Pressure settings.
Machine operators tend to make adjustment to specified settings.
4. Check Timer settings.
Machine operators tend to make adjustment to specified settings.
5. Vacuum Rubber: Inspect for wear and alignment. Replace as necessary
6. Air Filter: Look for accumulation of debris, water or oil.
The filter will eventually plug-up and interfere with proper airflow to the system.
Dirt and particulate will clog air passages and scratch valve and piston surfaces. Water will
introduce dissolved minerals and rust into the pneumatic system.
Oil can attack and weaken the rubber seals and gaskets.
If your filter turns dirty yellow to orange, oil is present in your air system. Our coalescing filter
(part # PS5100) will remove oil and water.
7. Exhaust Muffler: If needed, clean or replace.
7

General Service Procedures
(See Fig's 1 and 2)
1. Turn-off power to machine. Disconnect the Foot Switch.
1a. DO NOT remove air pressure. It is needed to keep the seal jaw open.
2. [Refer to Fig 1]Remove Vacuum Rubber Mounting Assy(1). Remove Seal Bar
Guard (2). Loosen Teflon Holding Bar (3).
3. Remove Teflon Cover.
Inspect nichrome heating element and Teflon insulator. If either are damaged or burned, go to
step 4, otherwise skip to step 12.
4. [Refer to Fig 2]Push in and hold Terminal Block (1) tighten Terminal Block Setscrew
(2) with a 1/16 Allen wrench (both ends).
CAUTION: Do not over-tighten or the hex socket will strip.
5. Remove Heating Element (3) by removing screws that holds wire ends to Terminal
Block. Retain all screws and washers.
6. Loosen Terminal Block SetScrews and remove Terminal Blocks.
7. Remove Teflon Insulator (4) and remove residue adhesive with acetone or alcohol.
8. Apply new insulator by removing protective backing and allowing 5/8" turn down onto
each end of bar, covering the spring and pinhole. With a utility knife/razor, cut-out
insulator around hole.
9. Reinstall Terminal Block with spring.
10. Install new heating element in consecutive order: screw going thru washer, wire
lug, washer, and heating element. Then tighten into the terminal block. Element
must rest against terminal block.
11. Loosen Terminal Block SetScrews.
(DON'T FORGET to loosen the Terminal Block SetScrews)
12. Installing new Teflon Cover [Fig 1]
A. Insert Teflon Cover between Teflon holding bar (3) and Seal bar, center it,
then tighten holding bar screws.
B. Pull Teflon Cover tightly over seal bar and crease when it bends.
C. Install Seal Bar Guard (2) over Teflon Cover, tuck the cover and tighten guard
screws.
D. Replace Vacuum Rubber Mounting Assy (1).
Use the same procedure for the upper seal jaw.
It will be easier if you turn the machine upside down.
8

Service Detail – MountingAssembly
Fig. 1
4) TEFLON COVER
3) TEFLON HOLDING BAR
TEFLON HOLDING SCREWS
2) SEAL BAR GUARD
GUARD SCREWS
1) VACUUM RUBBER ASSY
VACUUM RUBBER
ASSY SCREWS
SEAL BAR
9

Service Detail – Terminal Block Element
Fig. 2
4) TEFLON INSULATOR
SEAL BAR
PRESSURE SPRING
TERMINAL SCREW
TERMINAL WIRE
BRASS WASHERS (2)
2) TERMINAL BLOCK
SET−SCREW
1) TERMINAL BLOCK
3) HEATING ELEMENT
(NICHROME)
10

Troubleshooting
Machine does not turn on
1. Plug into working 110 AC outlet.
2. Check Sealer circuit breaker/fuse
Jaws do not close
1. Foot Switch malfunction.
2. Clogged air filter.
3. Safety System. Low Pressure set too high.
Jaws do not stay closed
1. Safety System, Low Pressure set to low.
No Vacuum
1. Air Supply. Unit requires 7.5 cfm @ 80 psi min.
2. Clogged Air Filter. Clean/Replace
3. Clogged nozzle. Clean/Replace
4. Clogged exhaust filter/Restricted exhaust. Check/Clean/Replace
5. Vacuum Timer set to low. Increase time
No Seal
1. Terminal screws loose. Tighten.
2. Heating Elements damaged/broken.
3. Seal Time set to low. Increase Time.
Poor Seal
1. Seal Timer set too low.
2. Seal Timer set too high.
3. One or both heating elements broken or damaged.
4. Teflon Covers dirty, burned or worn.
5. High Pressure setting too low. Readjust to 90
(80 minimum, 110 psi maximum!).
11

Appendix
A complete repair kit with tools and parts needed to perform basic servicing is available. The part
number is as follows: SPK-_____ (add the seal length of your sealer, 2100, 2600, 3100, etc).
Basic Service Replacement Parts List –
SPK Contents:
1- Sil-Stick SS-7470
2-Teflon Insulators TE1527- (size)
6-Teflon Covers TE1524- (size)
2-Nichrome Elements IS7021- (size)
4-Terminal Blocks ES4011
1-Rubber Insulator RB1250- (size)
2-Vacuum Rubber RB1221- (size)
1-Air Filter Element PS5009
2-HexWrench
1-Flat-Stubby Screwdriver
Other: Stainless Steel Cleaner (part #3000SC).
*Warranty Information
All Gramatech machines have a one- (1) year limited warranty. This warranty covers parts and labor
against defects in material or workmanship. Excluded from this warranty are the following items:
heating elements, vacuum rubber, Teflon covers, Teflon isolators, Teflon coatings, terminal blocks
and all filter elements.
Also excluded are any costs associated with shipping and transportation of the
machine.
The Gramatech warranty only covers work done at our facility. Warranty is void if Machine is
altered in any way, if Preventive Maintenance is not followed, or in Factory’s judgment, the machine
has been misused or damaged by operator error. Any work done by an outside contractor must be
pre-approved in writing by Gramatech.
Important Note: Any machine being shipped to Gramatech for warranty or non-warranty
repair must have a RRA (repair return authorization) number. To receive this number
call our customer service at (323) 726-9721 or fax us at (323) 726-4303.
Machine Technical Information
Machine Serial Number _____________________________________
PLC Program _____________ FX1N - 400 ______________
12
This manual suits for next models
2
Table of contents
Popular Kitchen Appliance manuals by other brands

STX International
STX International STX-1000-CE instructions

JOSEPH JOSEPH
JOSEPH JOSEPH Poach-Pro instructions

Univex
Univex 9512 MAX Series instruction manual

izzy
izzy TOPCHEF 600 instruction manual

Bestron
Bestron AGHM200P instruction manual

Rational
Rational VarioCookingCenter 112T Original operating instructions

Mockmill
Mockmill Lino 100 operating instructions

Jupiter
Jupiter Z1 quick start guide

Insignia
Insignia NS-BC2ZSS8 user guide

EUROPEAN FINISHING EQUIPMENT
EUROPEAN FINISHING EQUIPMENT MODEL PND-2500A manual

KitchenAid
KitchenAid 5K45 Series use and care manual

Kambrook
Kambrook LITTLE CHEFS KDM1 Instruction booklet