Page 6 Freestanding Waterfalls Installation and Operation
Section 3. Installing the Grand Effects®
Freestanding Waterfalls
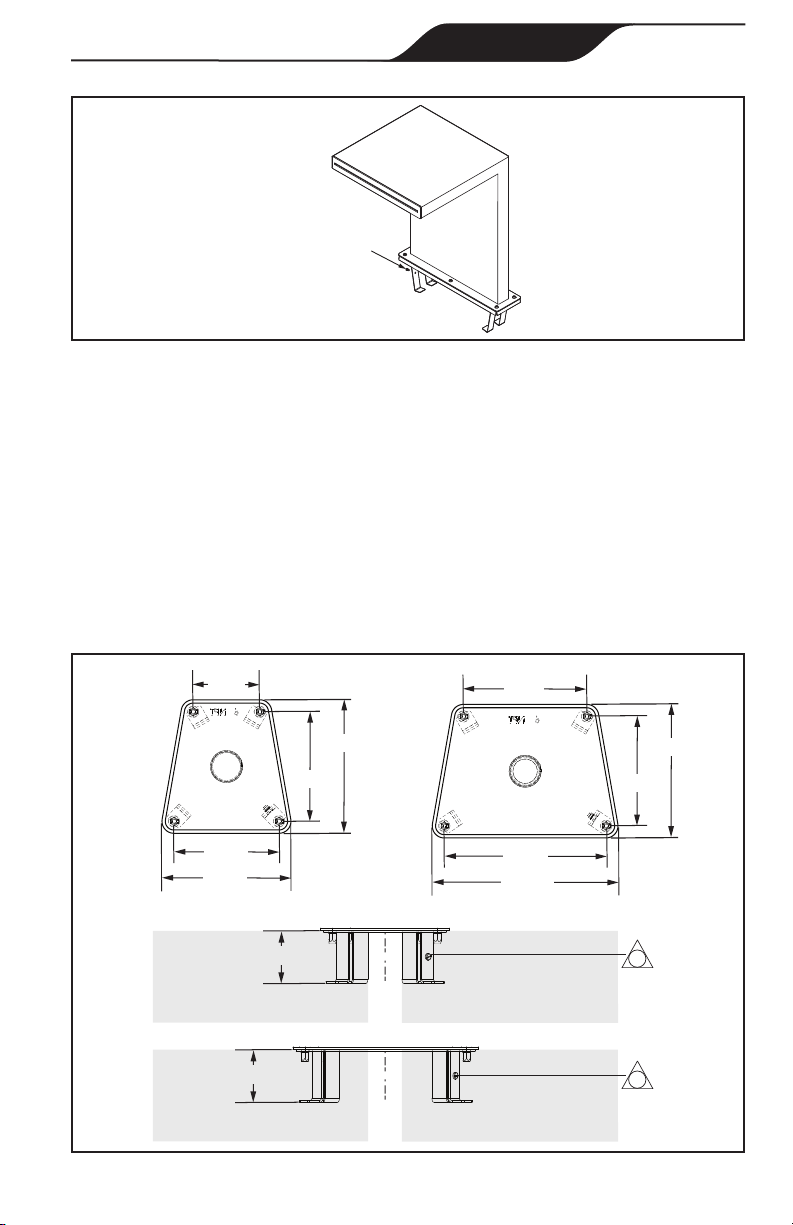
3.1 Preparing the Waterfall for Installation
Metallic equipment, including metallic gas piping, shall be bonded in
accordance with the National Electrical Code in the US, and Canadian
Electrical Code in Canada.
BONDING
In the United States the National Electrical Code® (NEC®) and in Canada
the Canadian Electrical Code (CEC), require that all metallic components
of a pool structure, including reinforcing steel, metal fittings and above
ground components be bonded together (forming an equipotential bonding
grid) with a solid copper conductor not smaller than an 8 AWG (6 AWG in
Canada).
Additionally, Fluidra requires that, as required by Article 680 of the NEC, the
appliance be properly connected to an equipotential bonding grid/loop that
includes all electrical equipment in the system and on the equipment pad.
Bonding lugs must be connected with a solid copper wire at least 8 AWG (6
AWG in Canada) or larger. Failure to do so may void the Fluidra warranty.
CAUTION
To prevent premature failure of the appliance resulting from stray
voltages and voltage differentials, the stainless steel waterfall must be
bonded to other equipment which is part of the pool plumbing system
with a solid copper wire not smaller in diameter than 8 AWG (6 AWG in
Canada).
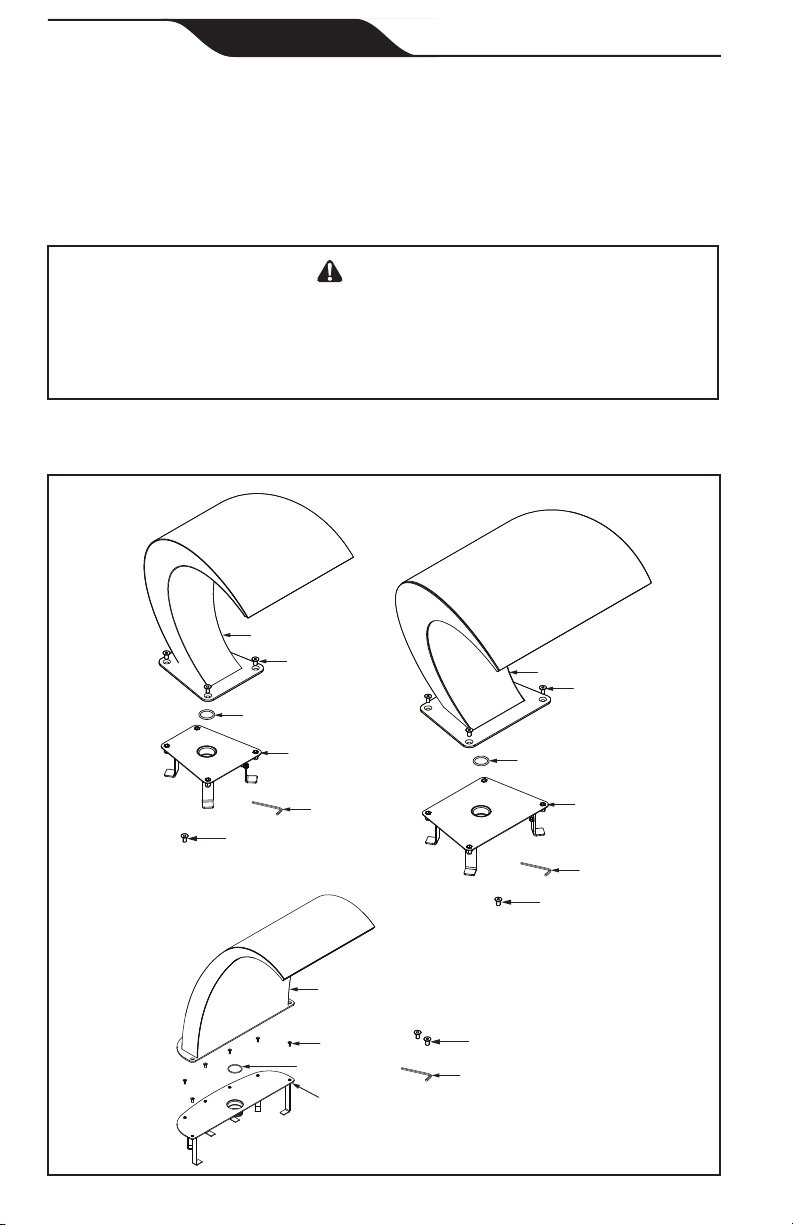
BONDING A METAL WATERFALL (COPPER OR ALUMINUM)
Note: The Waterfall anchor contains a bonding lug on one of its legs.
See Figure 1.
1. Loosen the setscrew.
2. Insert the bond wire into the hole.
3. Tighten the setscrew until the bond wire is secured into place.
4. Run the free end of the bond wire to the nearest equipotential bonding
grid/loop that includes all electrical equipment in the system and on the
equipment pad.