Grand Won GW-G065EUH User manual

Shenzhen Guangwen Industrial Co.,Ltd
Interactive Conference Board
Operating Manual V3.0
Shenzhen Guangwen Industrial Co.,
Ltd
U.S. Stock Symbol:
GWON
Add.: 4th Floor, D Building, Jinhao Pioneer Park, Guanlan
Subdistrict,
Shenzhen, China.
+86 (0755)29737673
www.grandwon.com
The power of final interpretation of all the information in this article belongs to
Shenzhen Guangwen Industrial Co., Ltd. Unauthorized and permitted copying is not
recognized and should be prohibited.
【Thisdocumentmaynotfullyreflectallthelatestchangestotheproduct,whichever
is the actual product.】

Shenzhen Guangwen Industrial Co.,Ltd
Page 2 of 51
Contents
I
System Description.................................................................................................................. 3
1.1
Conference System................................................................................................................ 3
1.2
Sidebar.....................................................................................................................................3
1.2.1
Function Introduction................................................................................................3
1.3
Notification............................................................................................................................. 7
1.3.1
Open manner............................................................................................................. 7
1.3.2
Function Introduction.............................................................................................. 8
1.4
Status Bar.............................................................................................................................. 10
1.5
System Settings...................................................................................................................10
1.5.1
General........................................................................................................................10
1.5.2
Network..................................................................................................................... 14
1.5.3
Time.
....................................................................................................................................
18
1.5.4
Intelligent.................................................................................................................. 19
1.5.5
Channel...................................................................................................................... 20
1.5.6
System........................................................................................................................ 21
II
Software Details..................................................................................................................... 22
2.1
Electronic whiteboard..........................................................................................................22
2.1.1
UI Display.....................................................................................................................22
2.1.2
More menus................................................................................................................22
2.1.2 Common functions................................................................................................. 29
2.2
File Management..................................................................................................................34
2.2.1
Interface Introduction............................................................................................. 34
2.2.2
Categories list............................................................................................................34
2.2.3
Expanded Menu........................................................................................................37
2.2.4
Display usage.............................................................................................................39
2.2.5
Tool bar..................................................................................................................... 40
2.3
VIP Reception....................................................................................................................... 42
2.3.1
Interface Introduction............................................................................................ 42
2.3.2
Function application.................................................................................................42
2.4
Miracast.................................................................................................................................45
2.4.1
Network need...........................................................................................................45
2.4.2
Miracast Device pair with the board.................................................................. 45
2.4.3
Miracast Device pair with Laptop....................................................................... 46
2.5
Multi-screen interaction.................................................................................................. 47
2.5.1
Application specification...................................................................................... 47
2.5.2
OI (Operating instructions)................................................................................. 47
2.5.3
Interface instructions.............................................................................................48
2.6
More Applications.............................................................................................................50
2.6.1
APK..............................................................................................................................50
2.6.2
Hover menu..............................................................................................................50
Shenzhen Guangwen Industrial Co.,Ltd
Page 3 of 51
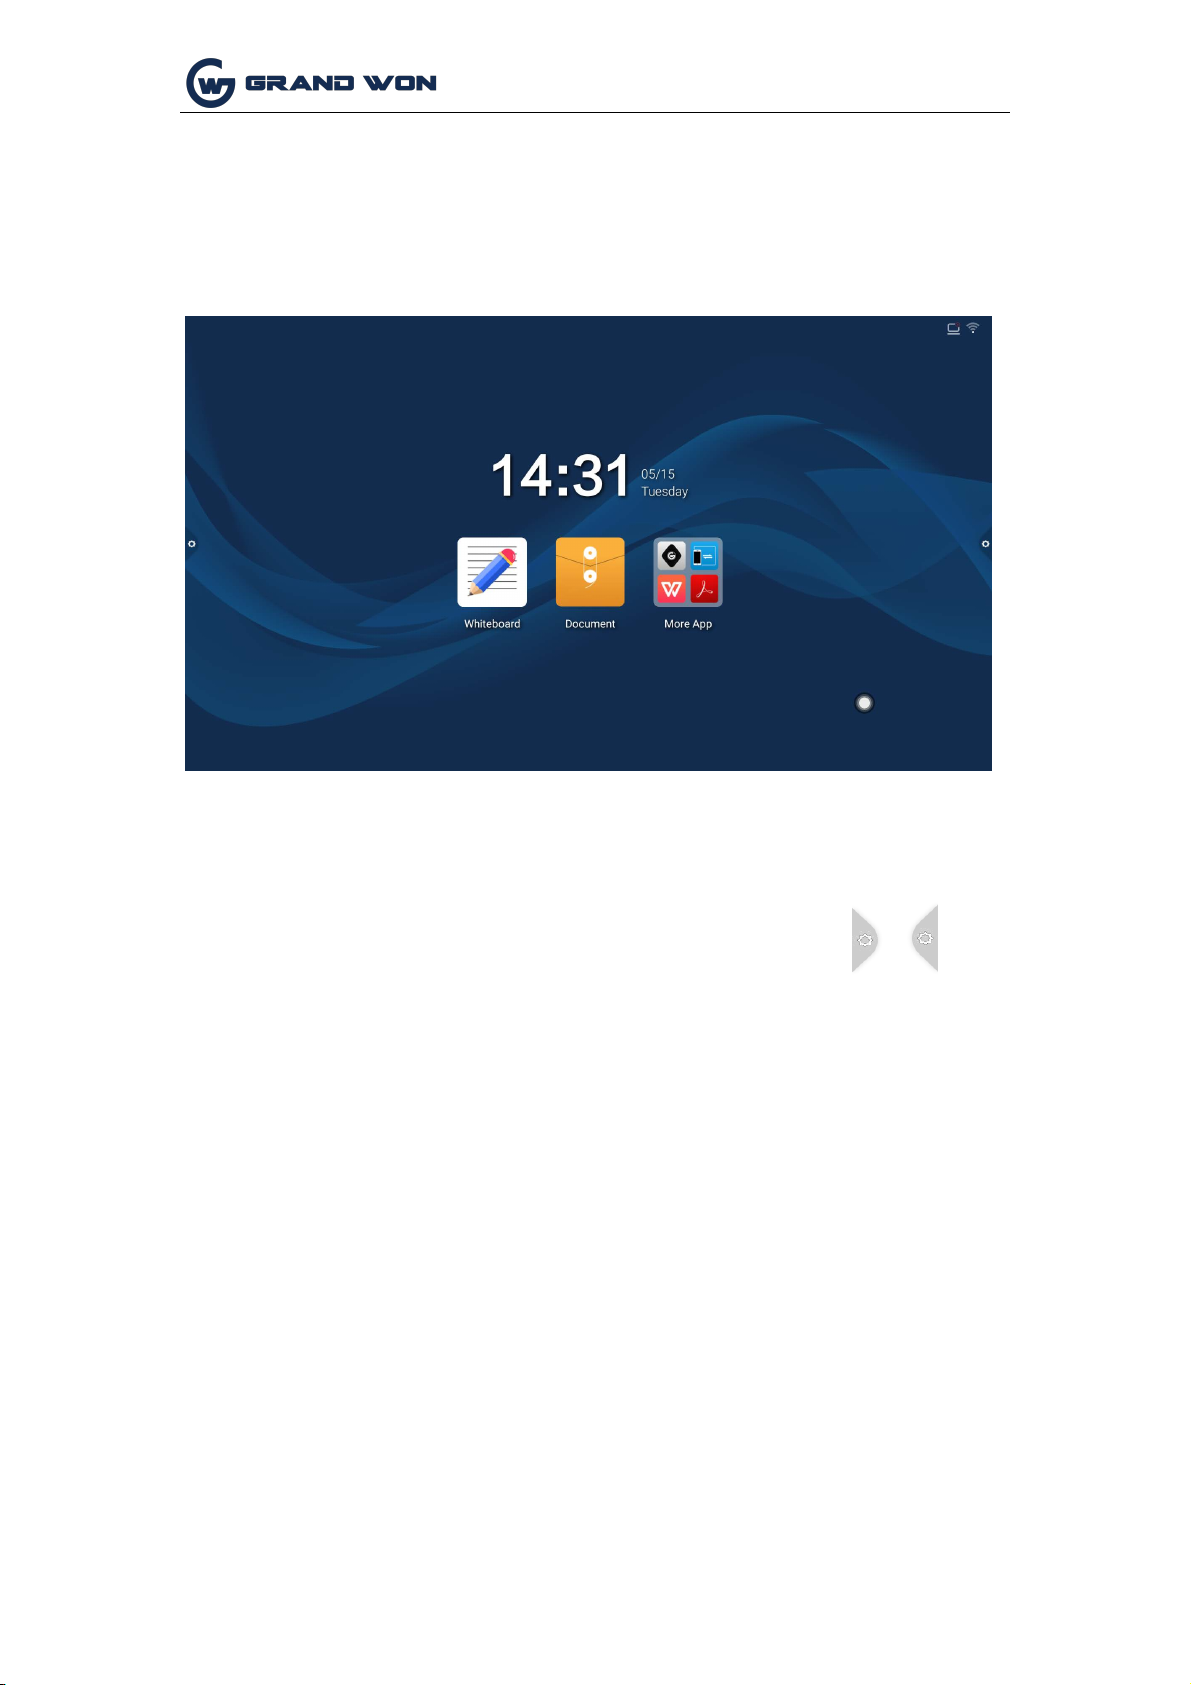
I System Description
1.1 Conference System
After the boot is completed, the system enters the main interface by default.
1.2
Sideba
1.2.1
Function Introduction
The sidebar is divided into left and right sidebars. Click the icon floating on the left/
right side of the screen to bring up the sidebar. The function buttons that are
expanded are: return, homepage, task, signal comment, source, and notification
center. . No operation in the sidebar expansion state is automatically hidden after
three seconds.

Page 4 of 51
Shenzhen Guangwen Industrial Co.,Ltd
1.
Return
2.
Click
3.
Homepage
Icon, to return or exit the current program.
Click
Icon, enter the main interface of the system.
3.
Task
Click
Icon, enter the task management interface, you can choose
to open or close the application.
(1)In the multitasking state, touch the task list area and swipe up or down to
view the task list.
(2)Touch the thumbnail of the task to swipe left or right until it slides out of the
task list area to release the thumbnail.
Page 5 of 51
Shenzhen Guangwen Industrial Co.,Ltd
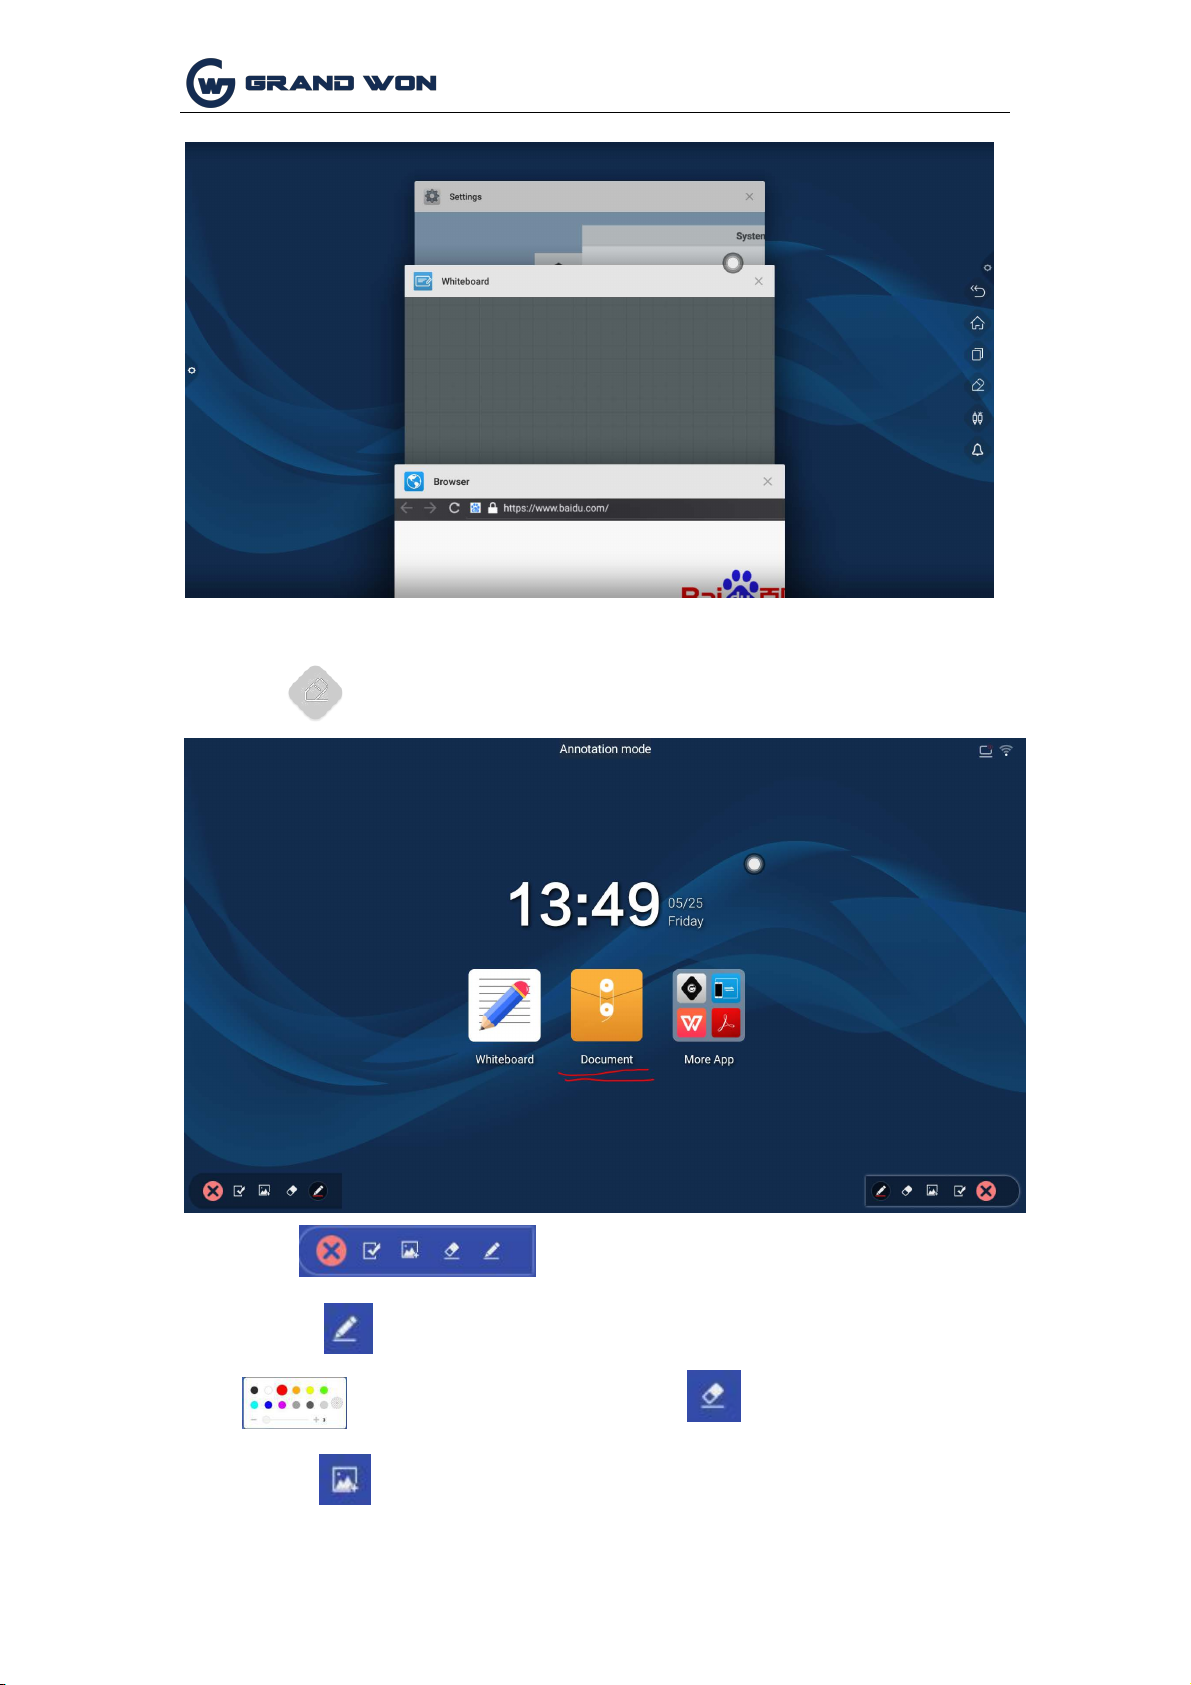
4. Comment
Click
Icon, to open the comment.
Tool bar Operating instructions
Click
Enable the brush, touch the long press to call out the menu bar
Set Brush Color and brush size. Enable eraser
Enable picture insertion to insert pictures of external storage devices.

Page 6 of 51
Shenzhen Guangwen Industrial Co.,Ltd
Touch
Enable the save annotation function, select the QR code get the picture
to share or take away.
Touch
Exit comment mode;
5. signal source
Click
Icon, evoke the source channel list, and the user can choose to
switch the desired channel.
6. Notification
Click
Icon, called out the notification panel, as shown below Notification
center panel contains sometimes Display, common application shortcuts, and custom
add applications, brightness, sound, notification center letters.

Page 7 of 51
Shenzhen Guangwen Industrial Co.,Ltd
1.3
Notification
1.3.1
Open manner
1.
Touch the icon in the navigation bar
2.
Swipe inward from the left/right edge of the screen interface;

Page 8 of 51
Shenzhen Guangwen Industrial Co.,Ltd
1.3.2
Function Introduction
1.calendar
Touch the notification
panel and mark to add
events.
2.
Child lock
Icon, you can call up the calendar display interface, the user can view
the time.
Click
The icon, the system enters the lock screen state, at this time the touch, buttons,
remote control functions are locked can not be used.
The unlocking method is as follows:
(1)
Password unlock: Click, enter 2580, and click OK to unlock. (The initial
password is 2580, the user can enter the settings to change the password)
(2)
Remote unlock: Press F9 on the remote to unlock.
(3)
Unlock the combination of keys: Press the key source twice, then press the
sound again, then click the sound to reduce.
Note: Need to add or subtract sounds in the signal source interface is feasible.
3, Energy saving
Click
Turn off the screen backlight state, touch the screen or press the key,
remote control energy-saving key to turn off the energy-saving.
Page 9 of 51
Shenzhen Guangwen Industrial Co.,Ltd
4.
Screenshot
Click
5.
Recording
The screen can be full screen shots, free screenshots and other operations.
Click
can open the recording function, click the start button to start recording, click to
end recording, The file is automatically saved to the built-in storage.
6.
Magnifier
Click
7.
user-defined
Click
8.
Mobile Miracast
Call up the magnifying glass function to enlarge the selected area.
users can choose to add common applications.
Enter the mobile phone screen operation description interface, the user
according to the operation process to achieve mobile screen transmission
function.
9.
Brightness and Sound Adjustment
(1)
Brightness adjustment: Touch the slide backlight progress bar to adjust the brightness of
the screen backlight.
(2)
Sound adjustment: Touch the slide sound progress bar to adjust the conference machine
sound size.
System application notifications or third-party application notifications are all displayed on the
notification bar. Click Open, swipe to delete, and click to clear allmessages.
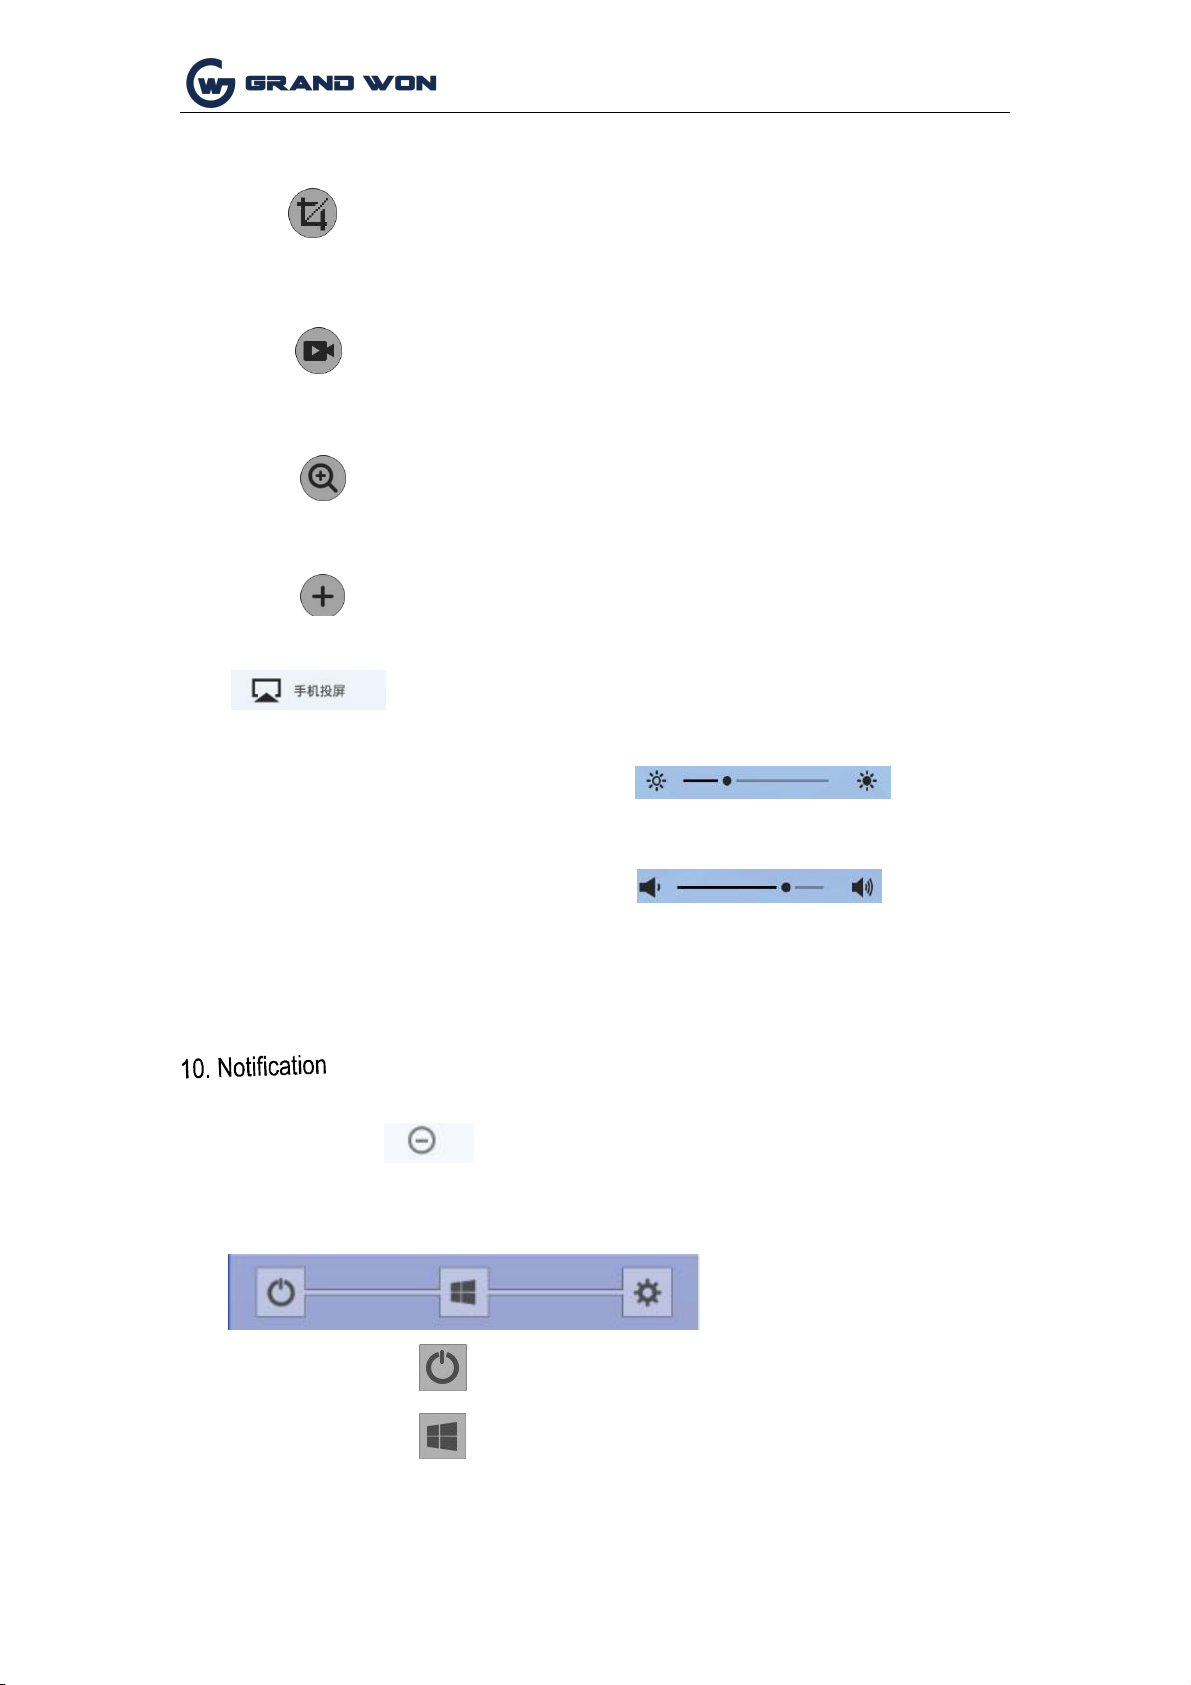
11.
The bottom bar
(1) Shutdown:
Click
(2) OPS: Touch
Icon, you can turn off the board.
Icon, switch directly to the built-in computer channel.
Page 10 of 51
Shenzhen Guangwen Industrial Co.,Ltd
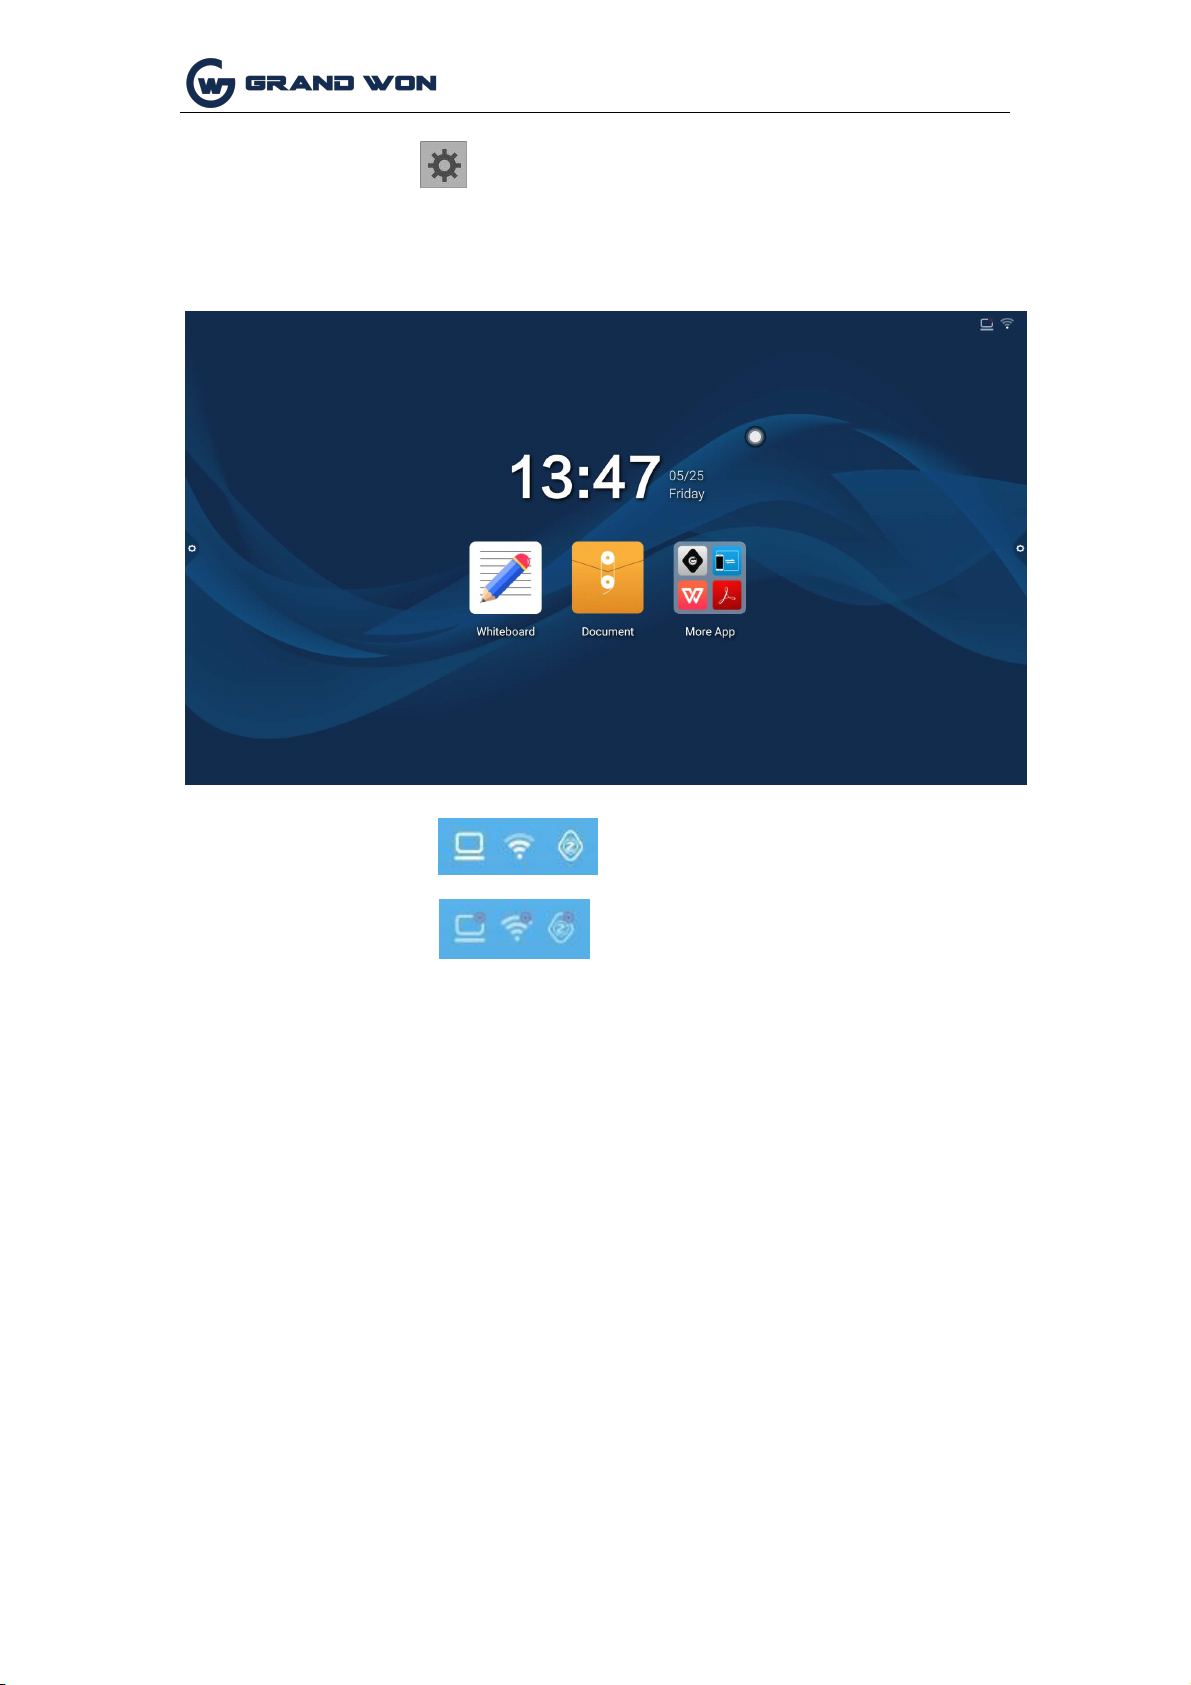
(3)Settings: touch Icon, enter the system settings interface.
1.4 Status Bar
The status bar mainly shows the connection status of wired network, wireless network,
and Miracast device. as the picture shows:
1.
Connection status::
2.
Not connected:
1.5 System Settings
System settings include general, network, time, smart, channel, and system settings.
1.5.1 General
General settings interface, you can adjust the system sound, brightness, replace
the system theme wallpaper, modify the device name and view system applications.
Table of contents
Popular Interactive Whiteboard manuals by other brands


Dukane
Dukane ITP84 user guide

Bretford
Bretford EDUIMS Assembly instructions and user guide

Panasonic
Panasonic Panaboard UB-5315 operating instructions

Plus
Plus M-11S Brochure & specs

TRIUMPH BOARD
TRIUMPH BOARD ULTRA SLIM user manual

Returnstar Interactive Tech
Returnstar Interactive Tech IQBoard DVT V7.0 user manual