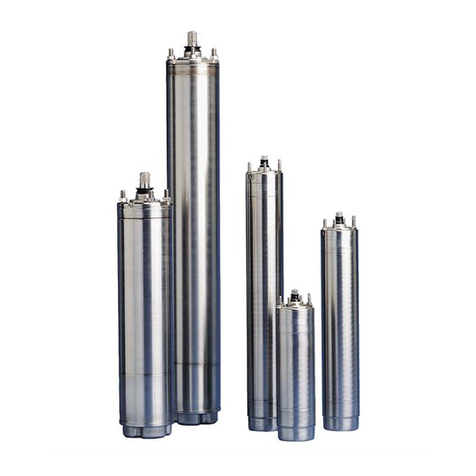
English (GB) Service instructions
Original service instructions
Table of contents
1. General information ........................4
1.1 Hazard statements..........................4
1.2 Notes ..................................4
1.3 Position numbers...........................4
1.4 Before dismantling ..........................4
1.5 Before assembly ...........................5
1.6 During assembly ...........................5
2. Identification .............................5
2.1 Nameplate ...............................5
2.2 Product number key .........................5
2.3 Type key ................................6
3. Tightening torques and lubricants ...............7
4. Service tools .............................8
4.1 Standard tools ............................9
4.2 Special tools .............................9
4.3 Torque tools ..............................9
4.4 Measuring tools...........................10
5. Motor check/fault finding ....................10
6. Dismantling MS6000P ......................11
6.1 Component check .........................12
6.2 Replacement of the wear parts .................12
7. Assembling MS6000P ......................13
8. Dismantling MS6000P (flange extension) .........15
8.1 Component check .........................16
8.2 Replacement of the wear parts .................16
9. Assembling MS6000P (flange extension) .........17
10. Filling procedure with a syringe ...............19
11. Final check .............................19
12. Maintenance and service ....................20
12.1 Fault finding the product .....................20
13. Checking the motor and cable ................21
13.1 Winding resistance MS6000P ..................22
13.2 Insulation resistance........................22
14. Motor connection.........................22
14.1 MS6000P motors with single-cable connection........22
14.2 MS6000P motors with double-cable connection .......22
15. Parts list...............................23
16. Exploded drawing of MS6000/MS6000P ..........24
17. Exploded drawing of MS6000/MS6000P (flange
extension) .............................25
1. General information
Read this document before you start service work on the
product. Service work must comply with local regulations
and accepted codes of good practice.
Observe the safety instructions in the installation and
operating instructions for the product.
1.1 Hazard statements
The symbols and hazard statements below may appear in Grundfos
installation and operating instructions, safety instructions and
service instructions.
DANGER
Indicates a hazardous situation which, if not avoided, will
result in death or serious personal injury.
WARNING
Indicates a hazardous situation which, if not avoided,
could result in death or serious personal injury.
CAUTION
Indicates a hazardous situation which, if not avoided,
could result in minor or moderate personal injury.
The hazard statements are structured in the following way:
SIGNAL WORD
Description of the hazard
Consequence of ignoring the warning
• Action to avoid the hazard.
1.2 Notes
The symbols and notes below may appear in Grundfos installation
and operating instructions, safety instructions and service
instructions.
Observe these instructions for explosion-proof products.
A blue or grey circle with a white graphical symbol
indicates that an action must be taken.
A red or grey circle with a diagonal bar, possibly with a
black graphical symbol, indicates that an action must not
be taken or must be stopped.
If these instructions are not observed, it may result in
malfunction or damage to the equipment.
Tips and advice that make the work easier.
1.3 Position numbers
Position numbers of motor parts (digits) refer to section 16.
Exploded drawing of MS6000/MS6000P and section 17. Exploded
drawing MS6000/MS6000P (flange extension). Position numbers of
service tools (letters) refer to section 4. Service tools.
Related information
4. Service tools
16. Exploded drawing of MS6000/MS6000P
17. Exploded drawing of MS6000/MS6000P (flange extension)
1.4 Before dismantling
• Switch off the power supply to the motor.
• Disconnect the power supply cable in accordance with local
regulations.
4
English (GB)
