gtm MS68 User manual

MANUAL SWEEPER
OWNER’S MANUAL
Item MS68

important
carefully before use.
store for future consultation
Warning! safety rules must be observed at the time of use. for your own safety and the safety of the
people, please read these instructions before using the product, please keep these instructions for
future reference.
Training
please read carefully the way of use .you need know with orders and the correct use of the device.
don't let the camera to a person who has not read the book or for children. local regulations may
establish a minimum age for use of this device.
keep in mind that the operator or user, or the user is responsible for accidents and damages caused
to other persons or their property.
Preparation
we recommend that you wear sturdy shoes and long pants to use this device. do not operate the
device barefoot or wear open toed shoes.
inspect the area where the broom is to be used, and remove any objects that could cause damage
to the device.
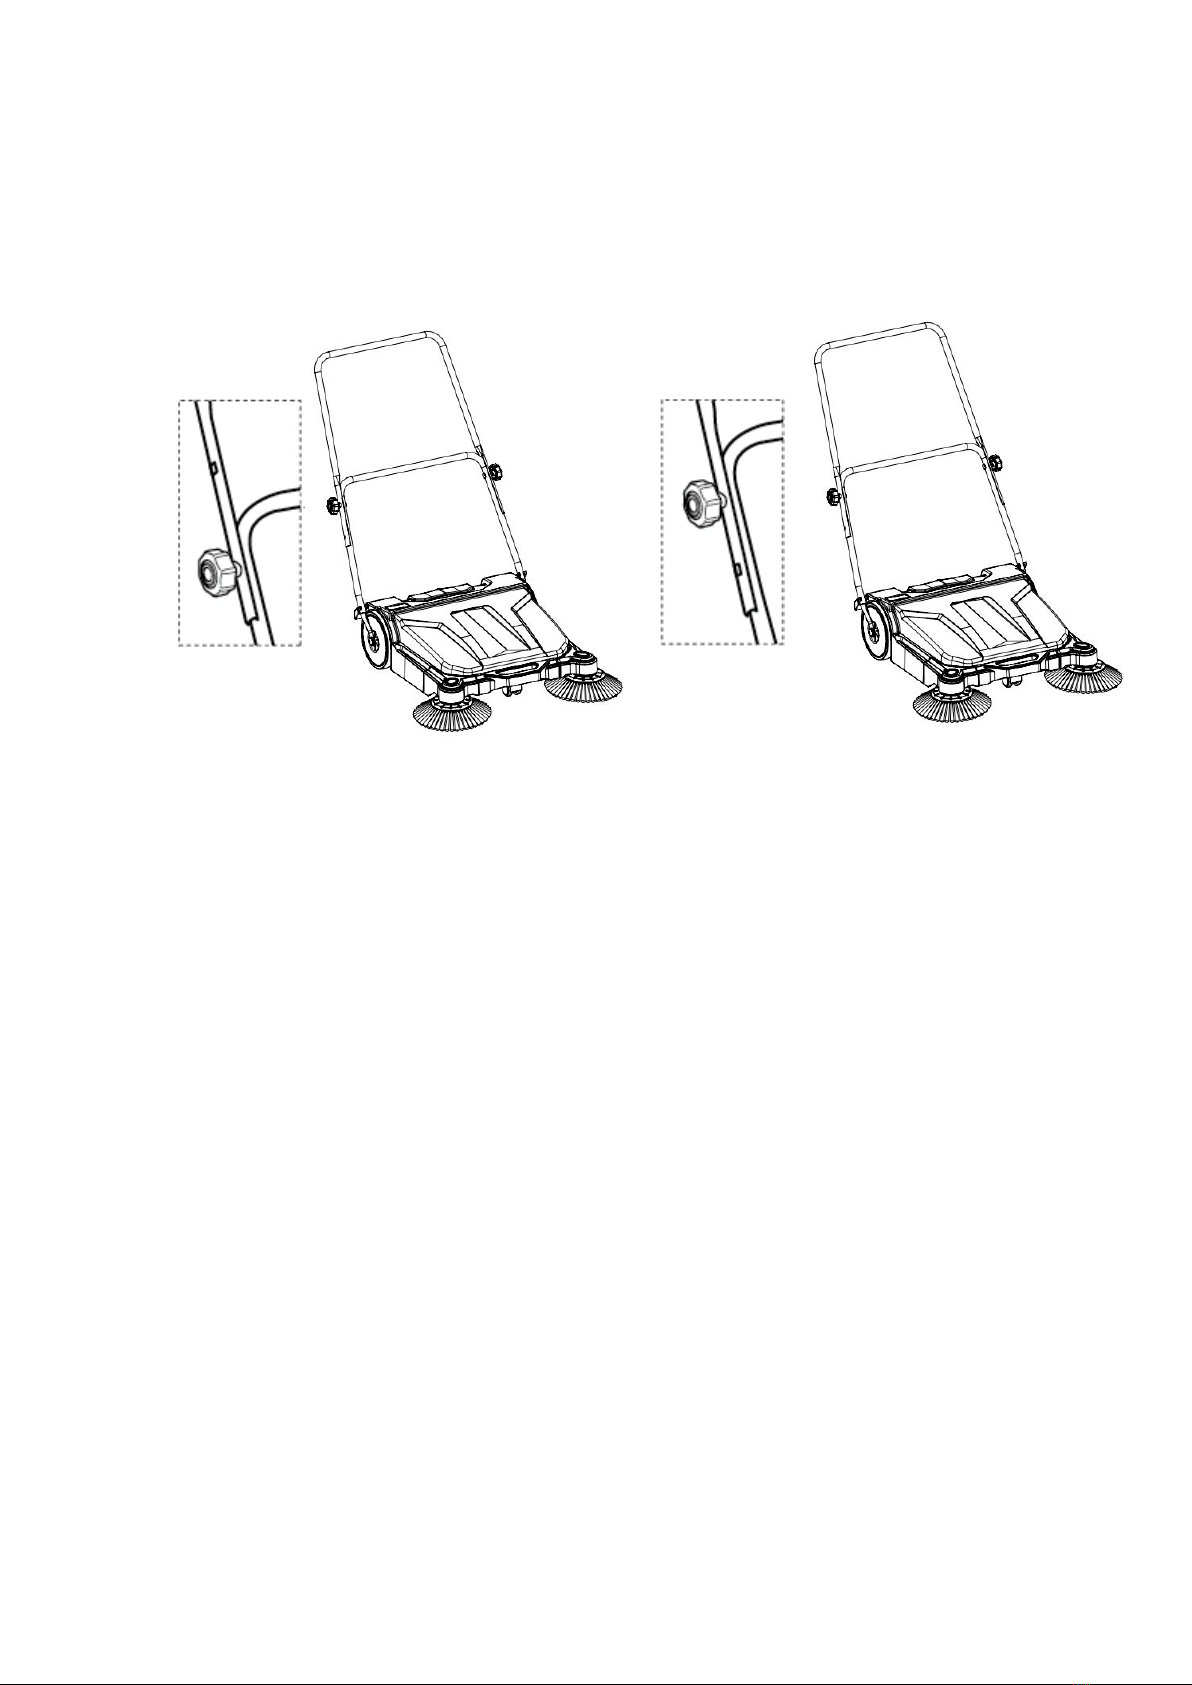
always check visually prior to use, the accessories are not worn or damaged.replace accessories
worn or damaged bolts by full packages in order to preserve the balance
do not use the appliance so that people (including children) or pets are in close proximity.
the device can be used on flat surfaces and farms.
always wear a dust mask and footwear during use of the device.
Operation
get the device operational only in the light of day or a good artificial lighting.
do not use the appliance accessories damaged.
always make sure your balance on the slopes. we recommend the use of the aircraft on the ground
or smooth surfaces 15 degrees of slope.
walk, don't rush.
hold the camera with both hands on the handle when you pull or push. this ensures a safe handling.
clean up the slopes at right angles, not up and down.
be extremely careful when changing direction on the slope.
be very careful when you go back and get the machine to you.
do not use on steep slopes
specific risks may arise when working in soil tough.device can speed up suddenly or blocked
completely.
before using the device, and after shock, look for signs of wear or damage and repair if necessary.
keep hands and feet away from the rotating accessories anytime. don't put your hands or feet near
the rotary parts.
watch out for injuries to the foot and hands due to the accessories.

maintenance and storage
follow the instructions for maintenance and repair of the device. do not change the product. the
information on the interview and repairs are included in the manual.
maintain all nuts, bolts and screws tight, to be sure the product is in good working condition.
replace the worn out or damaged parts of the safety .use as accessories and spare parts, as
recommended by the manufacturer.
inspect and maintain the product on a regular basis. get the device only by a qualified professional
or a professional service center
when it is not in use, keep the device out of the reach of children.
The residual risk
even if you are using the device in accordance with the standards of safety, risk of bodily injury and
property damage still exist. the method of construction and operation of the tool, you can be at
risk:
damage to property and persons caused by sudden impact, broken or the accessories of the
machine with hidden objects during use.
damage to property and persons from the projection of objects.
Symbols
in the apparatus, on the data plate and on the instructions for use, you will find, among others, the
following abbreviations and symbols you should familiarize yourself with their meanings in order to
reduce the risk of personal injury and damage to property.
mm Millimetre km/h Kilometer per hour
kg kg m²/h Square meter per hour
l liter
Lock: to shake or block Cut: to loosen
Note/notice Attention/danger
Read the manual. Wear eye protection
Wear a dust mask wear protective gloves
Wear shoes security non ship wear protection around the body.
yyWxx manufacturing date code, year of production (20yy) and fabication week (wxx)

clean up the slopes at right angles, not up and down.
the objects are projected by the device user may strike or other people.
please in what other people and animals remain at a safe distance from the
machine when it is running. in general, the children are not to come near the
area where the device is located.
inspect the area in which the device is to be used, and remove all items can
be displayed by the device.if the objects are hidden during operation and stop
operating, and remove the object.
the risk of entanglement of the feet, keep your feet away moving parts.
keep hands and feet away from the rotating parts 一danger injury. you want to
make sure that
the tool, and all the moving parts are stopped in the cleaning, repair or inspection.

1.upper handle bar 5.carrying handle
a. handle 6.Roulette
b. bolt*:M8x40(x 2) 7.brush for cleaning
c. hockey puck*(x 2) a. Vis*:ST3.9X16
d. button* (x 2) b.boot disk
2. bottom bar handle 8.wheel
3. Roller brush a. axle
a.transmission belt b. cap (x 2)
4. Dust collector 9. Support

General
Width of operation :680 mm
Recommended speed :4 km/h (1,1 m/s)
Ability to scan (4 km / h) :2800 m²/h
The volume of dust collector :12l
Roller brush : Ø108 mm x 380 mm
Brush for cleaning : Ø230 mm
Weight : 11 kg
Dimension (L x I x H) : 575 x 215 x 585 mm
Unpacking
take out the parts of the package and put it on a flat surface.
remove all packaging materials and accessories supply, as the case may be.
the product is complete, and in good condition.if a piece is missing or damaged.
do not use the device and contact the store product use incomplete or purchase.the
damage may represent a danger to both goods and individuals.
check that you possess all the necessary accessories for the assembly and use of the device.
this is also the appropriate personal protective equipment.
accessories required
(not available)
personal protective equipment
appropriate
the appropriate head screwdriver

Brush for cleaning
put the camera in the disc to access to training (7b).
line up the holes and move the cleaning brush disc [7] on [b] training.
fix it with screws (7) with the phillips head screwdriver (fig. 1, right).
go back to the camera.

Bottom bar of the handle
hook holes on the ends of the bottom bar of the handle axle [2] [8] (figure 2, step 1).
make sure that the bottom of the handle bar is correctly based on the materials (9) and can be
moved in forward and rearward directions freely.
attach the caps (8b) to the axle (8) and push them to the end (figure 2, step 2).
above the handle bar
line up the holes and fix the top bar of the handle [1] on the bottom bar of the handle (2) (fig. 3,
step 1).
secure connection with bolts (1b), (1c) and washers (1d) button (fig. 3, stage 2 and 3).

the top bar of the handle [1] can be attached in two different heights according to the intended
application(Fig. 4).
Fig. 4