GURCELIK KUSINA 700 Series Instructions for use

VAPOUR GRILL (GAS)
INSTRUCTION AND
MAINTENANCE
MANUAL
“Professionally with Professionals”

DESCRIPTION
Our dear customer,
Your preferred KUSİNA is nature and technology friendly. We thank you for your choice.
KUSİNA has been produced with the understanding of "Total Quality" in modern production facilities.
Important Safety Information
Carefully read this guide and keep it for future review.
WARNING: Installation of the devices must be done by an authorized service person.
WARNING: Equipment must be grounded.
Indicatesthatthere is a riskof personalinjuryor propertydamage.
Explosion / fire hazard.
TYPES
G7V100G - 700 Series Half Module Vapour Grill
G7V200G - 700 Seri Full Module Vapour Grill
MOUNTING INSTRUCTIONS
Placement
Installation and adjustment of the device should be carried out by experienced technical staff.
Place the device at least 10 cm away the side walls.
Place the device beneath a filtered exhaust hood in order to eliminate smell and fume that may be emitted
during cooking.
Device should be placed on a flat surface by suitably balancing on the four adjustable legs. (Figure A)
Remove the protective nylon on the device. Clean the adhesive particles left on the device with a suitable
cleaner.
Never leave flammable material near the device.
GAS CONNECTION
Device should be connected in accordance with the national and local gas standards of the relevant
country.
The device should not be directly connected to the tube.
Gas inlets “GAS” of the device are indicated with a label on device body.
Connection to the gas installation should be made with flex pipe and ball valve. Fix the said ball
valve to a place that is away from heat and easily accessible in case of a danger.
Flex connection pipe should be preioudically replaced every 5 years.
After gas inlet connection is completed, check for possible gas leakages.

Feed the device with the gas and pressure as specified on device information plate and adjusted. If
the gas type to which the device was adjusted for is not suitable to the gas type at the mounted place,
follow the instructions written below.
ATTENTION: All adjustments and modifications to be performed on the gas installation and
connection of the device should be performed by authorized people.
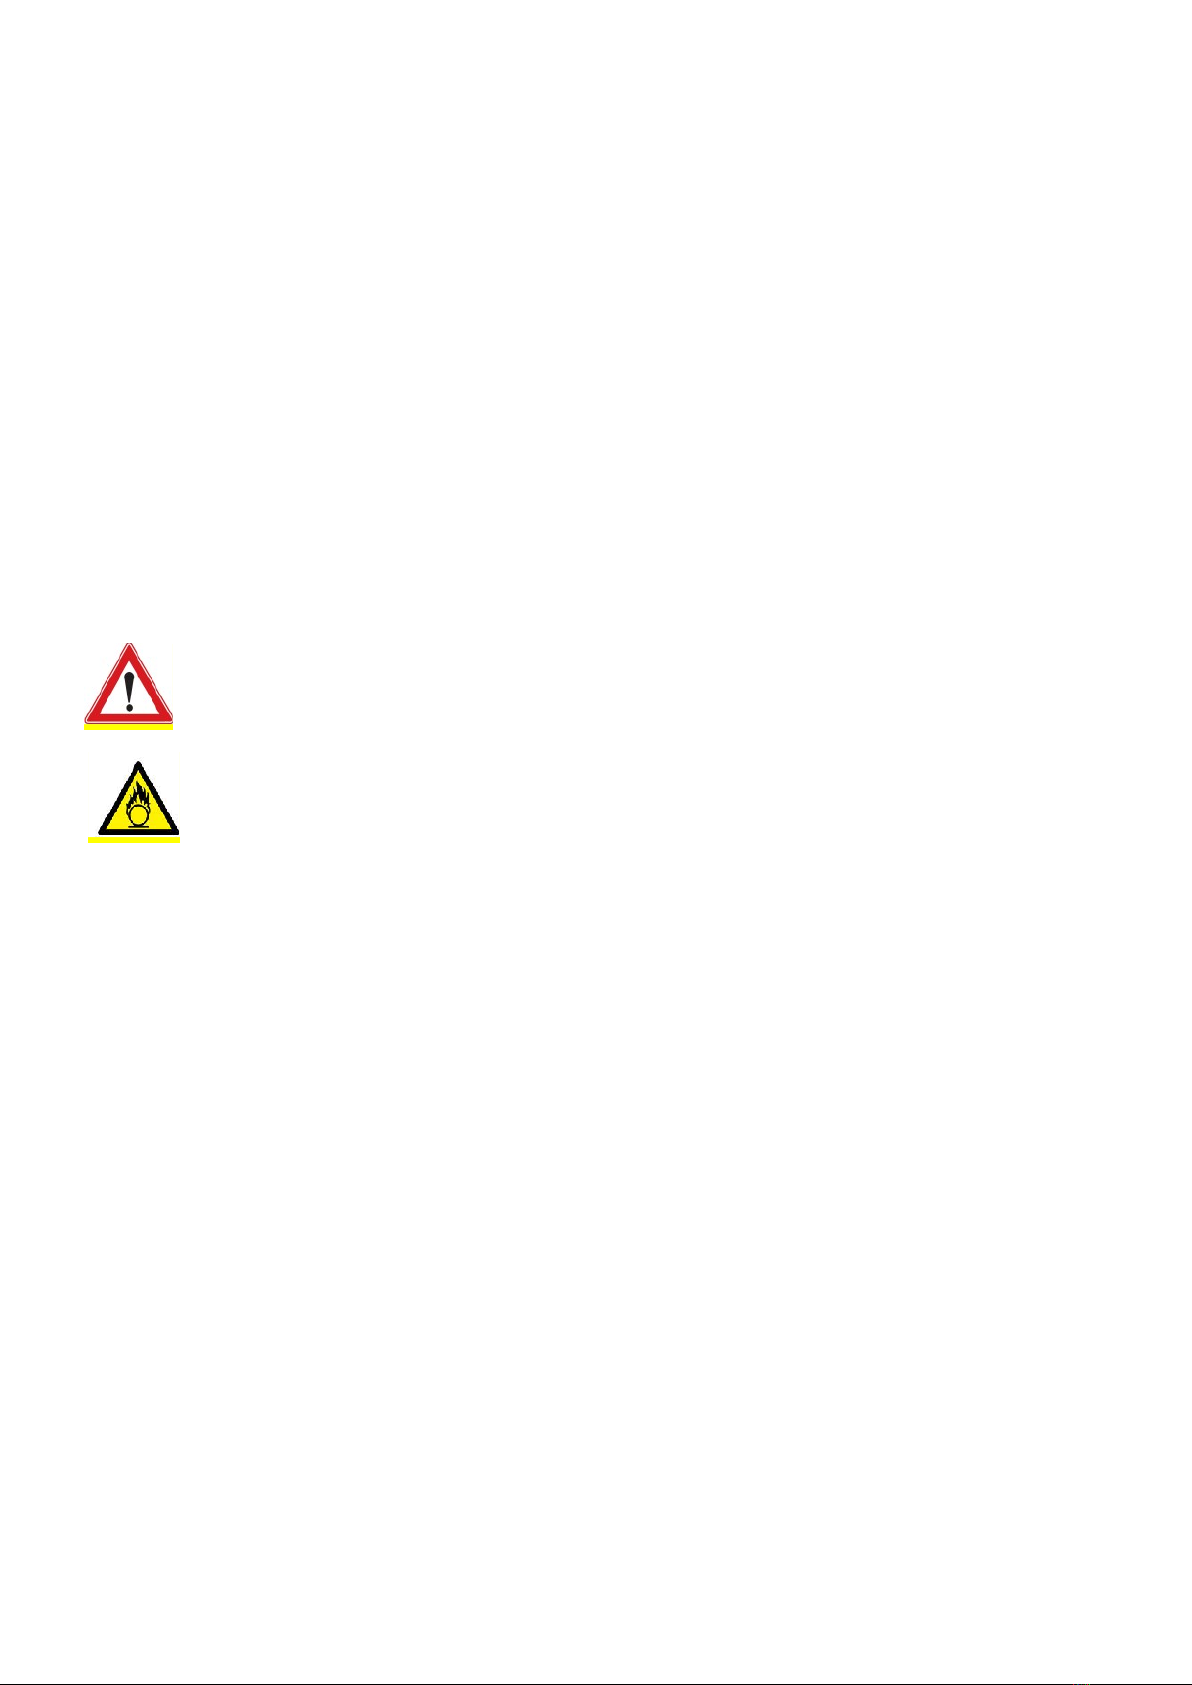
ADJUSTMENT ACCORDING TO DIFFERENT GAS TYPES
If the device is connected to gas installation, close main gas inlet valve.
Replacement of top burner nozzles ( Figure B)
a. Remove cooker grater(1), top burner cover (2) and oil tray (3)
b. Replace nozzle (5) with a nozzle suitable for the gas type
c. Adjust the flame of the pilot burner by turning the bolt (4)
OPERATORINSTRUCTIONSANDATTENTIONPOINTS
Make sure to turn the device on and wait before attempting to cook. This will ensure the evaporation of the
protective oil on top.
When you do not cook, keep the adjustment button on position. It will provide a more economical usage
for you.
Check the water level in the drawer periodically. Replace the water if the water level is down.
Clean the grill mouldings everyday with a suitable tool. This will help clean the carbonized and burned food
residues and will ensure the cooking efficiency.
Oil cabinet should be cleaned after usage each time.
If the buyer intends not to use the grill for a long period of time, the grill mouldings should be oiled and
stored in a place with no humidity.
The back-side chimneys should not be blocked at any time.
The water-oil mixture can be discharged from the discharge valve at the back of the device.
No food should be left at the cabinet part of the unit.
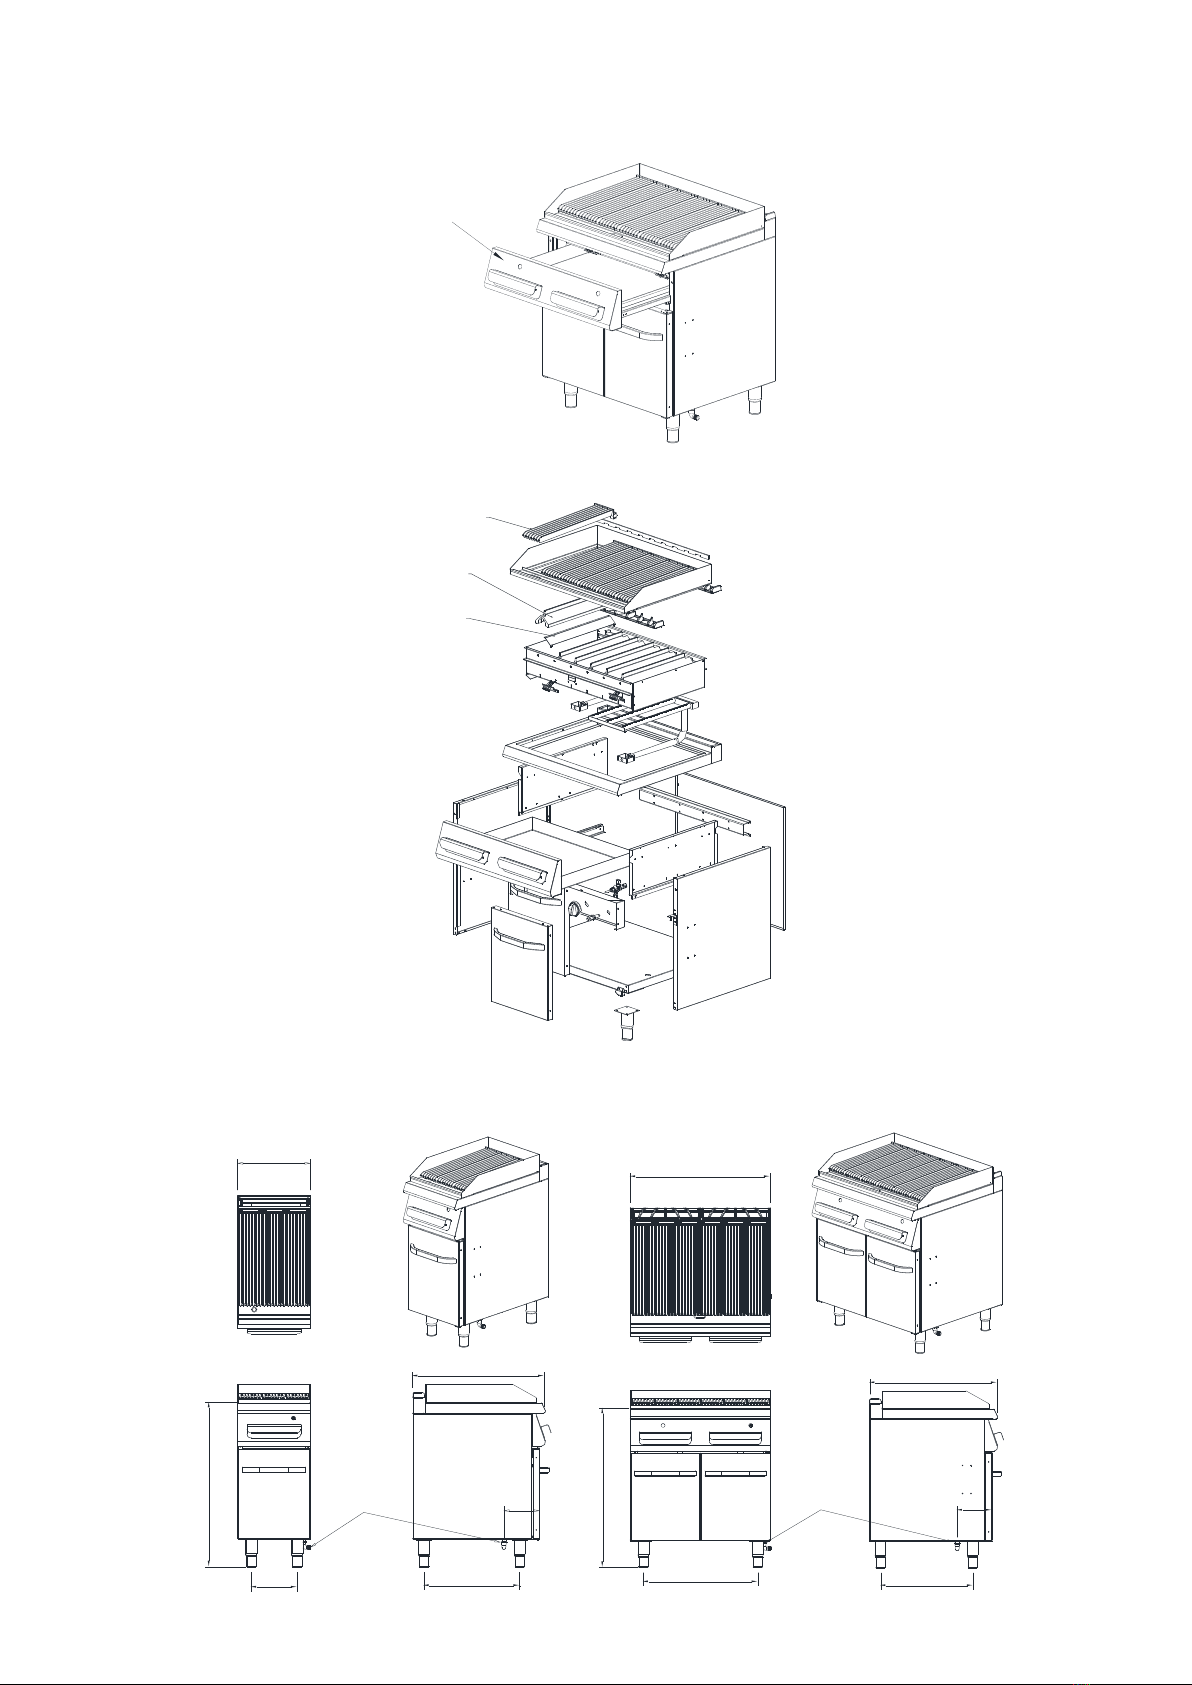
START-UP
Put water in the water cabinet (7) (Figure C) (G7V100G 5lt, G7V200G 10lt). Do not start-up with no water
inside.
Turn on the main gas valve.
Put the grill gas button (5) to “ ” position.
At this position fire up the pilot (6). After firing up the pilot keep pressure on the botton at least 10 seconds
to make sure the thermocupul is heated up.
You can adjust the flames to the reuired level by toggling or signs
If the device is operated for the first time, keep the button pressed at pilot burner flame position for a while
before ignition to discharge the air in the gas installation.
Top surface temerature should be smaller than K80
TURNING OFF
Turn the button (6) to position .Then it will be just the pilot flame is lit
To fully turn the device off, get the indicator to ‘0’ sign.

MAINTENANCE
Never perform maintenance without closing the main gas valve of the device.
Before it cools down completely, wipe the device with a cloth immersed in warm soapy water.
Do not use cleaning substances and tools that may cause scratches on device surface.
If required, use chemical cleaners.
Do not clean the device with pressurized water or vapour.
If the device will not be used for a long time, coat the surfaces with a thin layer of Vaseline.
ATTENTION: Anypartreplacementthatmayaffectsafety mustbecarriedout bythe
authorizedpeople.Duringmaintenanceandrepair,keepthemaingasvalveclosedand keep
awayfire.Alwaysperformleakage checkafterrepairorpartreplacement;usefoamorgas
detectorforthisaim.Incase ofany dangerous conditionwith thedevice,notifytothe
authorizedservice.Donotallowunauthorized peopletointerferein thedevice.
DANGEROUS: Never allow leakage check to be performed with flame.
Figure A
1
4
3
2
6
5
1

Figure B
7
Figure C
8
9
10
Figure C
730
400
GAZ GİRİŞ
GAS INLET
252 527
196
900
730
800
GAZ GİRİŞ
GAS INLET 196
652 526
900
G7V100G G7V200G

CORRECTIVE\PREVENTIVEACTIVEFORM
DETECTION TYPE
OPTIMIZATION REQUEST/
DESCRIPTION
CUSTOMER
NAME
CUSTOMER COMPLAINT
PRODUCT NAME:
DETECTED(Name,Appellation)
DATE:
SIGN:
PROBLEM DESCRIPTION:
SOLUTION PROPOSAL:
EVALUATION:
APPROVERS
Note: If required, you can send it to our company by viewing the
form above or by post.

+90 232 853 92 00
www.kusina.com.tr
İnfo@kusina.com.tr
As a KUSİNA, we realize the production of our devices with CE certificate.
We continue to contribute to the environment using recycledpaper.
Manufacturer: Gürçelik Dayanıklı Tüketim Mamülleri Mut. Ins. Tur. Tar.San.Tic. Ltd.Sti.
Adress: Bahçelievler Mahallesi Sakarya Cad. No:11 Yazıbaşı/Torbalı- İZMİR
Phone: +90 232 853 92 00
Web: www.kusina.com.tr –www.gurcelikas.com
E-mail: info@kusina.com.tr
is a brand.
This manual suits for next models
2
Table of contents