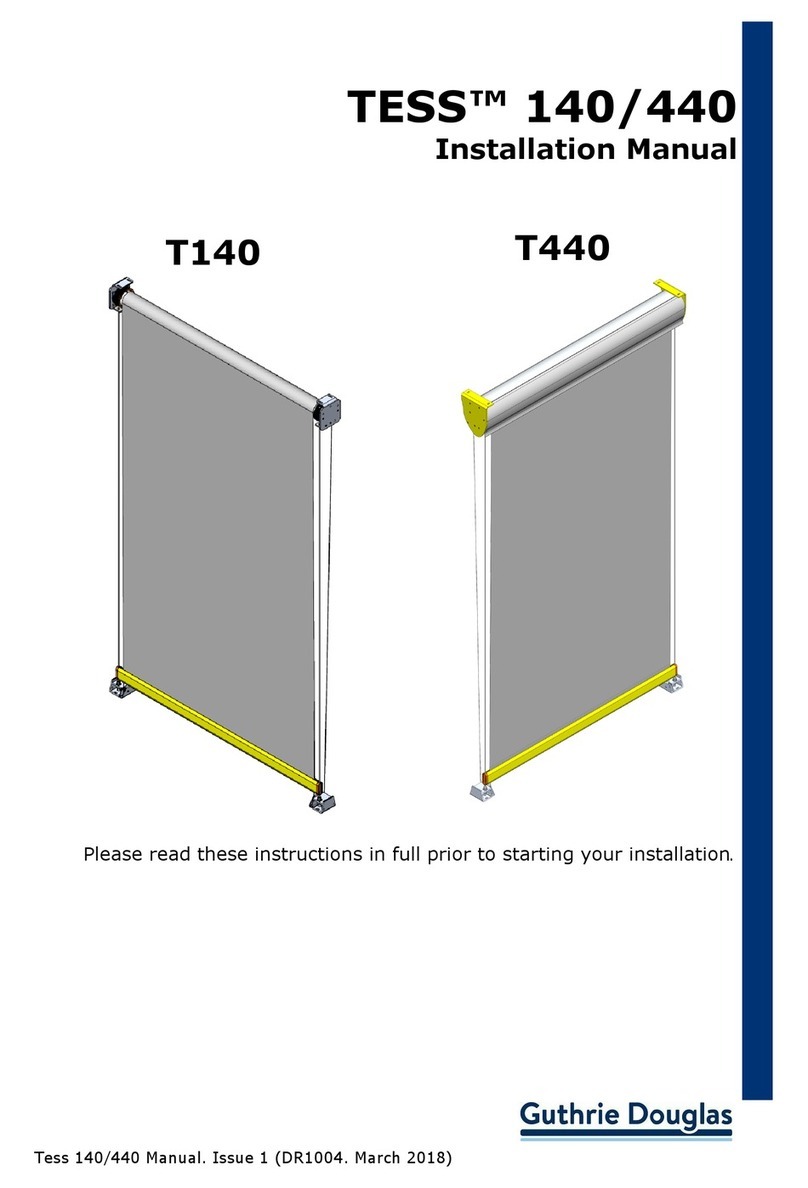
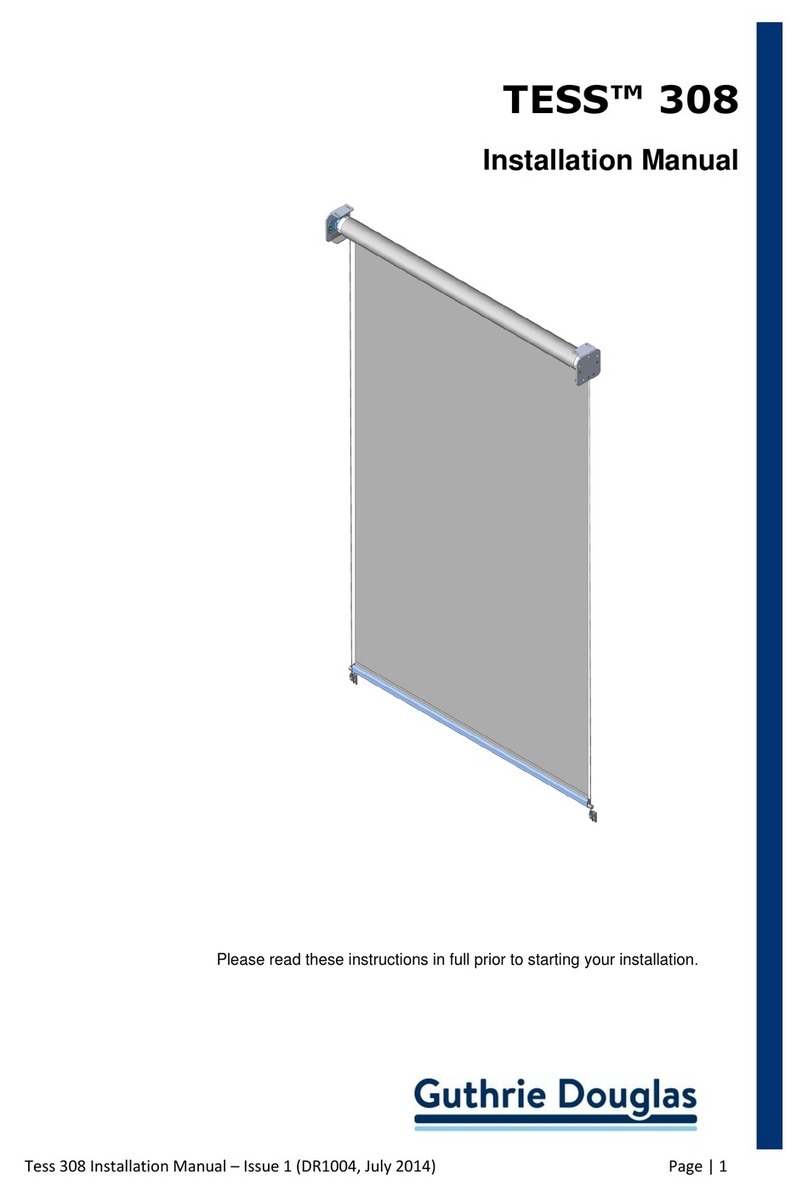
Guthrie Douglas Tess 100 User manual

TESS™ 100/400
Installation Manual
Please read these instructions in full prior to starting your installation.
T100 T400
Tess 100/400 Installation Manual - Issue 1 (DR1004, October 2018)

Tess 100/400 Manual. Issue 1 (DR1004. October 2018)
Important information about TESS Systems
Guthrie Douglas TESS Systems are technical products that require installation, servicing and
maintenance by professionals with the appropriate skills. If in doubt, please contact us for
further advice and training.
All products are designed, tested, and manufactured in line with relevant EU regulations.
General certificates of conformity and declarations of performance are available on our
website www.guthriedouglas.com .
Alternatively please contact us for any special local testing requirements.
As the product installer, you are responsible for ensuring that the installed product conforms
with relevant standards and legislation.
TESS Systems are designed to operate at temperatures between 0 and 55oC, and in winds
of less than 40Km/h.
If operating conditions are likely to exceed these limits, do not commission the systems.
Please contact us for advice.
Guthrie Douglas Group ltd
12 Heathcote way,
Heathcote Industrial Estate,
Warwick,
UK,
CV34 6TE
E-mail: solar@guthriedouglas.com
Tel: +44 (0) 1926 310850

Tess 100/400 Manual. Issue 1 (DR1004. October 2018)
Contents
1. Tess 100/400 System ............................................................ 4
2. Fitting Kit ............................................................................... 5
3. Site Installation ..................................................................... 6
4. Headbox/Guide Cable Installation ......................................... 7
5. Return Pulleys........................................................................ 8
6. Squareness Checking ............................................................. 9
7. Relieving Roller .................................................................... 10
8. Barrel Installation ................................................................ 11
9. Hem Bar Fitting .................................................................... 12
10. Tension Cable Fitting............................................................ 13
11. System Pretensioning .......................................................... 15
12. Fabric Tracking And Final Tension ........................................16
13. Estimated Fabric Sag Guidelines ......................................... 17

Tess 100/400 Manual. Issue 1 (DR1004. October 2018)
1. TESS 100/400 System
Standard components and assemblies supplied
For alternative options please refer to installation drawing
Description
1) Barrel Assembly 85mm Diameter
(including fabric if supplied)
2) Motor Assembly
3) Spring Cassette Assembly
4) Barrel Assembly Mounting Brackets
T100 - Universal End Plate and Side Fix available
T400 - Back Fix, Top Fix available
5) Hem Bar Assembly
6) Return Pulley
7) Relieving roller (if applicable)
8) Tension Cable
Fitting Kit
Tensioning Tool
Limit Adjuster
Installation Manual
Qty
1
1
1
2
1
2
2
1
1
1
1
1

Tess 100/400 Manual. Issue 1 (DR1004. October 2018)
2. Fitting Kit
REF
NO. FIXING WHERE USED
1 M6 x 10 BOLT MOUNTING
PLATE
2 M6 x 8 PAN
HEAD
MOUNTING
BRACKET
3 M6 SHAKE
PROOF
MOUNTING
PLATE
4 M6 WASHER MOUNTING
PLATE
5
M6 PLASTIC
TOP HAT
WASHER
MOUNTING
BRACKET

Tess 100/400 Manual. Issue 1 (DR1004. October 2018)
3. Site Installation
3.1.
Check the order, order reference and the delivered system sizes match.
At the position the system is to be installed, check / mark out the system width (X),
the system draw (Y) and the diagonals (D).
It is important that the diagonals are equal. Measure and adjust the marking out so
the diagonals are equal.
System width (X) and system draw (Y) must be parallel.
Refer to the installation drawing supplied with the system and mark out the fixing
positions.
All wall fixings are to be supplied by the installer and are to be suitable for the material
being fixed to. Fixings should be M8 size.
VERY IMPORTANT –DO NOT ATTEMPT TO INSTALL THE SYSTEM UNTIL SYSTEM AND FIXING
POINT DIMENSIONS HAVE BEEN CHECKED AND FIXING POSITIONS ARE SQUARE.
3.2.
Electric power supply
Each system should be on a switched single spur, so as to isolate each system.
Check with the site manager to ensure that electrics are set up correctly.

Tess 100/400 Manual. Issue 1 (DR1004. October 2018)
4. Headbox/Guide Cable Installation
4.1.
Fix head box in position using suitable fixings for the material being fixed to. Fixings
should be M8 (fixings to be supplied by installer).
Fit the guide cable through the Cable Retaining Bracket.

Tess 100/400 Manual. Issue 1 (DR1004. October 2018)
5. Return Pulley
6.1.
Double Pivoting Return Pulleys

Tess 100/400 Manual. Issue 1 (DR1004. October 2018)
6. Squareness Checking
7.1.
Inspect system diagonal measurements (D).
If diagonal measurements are not found to be equal, adjust the system squareness.

Tess 100/400 Manual. Issue 1 (DR1004. October 2018)
7. Relieving Roller
8.1.
Fit relieving rollers (If supplied).
Ensure relieving rollers are fitted square to the system.
Ensure relieving rollers rotate freely.

Tess 100/400 Manual. Issue 1 (DR1004. October 2018)
8. Barrel Installation
9.1.
Fit the barrel assembly between the mounting brackets.
Fix into place using fittings identified in Section 2 of this manual.
Mounting plate must be fitted to the mounting bracket so that it is perpendicular
to the fabric direction.
TESS 100

Tess 100/400 Manual. Issue 1 (DR1004. October 2018)
9. Hem Bar Fitting
10.1
Loosen fixing screws by max 2 turns (DO NOT REMOVE).
Pull end cap out to by approx 3mm (1).
Slide end cap away from pulley housing (2).
10.2
Centre guide cable to hem bar.
Slide end cap onto hem bar pulley housing (ensure fabric spacer is fitted correctly) (1).
Push assembly into hem bar.
Retighten fixing screws.

Tess 100/400 Manual. Issue 1 (DR1004. October 2018)
10. Tension Cable Fitting
11.1.
Feed the tension cable through the hem bar. Do not cut the cable at this point.
11.2.
Pull the tension cable through both return pulleys.

Tess 100/400 Manual. Issue 1 (DR1004. October 2018)
10. Tension Cable Fitting Cont...
11.3.
With the system fully retracted, wrap 2 turns of cable onto the cable spool (tension
cable must lay flat and not be crossing itself).
Insert the cable into the cable spool locking device (Motor side).
Push the cable through and ensure it will not pull out. Cut excess cable from the rear
of the spool, if required.
Repeat process for spring cassette end.
Apply very light tension to the system, and trim any excess tension cable.

Tess 100/400 Manual. Issue 1 (DR1004. October 2018)
11. System Pre-tensioning
12.1.
Tensioning Tool –Supplied in fitting kit.
Insert tensioning tool as shown.
Apply light tension –approx 5 full turns using the tensioning tool.
Operate the system to ensure correct system function.
Check:
The tension cable is seated correctly on the return pulleys.
The cable is wrapping onto the cable drums neatly.
The fabric is tracking correctly.

Tess 100/400 Manual. Issue 1 (DR1004. October 2018)
12. Fabric Tracking And Final Tension
13.1.
The TESS systems can be fine tuned to ensure good fabric tracking and long life. Tracking
may need to be adjusted during product life.
The fabric when being retracted back towards the barrel should remain in position on the
barrel. The fabric should not move towards one side. Long fabrics might move towards one
side and then back towards the other.
Taking care that the fabric does not crease —Deploy and retract system several times
to give accurate indication of tracking.
Adjust the fabric tracking as required by loosening the mounting screw and
repositioning the tracking plate (this can be carried out at both sides).
13.2
Tensioning Tool –Supplied in fitting kit
Apply 10-20 FULL turns to the gear box by using the tensioning tool (provided)
Recheck fabric tracking.
INFORMATION
Do not over tension system.
The system is over tensioned if the spring cassette is locked. Simply check this by
pulling onto the tension cable to check for free movement of the spring cassette cable
spool.

Tess 100/400 Manual. Issue 1 (DR1004. October 2018)
13. Estimated Fabric Sag Guidelines

Tess 100/400 Manual. Issue 1 (DR1004. October 2018)
13. Estimated Fabric Sag Guidelines Cont…
13.1.
Use tables to estimate fabric sag when the system is fully deployed.
Ensure the correct fabric mass table is used.

Tess 100/400 Manual. Issue 1 (DR1004. October 2018)
Notes
This manual suits for next models
5
Table of contents
Other Guthrie Douglas Indoor Furnishing manuals
Popular Indoor Furnishing manuals by other brands

Regency
Regency LWMS3015 Assembly instructions

Furniture of America
Furniture of America CM7751C Assembly instructions

Safavieh Furniture
Safavieh Furniture Estella CNS5731 manual

PLACES OF STYLE
PLACES OF STYLE Ovalfuss Assembly instruction

Trasman
Trasman 1138 Bo1 Assembly manual

Costway
Costway JV10856 manual