Haier 40D3505 User manual

Haier
SERVICE MANUAL
LED TV
Model No. 40D3505
MSD3393LU
Chassis
WARNING
This service information is designed for experienced repair technicians only and is not designed for use by the general public.
It does not contain warnings or cautions to advise non-technical individuals of potential dangers in attempting to service a product.
Products powered by electricity should be serviced or repaired only by experienced professional technicians. Any attempt to service or repair
the product or products dealt with in this service information by anyone else could result in serious injury or death.
©2013 Qingdao Haier Electronics Co., Ltd.
All rights reserved. Unauthorized copying and distribution is a violation of law.

Service Manual
Model No.: 40D3505
CONTENTS
Chapter 1. General Information
1-1. Document Information ..............................................................3
1-2. General Guidelines.....................................................................3
1-3. Important Notice.........................................................................3
1-3-1. Follow the regulations and warnings ..................................................... 3
1-3-2. Be careful to the electrical shock ............................................................3
1-3-3. Electro static discharge (ESD)............................................................... .3
1-3-4. About lead free solder (PbF)...................................................................4
1-3-5. Use the genewing parts (specified parts) .............................................. 4
1-3-6 Safety check after repairment................................................................. 4
1-3-7. Ordering Spare Parts............................................................................. 6
1-3-8. Photo used in this manual .....................................................................6
1-4. How to Read this Service Manual ............................................6
Using icons ...............................................................................................................6
Chapter 2. Specification
2-1. Specification list.........................................................................8
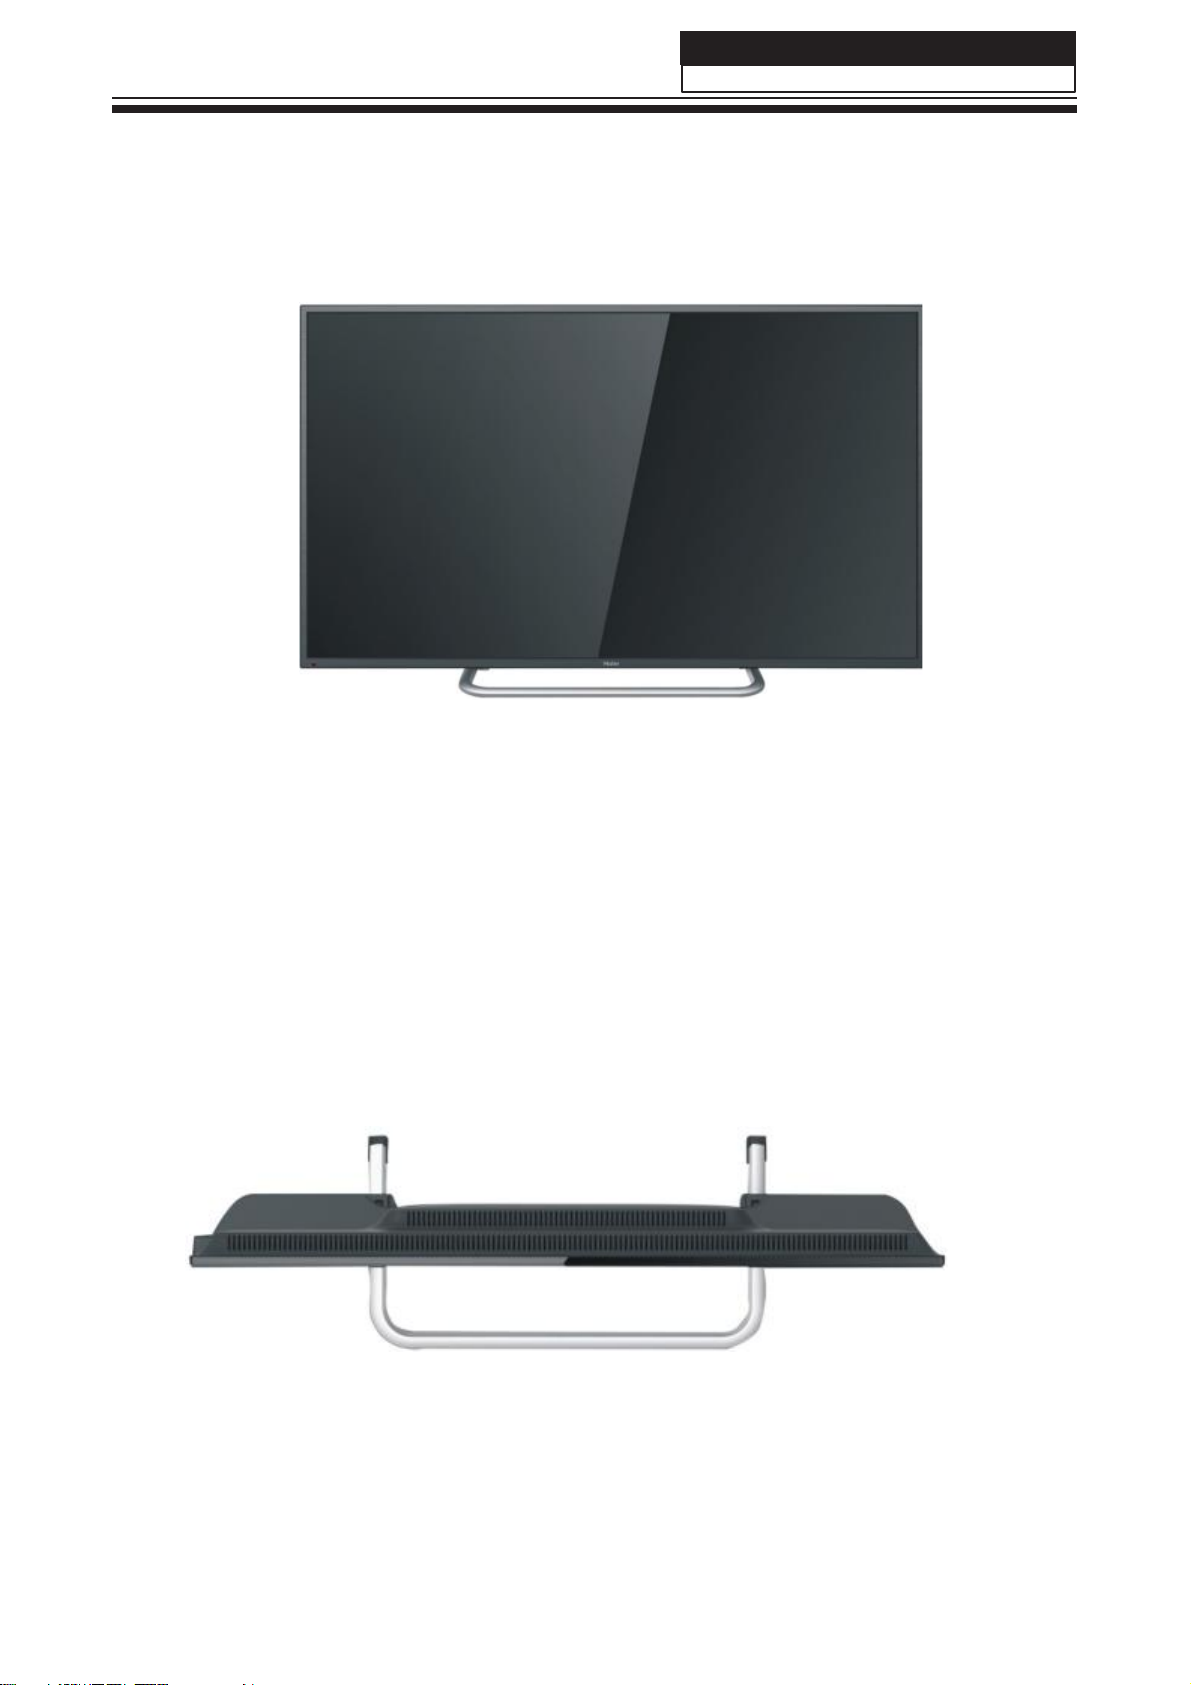
2-2. External pictures (four faces)....................................................9
Chapter 3. Disassemble and Assemble
3-1. 40D3505 .................................................................................11
3-1-1. Remove the Stand.................................................................................11
3-1-2. Remove the Back Cabinet ....................................................................11
3-1-3. Remove the Mainboard.........................................................................11
3-1-4. Remove the Power Supply Module ......................................................11
3-1-5. Remove the Speaker.............................................................................11
3-1-6. Remove the Remote Control Board .....................................................12
3-1-7. Remove the Key Board.........................................................................12
Chapter 4. Location of Controls and Components
4-1. Board Location .........................................................................13
4-2. Mainboard .................................................................................14
4-2-1. Function Description .............................................................................14
4-2-2. Connector definition ..............................................................................14
4-3. Power Supply Module ..............................................................15
4-3-1. Function Description .............................................................................15
1

Service Manual
Model No.: 40D3505
4-3-2. Connector definition ..............................................................................15
4-4. LCD Panel ..................................................................................16
Chapter 5. Installation Instructions
5-1. Accessories ..............................................................................18
5-2. External Equipment Connections............................................19
Chapter 6. Operation Instructions
6-1. Front Panel Controls.................................................................20
6-2. Back Panel Controls .................................................................21
6-3. Setting Up Your Remote Control .............................................22
Chapter 7. Electrical Parts
7-1. Block Diagram............................................................................23
7-2. Circuit Diagram..........................................................................30
Chapter 8. Measurements and Adjustments
8-1. Service Mode ............................................................................31
8-1-1.How to enter into Service Mode............................................................ 31
8-1-2.How to exit ............................................................................................31
8-2. Measurements and Adjustments ............................................31
8-2-1. The Main Menu ....................................................................................31
8-2-2. General Setting ....................................................................................32
8-2-3. Picture ..................................................................................................32
8-2-4. Sound................................................................................................... 33
8-2-5. Debug...................................................................................................33
8-3. Software Update ......................................................................34
8-3-1. T.VST59 software update ....................................................................34
Chapter 9. Trouble shooting
9-1. Simple check ...........................................................................35
9-2. Mainboard IC Introduction......................................................38
9-3. Mainboard Failure Check........................................................39
9-4. Pannel Failure..........................................................................45
2

Service Manual
Model No.: 40D3505
Chapter 1. General Information
1-1. Document Information
Document format: Adobe PDF
Author: shouwang.wen
Compiler:
1-2. General Guidelines
When servicing, observe the original lead dress. If a short circuit is found, replace all parts which
have been overheated or damaged by the short circuit.
After servicing, see to it that all the protective devices such as insulation barriers, insulation papers
shields are properly installed.
After servicing, make the following leakage current checks to prevent the customer from being
exposed to shock hazards.
1) Leakage Current Cold Check
2) Leakage Current Hot Check
3) Prevention of Electro Static Discharge (ESD) to Electrostatically Sensitive
1-3. Important Notice
1-3-1. Follow the regulations and warnings
Most important thing is to list up the potential hazard or risk for the service personnel to open
the units and disassemble the units. For example, we need to describe properly how to avoid the
possibility to get electrical shock from the live power supply or charged electrical parts (even the
power is off).
This symbol indicates that high voltage is present inside.It is dangerous to make any
king of contact with any inside part of this product.
This symbol indicates that there are important operating and maintenance instructions
in the literture accompanying the appliance.
1-3-2. Be careful to the electrical shock
To prevent damage which might result in electric shock or fire, do not expose this TV set to rain
or excessive moisture. This TV must not be exposed to dripping or splashing water, and objects
filled with liquid, such as vases, must not be placed on top of or above the TV.
1-3-3. Electro static discharge (ESD)
Some semiconductor (solid state) devices can be damaged easily by static electricity. Such
3

Service Manual
Model No.: 40D3505
components commonly are called Electrostatically Sensitive (ES) Devices. The following
techniques should be used to help reduce the incidence of component damage caused by
electros static discharge (ESD).
Electrostatically Sensitive (ES) Devices
Some semiconductor (solid-state) devices can be damaged easily by static electricity. Such
components commonly are called Electrostatically Sensitive (ES) Devices. Examples of typical
ES devices are integrated circuits and some field-effect transistors and semiconductor "chip"
components. The following techniques should be used to help reduce the ncidence of component
damage caused by static by static electricity.
1. Immediately before handling any semiconductor component or semiconductor-equipped
assembly, drain off any electrostatic charge on your body by touching a known earth ground.
Alternatively, obtain and wear a commercially available discharging wrist strap device, which
should be removed to prevent potential shock reasons prior to applying power to the unit under
test.
2. After removing an electrical assembly equipped with ES devices, place the assembly on a
conductive surface such as aluminum foil, to prevent electrostatic charge buildup or exposure of
the assembly.
1-3-4. About lead free solder (PbF)
This product is manufactured using lead-free solder as a part of a movement within the
consumer products industry at large to be environmentally responsible. Lead-free solder must be
used in the servicing and repairing of this product.
1-3-5. Use the genewing parts (specified parts)
Special parts which have purposes of fire retardant (resistors), high-quality sound (capacitors),
low noise (resistors), etc. are used.
When replacing any of components, be sure to use only manufacture's specified parts shown in
the parts list.
Safety Component
● Components identified by mark have special characteristics important for safety.
1-3-6 Safety check after repairment
Confirm that the screws, parts and wiring which were removed in order to service are put in the
original positions, or whether there are the positions which are deteriorated around the serviced
places serviced or not. Check the insulation between the antenna terminal or external metal and
the AC cord plug blades. And be sure the safety of that.
General Servicing Precautions
4
This manual suits for next models
1
Table of contents
Other Haier LED TV manuals

Haier
Haier LE32F2220a User manual

Haier
Haier 32D2000 User manual

Haier
Haier 40D2000 User manual

Haier
Haier LE43B9000 User manual

Haier
Haier LE43K6500TF User manual

Haier
Haier LE24D1000 User manual

Haier
Haier LE43K6600UGA User manual

Haier
Haier LE32B9200WB User manual

Haier
Haier LE42U6500TF User manual

Haier
Haier 32E3000F User manual

Haier
Haier H85S5UX PRO User manual

Haier
Haier 55DA5550 User manual

Haier
Haier 32F2000 User manual

Haier
Haier LE40K5000TF User manual

Haier
Haier LE22S600 User manual

Haier
Haier LE32F32200A User manual

Haier
Haier LET46C800HF User manual

Haier
Haier HL46XSL2 User manual

Haier
Haier LE48M7000A User manual

Haier
Haier HLC24XLP User manual