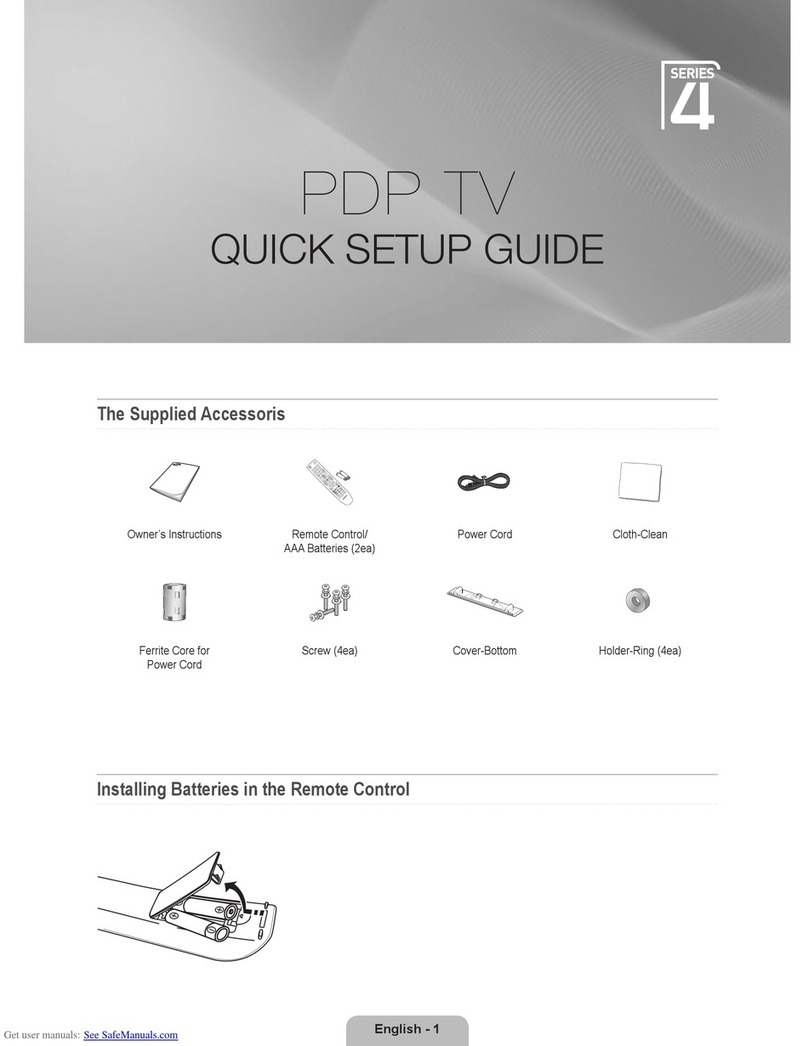
Haier LE46T3 User manual

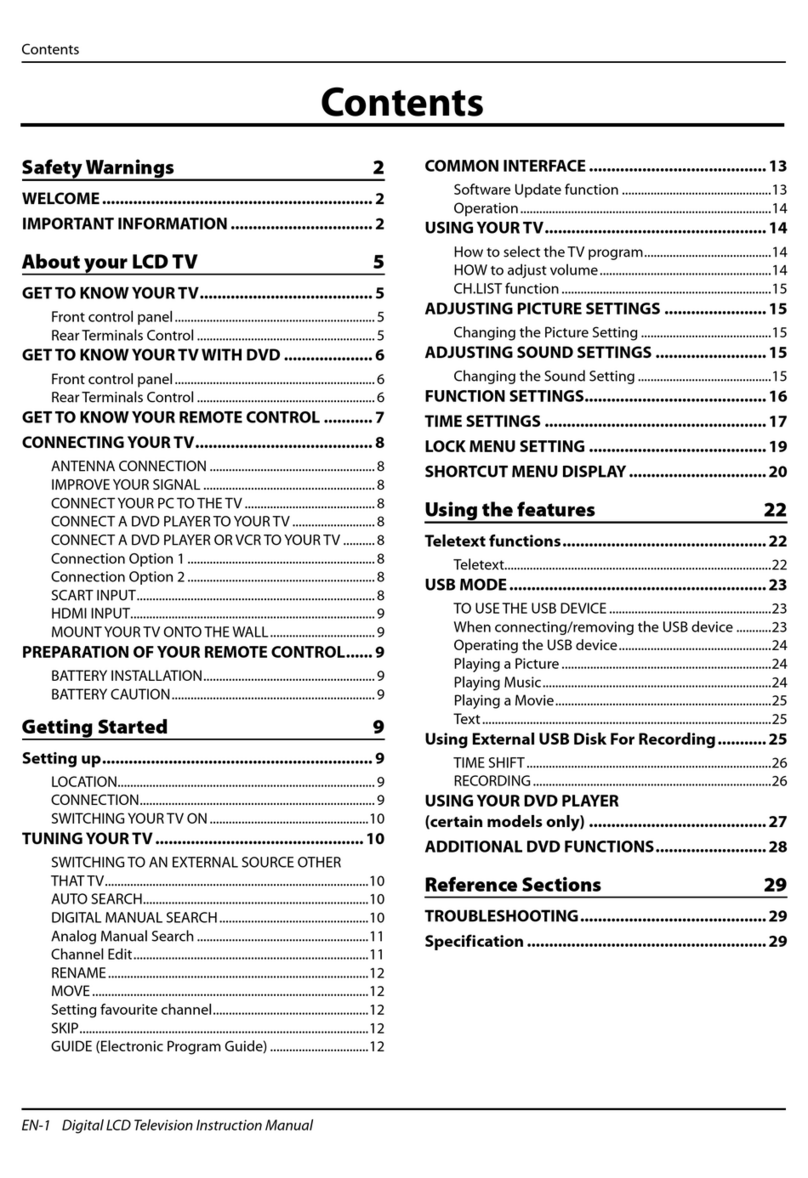
LE40T3/LE46T3

86%
6285&(
+/2&.
67,//
$5&
087(
602'(
790(18
(;,7
5(9
=220
92'
79)0
)$9
)Q ''6 *$0( %86,1(66
6+2&. 6/((3
,17(5$&7,21
,1)2 &+/,67
$8',2 *8,'( 3$*(
3$*(
'&$// 79&$//7,0(6+,)7
5(&
3/$<3$86(
%$&.
'0(18
302'(
2.
# DEF GHI
JKL MNO PQR
STUV WXY Z[\]
49,(:
3
:DUQLQJ
,PSRUWDQW6DIHW\,QVWUXFWLRQV
3DQHO&RQWURODQG5HDU7HUPLQDOV&RQWURO
5HPRWH&RQWURO
5HPRWHFRQWUROIXQFWLRQ
([WHUQDO(TXLSPHQW&RQQHFWLRQV
$QWHQQD&RQQHFWLRQ
9&5&RQQHFWLRQ
'9'6HWXS
+'0,RU'9,6HWXS
3&6HWXS
0RQLWRU2XW6HWXS
&RQQHFWLQJ+HDGSKRQHV
%DVLF5HFHLYLQJDQG3OD\LQJ2SHUDWLRQV
6ZLWFKLQJ212))WKH79VHW
&KRRVHWKH0HQX/DQJXDJH
&KRRVHWKH,QSXW6RXUFH
6HDUFKLQJ&KDQQHO
:DWFKLQJ793URJUDP
3LFWXUH&RQWURO)XQFWLRQV
6RXQG&RQWURO)XQFWLRQV
7LPHU)XQFWLRQV
)XQFWLRQ0HQX
$GMXVW0HQX
/RFN6HWXS
6WUHDPLQJ0HGLD3OD\LQJ6\VWHP
0DLQWHQDQFH
7URXEOHVKRRWLQJ
6SHFLILFDWLRQV
)RUPDW


3DQHO&RQWURODQG5HDU
7HUPLQDOV&RQWURO
0(18
,1387
92/
&+
.&/6 .FOVEJTQMBZ1SFTTUPBDDFTTUIFPOTDSFFO
NFOVEJTQMBZ
*/165
1SFTTUPBDDFTTUIFJOQVUTPVSDFNPEF1SFTT
SFQFBUFEMZUPDIBOHFUIFTPVSDFUPUIFPOF
ZPVXBOUUPXBUDI*OUIF.&/6TDSFFOUIF
*/165CVUUPOTFSWFTBTUIF&/5&3CVUUPO
70-
1SFTTUPBEKVTUUIFWPMVNF*OUIF.&/6TDSFFO
UIFTFCVUUPOTTFSWFBTMFGUSJHIUCVUUPOT
$)
1SFTTUPTDBOUISPVHIDIBOOFMT5PTDBORVJDLMZ
UISPVHIDIBOOFMTQSFTTBOEIPMEEPXOFJUIFS
*OUIF.&/6TDSFFOUIFTFCVUUPOTTFSWF
BTVQEPXOCVUUPOT
108&3 1SFTTUPUVSOPOBOEPòUIF57
3FNPUF4FOTPS
3FDFJWFST*3TJHOBMTGSPNUIFSFNPUFDPOUSPM
%POPUQVUBOZUIJOHOFBSUIFTFOTPSXIJDI
NBZCMPDLUIFSFNPUFDPOUSPMTJHOBM
1PXFSJOEJDBUPS
3DQHO&RQWURO

'5$&
%68
71$1,
1
,
,
0'+ 306'5(:23
1,71(
1
2302&
/5<3E3U
'60332:(5
&$5'
.P#PYQPXFS
.VMUJDBSESFBEFS


USB
SOURCE
H.LOCK
STILL
ARC
MUTE
S.MODE
TV.MENU
EXIT
REV
ZOOM
VOD
TV/FM
FAV
Fn DDS GAME BUSINESS
STOCK SLEEP
INTERACTION
INFO CH.LIST
AUDIO GUIDE PAGE+
PAGE-
D.CALL TV.CALLTIME SHIFT
REC
PLAY/PAUSE
BACK
D.MENU
P. M O D E
Q.VIEW
* #
OK
.,@ abc def
ghi jkl mno
pqrs tuv wxyz
1
2
3
4
8
11
10
13
15
17
19
21
22
23 25
24 26
27 29
31
32
28 30
33
34
35
38
36
37
P
1.POWER: Press thiskey to startTV from standby
mode, press itagain to returnto standby mode.
2.USB: Press thiskey for quickswitching of streamingmedia.
3.H. LOCK: Referto the FunctionalDescription on Page23.
4.Press this keyto open/close signalsource options menu.
5.DSMB Press this keyfor quick switchingof MO-Card.
6.STILL: Press thiskey to freezethe image. Pressit again
to return tonormal screen. (Note:Do not displaya still
picture for along time toprevent the screenfrom burns.)
7.ARC: Press thiskey to selectthe screen displayproportion.
8.MUTE: Press thiskey to mutethe sound, pressit again to
activate the sound.The sound maybe activated byturning
the TV onagain or increasingthe volume.
9.0-9: These keysare used toselect a channel.
10.Q. VIEW: Pressthis key toreturn to theprevious TV
program(only work inthe TV mode).
11.VOL+ /-:Used to adjustthe volume whenthe screen
menu is closed.
12.CH+/-: Used toselect a TVchannel when thescreen
options menu isclosed, specifically,press P to
decrease the channeland press P to increase the
channel.
13.Sound Mode: Pressthis key continuouslyto select the
sound mode.
14.Picture Mode: Pressthis key continuouslyto select the
picture mode .
15.TV.MENU: Press this key to display or exit the main menu.
16.D.MENU: Press thiskey to displaythe Special Function
Menu (it functionswhen special modulesare inserted).
17.THUMBSTICK (Up/Down/Left/Right)
18.OK: Press thiskey to confirmthe selection.
19.Clears all on-screendisplays and returnsto TV viewing
from any menu.
20.USB Control the USB System.
Backward Forward Play/Pause BACK: Back
REC: no available ZOOM: Press tomagnify/minify an image
D.CALL: Press todisplay program information.
21.TV.CALL: Display on/off
22.no available
23.no available
24.no available
25.no available
26.no available
27.no available
28.no available
29.no available
30.no available
31.Press this keyto display thefavorite program listmenu.
32.no available
33.Displaying the sleeptime.
34.no available
35.no available
36.no available
37.no available
38.no available
Note: From 22 to 38(except 31 and 33), are belonged to DSMB function button.
It will act when the module installed only. Pls refer to DSMB user's manual.

ANT.

6285&(
#BDLPG7$3
#BDLPG57
7JEFPZFMMPX
"VEJP MFGUXIJUF
"VEJP SJHIU SFE

$PNQPOFOUWJEFPEFWJDF
$PNQPOFOUWJEFPDBCMF
(SFFO:
#MVF$#1#
3FE$313
"VEJPDBCMF
8IJUF-FGUBVEJP
3FE3JHIUBVEJP
&20321(17,1
< 3
E
3
U
/
$8',2
5
#BDLPG57
8IFOUIFTPVSDFEFWJDF%7%QMBZFSPS4FU
5PQ#PYTVQQPSUT)%.*
)PX5P$POOFDU
$POOFDUUIFTPVSDFEFWJDFUP)%.*QPSU
PGUIJT57
XJUIBO)%.*DBCMFOPUTVQQMJFE
XJUIUIJTQSPEVDU
/PTFQBSBUFEBVEJPDPOOFDUJPOJTOFDFTTBSZ
)PX5P6TF
*GUIFTPVSDFEFWJDFTVQQPSUT"VUP)%.*GVODUJPO
UIFPVUQVUSFTPMVUJPOPGUIFTPVSDFEFWJDF
XJMMCFBVUPNBUJDBMMZTFUUP sQ
*GUIFTPVSDFEFWJDFEPFTOPUTVQQPSU"VUP
)%.*
ZPVOFFEUPTFUUIFPVUQVUSFTPMVUJPO
BQQSPQSJBUFMZ
5PHFUUIFCFTUQJDUVSFRVBMJUZBEKVTUUIF
PVUQVU
SFTPMVUJPOPGUIFTPVSDFEFWJDFUP
sQ
4FMFDU)%.*JOQVUTPVSDFJOJOQVUTPVSDF
PQUJPOPG 4FMFDU.BJOTPVSDFNFOV

3& 3&'9,$8',2
3&,1
#BDLPG57


79
$9
<3E3U<&E&U
<3E3U<&E&U
+'0,
+'0,
+'0,
3&
86%
6RXUFH
,IWKH79LVQRWLQ79PRGHSUHVV6285&(RQWKH
UHPRWHFRQWUROXQLWDQGVLJQDOVRXUFHPHQXZLOOEH
GLVSOD\HGRQWKH79VFUHHQDVVKRZQLQWKHULJKWILJXUH
3UHVV WRVHOHFWWKH79RSWLRQDQGSUHVV RU2.WR
FRQILUPWKHVZLWFKLQJWR79LQSXWWHUPLQDO$IWHU
VZLWFKLQJWKHVLJQDOVRXUFHPHQXGLVDSSHDUVDQGDW
WKHXSSHUULJKWFRUQHURIVFUHHQGLVSOD\VWKHLQIRUPDWLRQ
RIFXUUHQWVLJQDOVRXUFH
3UHVVLQJWKLVNH\UHSHDWHGO\FDQH[LWIURPWKHVLJQDO
VRXUFHPHQX
,QFDVHRIQRRWKHURSHUDWLRQWKHVLJQDOVRXUFHPHQX
ZLOODXWRPDWLFDOO\GLVDSSHDUXSRQUHDFKLQJWKH26'
GLVDSSHDUDQFHWLPHSUHVHWLQWKHPDLQPHQX
3UHVV0(18DQG WRVHOHFW)XQFWLRQPHQX
3UHVV WRVHOHFWWKH/DQJXDJH
6HOHFWDSDUWLFXODUODQJXDJHE\SUHVVLQJUHSHDWHGO\
:KHQ\RXVDWLVILHGZLWK\RXUFKRLFHSUHVV0(18WR
UHWXUQWRQRUPDOYLHZLQJ
:KHQ\RXVDWLVILHGZLWK\RXUVHWIRUWKHILUVWWLPH\RXPXVWVHOHFWWKHODQJXDJHZKLFK
ZLOOEHXVHGIRUGLVSOD\LQJPHQXVDQGLQGLFDWLRQV
)LUVWFRQQHFWSRZHUFRUGFRUUHFWO\DQGWKHSRZHULQGLFDWRUZLOOOLJKW
3UHVV32:(5RQWKHUHPRWHFRQWURODJDLQ
,I\RXZDQWWRH[FKDQJHWRVWDQGLQJE\VWDWXVSOHDVHSUHVVGRZQ32:(5RQWKH
UHPRWHFRQWURO
'LVFRQQHFWWKHSRZHUVXSSO\RUXQSOXJWKHWHOHYLVLRQLILWLVLQWHQGHGWRFRPSOHWHO\
FHDVHWKHWHOHYLVLRQSHUIRUPDQFH
/DQJXDJH(QJOLVK
%OXH6FUHHQ2Q
0HQX7LPHRXWV
$$$3LFWXUH2SWLPL]H
/(''60'HPR2II
0(0&
23&
(\H*XDUG0RGH
7HWULV
PHQX
2Q

Channel Edit
Manual Search 874.25MHz
Fine Tune 20
Color System Auto
Sound System DK
Skip ON
1. Press MENU on the remote control unit or MENU on
the TV's front panel to display main menu, and then
press /to select Channel menu.
2. Press to select the Channel Edit option, and
then press to enter submenu.
/
Channel Edit
Auto Search
Exchange
Search: Press /to select the Manual Search
option, and finally press /to start manual search.
Upon finding a program, the search will automatically
stop, and the program will be stored onto the current
channel. You may stop the search by pressing OK or

MENU.
Fine Tuning: Press /to select the Fine Tune
option, and then press /to start UP or DOWN fine
tuning until obtaining a relatively good picture effect.
The fine tuning function is for the purpose of improving
picture effect through fine tuning when that of a certain
program is not good enough. Normally, the optimal
picture effect can be obtained without fine tuning when
watching TV programs, and fine tuning is to meet the
need of adjusting a certain program.
Color system: Press /to select the Color
Systems option, and then press /to select correct
color system.
The TV is designed with three systems for your choice,
i.e. Auto, PAL , SECAM and NTSC. Generally, the
system is set as Auto and it is not necessary to make
an adjustment. The system is normally set as Auto
during auto search.
Sound system: The TV is designed with four systems
for your choice, i.e. DK, M, BG and I. Generally, it is not
necessary to adjust the system. The system is normally
set as DK during auto search.
Skip: When the skip is set ON, the channel will be
skipped when pressing P or P and only can be
selected by pressing 0-9 numerical keys.
If you want to recover the skipped channel
1. Use Direct-digit Choosing button to select the
number of the channel to be recovered.
2. Do the above steps again.
3. Press to set Skip as Off.
Channel Edit
menu
menu

1. Press MENU on the remote control to display main
menu, and then press /to select Channel menu.
(Note: Only when Tuning Lock in the H. Lock menu is
Off can the Channel menu be selected.)
2.Press to select the Auto Search option, and
then press /OK to enter submenu.
3.Press to select the Storage from option, and
then press /to set the found from which to be
stored, press to select the Auto Search option,
press /OK to enter the auto search menu, afterwards
press to select the Confirm option, and finally press
OK to confirm the starting of auto search.
4. During auto search, the scale value on the progress
bar is continually increasing, indicating the auto search
is in progress. After finishing the auto search, the TV
will play the channel starting the auto search. To stop
the search in halfway, just press MENU/OK, and the
TV will play the first searched channel.
/
/
/
Channel Edit
Auto Search
Exchange
1. Press MENU on the remote control unit or MENU on
the TV's front panel to display main menu, and then
press /to select Channel menu.
2. Press /to select the Exchange option, and then
press to enter its submenu.
3. Press /to select the To Channel option, and then
press /to set the found to be exchanged to.
4. After adjusting the current channel and the found to
be exchanged to, press /to move the cursor to the
Exchange option, and then press /to start exchange
and exchange the program on current channel to the
channel you set for exchange.
Exchange
Auto Search
Storage from
Auto Search
menu
menu
menu
menu
menu

1. Suppose that you previously watched a TV program on
Channel 8, but now you are watching a TV program on Channel
18 (as shown in the right figure).
2. If you want to return to Channel 8, just press “Q. VIEW
(Flashback)” once.
3. If you want to return to Channel 18 again, just press “Q. VIEW
(Flashback)” once again.
Note: This function is only available in TV mode.
Quick program view
How to select the desired program
Using P /P buttons
Press P to select a channel number in number increasing direction.
Press P to select a channel number in number decreasing direction.
Using Program number buttons
Directly enter the channel number with the numeric keypad on the remote control.
If to select channel numbers of double-digital or three-figure, press continuously the
numeric buttons in three second.
How to selectthe desired sound
Press VOL-/+ buttons on the remote or the front of the
TV set to adjust the volume level. The range is 0~100.
When the volume buttons are pressed the volume level
is displayed automatically on the TV screen.
Mute Setting
1. Press MUTE button on the remote control and a icon
will display on the screen. At this time, the sound of the
TV set is turned off.
2. If you want to recover the sound, press MUTE button
again or directly press VOL+ button.

3UHVV0(18WRGLVSOD\PDLQPHQXRQWKHVFUHHQDQG
WKHQSUHVV WRVHOHFWWKH3LFWXUHPHQXDIWHUZDUGV
SUHVV WRHQWHUWKHRSWLRQWREHDGMXVWHG
3UHVV WRPRYHWKHFXUVRUWRWKHRSWLRQWREH
DGMXVWHGDQGWKHQSUHVV WRDGMXVWLWWR\RXUGHVLUHG
HIIHFW
&KURPD
%ULJKWQHVV 7KLVZLOODGMXVWWKHOLJKWRXWSXWRIWKH
FRPSOHWHSLFWXUHZKLFKZLOOPDLQO\DIIHFWWKHGDUNHU
DUHDVRIWKHSLFWXUH
&RQWUDVW 7KLVZLOODGMXVWWKHLQWHQVLW\RIEULJKWSDUWVLQ
WKHSLFWXUHEXWNHHSWKHGDUNSDUWVXQFKDQJHG
6KDUSQHVV 7KLVZLOODGMXVWWKHVKDUSQHVVRIILQHGHWDLOV
LQWKHSLFWXUH
+XHVHOHFWDEOHLQ176&PRGHRQO\ $OORZV\RXWR
VHOHFWWKHFRORUPL[7LQHRIWKHSLFWXUH
7KLVZLOODGMXVWWKHVDWXUDWLRQOHYHORIWKHFRORUV
WRVXLW\RXUSHUVRQDOSUHIHUHQFH
3LFWXUH0RGH 6HOHFWWKHPRGHRISLFWXUH6WDQGDUG%ULJKW6RIW8VHU(\H*XDUG
3DOHWWH 3UHVV WRVHOHFWWKH3DOHWWHRSWLRQDQGWKHQSUHVV WRHQWHULWV
VXEPHQXDQGILQDOO\SUHVV WRVHOHFWDWRQHUSDWWHUQIURPVL[SDWWHUQV8VHU
6WDQGDUG...DQG.WR\RXUFRORUSUHIHUHQFH1RUPDOO\WKH
6WDQGDUGPRGHLVVHOHFWHG
,IWKH8VHUPRGHLVVHOHFWHGSUHVV WRHQWHUWKHSDOHWWHPHQXDVVKRZQLQWKH
ULJKWILJXUHDQGWKHQSUHVV WRVHOHFWDEHQFKPDUNLQWKHUDQJHRI..
IURPZDUPFRORUWRFROGFRORUDIWHUZDUGVSUHVV WRDGMXVWLIDGLIIHUHQW
EHQFKPDUNLVVHOHFWHGIRUDGMXVWPHQWWKHRULJLQDODGMXVWPHQWGDWDZLOOEH
DXWRPDWLFDOO\FOHDUHG
/(''',0
5HVHW 5HWXUQWRIDFWRU\GHIDXOWVHWWLQJV
/('%DFNOLJKW$XWR'LPPLQJ
+RZWRFXVWRPL]H\RXURZQSLFWXUHVWDWXV
PHQX
7KLVPHDQVWKHDGMXVWPHQWRIVSHFLILFFRQWHQWVLQWKHSLFWXUHLIDOUHDG\LQQRUPDO
FRQGLWLRQLWLVQRWQHFHVVDU\WRPDNHDQ\DGMXVWPHQW
'XHWRGLIIHUHQW79VLJQDOLQSXWVVRPHLWHPVPD\QHHGWREHDGMXVWHG7KHIROORZLQJ
PDNHVDGHVFULSWLRQE\RQO\WDNLQJ79VLJQDODVDQH[DPSOH
+RZWRVHOHFWWKHSLFWXUHPRGH
3UHVV0(18WRGLVSOD\PDLQPHQXRQWKHVFUHHQDQGWKHQSUHVV WRVHOHFWWKH
3LFWXUHPHQXDIWHUZDUGVSUHVV WRHQWHUWKHRSWLRQWREHDGMXVWHG
3UHVV WRPRYHWKHFXUVRUWRWKHRSWLRQWREHDGMXVWHGDQGWKHQSUHVV WR
VHOHFW6WDQGDUG%ULJKW6RIW8VHU(\H*XDUGPRGH
<RXFDQDOVRSUHVV302'(RQWKHUHPRWHFRQWUROWRVHOHFW6WDQGDUG%ULJKW6RIW8VHU
(\H*XDUGPRGH
6WDQGDUG7KHSLFWXUHEULJKWQHVVDQGKXHDUHPRGHUDWH
%ULJKW7KHSLFWXUHLVYLYLGEULJKWDQGG\QDPLF
6RIW7KHSLFWXUHLVVRIWDQGLQOLJKWFRORU
8VHU7KHSLFWXUHHIIHFWLVVHWE\\RXUVHOIWR\RXUSUHIHUHQFH
(\H*XDUG7KHRSWLRQGRHVQRWH[LVWZKHQXVLQJD86%GHYLFH,QOLQHZLWKWKH
FKDQJHRIXVLQJHQYLURQPHQWWKH79VHWZLOODGMXVWDXWRPDWLFDOO\WKHLPDJHGLVSOD\
PRGHWRSURWHFWYLHZHUVH\HVIURPDQ\QHJDWLYHLPSDFW
%ULJKQHVV
&RQWUDVW
6KDUSQHVV
+XH
&KURPD
3LFWXUH0RGH
3DOHWWH
/(''',0
5HVHW
PHQX

1. Press MENU to display main menu on the screen, and then press to select the
Audio menu, /
2. /
select User/Standard/Music/Theater mode.
User: A spare setting that can be adjusted to personal tastes.
Standard: Normal sound with moderate bass and treble setting.
Music: Designed the sound to best suit music programs.
Theater: Enables extra bass and treble to enhance the movie experience.
You can also press S.MODE button on the remote control to select User, Standard,
Music and Theater mode.
/
afterwards press to enter the option to be adjusted.
Press to move the cursor to the option to be adjusted, and then press /to
How to choose modeaudio
1. Press MENU to display main menu on the screen, and
then press /to select the Audio icon, afterwards
press to enter the option to be adjusted.
2. Press /to adjust.
/
How to customize your own audio status
Volume
Press /to adjust the volume of a TV program.
Balance
This will adjust the output of the right and left speakers
to obtain the best stereo reproduction for your listening
position.
The intermediate value is 0. When indication value of
Balance increases toward 50, sound of the right and
left speakers becomes stronger and weaker, respectively.
When indication value of Balance decreases toward -50,
sound of the right and left speakers becomes weaker
and stronger.
Sound Mode
This select the modes for sound reproduction dependent on the broadcast signals or
signals from external inputs received.
Select the mode of sound (User/Standard/Music/Theater).
If the User mode is selected, press to enter the sound mode menu,(as shown in
the right figure), and then press /to select a benchmark in the range of 50-15K
from bass to treble, afterwards press /to adjust, if a different benchmark is
selected for adjustment, the original adjustment data will be automatically cleared.
SRS TS XT
The surround sound feature expands the audio listening field wider and deeper to
create exceptional sound quality from the Tv’s speakers.
AVL (Automatic Volume Limit)
This will reduces the differences in volume level among broadcasters.
Digital Bass
To adjust the superbass. Press /to select superbass on or off.
Reset: Return to factory default settings.
Sound Mode
menu
Volume
Balance
Sound Mode
SRS TS XT
AVL
MAXX Bass
Reset
menu
Off
Off
Off
Standard
User
Standard
Music
Theater
This manual suits for next models
1
Table of contents
Other Haier TV manuals

Haier
Haier 29T9G User manual

Haier
Haier 21F3A-T User manual

Haier
Haier 34FV6H User manual

Haier
Haier 29FA1 User manual

Haier
Haier LE32F32200 User manual

Haier
Haier HLTDC15 - 15" LCD TV User manual

Haier
Haier HLC19R - 19" LCD TV User manual

Haier
Haier 29FA10 User manual

Haier
Haier HTX21S31 User manual

Haier
Haier L47K30B User manual

Haier
Haier HTAF2918 User manual

Haier
Haier HTN13R12 User manual

Haier
Haier HL22R3 User manual

Haier
Haier NS-CL15C User manual

Haier
Haier LE32B9000 User manual

Haier
Haier 29T9D User manual

Haier
Haier HTR13 - 13" CRT TV User manual

Haier
Haier D21FA11-AM User manual

Haier
Haier HLC19W-A Building instructions

Haier
Haier 25F9K-T User manual