MENU OPERATION
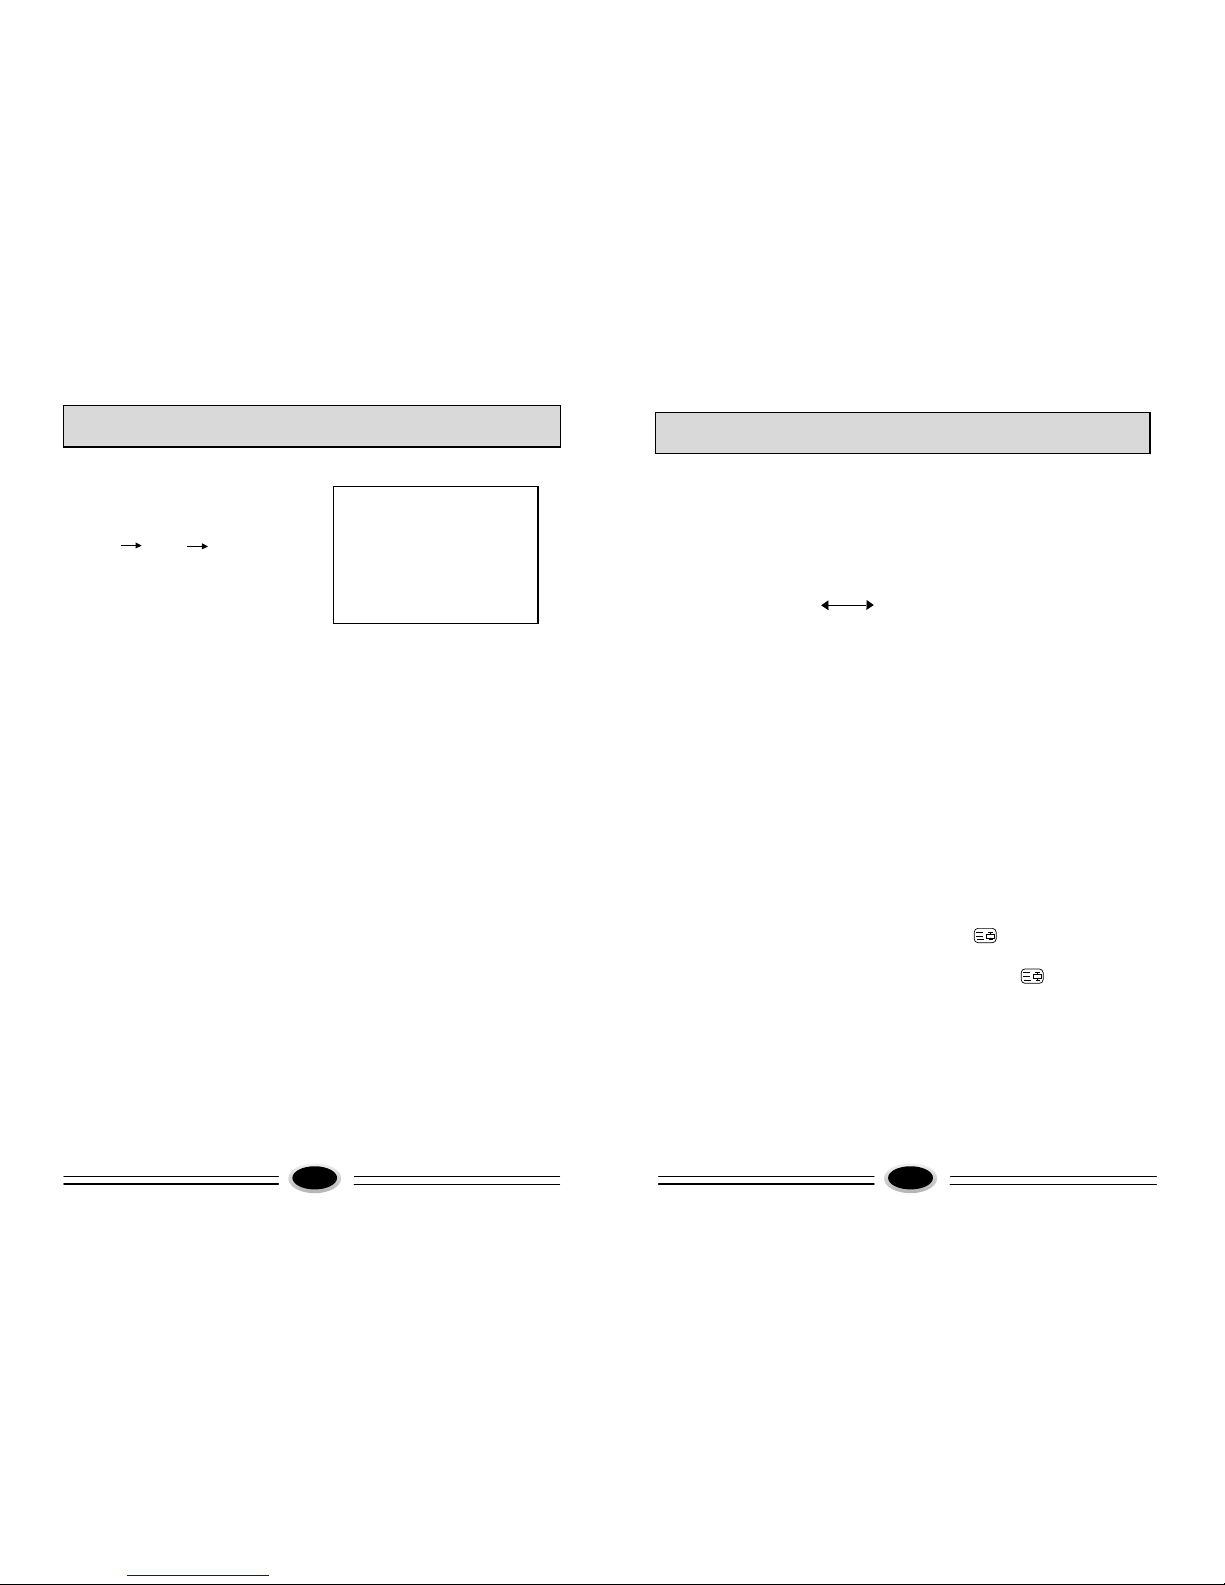
EXCHANGE
PROGRAM1 10
PROGRAM2 14
EXCHANGE
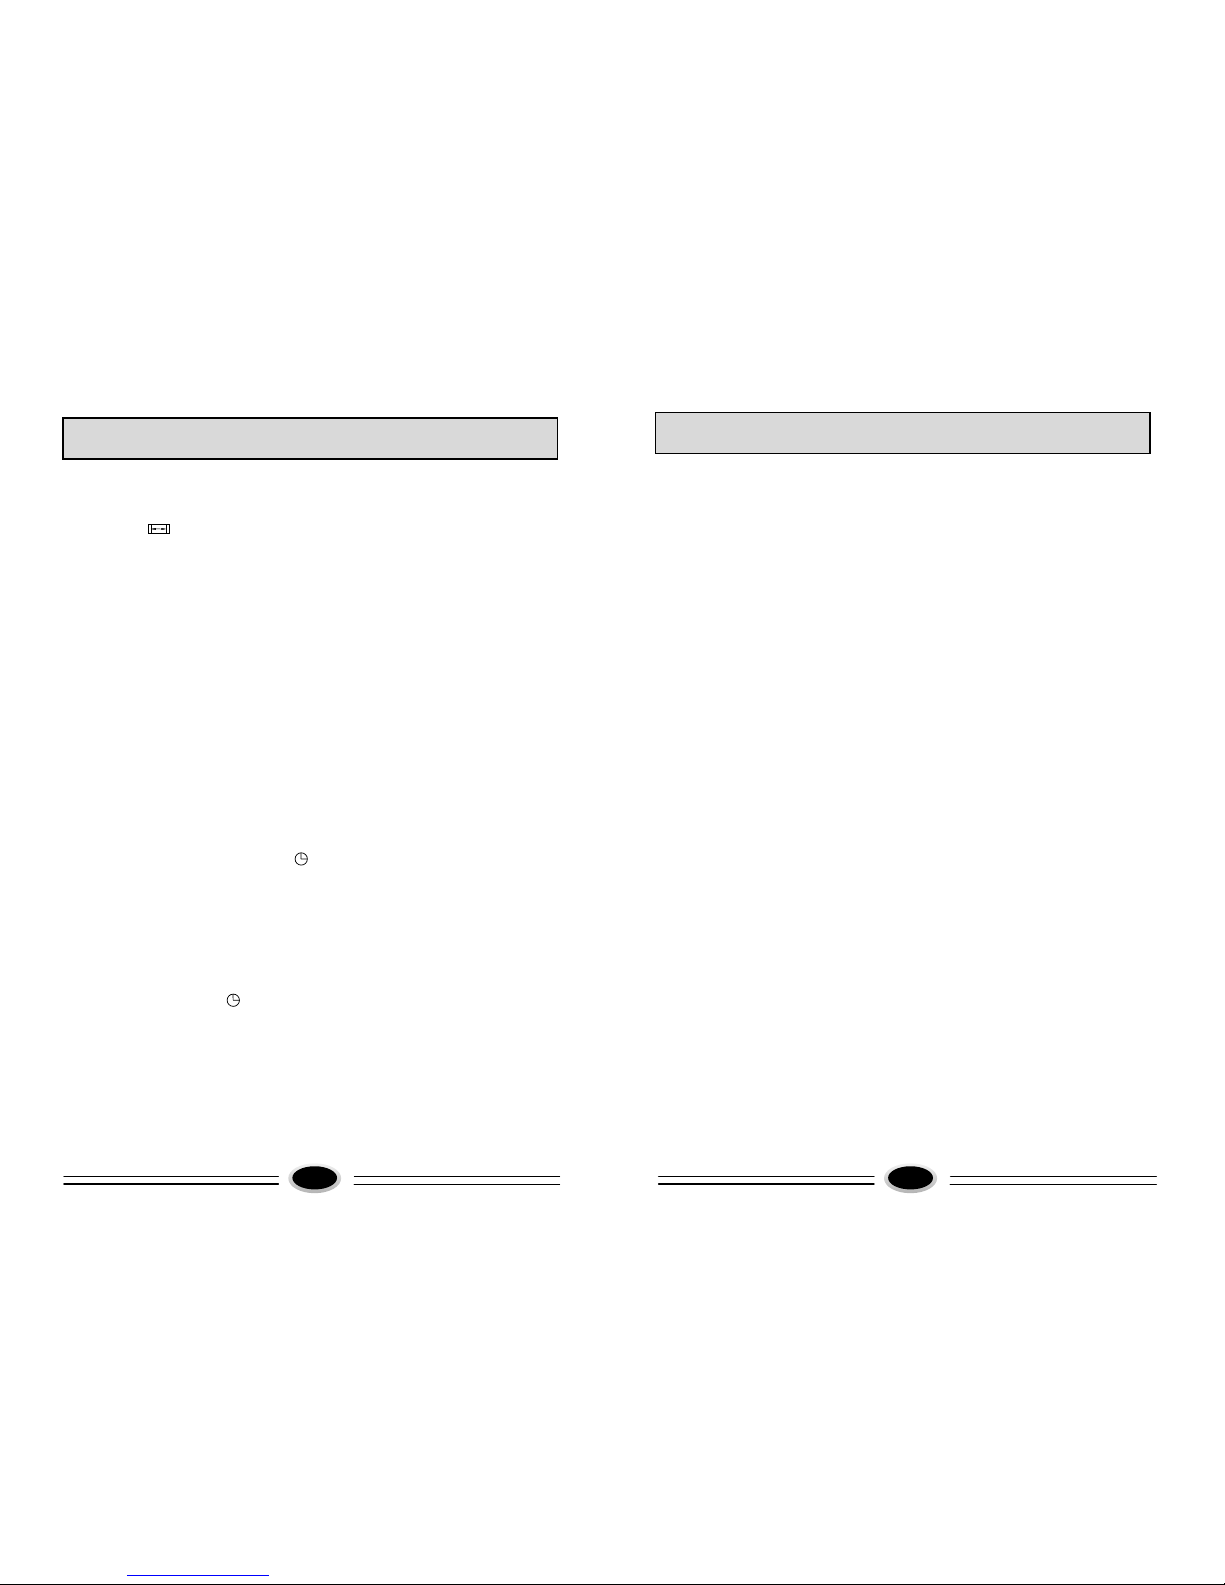
TIME
CLOCK --:--
ON TIME --:--
ON PROG 2
OFF TIME --:--
SLEEP TIMER 0
REMIND TIME --:--
REMIND PROG 1
11 12
5. EXCHANGE Function: number and channel exchange.
A. Push [MENU] key repeatedly to select EXCHANGE.
B. Using [P+] or [P-] key to select
PROGRAM 1. Using [V+] or [V-]
key to change Program 1 Number.
C. Using [P+] or [P-] key to select
PROGRAM 2. Using [V+] or [V-]
key to change Program 2 Number.
D. Using [P+] or [P-] key to select
EXCHANGE. Using [V+] or [V-] key,
exchange is over.
MENU OPERATION
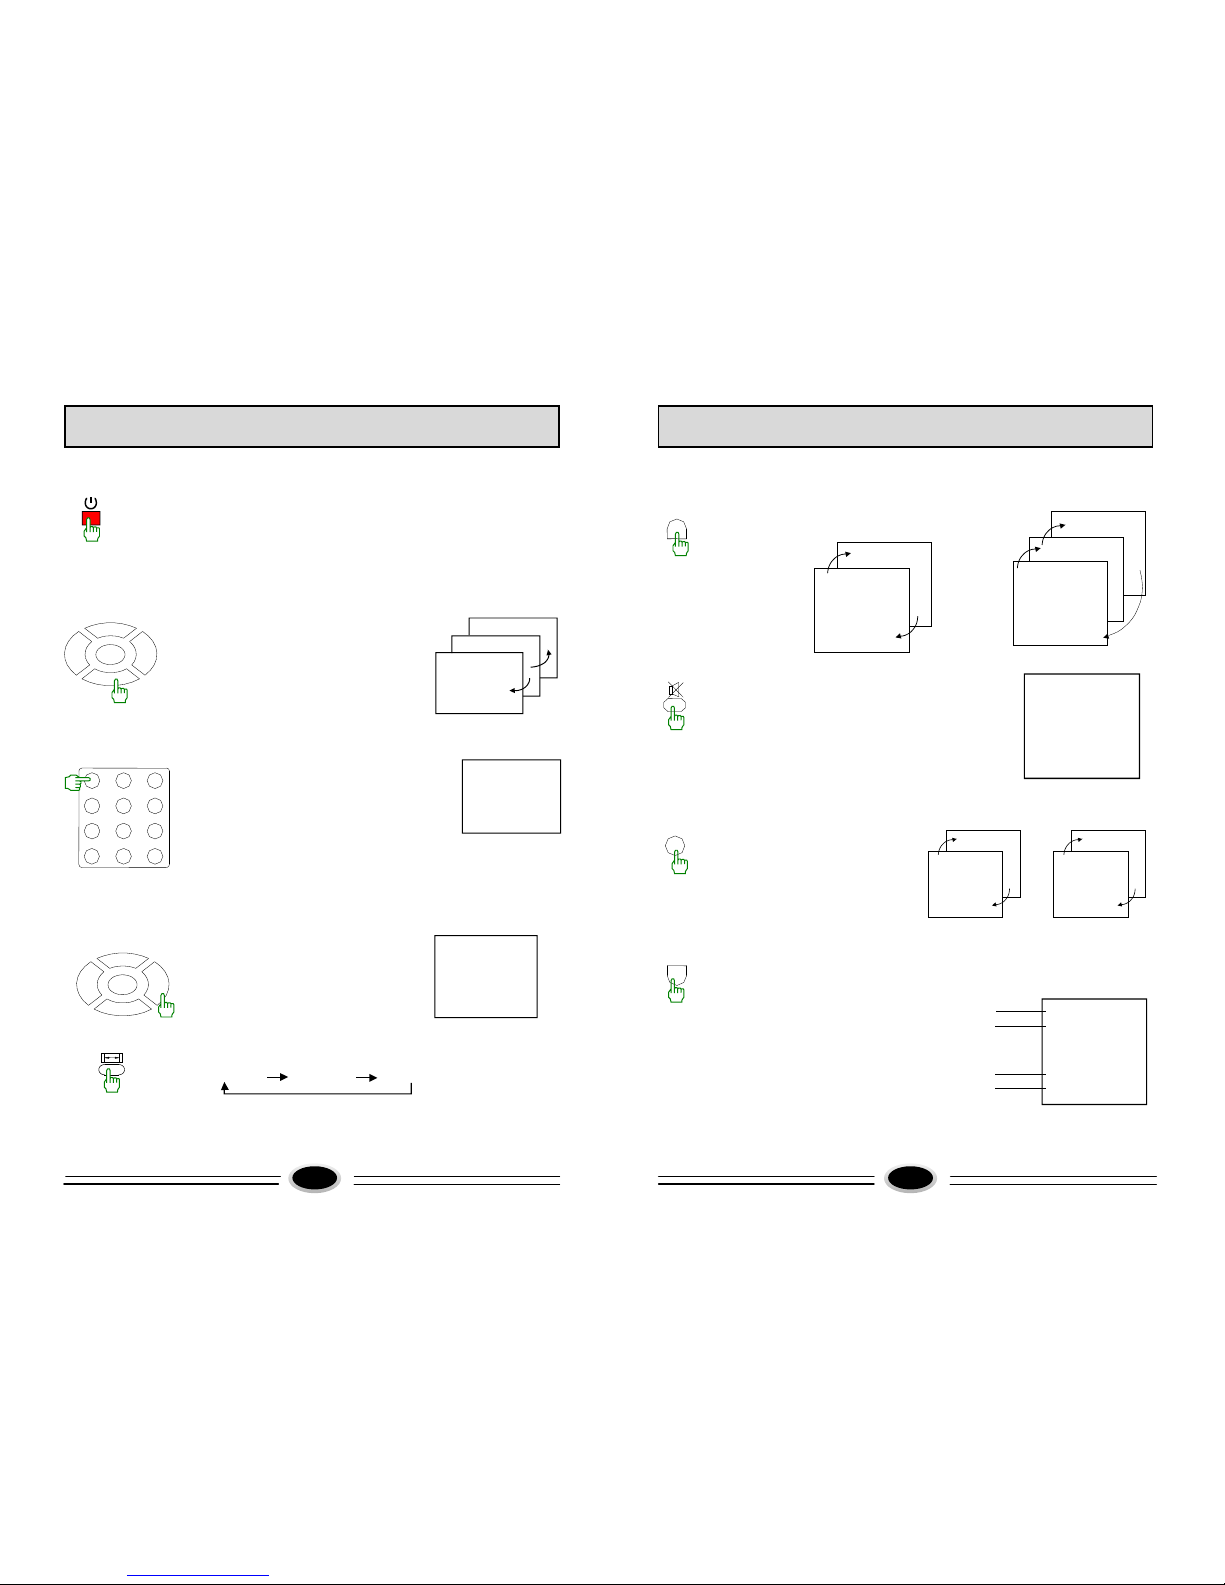
1. [MENU] key
Push [MENU] key continually to scroll through the MENU selection as
follows:
PICTURE SOUND TIME SETUP TUNE EXCHANGE
2. PICTURE MENU Function: Brightness, Contrast, Colour, Sharpness, Tint
A. Select each function using the [P+]
or [P-] key.
B. Each value can be controlled by the
[V+] or[ V-] key.
C. Repeat any functions if required.
NOTE: TINT control will be appeared
only if a NTSC signal is being
received.
3. SOUND MENU Function: Volume
A. Press SOUND menu, the volume will appear.
B. Each value can be controlled by the [V+]or [V-]
key .
C. Using [P+] or [P-] key to select SKIP. Using [V+] or [V-] to
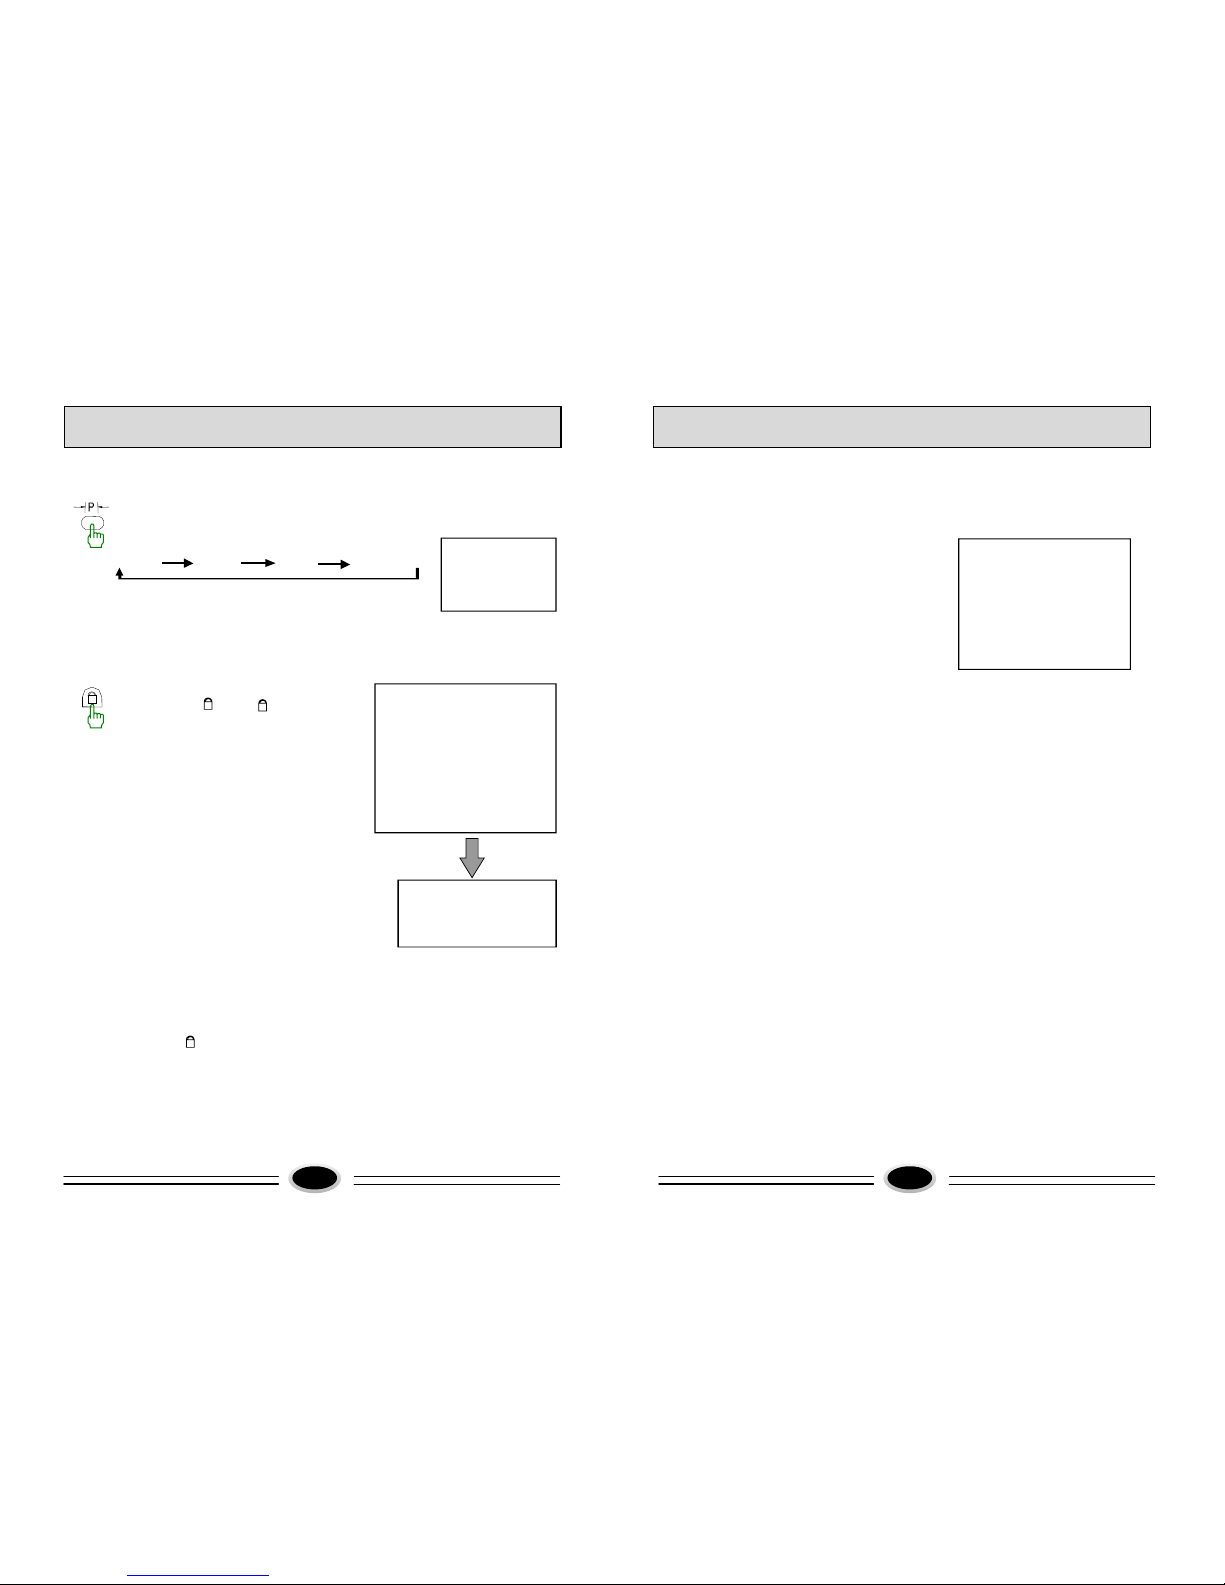
select ON or OFF. 4. TIME MENU Function: Time and Timer setting
A. Select TIME with the [MENU] key.
Using the [P+] or [P-] key to select
the item.
B. Using the [P+] or [P-] key to select
CLOCK, ON-TIME, OFF-TIME,
SLEEP TIMER or REMIND TIME.
C. Press [P+] or [P-] key to select minutes,
then using [V+] or [ V-] key, minutes
will change from 00 to 59. Press [P+] or
[P-] key to select hours, then using
[V+] or [ V-] key, hours will change
as follows: 0,1,..23--:--.
D. For ON-TIME, OFF-TIME or
REMIND TIME setting, using [P+]
or [P-] key to select ON PROG,
using [V+] or [ V-] key to change
On-Program number.
E. Using [P+] or [P-] key to select
SLEEP TIME, Using [V+] or [ V-] key,
sleep timer will change as follows:
0 10 20 30 40 ...160 170 180 0
5. SETUP Function: other function setting.
A. Using the [P+] or [P-] key to select
the item.
Using the [V+] or [V-] key to change
the item.
B. Using the [P+] or [P-] key to select
the COLOR SYS.
Using the [V+] or [V-] key, color sys
will change as follows:
AUTO PAL NTSC3.58 NTSC4.43 SECAM
C. Using the [P+] or [P-] key to select the AVL, AVL is auto volume level.
Using the [V+] or [V-] key, AVL will be turned OFF and ON.
PICTURE
BRIGHTNESS 48
CONTRAST 48
COLOUR 32
SHARPNESS 32
TINT