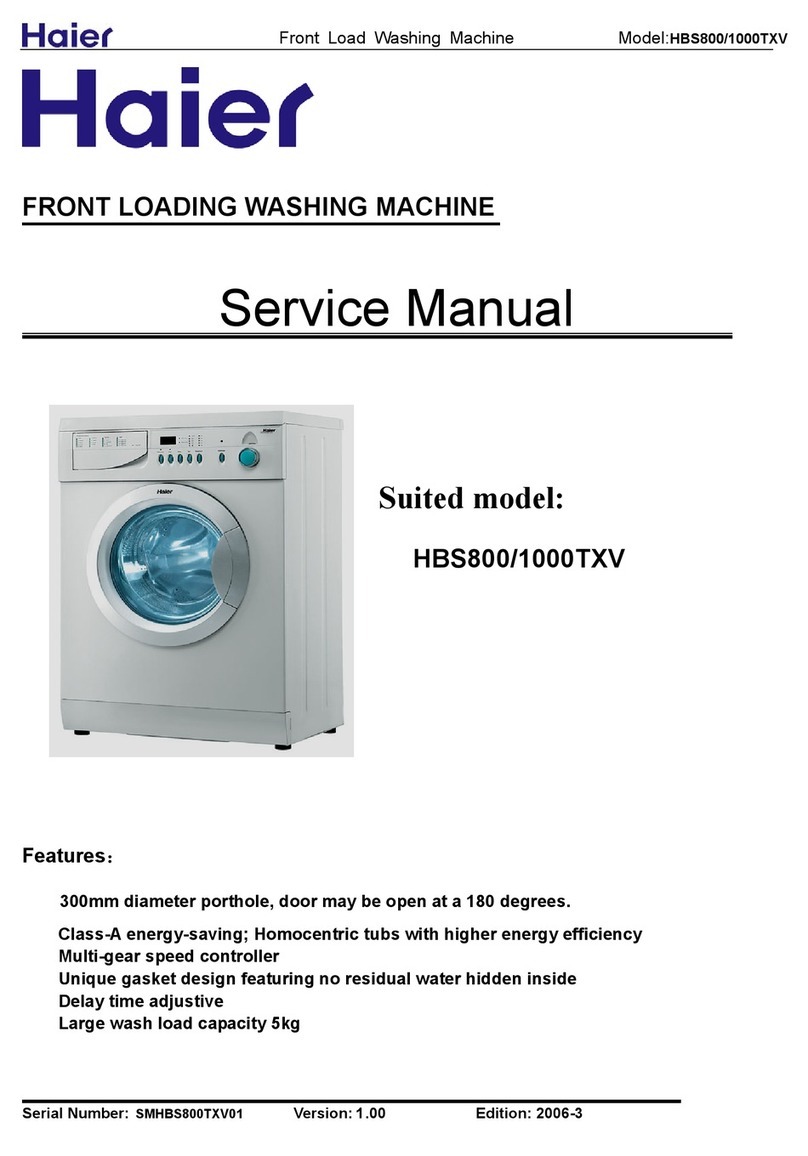
Haier CANDY CSS4 1272D3/1-S Specification sheet

D.R. ©2019 –HAIER EUROPE SERVICE ITALIA
Any change or alteration whatsoever of this document is formally prohibited except with the previous consent of the issuer.
1
TECHNICAL NOTE N. 00267/LB –18/10/2019
The following test routine procedure is valid for both washing machines and washer dryers
from the Candy Rapidò range which will be available to the market from May 2019
1) Preliminary activation fase
Plug the machine using “the self-diagnostic
shuko patch cord extension P/N: 91941051
(See Picture 1). Connect the patch cord
extension to the power supply.
By the cables with connector supplied with
the patch cord extension ( See Picure 1 - Ref
“A”), connect to the Amperometric bushings
(Ref. ”B”) a multimeter set to Ammeter
(maximum full scale).
2) Test activation
Open the porthole and visually check that the TUB IS
EMPTY (during the test the out of balance sensor is
disabled).
To activate the test procedure you must reset the
language menu selection as shown below:
Move the program knob in any program press
simultaneously and hold down the option buttons
“STEAM” and “START DELAY” until the display
showing “ENGLISH” (see Picture 2)
Move the program knob in “OFF”,
then turn it to the second position on the right
(see Picture 3)
SUBJECT:
“RAPIDO” – ACTIVATION OF TEST ROUTINE PROCEDURE
Picture 1
1
Cod: 91941051
Picture 3
Picture 2

D.R. ©2019 –HAIER EUROPE SERVICE ITALIA
Any change or alteration whatsoever of this document is formally prohibited except with the previous consent of the issuer.
2
.Within 5 seconds press in rapid
sequence (one at the time) all the
keys from left to right (see picture
4) (except the start) key until the
message "LINE TEST" appears (see
picture 5). All the luminous icons
will be activated.
TEST STARTs: within 7 seconds from
“LINE TEST” appearing, push the
“START/PAUSE”sensor at the bottom
To confirm the activation is successful,
the eeprom code will be shown on the
display (See Picture 6).
NB: at the end of the 7 seconds the
display will back to the welcome
message
3) Activation phase execution
BE AWARE: It should be pointed out that the activation phase (of the factory test) has a very short
duration (approximately 60 - 80 seconds), for that reason you need to pay attention to each stage
When the test ends without displaying errors it does not mean that all electromechanical /
electronic components present on the machine work properly. For some components a visual
check is required, for others it is necessary to check that the corresponding current value, shown
on the power meter is correct (for example washing or drying resistance). If in doubt, it is
recommended to repeat the test focusing on the execution of the specific phase.
To find the position of the detergent drawer compartments, mentioned during the test phases,
refer to Picture 7. In the event that an error occurs, the test run will be interrupted and the
corresponding error code will appear on the display (See sample in Picture 8). The table with the
meanings and the suggested checks is available in Chapter 4.
Picture 7
I
I
Picture 5
Picture 6
Picture 8
Picture 4

D.R. ©2019 –HAIER EUROPE SERVICE ITALIA
Any change or alteration whatsoever of this document is formally prohibited except with the previous consent of the issuer.
3
Phase 1: Water is loaded to complete the "base level" of 6 liters, through the Detergent's
Compartment for Pre-wash (I).
Phase 2: 1 second pause.
Phase 3: The water heating element is fed for about 6 seconds (About 4.5A on the Digital
multimeter, if the element fitted will be 1600W).
Phase 4: The water load continues through the detergent's compartment for the Main Wash (II).
The Motor activates and then tumbles the drum clockwise at 55 rpm for about 16
seconds. If present, the Water Recycling System with Ejector is activated.
Phase 5: The Motor pauses for ~ 4 seconds. The water load continues as previously.
Phase 6: Simultaneously the Solenoid Valve fills through the washing compartment (II) and the
Motor tumbles the drum anticlockwise at 55 rpm, for around 12 seconds.
In the last seconds of this phase, the water load is carried out by the two solenoid valves
simultaneously feeding, to test the withdrawal from the softener bowl (See Picture 8 - ).
Phase 7:The Drain Pump is activated, until the pressostat reaches the "empty tank" condition.
Phase 8:A short spin is carried out, this lasts about 10 seconds, at half of the maximum speed
available without anti-balance. (The drum must be empty!)
Fase 9: While waiting for the door to open all the icons remain lit and the word "WAIT DOOR"
appears
END TEST WM:End of the WASHING MACHINE models test routine.
NB: only if the model in question is a washer dryer the following steps are also executed:
Phase 10:Immediately after the end of the spin phase, both the drying heater and the drying fan
with the condenser solenoid valve are active, the drying heater (for the first 5 seconds
- ~ 5.90A at 220-230V/CA) and the drying Fan and condenser solenoid valve for the
Steam Condensation (for a total of 15 seconds).
END TEST WD: End of the WASHER DRYER models test routine.
WHEN THE TEST ROUTINE PROCEDURE ENDS ALL THE SMART RING ICONS BLINK
SWITCH OFF THE MACHINE KEEP PRESSED THE ICON IN THE SMART RING CENTER FOR 3
SECONDS AND UNPLUG TO DISCONNECT THE WASHING MACHINE. LEAVE IT UNPLUGGED FOR
30”SECONDS AT LEAST.
This feature is used to make sure that the test routine procedure is completely reset and will
not be repeated when the washing machine is restarted.
Note: turn on the machine again and set the language the customer requires.
UK Engineers only: When connecting the washer for the test routine use your Energine meter
and test with your mulitmeter. You DO NOT need to use the Shuko patch cord.

D.R. ©2019 –HAIER EUROPE SERVICE ITALIA
Any change or alteration whatsoever of this document is formally prohibited except with the previous consent of the issuer.
4
4) Error code Table Detected for RAPIDO’ models range
Cuore Three phase Power Card –GEN3
ERROR CODE
MOST PROBABLE REASON FOR THE ERROR CODE & SUGGESTED CHECK
E01
Door Safety Lock Device and/or Wiring and connections. Mechanical issue
between door hook and door lock device .
E02
Cause 1: the water load phase was not completed in the expected time.
Defective solenoid valve, Charging Tube Water choking, Network Low pressure
and/or Wiring, triac possible burning of command on the Electric Module.
--------------------------------------------------------------
Cause 2: the water load phase was not completed in the correct way (Check
both wiring and electrical connections on the drain pump or check drain pump
con winding interrupted) (Also see E03)
E03
The Water Drain Phase was not completed within the designed limit time.
Clogged Filter, Drain Pump, Drain Hose, Drain outlet.
E04
Several interventions by the Anti-flood Safety Contact of APS Pressostat (10).
Solenoid Valve stuck open, defective APS Pressostat and/or Wiring.
E05
NTC Temperature Reading Probe open or short circuit and/or Wiring.
E06
OUT OF BALANCE INTERVENTION COUNTER (run spin-dryer failure). Customer
has washed with an unbalanced load. ( Provide explanations and suggestions
about the loading mode ) (only in the Eeprom)
E07
Check the door lock and door lock wiring & connections. (locked in closed
position). Make sure the motor does not have an earth leak. Only for WM with
three-phase motor, make sure that the inductor does not have an earth leak.
Electric Module. (Very rare)
E08
Check whether the motor connector is bent or not properly connected.
Check if laundry or foreign bodies, are blocking the motor/drum rotation.
Defective Tachometric Dynamo (opened or shorted) and/or Wiring.
Resistance value of Tachometric coil for CESET Triphase Motor: 116 Ω (20°C)
Resistance value of Tachometric coil for WELLING Triphase Motor: 67 Ω (20°C)
E09
Defective "Cuore" Electric Module (IGBT check damaged Motor) and/or Wiring.
E11
Dryer NTC defective and / or wiring.
Ambient temperature close to 0 ° C.
Important: must also check the status of manual reset safety thermostats
(Reset them if they have worked to ensure that the user has not interrupted a
drying cycle).
E12
Issue with the drying system: Drying heater defective (Check for correct
readings via the test routine procedure). Wiring/connection to dryer heater
defective, check NTC drying probe, possible effect as a result of E11 error
detection, Safety thermostat intervention TOC.
E13
Missing communication between "Cuore" Electric Module and Display Electric
Module and/or Wiring.

D.R. ©2019 –HAIER EUROPE SERVICE ITALIA
Any change or alteration whatsoever of this document is formally prohibited except with the previous consent of the issuer.
5
TRIPHASE Cuore Electric Module –GEN3
ERROR CODE
MOST PROBABLE REASON FOR THE ERROR CODE & SUGGESTED CHECK
E15
Cause 1: Eeprom corrupted –not programmed Electric Module –Cuore Electric
Module defective
---------------------------------------------------------------
Cause 2: Only in the early production, E15 could be shown incorrectly even if
the NTC wash sensor is open or shorted. Before inputting the defect to the
Electric Module check the appropriate tests are carried out on the NTC
sensor which is integrated on the wash heater.
E17
Wrong signal from Tacho. Check both wiring and electrical connections, check
the ohmic value on the Tacho (Also see E07) also check if the magnet is present
(do use a multimeter to test the wiring). Visually check the cuore Electric
Module (tracks burned, water traces etc.)
IMPORTANT: in case of water traces appropriate controls are required on the
entire washing machine's hydraulic circuit.
E20
Cause 1: Difficult reading the water level: potentially defective APS Pressostat
generates a wrong frequency value. Check the connection with the air trap.
-------------------------------------------------------------
Cause 2: Be aware, E20 may also be displayed due to problems with water
drainage failure; as a foreign body may be present in the drain pump impeller,
clogged filter, plumbing partially obstructed, bent drain tube. Generally,
before replacing the APS device it is better check that the appliance is draining
correctly.
E21
Unable to read water level: Check wiring and connection on the APS Pressostat
or Cuore Electric Module. Defective APS Pressostat.
E22
Troubles with water heating: Wiring or Water Heater or “Cuore" Electric
Module are defective.
1. Check that the wash heater wiring is not interrupted measure continuity with
the multimeter.
2. Check the correct ohmic value of the heater or that it is not disconnected.
3. Check that the heating command is not defective. (Active the test routine
procedure and be sure that the heating absorption is correct).
Thank you for your attention.
Candy Hoover Service Italia
Service Quality
Table of contents
Other Haier Washer manuals

Haier
Haier A6-707 User manual

Haier
Haier XPB135-LA User manual

Haier
Haier RR36 User manual

Haier
Haier XQJ50-31 User manual

Haier
Haier HW80-B14939S8 User manual

Haier
Haier HWM68VA User manual

Haier
Haier B629TX Setup guide

Haier
Haier HW80-B1486 User manual

Haier
Haier HW120-B14686-F User manual

Haier
Haier HK1207TVE User manual

Haier
Haier LED1641B User manual

Haier
Haier Mini magical child XQBM23-12 User manual

Haier
Haier HWM33-200D User manual

Haier
Haier BEWM1000H Instruction Manual

Haier
Haier HW70-1001 User manual

Haier
Haier LMA6120WPBB0 User manual

Haier
Haier GE PTW600BPR DG Series How to use

Haier
Haier HW-B1270 User manual

Haier
Haier JW-K51A User manual

Haier
Haier RWT150AW User manual