logo
Brands
  1. Home
  2. •
  3. Brands
  4. •
  5. Haier
  6. •
  7. Washer
  8. •
  9. Haier HWM75TLU User manual

Haier HWM75TLU User manual

Other Haier Washer manuals

Haier XPB65-113S User manual

Haier

Haier XPB65-113S User manual

Haier LMD6124PBBB0 User manual

Haier

Haier LMD6124PBBB0 User manual

Haier HWM80-187S User manual

Haier

Haier HWM80-187S User manual

Haier XPB80-50 User manual

Haier

Haier XPB80-50 User manual

Haier HLTW600AXW User manual

Haier

Haier HLTW600AXW User manual

Haier HWM-7.5 Configuration guide

Haier

Haier HWM-7.5 Configuration guide

Haier HMS1070B User manual

Haier

Haier HMS1070B User manual

Haier HWM110-9188DD User manual

Haier

Haier HWM110-9188DD User manual

Haier HW80-B14959U1 User manual

Haier

Haier HW80-B14959U1 User manual

Haier HW-D1070TVE User manual

Haier

Haier HW-D1070TVE User manual

Haier HWM90-0566 User manual

Haier

Haier HWM90-0566 User manual

Haier HWM70-10A User manual

Haier

Haier HWM70-10A User manual

Haier HM1000T User manual

Haier

Haier HM1000T User manual

Haier WD9900 User manual

Haier

Haier WD9900 User manual

Haier HT1600TXVE User manual

Haier

Haier HT1600TXVE User manual

Haier HWM95-113S User manual

Haier

Haier HWM95-113S User manual

Haier XQG50-QF802 User manual

Haier

Haier XQG50-QF802 User manual

Haier HDS1055TVE User manual

Haier

Haier HDS1055TVE User manual

Haier HWMP60TLF User manual

Haier

Haier HWMP60TLF User manual

Haier SBM600T User manual

Haier

Haier SBM600T User manual

Haier M5001T User manual

Haier

Haier M5001T User manual

Haier HWS60-12F2S User manual

Haier

Haier HWS60-12F2S User manual

Haier SLC116PEW Assembly instructions

Haier

Haier SLC116PEW Assembly instructions

Haier HLPW028BXW User manual

Haier

Haier HLPW028BXW User manual

Popular Washer manuals by other brands

Samsung WF8508NMW8 null

Samsung

Samsung WF8508NMW8 null

Samsung WF-B105AV null

Samsung

Samsung WF-B105AV null

Akai AWM1050WF null

Akai

Akai AWM1050WF null

Tricity Bendix AW 1000 W Operating & installation instructions

Tricity Bendix

Tricity Bendix AW 1000 W Operating & installation instructions

Panasonic NA-F60L5WRB operating instructions

Panasonic

Panasonic NA-F60L5WRB operating instructions

GE WSLP1500 Dimensions and installation information

GE

GE WSLP1500 Dimensions and installation information

Electrolux EWF1284EDW Service manual

Electrolux

Electrolux EWF1284EDW Service manual

LG TV2516DV3B owner's manual

LG

LG TV2516DV3B owner's manual

LG TH2517DSAV owner's manual

LG

LG TH2517DSAV owner's manual

VESTEL CMH-XL 7510 TE user manual

VESTEL

VESTEL CMH-XL 7510 TE user manual

AEG 74335 User information

AEG

AEG 74335 User information

Johnson JWF721A user manual

Johnson

Johnson JWF721A user manual

Beko WTE7604XLW0 owner's manual

Beko

Beko WTE7604XLW0 owner's manual

Danby DTT100A1WDB Owner's use and care guide

Danby

Danby DTT100A1WDB Owner's use and care guide

Amica WA 14 Ex operating instructions

Amica

Amica WA 14 Ex operating instructions

Daewoo DWD-F1222 instruction manual

Daewoo

Daewoo DWD-F1222 instruction manual

Bosch WAS28461AU instruction manual

Bosch

Bosch WAS28461AU instruction manual

Miele PW 6080 Vario manual

Miele

Miele PW 6080 Vario manual

https://manuals.online logo
https://manuals.online logoBrands
  • About & Mission
  • Contact us
  • Privacy Policy
  • Terms and Conditions

Copyright 2026 Manuals.Online. All Rights Reserved.

HWM75TLU
TABLE OF CONTENTS
PAGE
IMPORTANT SAFETY INSTRUCTIONS.............2,3
OPERATING INSTRUCTIONS....................................4
Parts and Features...........................................................................4
Operating instructions....................................................................5
CARE AND CLEANING GUIDE.......................................7
Cleaning and Maintenance..............................................................7
Moving & Vacationing .......................................... .. .. ... ........8
TROUBLE SHOOTING..................................................8
INSTALLATION INSTRUCTIONS..................................10
Tools and Materials Required.........................................................10
Unpacking Your Washer..................................................................11
Levelling Your Washer.....................................................................11
Steps for Installation......................................................................12
ELECTRICAL REQUIREMENTS.................................... 14
Power Interruptions.......................................................................14
SPECIFICATIONS............................................Back Cover
1
IMPORTANT SAFETY INSTRUCTIONS
Warning - To reduce the risk of fire, electric shock, or
injury when using your appliance, follow basic
precautions, including the following:
1. Read all instructions before using the appliance.
2.This appliance is not intended for use by persons (including children)
with reduced physical, sensory or mental capabilities, or lack of
experience and knowledge, unless they have been given supervision or
instruction concerning use of the appliance by a person responsible for
their safety. Children should be supervised to ensure that they do not
play with the appliance.
3. Use this appliance only for its intended purpose as described in
this user and care guide.
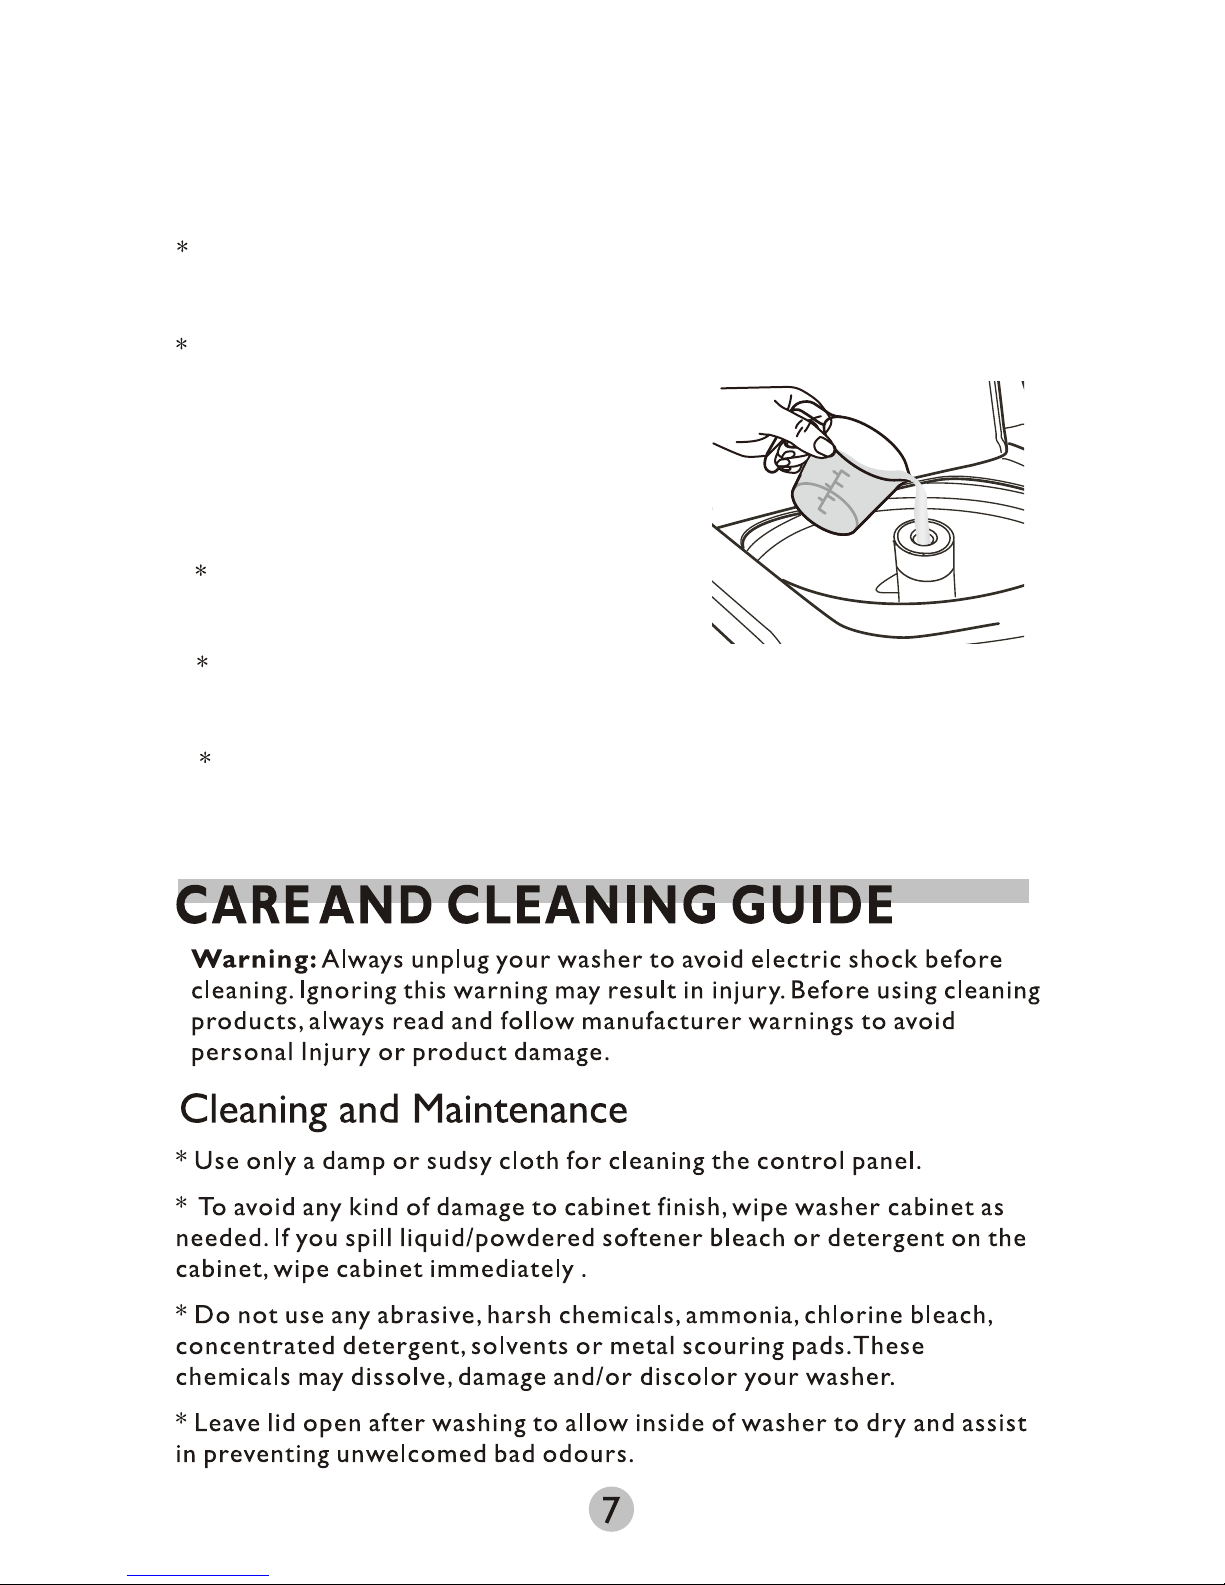
4. Use only detergents or softeners recommended for use in this
appliance and keep them out of the reach of children.
5. This appliance must be properly installed in accordance with the
installation instructions before it is used.
6. Never unplug your appliance by pulling on the power cord.
Always grasp the plug firmly and pull straight out from the outlet.
7. Replace worn power cords, loose plugs and power outlets
immediately.
8. Unplug your appliance before cleaning or before making any
repairs. Repairs should only be done by authorised technician..
9. Do not operate your appliance when parts are missing or broken.
10. Do not tamper with controls.
11. Do not operate your appliance in the presence of explosive
fumes or toxic flammable vapours.
o
12. Do not use hot water that exceeds 60 C in temperature. This
refers to hot water entering the machine. If temperature
cannot be controlled, use WARM wash only.
2
3
13. Do not use this appliance to wash clothes which are stained,
spotted or washed in gasoline, dry cleaning solvents or any
other explosive or flammable substances that could ignite
and explode.
14. Do not add or mix any flammable or explosive substances to
the wash.
15. Do not try to remove clothes while the washer is in motion.
Wait until it comes to a complete stop.
16. The lid must be closed when the machine is in operation.
17. Do not use this appliance for commercial applications.
18. Do not operate this appliance unless all panels are properly intact.
19. The appliance is not to be used by children without adult supervision.
20. This appliance must be connected to an approved electrical outlet
with 220-240V power source.
21. Do not repair or replace any part of the appliance, this can only be
done by an authorised technician.
22. To reduce the risk of electric shock or fire, do not use extension
cords or adapters to connect the unit to electrical power source.
23.
24.Use the hoses provided.
For washing machines having ventilation openings in the base,
the installation instructions shall state that the openings must
not be obstructed by a carpet.
25. If this appliance is supplied from a cord extension set or electrical
portable outlet device, the cord extension set or electrical portable
outlet device must be positioned so that it is not subject to splashing
or ingress of moisture.
14
15
14
15
Access Panel
Back Cover
* Temp:Warm/Cold; Load Size:Super;Program Select: Normal
Energy Label Program
Add Fabric softener(if desired):
1. Mix fabirc softener with an equal amount of warm but mix only enough to
ll to the line marked inside the fabric softener dispenser.
2. Pour the diluted fabric softener mixture into the hole on the top of
the agitator.
Notes:
Fabirc softener will automatically be
dispensed before the deep rinse cycle.
To avoid staining, do not overll the dispenser
or spill fabirc softener onto the lanudry.
When using fabirc softener, do not stop the
washing machine during the spray rinse cycle.
8
Moving & Vacationing
* Turn off water supply at the faucet and disconnect hoses. Drain water
from all hoses.
* Disconnect electrical plug.
* Dry inner wash tub. If moving washer disconnect drain hose.
* Turn the leveling legs clockwise all the way in.
* Move and store your washer in upright position only.
* To prevent mold or mildew, leave lid open so moisture inside machine
can evaporate.
* Insert transporting bolts if you are relocating the washer. Ensure
removal prior to usage.
If washer does not operate:
* Check the unit is plugged in. The plug may have come loose.
* Check if the electrical wall receptacle is of proper voltage.
* Check if the circuit breaker needs to be reset or if the fuse needs
replacing.
* Check if the washer is overloaded :load may need to be re-arranged or
redistributed evenly.
* Check if the lid is open. You may have to close the lid properly.
* The washer pauses in some cycles. This is normal in delicate or hand-
wash cycles which has short period of time. You will not hear washer
operation for a short period of time. When the soak time is over, it will
start automatically.
Problems with water:
* Not enough water coming out: Water faucet may need to be
completely turned on. Hoses may be tangled or kinked. Straighten out
hoses. Check water level selection, it may need to be readjusted.
TROUBLE SHOOTING
9
* Water temperature is incorrect: Check your water heater
temperature. Hot water needs to be at a temperature of at least 120 F-
140 F(49 C-60 C).Check to make sure the inlet hoses are properly
connected (E.g. Hot to hot & cold to cold).
* Water leaks: This may be due to incorrectiy installed drain hose or fill
hoses. Your home drain may be clogged . You may need to tighten hoses,
check the plumbing or call a plumber for assistance.
* Water will not drain: This may be due to not installing your drain hose
correctly. Check the position of the drain hose. In order to drain
properly, make sure that top of drain outlet is less than 5 ft. (1.5 m)
above the floor.
Washer is making noise:
* Washer may need to be reinstalled (Check washer installation
section).
* Washer load may need to be re-balanced, as the load may be uneven.
* Coins, loose change, buttons or other heavy objects could create
noise related sounds.
* Squealing sound: Due to overloaded wash tub.
* Vibration Noise: may be caused by not leveling washer properly on the
floor or uneven distribution of clothes in the tub.
°
° ° °
* The following sounds are normally heard during the
operation of the washer:
* Tumbling sounds: This is normal as the heavy wet clothes in
the washer are continuously being lossed around.
* Air rushing noise: This happens when the washer tub spins at
very high speeds.
* Wash and Rinse cycles going on and off will also make clicking
sounds.
Normal Operating Sounds