Spin tub shaft
Bearing seat
Figure 6
Oilite bearing
Inner lining of
the bearing seat
Fastening screw
Fastening screw of
the brake wheel
Inner lining of the
brake wheel
Brake wheel
Spin motor shaft
Points of Attention in After-sales Service
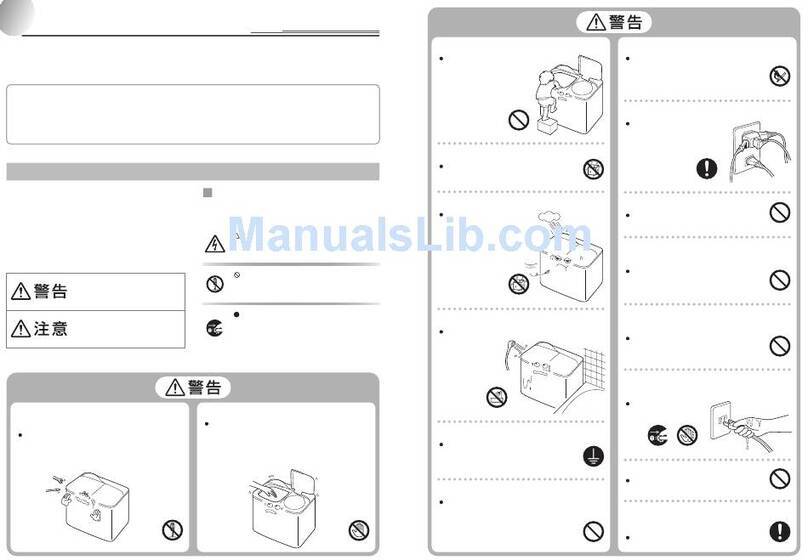
Be sure to switch off the power during dismantling or repair.
Be sure to use insulated wiring terminals and insulation box in connection of the wires, and
crimp and fix to proper position with suitable tools.
In welding connections with electric iron, be sure to twist the wires before welding, and insulate
with insulation tapes.
In welding the wires with electric iron, be sure not to touch the resin part and insulation part of
each switch.
The inlay connection wires and terminals shall not be loose or drop.
Do not make the wires touch the moving parts like the belt, pulley of the motor, brake bar etc.
Do not make the wires touch the sharp edges and high-temperature area.
In case that there are metal parts with the wires, do not make the wires touch the metal parts.
Insulation materials are needed between them.
After assembly, the washing machine shall act normally. Check if it leaks and if the sound and
vibration are normal.
Dismantling and installation of
the spin tub
Dismantle the spin tub frame component.
Loosen the fastening screw of the spin tub
shaft. The spin tub then can be taken out.
In installation, be sure to inlay the bulge of
the inner lining of the brake wheel into the
groove of the spin tub shaft. (Figure 6)
Figure 5
8
INSTALLATION AND ACCESSORY PARTS
Dismantling and installation of the control panel component
Loosen the fastening screws. Pull towards the direction indicated
in the figure to dismantle the control panel. In installation the
beard shall lock into the installation hole of the water reception
groove and the spin tub frame. (Figure 5)
Dismantling and installation of the spin tub frame component
Dismantle the control panel component. Loosen
the two fastening screws at the rear of the spin
tub frame to dismantle the component.

