2
Yes
No
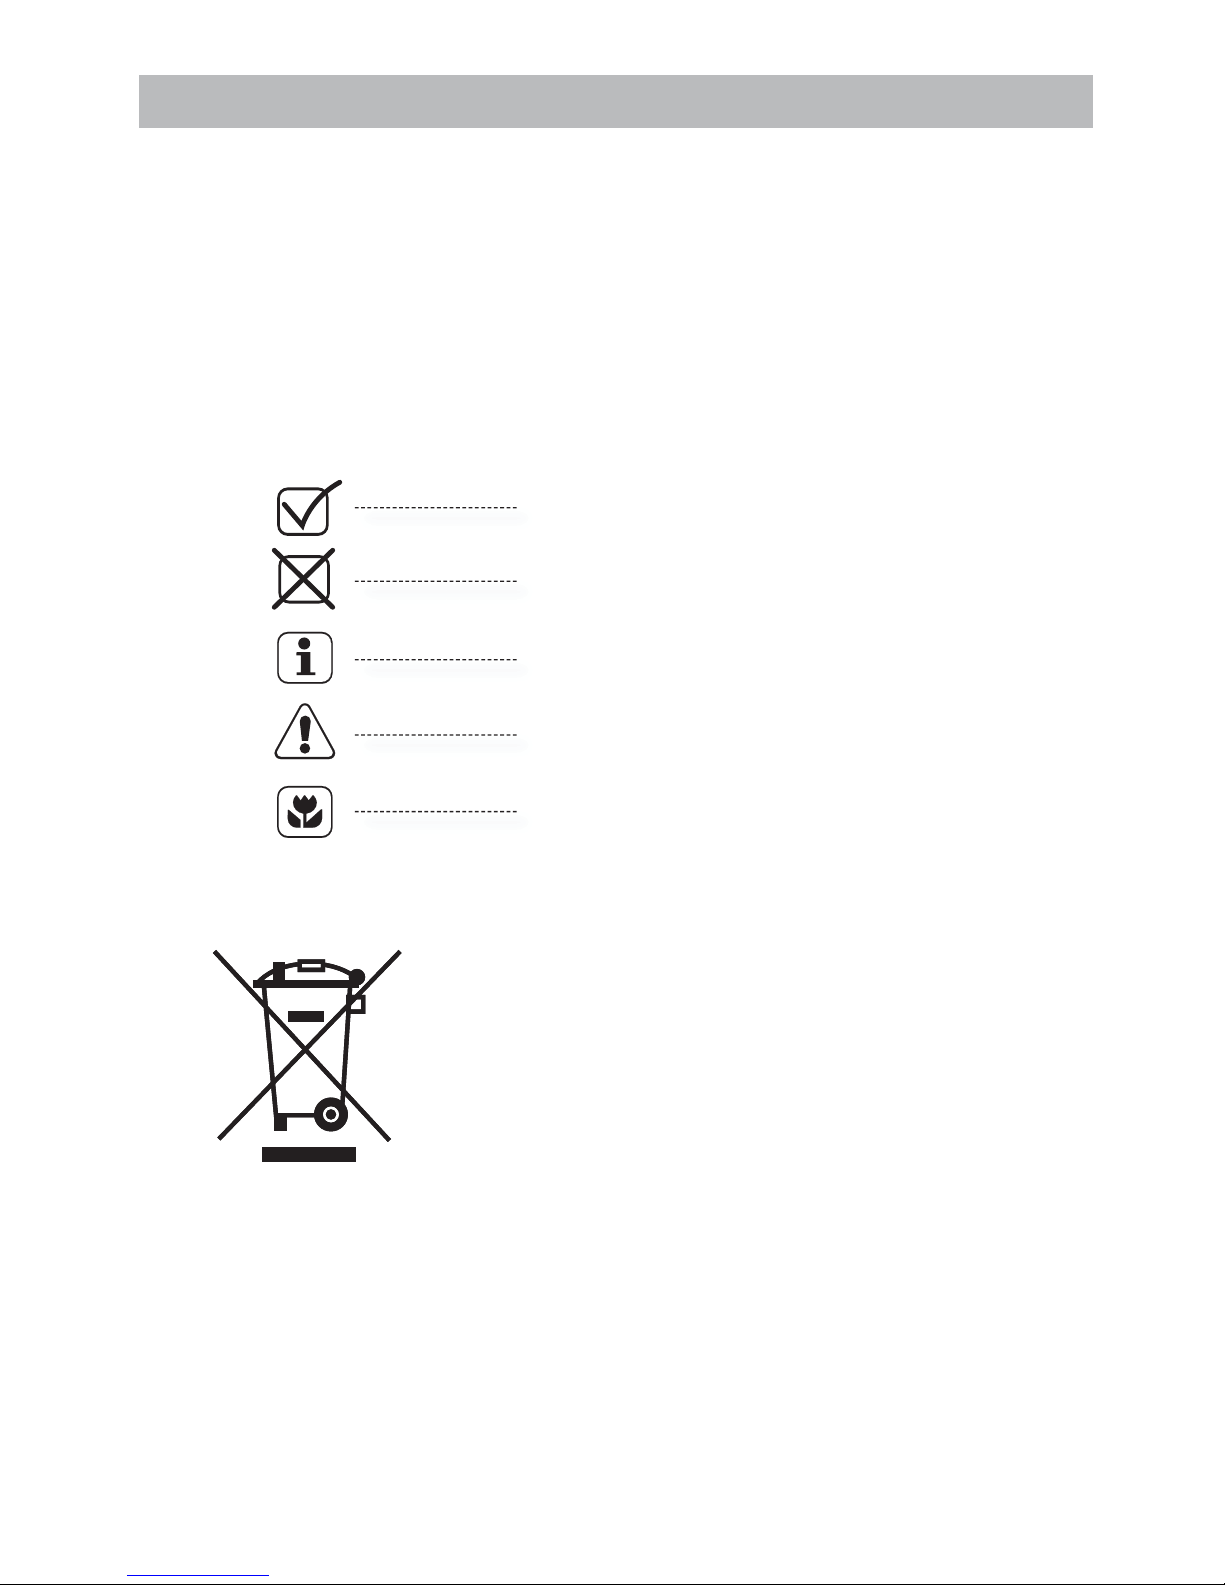
General information and tips
Warning! Important safety information!
Environmental information
The presence of this symbol on the product, accesso-
ries or materials that goes with this information indi-
cates that at the end of its useful life the product or
its electronic accessories (e.g. cable, Aqua Stop hose)
should not be disposed with other household waste.To
prevent possible damage to the environment or human
health from uncontrolled waste disposal, please separa-
te these items from other types of waste and recycle
them.This will promote the sustainable reuse of mate-
rial resources. Household users should contact either
the retailer where they purchased the product or rele-
vant local authorities to find out how they can take this
item for environmentally safe recycling and safety.
Business users should contact their supplier and
check the conditions of the purchase. This pro-
duct and its electronic accessories should not
be mixed with other commercial waste.
The old unit must be rendered inoperative before scrap-
ping, i.e. the power cord must be removed.As well, the
door lock must be rendered unusable, so that children
cannot lock themself.
Disposal
Legend
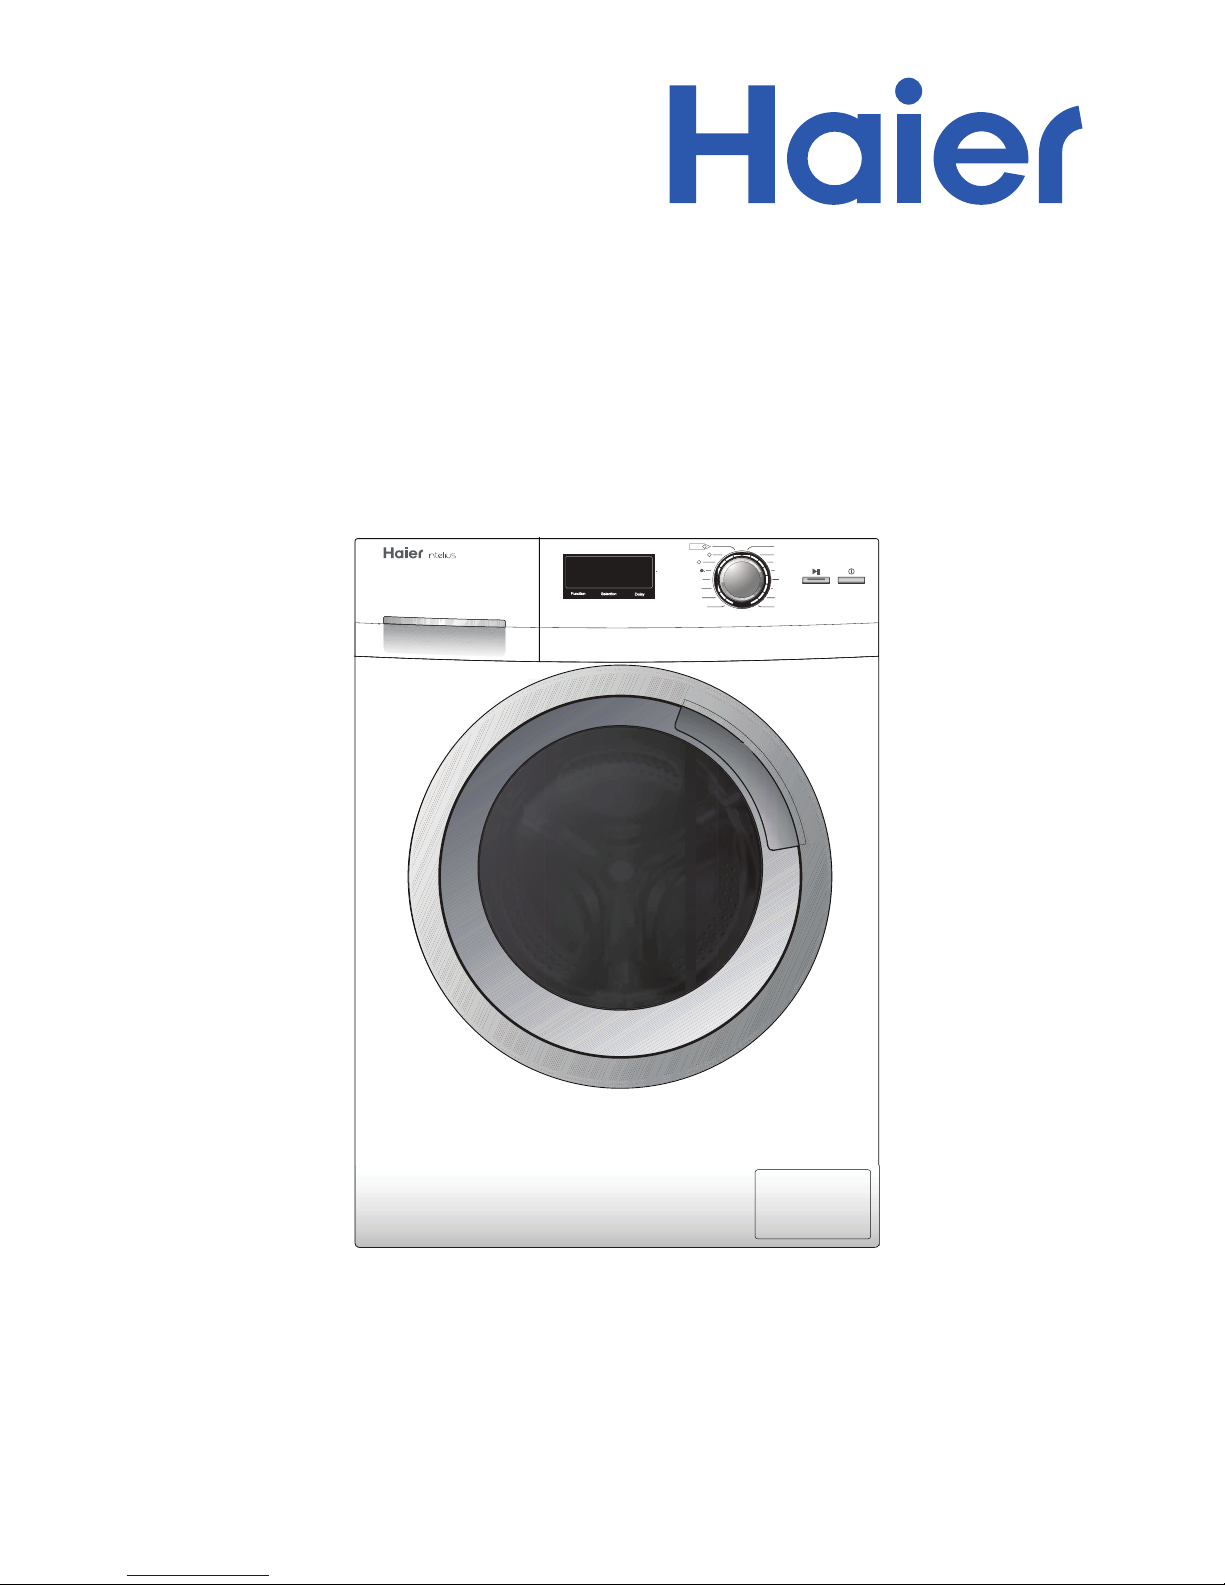
Thank you for purchasing a Haier product
Please read these instructions carefully before using this appliance. It contains impor-
tant information which will help you get the best out of your appliance and ensure safe
and proper installation, use, care and cleaning.
Keep this manual in a convenient place so you can always refer to it for safe and
proper use.
If you sell the appliance, give it away, or leave it behind when you move, make sure you
also pass on this manual so that the new owner can become familiar with all features
and safety warnings.