manuals.online logo
Brands
  1. Home
  2. •
  3. Brands
  4. •
  5. HAIOOU
  6. •
  7. Indoor Furnishing
  8. •
  9. HAIOOU HO-RS001 User manual

HAIOOU HO-RS001 User manual

Please read and understand this manual before beginning assembly of the product,
and make sure all parts are present. Compare parts with packaging contents list.
If any part is missing, or if you have any questions,
contact the service centre at E-mail:
[email protected]
IMPORTANT
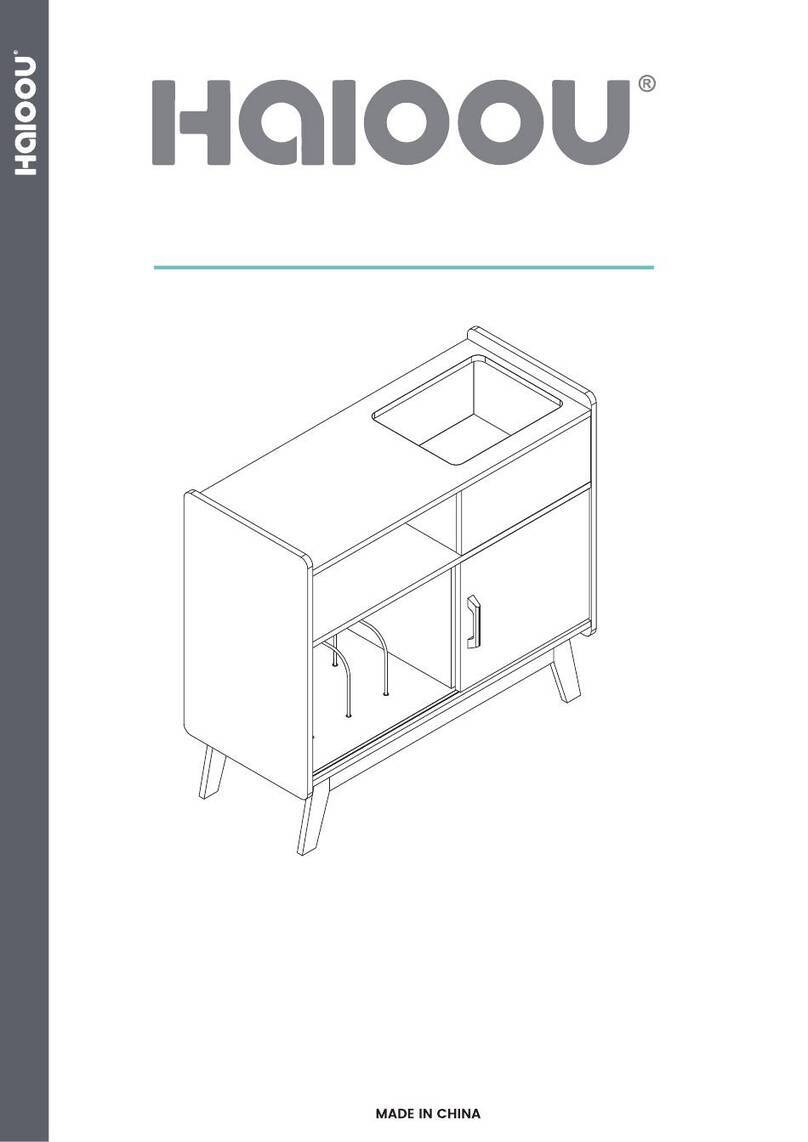
Assembly Instructions
Model:HO-RS001
Record Player Stand
NOTICE:
1. Ensure all parts and hardware are available before assembly.
2. Follow each step carefully to properly assemble this product.
3. Using the wrong screw will cause damage.
4. A Phillips head screwdriver is required to assemble this product.
5. An electric tool is banned from assembling this product.
Parts for reference:
2
3
4
5
8
8
15
Large wooden dowel (x14)
(x20)
8x40mm
Cam bolt (x48)
Cam lock (x48)
Door handle (x1)
A
B
C
D
E
F
G
H
I
Top track wheel (x2)
Rubber grommet (x2
Socket
Lower track wheel (x2)
(x1)
)
LED strip lights (x1)
J
Screw
3.5x14mm
Fixed tool (x2)
K
x6
A
x1
H
x1
J
x4
D
x2
K
A
AA
A
A
A
H
J
5
DD
DD
K
K
AA
B
B
3
x2
A
x2
B
1. Screw 6 Cam bolts (A) into panel ⑭⑤⑮.
2.Secure LED strip (J) into panel ⑭ using 4 Screws (D) and Fixer(K).
3.Secure the Socket (H) into panel ⑤ using screws.
Screw 2 Cam bolts (A) into panel ⑪, connect panel ③ and panel ⑪
using Cam locks (B) and Cam bolt (A) combination.
B
B
C
C
5
3
x2
C
x2
B
x2
C
x2
B
Place panel ③⑪ vertically on panel ⑭, secure them using 2
Large wooden dowels (C), cam locks (B) and cam bolts (A)
combination as shown below.
Flip the part(③⑪⑭) and adjust the position to which is shown
below. Place panel③ on panel⑤, secure them using the large
wooden dowels (C), Cam locks (B) and Cam bolts ( A) combination.
B
BC
C
14
3
Note: The groove is used for inserting the back panel.
14
A
A
5
B
B
B
15
4
5
x2
A
x4
B
***If you are on your own assembling this unit,
for this step, we suggest you lie it on its side
then continue the assembly***
1. PlaceƚŚĞWanel༆vertically onto panel༇, connect them using cam
bolts (A) and cam locks (B) combination.
2.
&ůŝp over the main part and adjust to the position as shown below,
sĐƌĞǁϮĂŵďŽůƚƐ(A) onto Panel༇.
Connect panel④⑮by the same way.
A
A
A
A
A
A
AAA
A
A
A
A
A
B
B
B
BC
CC
C
2
15
5
14
14
A
x4
C
x8
B
2
Screw 6 Cam bolts;ͿinƚŽpĂŶĞů༃ƐcrewϴĂŵďŽůƚƐ;ͿintopĂŶĞů༄.
ConnectWĂŶĞů༄ƚŽthe main part(⑮⑤⑭⑪) , secure them ƵƐiŶŐ
theCam bolts (A), ĂŵůŽĐŬƐ;ͿĂŶĚϰ>ĂƌŐĞǁŽŽĚĞŶĚoǁĞůƐ;ͿĂƐ
ƐŚŽǁŶďĞůŽǁ.
x2
I
x6
C
x6
B
I
I
13
15
14
5
Fix panel ① to the main part using Cam bolts(A), Cam locks(B)
and 6 Large wooden dowels (C) combination.
1. Insert the back panel⑫⑬ to the bottom along the grooves of
panel⑮⑤⑭.
2.Apply the rubber grommets (I) to the holes of panel⑫⑬.
B
B
C
C
C
C
15
5
14
A
B
A
A
AA
A
A
A
A
A
A
A A
A
A
A
B
B
B
B
BB
B
9
99
9
x16
A
x8
B
1. Screw Cam bolts (A) to Panel ⑨⑩ and as shown (Notice the orientation).
2. Connect Panel ⑨⑦⑩ using Cam bolt (A) and Cam lock (B) combination.
x8
A
Screw 8 Cam bolts (A) into the bo�om of panel ⑮.
A
AA
A
AA
AA
x8
B
Secure the bottom support part to the main part using Cam bolts (A)
and Cam locks (B) combination.
B
B
B
B
B
B
B
B
8
B
B
B
B
B
B
B
B
9
9
x8
B
Connect 2 panel⑧ to the left and right feet using Cam bolt (A) and Cam
lock (B) combination.
x16
D
x2
G
x1
E
x2
F
x1
J
J
J
D
D
D
D
E
F
F
F
F
G
G
F
F
16
16
6
6
6
1
2
2
3
1. Secure part (G) at the bottom edge of panel ༈, while secure part (F) at the
top edgeof panel
2. Fix the ĚŽŽƌhandle (E) to panel ༈ǁŝƚŚthe original ŝŶĐůƵĚĞĚƐĐƌĞǁƐ.
3. Install the door(pane༈)betweenƚŚĞrails of panel༇༑ in the cabinet.
4. Insert the ƌĞĐŽƌĚĚŝǀŝĚĞƌs༒ƚŽƚŚĞpanel ༑.
༈
ŶĂďůĞƚŚĞ>ƐƚƌŝƉůŝŐŚƚ;:ͿďLJƉůƵŐŐŝŶŐŝŶƚŽƚŚĞƐƚĂŶĚĂƌĚh^ƉŽƌƚĂƐ
ƐŚŽǁŶďĞůŽǁ
.
22kg
30 1/2 x 33 4/9 x 14 3/8 Inch
77.5x85x36.5cm
20kg/44lb
20kg/44lb
30kg/66lb
48.4lb

Other manuals for HO-RS001

1

Other HAIOOU Indoor Furnishing manuals

HAIOOU HO-SC001B User manual

HAIOOU

HAIOOU HO-SC001B User manual

HAIOOU HO-RS001 User manual

HAIOOU

HAIOOU HO-RS001 User manual

HAIOOU H0-BC-001 User manual

HAIOOU

HAIOOU H0-BC-001 User manual

HAIOOU HO-SR001 User manual

HAIOOU

HAIOOU HO-SR001 User manual

HAIOOU HO-HT001 User manual

HAIOOU

HAIOOU HO-HT001 User manual

HAIOOU HO-CT001 User manual

HAIOOU

HAIOOU HO-CT001 User manual

Popular Indoor Furnishing manuals by other brands

Signature Design by Ashley Footboard Assembly instructions

Signature Design by Ashley

Signature Design by Ashley Footboard Assembly instructions

CASARIA Lucca 100610 manual

CASARIA

CASARIA Lucca 100610 manual

Living Spaces 100195 Assembly instructions

Living Spaces

Living Spaces 100195 Assembly instructions

dobue MOVELARIA PARIS 300045 Assembly instruction

dobue MOVELARIA

dobue MOVELARIA PARIS 300045 Assembly instruction

BIG FURNITURE WAREHOUSE Alabama CL540 quick start guide

BIG FURNITURE WAREHOUSE

BIG FURNITURE WAREHOUSE Alabama CL540 quick start guide

sweeek. TOBIAS IKSCANDITB manual

sweeek.

sweeek. TOBIAS IKSCANDITB manual

cnouch PABLO 3200 Assembly Instructions Instruction Manual

cnouch

cnouch PABLO 3200 Assembly Instructions Instruction Manual

Kettler T21002-0200 Assembly instructions

Kettler

Kettler T21002-0200 Assembly instructions

Bali Cellular Arch Shade How to install

Bali

Bali Cellular Arch Shade How to install

Muckle Mannequins ANT-ATWP-1 instruction manual

Muckle Mannequins

Muckle Mannequins ANT-ATWP-1 instruction manual

sprogs SPG-70930 Assembly instructions

sprogs

sprogs SPG-70930 Assembly instructions

Gami CASTEL H0P manual

Gami

Gami CASTEL H0P manual

Unique Furniture Nors Chair 708-157-1042 Assembly instruction

Unique Furniture

Unique Furniture Nors Chair 708-157-1042 Assembly instruction

ORANGEBOX Eva User instructions

ORANGEBOX

ORANGEBOX Eva User instructions

Origin 21 BEECHAM 60W installation manual

Origin 21

Origin 21 BEECHAM 60W installation manual

Sauder Cannery Bridge 415910 Assembly instructions

Sauder

Sauder Cannery Bridge 415910 Assembly instructions

Next OAK ROUND DINING TABLE 148036 Assembly instructions

Next

Next OAK ROUND DINING TABLE 148036 Assembly instructions

Classic Exhibits visionary design MOD-1524 Assembly instructions

Classic Exhibits

Classic Exhibits visionary design MOD-1524 Assembly instructions

manuals.online logo
manuals.online logoBrands
  • About & Mission
  • Contact us
  • Privacy Policy
  • Terms and Conditions

Copyright 2025 Manuals.Online. All Rights Reserved.