Hama 53331 User manual

WIRELESS LAN
00053331
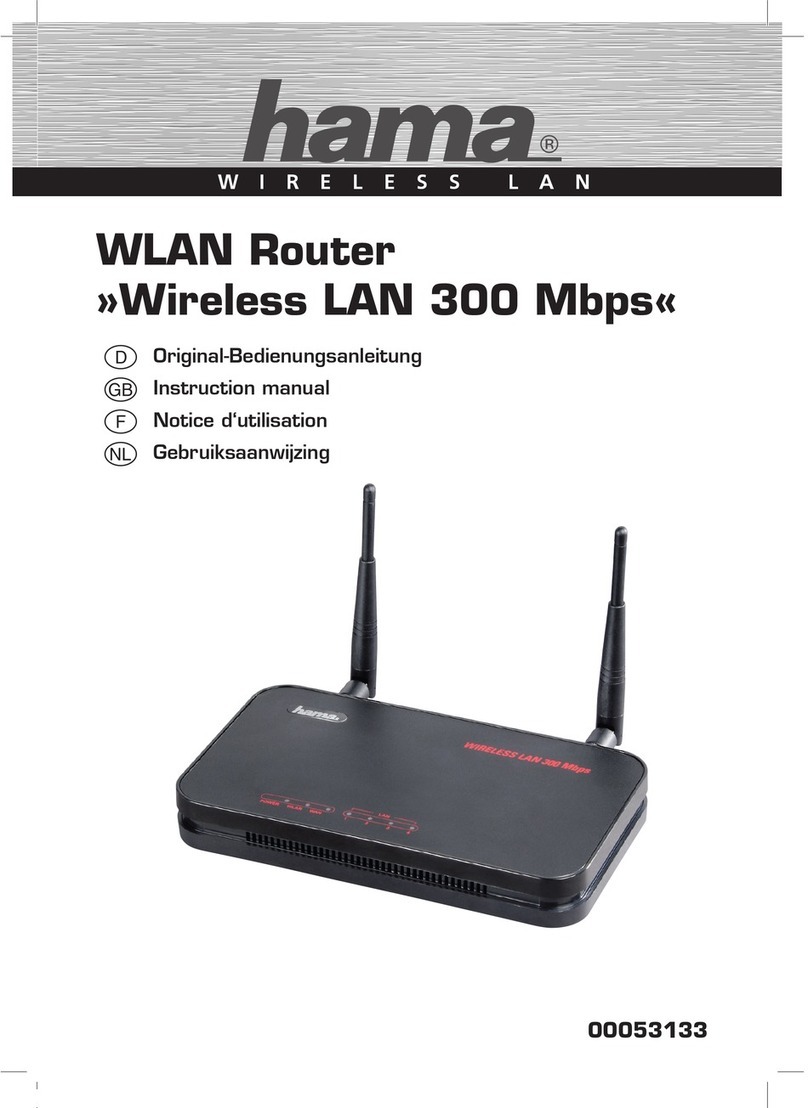
WLAN USB Stick 150 Mbps
»Mini«
gInstruction manual

200053331
g
Table of Contents
Introduction 3
Foreword 3
Information on this instruction manual 3
Copyright 3
Warnings 4
Intended use 4
Liability disclaimer 4
Safety precautions 5
Disposal 5
Description 6
Scope of supply 6
Device elements 6
Preconditions for operation 7
Function LED 7
Fitting the cap 7
Installation 8
Installing driver and
conguration software 9
Connecting/disconnecting the device14
Inserting the USB WLAN stick 14
Removing the USB WLAN stick14
Conguration 15
Starting the conguration program 15
Description of the
conguration program 16
Detail view "General" 18
Detail view "Prole" 19
Conguring a prole20
Detail view "Available networks" 22
Detail view "Status" 23
Detail view "Statistics" 23
Detail view "Wi-Fi Protected Setup"24
Making a WiFi connection26
Connecting using the "Hama
Wireless LAN Utility" 26
Deinstallation 28
Troubleshooting28
Support and contact information 30
For defective products 30
Internet/World Wide Web30
Support hotline – Hama product
support30
Technical data 31
Notes on EC Declaration of
Conformity 31
Operation restrictions31
Instruction manual
3
Introduction
00053331
g
Introduction
Foreword
Dear Customer,
By purchasing this device, you have decided in favour of a quality
product from Hama which corresponds to the latest state of develop-
ment with respect to technology and functional performance
Please read the information contained in this booklet to familiarise
yourself quickly with the unit and to be able to make full use of its
functions
We wish you a lot of pleasure with the unit
Information on this instruction manual
This instruction manual forms an integral part of the WLAN USB Stick
and contains important information on the intended use, safety and
connection of the device and on the conguration of the software.
Keep this instruction manual in a safe place and pass it on with the
device to any future owners
Copyright
This documentation and the enclosed software are protected by
copyright
Any duplication or reprinting of this documentation, in whole or in
part, and the reproduction of the illustrations even in modied form is
permitted only with the written approval of the manufacturer
Hama grants the buyer the non-exclusive right to use the enclosed
software for the operation of the device The Licensee may make
only one copy of the software that may be used exclusively for
backup purposes
Unless otherwise specically indicated, all trademarks and logos
mentioned are trademarks of Hama GmbH that are protected by
law Microsoft, Windows and the Windows logo are trademarks of
Microsoft Corporation All other product and company names are
trademarks of the respective holder

4
Introduction
00053331
g
Warnings
The following warnings are used in the present instruction manual:
CAUTION
Awarning of this type draws attention to potential material
damage
If the situation is not avoided, it may lead to material damage
Follow the instructions in this warning to avoid material damage►
NOTE
Anote draws attention to additional information that simplies►
the use of the appliance
Intended use
This device is intended only for establishing a data connection from
a computer using the enclosed software via a WLAN (WiFi network)
using a WLAN router or via some other WLAN-compatible device
Use in any other or further way is not considered an intended use
No claims of any kind will be accepted for damage or injury resulting
from use of the unit for other than its intended purpose The risk has
to be borne solely by the unit's owner
Liability disclaimer
All technical information, data and instructions for the operation con-
tained in this operating manual are in conformity with the last status
prior to printing and shall be rendered on the basis of our previous
experience and knowledge to the best of our belief
The manufacturer assumes no liability for damage or injury resulting
from failure to observe the instruction manual, use for other than the
intended purpose, unprofessional repairs, unauthorised modications
or use of non-approved spare parts

5
Introduction
00053331
g
Safety precautions
Observe the following safety precautions when using the device to
avoid any damage or injuries:
Do not allow children to play with the appliance The device and■
the accessories could be swallowed by children
Inspect the unit for visible signs of damage before use Do not■
use a damaged unit
Do not open the device. Unauthorised opening and unqualied■
repairs can pose considerable dangers for the user of the ap-
pliance. Have repairs to the device carried out only by qualied
persons. Unqualied repairs will void the warranty.
Protect the device against moisture and the ingress of liquids■
Clean the housing of the device with a slightly dampened cloth■
Do not use any aggressive or abrasive cleaning agents or sol-
vents
Disposal
CAUTION
By no means throw the device into the normal domestic
waste Observe the disposal instructions in the Annex to the
manual
The return of the packaging to the material cycle helps conserve
raw materials and reduces the production of waste When no longer
required, dispose of the packaging materials in accordance with the
local regulations in force
NOTE
Keep the original packaging during the warranty period in order►
to be able to pack the device properly in the event of a warranty
claim

6
Description
00053331
g
Description
This device is a WLAN (WiFi) network adapter for the Universal
Serial Bus (USB) with high data transmission rate and particularly
compact dimensions
The device allows you to connect your computer directly to a WLAN
access point or WLAN router You can also connect your computer to
other WLAN devices This means mobility when working with all the
benets of wireless connections, high transmission speed and high-
speed connections with maximum operational security
Scope of supply
The device is supplied as standard with the following components:
WLAN USB stick●
4 coloured caps (white, pink, blue and black)●
Installation CD-ROM●
Printed quick-start guide●
NOTE
Inspect the content of the package for completeness and obvi-►
ous signs of damage Report an incomplete or damaged delivery
to your supplier/dealer immediately
Device elements
1Housing
2USB plug
3Function LED
4Caps
2
1
3
4

7
Description
00053331
g
Preconditions for operation
The following preconditions must be satised for the installation and
operation of the device on your computer:
Afree USB port on the computer●
NOTE
AUSB 20 port is recommended, USB 11 functions with a►
reduced data rate
Acomputer with installed operating system:●
Microsoft–®Windows 7 (32-bit or 64-bit edition),
Microsoft–®Windows Vista (32-bit or 64-bit edition),
Windows XP–®(32-bit or 64-bit edition)
(Service Pack 2 or higher recommended)
Pentium-class computer or laptop (500 MHz CPU or better)●
Minimum 256 MB RAM and 50 MB free hard disk memory●
ACD drive●
NOTE
If you wish to connect further computers to the WLAN, you need►
additional WLAN USB sticks
Function LED
The function LED installed in the device ashes during access to the
network
Fitting the cap
The scope of supply of the device includes 4 caps with which the
device can be matched to the colour of your computer/laptop
Push the cap with the colour matching your computer/laptop over
the housing of the device

8
Installation
00053331
g
Installation
To install the WLAN USB stick on your computer, the following steps
must be carried out in the order indicated:
Install the1) driver and the conguration software using the installa-
tion program on the CD supplied with the device
Reboot the computer2)
Insert the WLAN USB stick3)
Congure the device.4)
NOTE
Before you start the installation, observe the following tips:
Use a USB 20 port for the optimum performance of the device►
Save the data of your opened applications and close all running►
application programs
If you already have another version of the drivers and congura-►
tion software installed on the computer, uninstall these rst.

9
Installation
00053331
g
Installing driver and conguration software
The installation of the driver and the conguration software for the
operating systems Windows XP, Windows Vista and Windows 7 is
described here
NOTE
The installation is practically identical with all the above operat-►
ing systems The differences are explained in separate notes
The display of the menus and folders can be changed in the dif-►
ferent operating systems The following illustrations relate to the
delivery condition of the respective operating system
Place the program and driver CD supplied into the CD drive of
your computers The installation program is started automatically
NOTE
If you have deactivated the AutoPlay function and the instal-►
lation program is not started automatically, start the installa-
tion program by double-clicking the le "autorun.exe" in the
main directory on the CD
WINdOWs VIsTA / WINdOWs 7
Under Windows Vista and Windows 7, the execution of the►
"autorun.exe" program has to be conrmed manually. Click
the symbol "Execute autorunexe"

10
Installation
00053331
g
The "Welcome" window of the installation program is displayed
A – Select language German, English, French
B – Other languages
C – Exit program
Select your preferred language for the installation by clicking one
of the displayed languages (A) For further installation languag-
es, click button (B)
If you wish to abort the installation, click the button "Exit /
Beenden / Te rminer" (C)
NOTE
The following examples are based on the language selection►
"German"
A
C
B

11
Installation
00053331
g
The main menu of the installation program is displayed
A – Start installation
B – Display the instruction manual
C – Search for updated drivers
D – Install Adobe Reader
E – Back to the "Welcome" page
Click button (A) to start the installation
Click button (B) to display this instruction manual in PDF format
NOTE
You need the Adobe Reader to display the instruction►
manual in PDF format If the Adobe Reader is not already
installed on your computer, you can install the free reader on
the CD Click the button (D)
Click button (C) to download the latest drivers from the Hama
website
Click button (E) to return to the "Welcome" page
A
B
C
D
E

12
Installation
00053331
g
After the start of the installation, the InstallShield Wizard is loaded
NOTE
The loading of the InstallShield Wizard can take a few seconds►
Please wait until the InstallShield Wizard has started
WINdOWs VIsTA / WINdOWs 7
Under Windows Vista and Windows 7, click "Continue" in the►
dialog "User account control"
Click the button "Continue"
Click the button "Install" to start the Installation

13
Installation
00053331
g
The installation les are now unpacked for the installation.
The drivers and the conguration software are installed on your
computer
NOTE
Several components are installed here, depending on the oper-►
ating system
After completion of the installation, the computer must be started
again
Click the button "Finish" to terminate the installation and restart
the computer

14
Connecting/disconnecting the device
00053331
g
Connecting/disconnecting the device
Inserting the USB WLAN stick
Plug the WLAN USB stick into a free USB port of the started
computer or of the connected USB hub
CAUTION
Do not try to push the WLAN USB stick into the port with
force The USB port of your computer could be damaged
Check whether the USB stick ts the other way round.►
Removing the USB WLAN stick
After shutting down the computer, pull the USB WLAN stick out
of the USB port of the computer
CAUTION
Possible data loss when writing to a network drive
If the WLAN USB stick is removed during a data transfer, data
may be lost when writing data to the network drive
Close all open programs to ensure that all application data►
have been saved
Shut down the computer correctly before removing the USB►
WLAN stick

15
Conguration
00053331
g
Conguration
Starting the conguration program
The "Hama Wireless LAN Utility" conguration program can be called
up in a number of ways:
Start the program with■Start -> Programs -> Hama Wire-
less LAN -> Hama Wireless LAN Utility
Start the program by double-clicking the desktop icon■
"Hama Wireless LAN Utility"
Start the program by double-clicking the circled symbol in the■
taskbar shown below
Start the program by right-clicking the symbol in the taskbar■
shown below and select the menu item "Open" from the context
menu

16
Conguration
00053331
g
Description of the conguration program
The program parts of the "Hama Wireless LAN Utility" conguration
program are described below:
A – Menu bar
B – List of network adapters
C – View selection
D – Detail view
E – Shortcuts
F – Status bar
The following menu items are available in the menu bar (A):■
Refresh(R) Determines the current status and re-
freshes the view of the program
View(V) The status bar (F) can be displayed and
hidden here
Info(A) Displays program information and the cur-
rent version number
The list of network adapters (B) shows you the network adapters■
supported by this program All inputs relate to the network adapter
selected in this window
A
B
E
F
D
C

17
Conguration
00053331
g
With the view selection (C) you can switch back and forth be-■
tween the individual detail views The following can be selected:
General Displays the current status of the net-
work adapter and the connection
Prole Used to manage connection proles.
Available networks Displays the available WiFi networks
Status Displays detailed status information
Statistics Displays the transmission and recep-
tion statistics
Wi-Fi Protected
Setup (WPS)
Used for quick connection to WPS-
compatible routers or access points
The detail view (D) provides important information and you can■
make the corresponding selections and settings
The shortcuts (E) allow you to execute important functions im-■
mediately, irrespective of the selected detail view The following
functions can be selected:
Display taskbar
symbol
Activates or deactivates the symbol in
the taskbar
Wireless offSwitches off the device's transmitter/
receiver
Deactivate WLAN
adapter
Deactivates the selected network
adapter
Use Windows for
WLAN conguration
Denes whether the conguration of
the network adapter should be per-
formed with the Windows functions and
not using this program
Close Closes and minimises the program
interface
Additional information is displayed in the status line (F)■

18
Conguration
00053331
g
Detail view "General"
The detail view "General" displays the current status of the network
adapter and the connection
Status: Displays the connection status of the net-
work adapter
Speed: Displays the current speed of the connec-
tion in Mbps
Tx is the transmission speed;
Rx the reception speed
Type: Type of network connection: Infrastructure
for connection to a router/access point
IBSS for direct connections to another
WLAN-compatible device (ad hoc)
Encryption: Displays the currently selected encryption
for the data transfer The following can be
selected: None, WEP, TKIP and AES
SSID: The unique network name of the currently
connected network The name can be up
to 32 characters long
Signal strength: Displays the current signal strength of the
connection
Connect quality: Displays the connection quality
Network address: Data of the currently assigned network ad-
dress are displayed here
Renew IP: Click this button to renew the network ad-
dress

19
Conguration
00053331
g
Detail view "Prole"
Connection proles can be created and managed in the detail view
"Prole".
Available prole(s) Displays the list of proles already created.
Add This button allows a new prole to be
added
Delete Deletes the selected prole.
Edit The settings of the selected prole can be
edited
Duplicate Creates a copy of the selected prole for
easier creation of a new prole.
Select as standard Denes the selected prole as the stand-
ard prole. When the program is started,
the connection is set up with this prole.

20
Conguration
00053331
g
Conguring a prole
When adding a new prole or editing an existing prole, a new win-
dow opens in which the settings for the prole can be made.
Prole name: Name of the prole for easier identication.
For example: "Ofce" or "Home".
Network name
(SSID):
The unique network name as it is dis-
played in the list of available networks
This is a computer-
to-computer network
(ad-hoc):
If this checkbox is activated, the connec-
tion is made to another WLAN-compatible
device and not to a router or access point
Channel: This selection is only available for an
ad-hoc network. Axed channel number
between 1 and 13 must be set for the con-
nection
Network authentica-
tion:
The network authentication must match
the settings for the network to which
the connection is to be made The fol-
lowing can be selected: Open, Shared,
WPA-PSK, WPA2-PSK, WPA 8021x,
WPA2 8021x and WEP 8021x
Data encryption:The data encryption must match the set-
tings for the network to which the connec-
tion is to be made The following can be
selected:
Deactivated, WEP, AES and TKIP
Table of contents
Other Hama Wireless Router manuals

Hama
Hama MiMo 300 Express User manual

Hama
Hama RXTX2 User manual

Hama
Hama Wireless LAN Router User manual

Hama
Hama 00049045 User manual

Hama
Hama 00049059 User manual

Hama
Hama DR-50 User manual

Hama
Hama 53120 User manual

Hama
Hama Wireless LAN Router User manual

Hama
Hama 00062784 User manual

Hama
Hama Wireless LAN Router 300 Mbps User manual
Popular Wireless Router manuals by other brands

Edimax
Edimax AR-7064Mg+ Quick installation guide

Ubiquiti
Ubiquiti UniFi Dream Machine quick start guide

TP-Link
TP-Link TD-W8980 Application guide

NETGEAR
NETGEAR WNHD3004 - High Performance Wireless-N HD Home Theatre... install guide

TRENDnet
TRENDnet TEW-817DTR Quick installation guide

ANTAIRA
ANTAIRA APR-3100N Series user manual