www.hameco.eu
HV-46 user manual
6
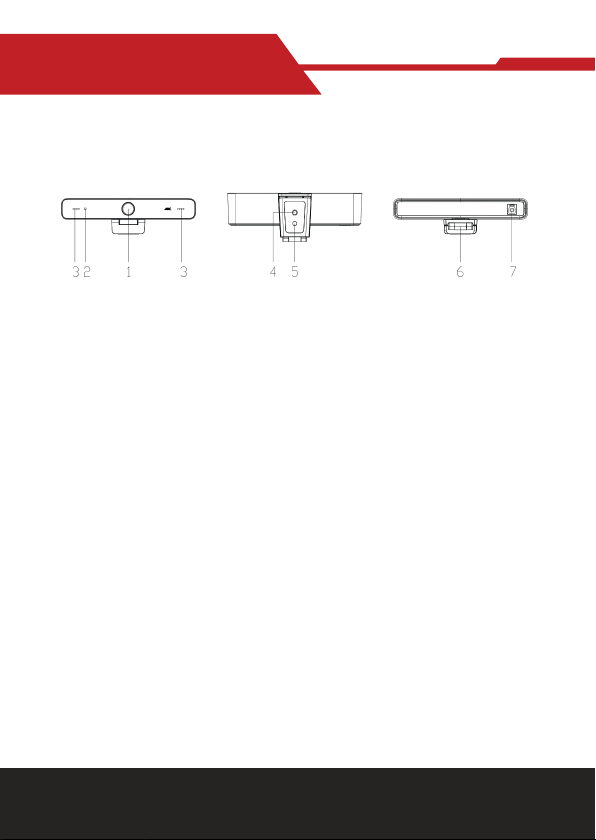
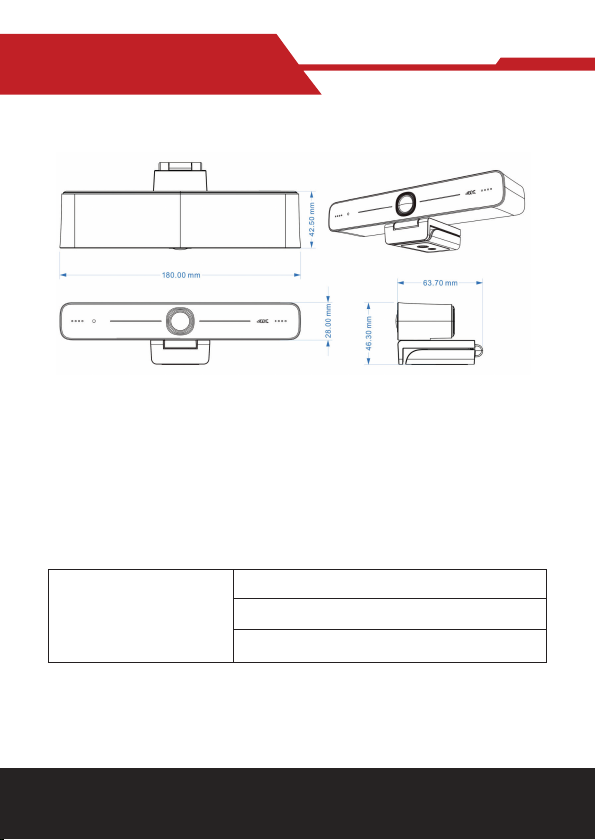
2.2 Main Features
HV-46 is a 4K ultra-high-denition ePTZ camera with a new design. With AI
intelligence, it can frames according to the number of people in the scene,
and the characters are in the middle. It has perfect functions and superior
performance, which employs advanced ISP processing algorithms so as to
provide vivid images with evenly clear brightness, strong color layering, high
resolution, and fantastic color rendition. Easy and convenient to install and
maintain, stable and reliable.
• Ultra HD 4K Resolution: 1/2.8 inch high quality CMOS sensor. Resolution
is up to 4K with frame rate up to 30fps (MJPG) or 30fps (H.264);
compatible with 1080P and 720P.
• ePTZ: ePTZ and 3X digital Zoom;
• Built-in MIC: Built-in two omni-directional MIC pickups; with unique noise
suppression algorithm, eective pickup distance up to 6 meters.
• Auto Framing: Employing superior face detection algorithm to
intelligently and automatically frames according to the number of people
in the scene, and the characters are in the middle.
• Wide FOV: 83°/100° wide angle and small distortion lens options.
• Video output interface: Video output interface USB 3.0;
• Multiple Audio/Video Compression Standard: Supports H.264, MJPG,
YUY2, NV12 video compression, to made video play smoothly.
• Low Noise and High SNR: Super high SNR image is achieved with low
noise CMOS. Even in the case of ultra-low illumination, the picture re
mains clean and clear.
• Multiple Installations: Standard equipped with mold clamp. Easy to in
stall on any devices, such as LCD screen, laptop, table and tripod.
• Easy to Use: No need to download driver; USB 3.0 Plug and play;
• Wide Applications: Personal video conferencing, enterprise video
conferencing, collaboration meeting, etc.