Hanna MAIL-1800 User manual
Popular Monitor manuals by other brands
Samsung
Samsung SyncMaster 550b Owner's instructions

Jedia
Jedia JMU-307B operating instructions
Sony
Sony CPD CPD-520GST9 operating instructions
Samsung
Samsung PL-50P3H Owner's instructions

Lenovo
Lenovo ThinkVision E24-29 Service manual
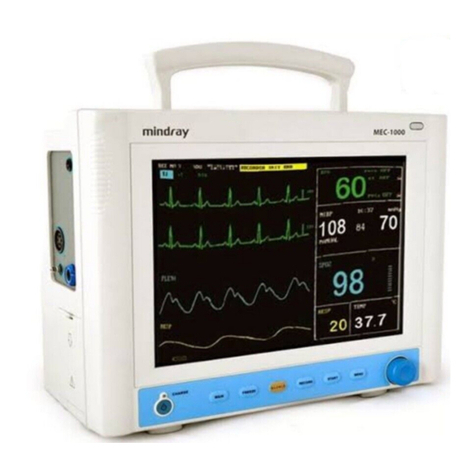
Shenzhen Mindray Bio-Medical Electronics
Shenzhen Mindray Bio-Medical Electronics MEC-1000 Service manual

LG
LG 22MP48A owner's manual
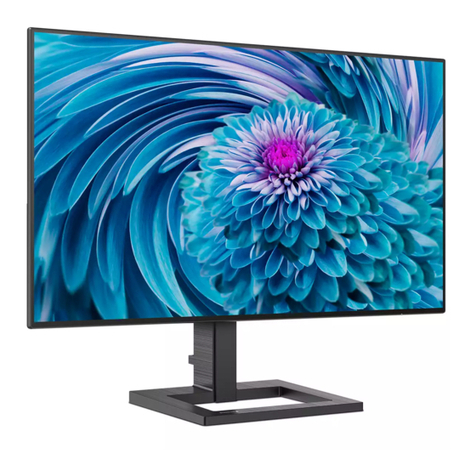
Philips
Philips E Line 275E2F/11 user manual

Austin Hughes Electronics
Austin Hughes Electronics UMUV.10-045V2 user manual

Kogan
Kogan KAMN27PQFTA user guide

NEC
NEC LCD2190UXP - MultiSync - 21" LCD Monitor user manual
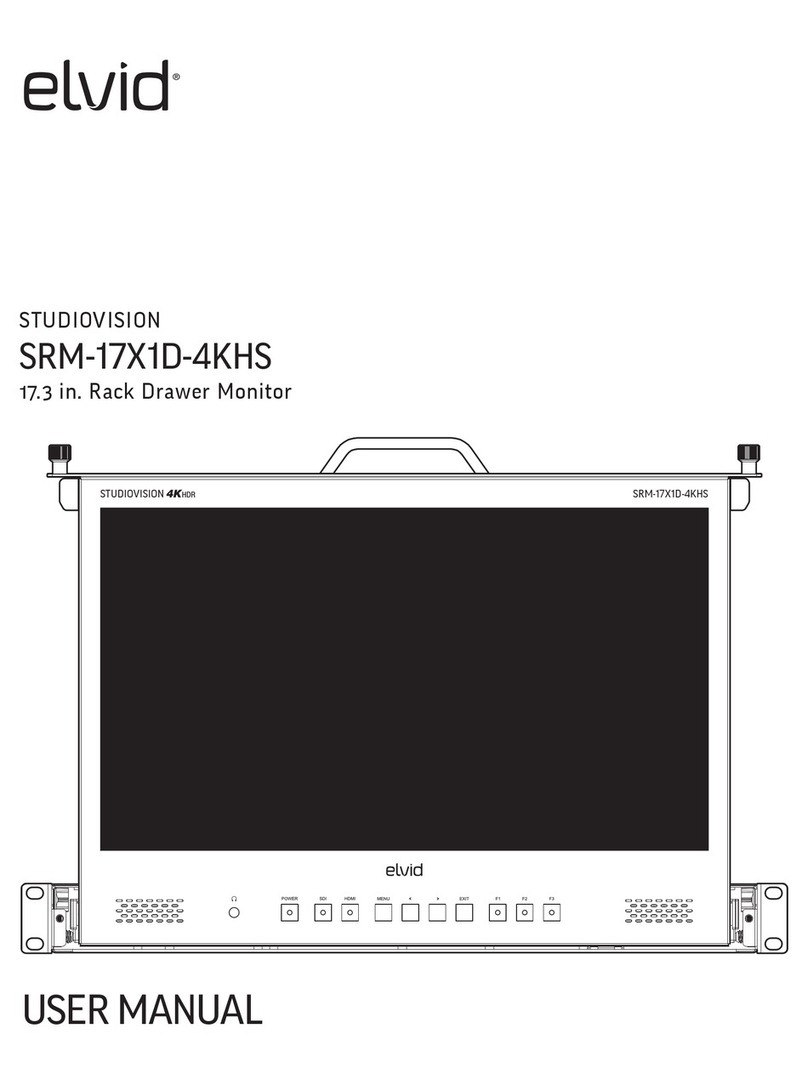
Gradus Group
Gradus Group Elvid STUDIOVISION SRM-17X1D-4KHS user manual


