18
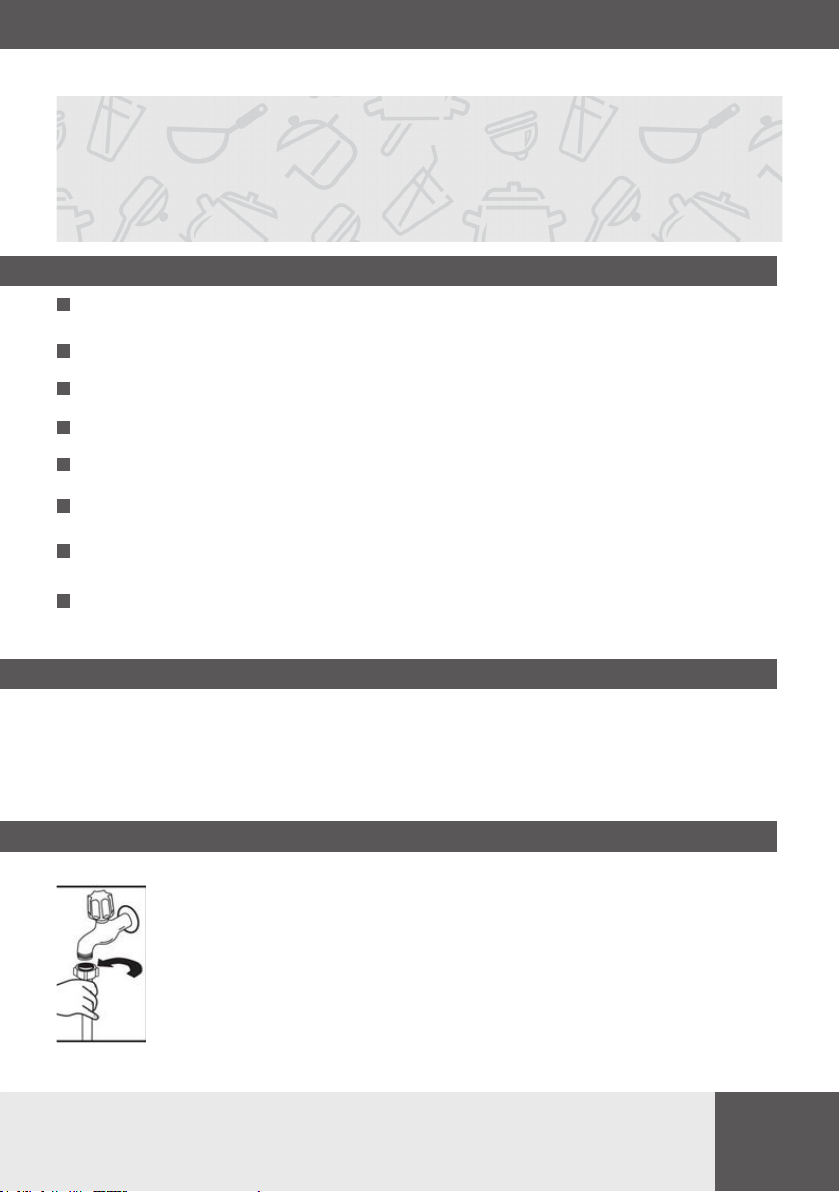
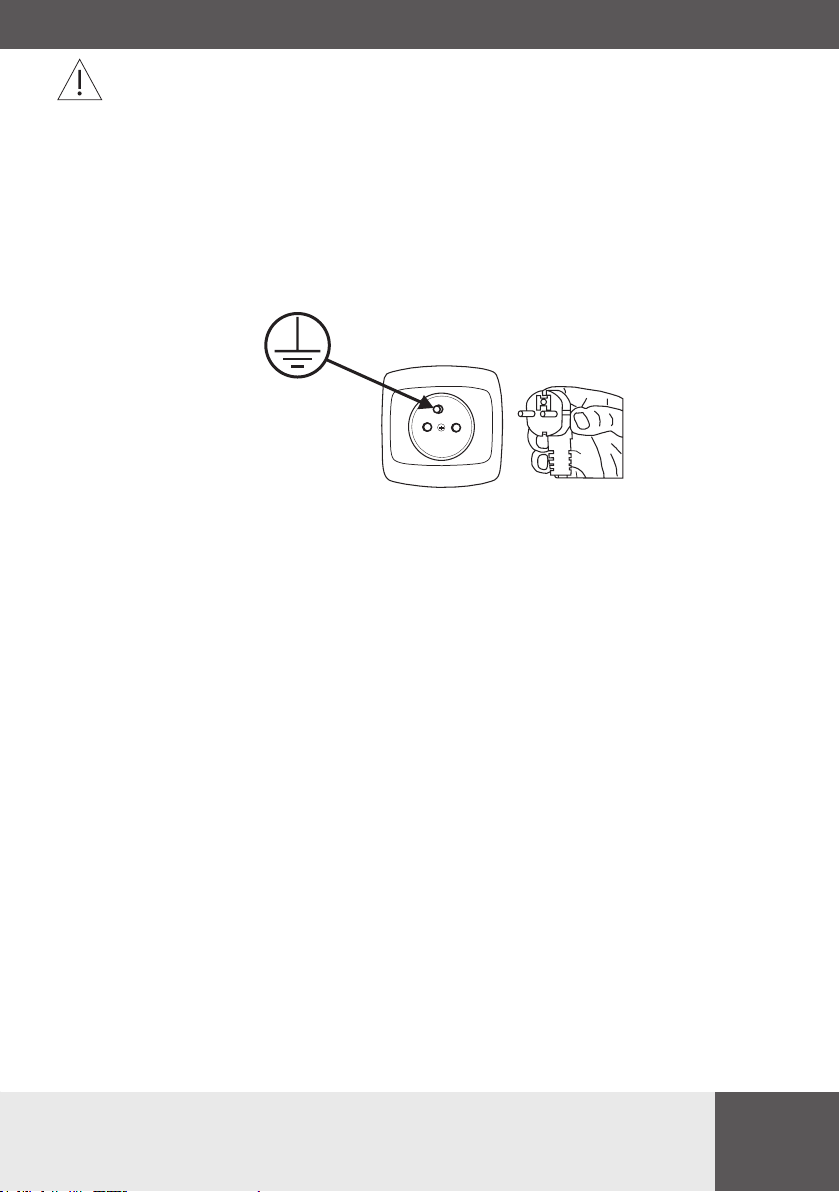
Before using the appliance, verify that the data given on the rating plate matches that
of local power outlets.
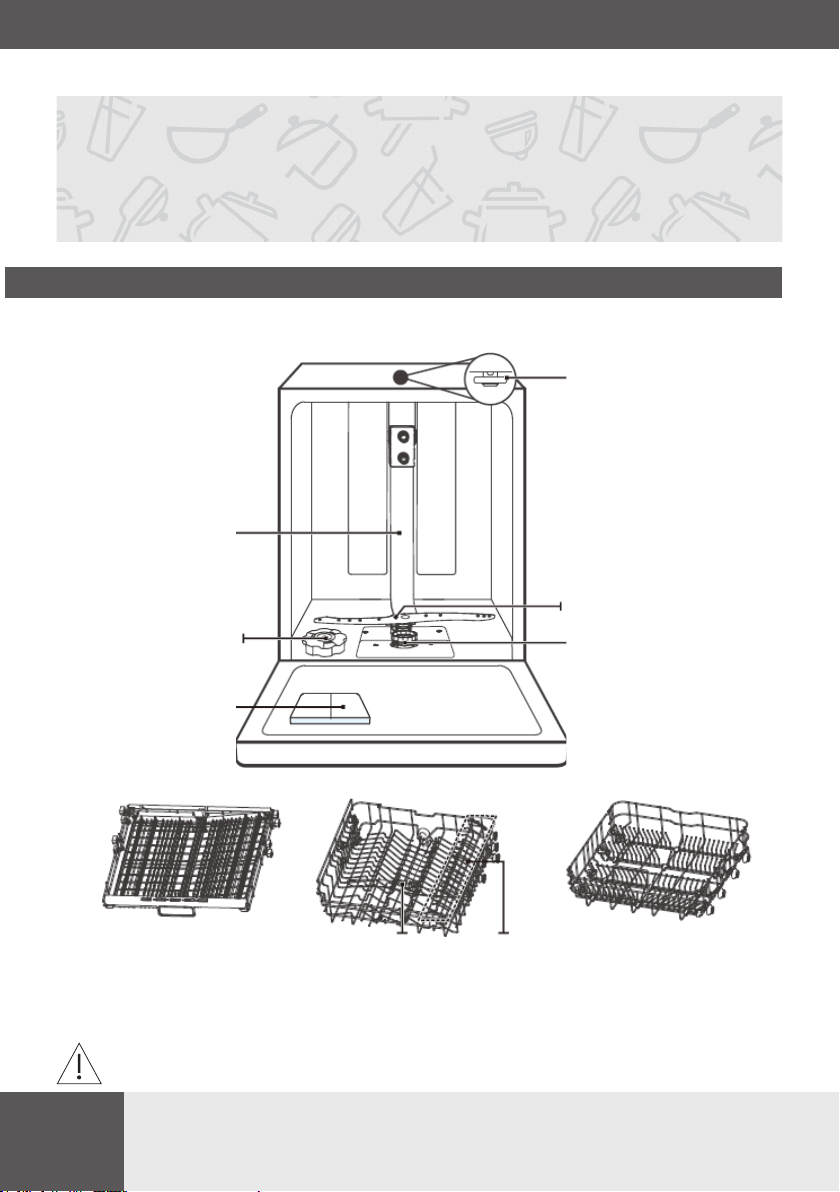
Remove all packing materials from inside of the appliance.
Prepare special salt (water softener).
Pour water into the special salt dispenser and then add about 1.5 kg of special salt
(dishwasher salt).
Pour rinse aid into the dispenser.
1
Before rst use
PREPARE THE APPLIANCE FOR OPERATION
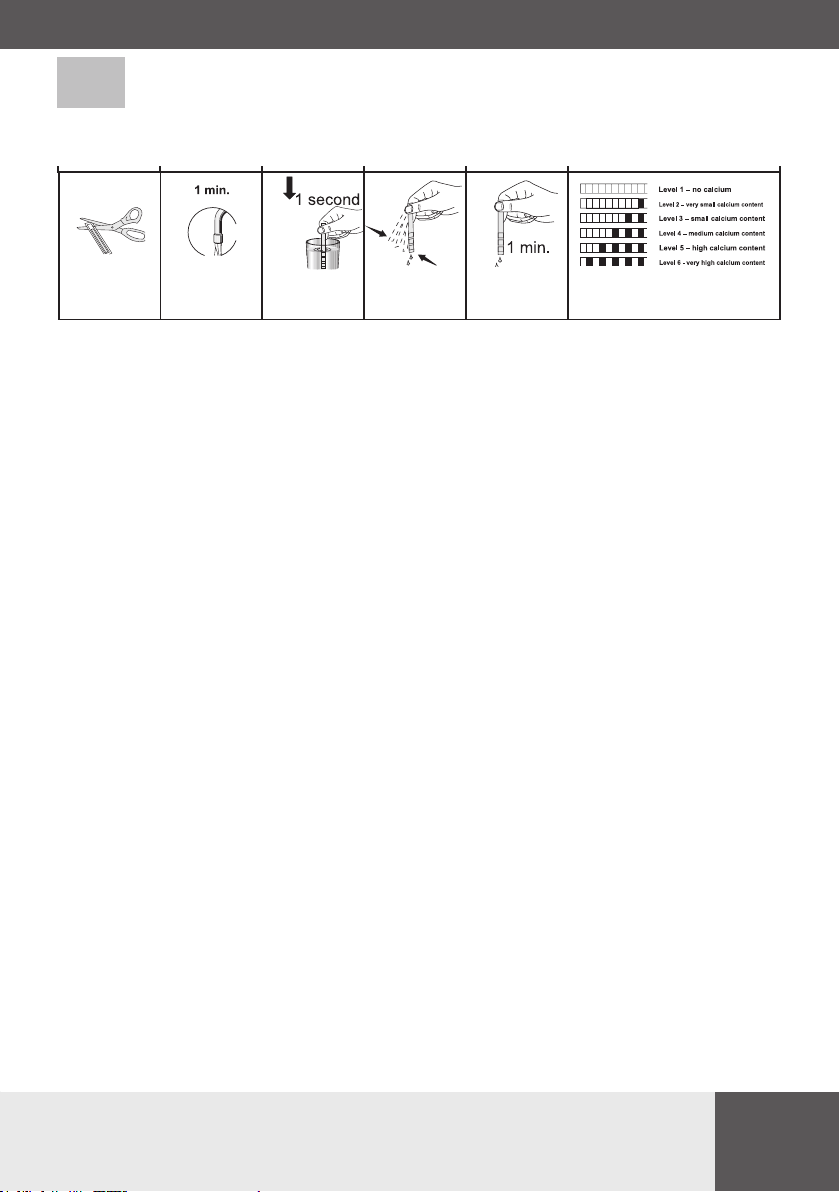
A dishwasher requires soft water (with low calcium content) to operate eciently. Other-
wise, white residue main remain on the dishes and inside the appliance. This has a negative
impact on the quality of dishwashing, rinsing and drying. When the water ows through
the softener, ions responsible for the water hardness are removed, and the water becomes
soft, for best dishwashing results. Depending on the degree of water hardness, the ions
responsible for water hardness accumulate quickly inside the water softener. Therefore,
the water softener must be regenerated to operate with the same eciency during the
next wash. This is why special salt is used in the dishwasher.
2
The importance of water descaling
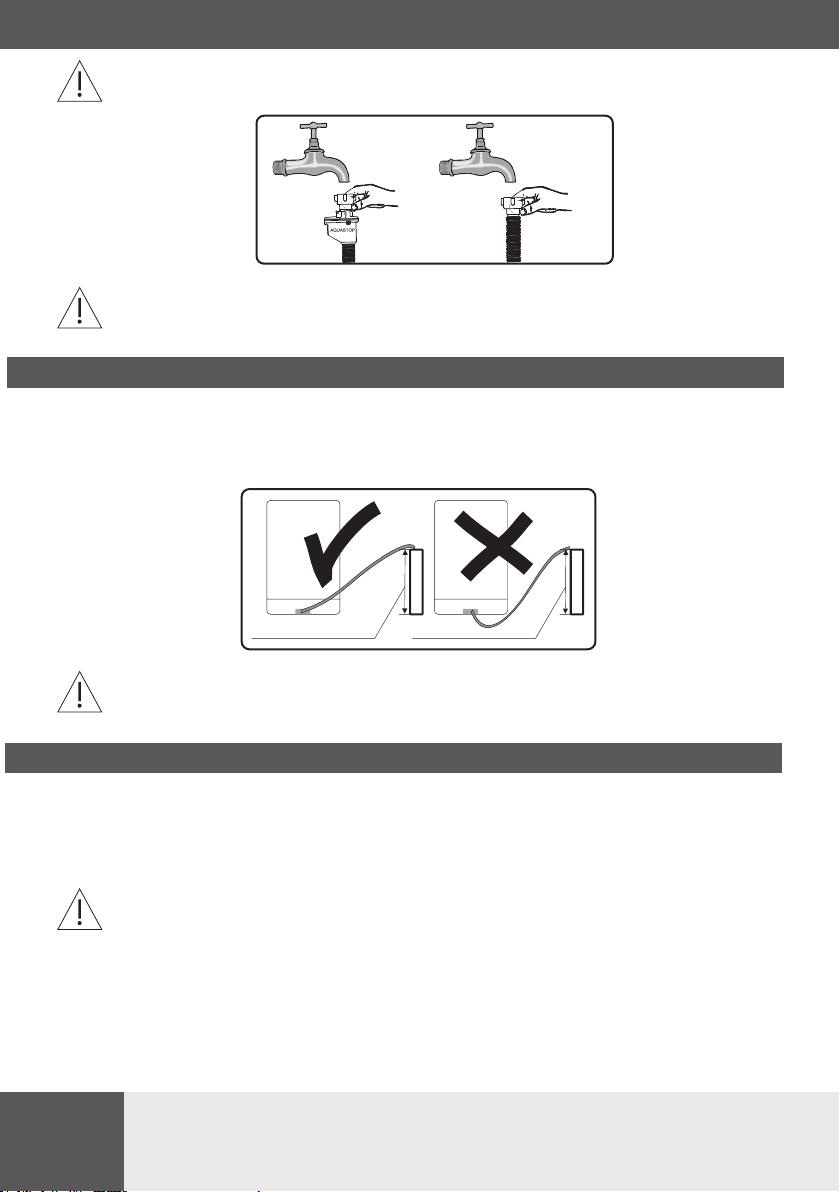
Only use special salt intended for dishwashers.
Any other type of salt that is not intended for use in a dishwasher, especially regular
kitchen salt, will damage the water softener. In the event of damage caused by the use of
the wrong salt, the manufacturer’s warranty is void and we will not be liable for damage.
Fill with special salt before running the washing programme.
This will prevent spilled special salt or salty water from remaining on the bottom of the
device, which may cause corrosion.
3
Add special salt
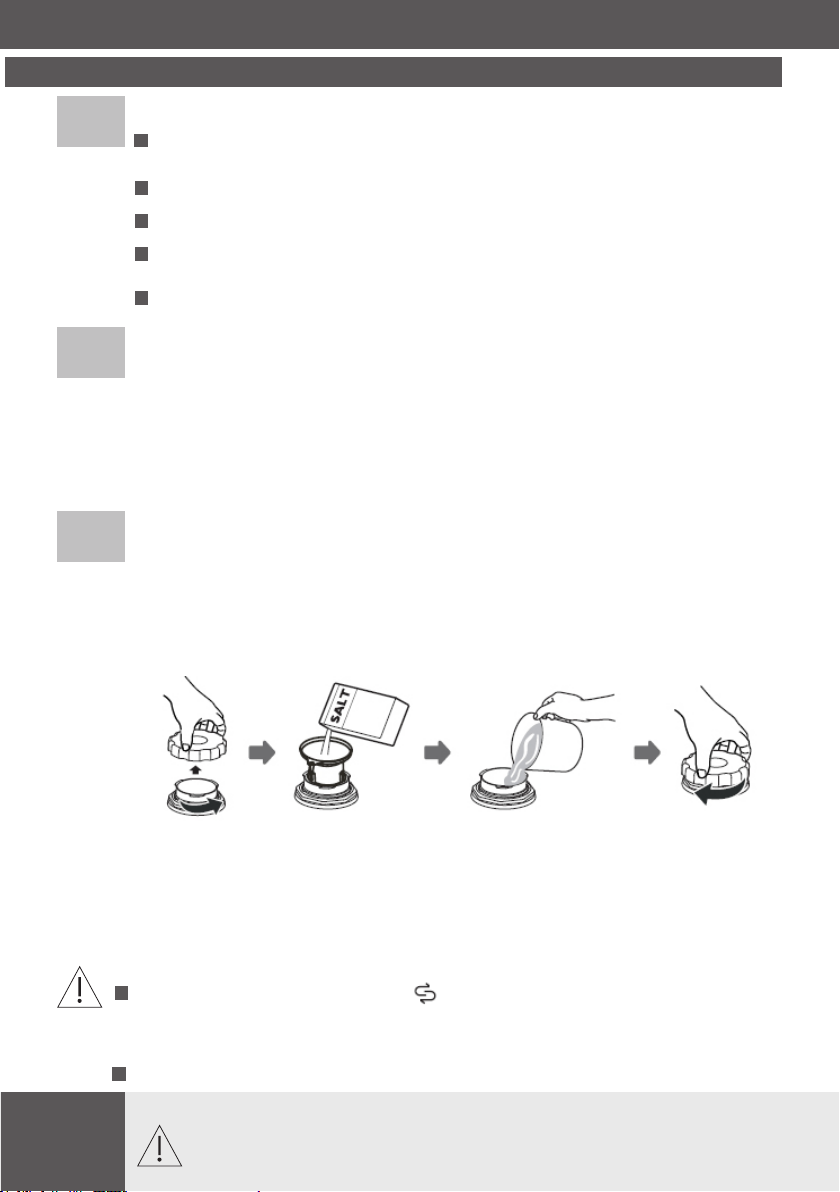
Use only the special salt intended for dishwashers!
1. Remove the lower basket from the appliance and unscrew the special salt dispenser cap.
2. Place the end of the funnel (included) in the hole and pour about 1.5 kg of salt.
3. Pour water into the dispenser until full. It is normal that a small amount of water spills out
of the special salt dispenser.
4. After you ll the dispenser, screw the cap on.
5. When you l the dispenser with special salt, the add salt indicator goes out.
6. Start the washing programme immediately after lling the dispenser with special salt
(the quick wash is recommended). Otherwise, salty water can damage the lters, the pump
or other important appliance components This is not covered by the warranty.
NOTE:
Fill the special salt dispenser when the special salt indicator on the control panel lights
up. Depending on the rate of salt dissolution, the special salt indicator may still be on even
after lling the dispenser.
If there is no special salt indicator on the control panel (on some models), you can estimate
when to top up the dispenser based on the number of wash cycles performed.
If some special salt spills, run the soaking programme or a quick wash programme.